Happy Thursday to you all! Is anyone out of their Christmas Cookie coma yet? I am getting there slowly! We are still in St. Louis spending the week at my parent’s house! My boys are totally in heaven!
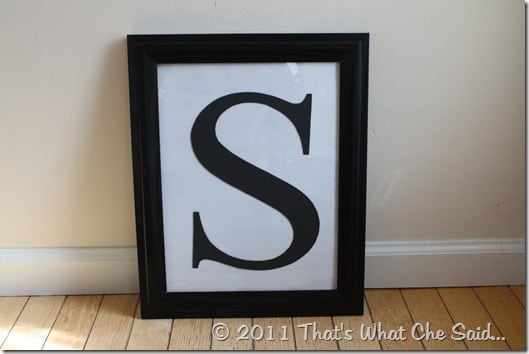
In keeping with my Vinyl theme this week, I decided I really wanted to make a monogram frame. I decided on the frame because I’ve told you before that we are renting our townhouse for a couple more months and the walls in our place are textured so I can’t do an actual vinyl on the wall monogram. I thought a framed monogram would be kind of awesome incorporated with my photo collage wall when we recreate that at our new place! (more on the move later!) So here is how I made this guy!
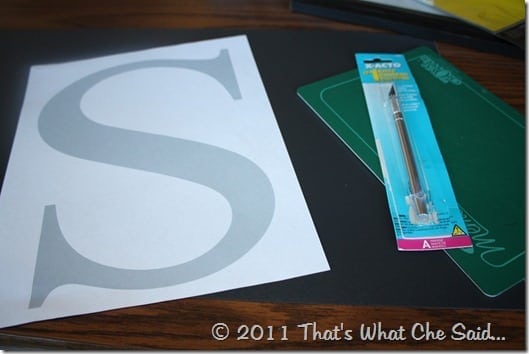
Items Needed:
- Vinyl of your color choice
- Frame (with glass)
- Xacto Knife
- Computer paper/printout
- tape
I started out by printing off an giant “S” on my computer. Take it to the largest font you can and then when you print make sure you uncheck the “fit to frame” box if you have one. This will allow it to extend as far as it can on the paper! I made it gray-scale only for the mere fact of not wasting like $18 in black ink!!!
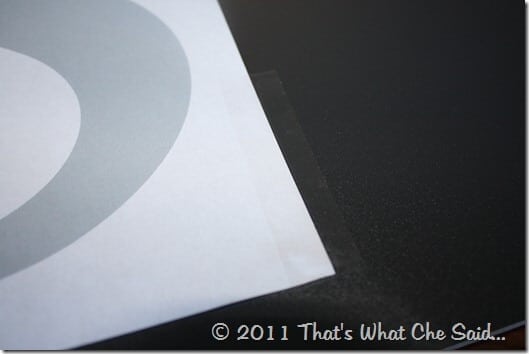
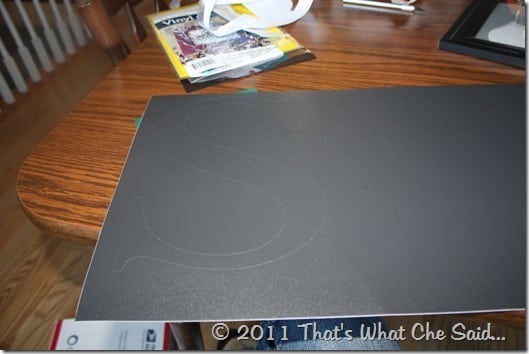
Next I used some scotch tape and taped the 8.5 x 11 sheet of computer paper onto my black vinyl sheet. I did this so that the paper would stay put while I was cutting it with my xacto knife.
Yeah…you really can’t photograph CLEAR scotch tape on BLACK vinyl…but just imagine you can see it!
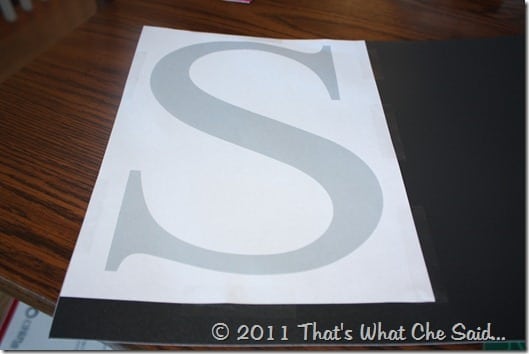
I decided to square the sheet of paper on the vinyl so that I could use both the cut out S and the negative image of the S for another project!
Then I used my Xacto knife and cut out along the edge of the Gray border of the letter S. Just being patient was the really only trick. It was super easy to cut!
(If you look close at the bottom you can see the S cuts in the vinyl)
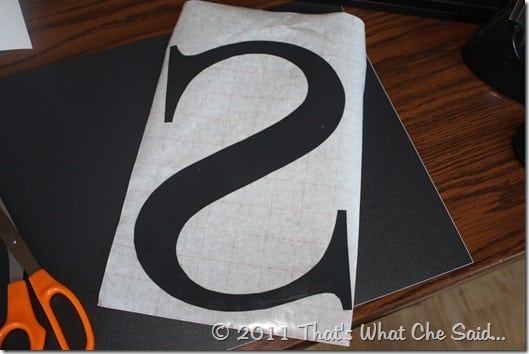
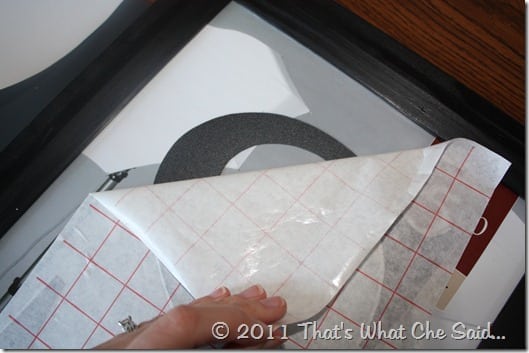
Next I opted to use some transfer paper that Oh My Crafts sent me when they sent me this awesome vinyl to use! Here are the reasons to use transfer paper:
- it made it super easy to get my “S” straight when ready to apply to the frame
- it helps omit any air bubbles that you might get applying vinyl by hand when you have large areas of solid vinyl
- it makes the actual application a breeze! It’s worth the purchase!
(The right side of the vinyl is against the sticky side of the transfer paper, leaving the sticky side of the vinyl exposed to stick to your surface)
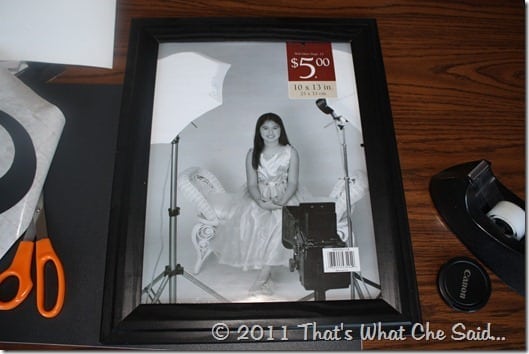
I then lined the “S” attached to the transfer paper on a old cheap Wal-Mart frame I had in my collection of frames!
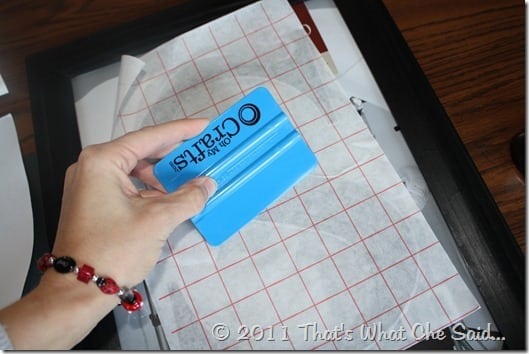
Using the smoothing tool OMC sent along with the vinyl, I smoothed the vinyl to the front of the clean glass on the frame.
Peel back the transfer paper and flip over the frame insert to a clean white background (or insert some pretty paper of your own).
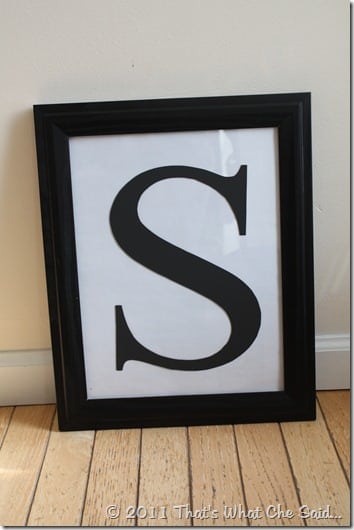
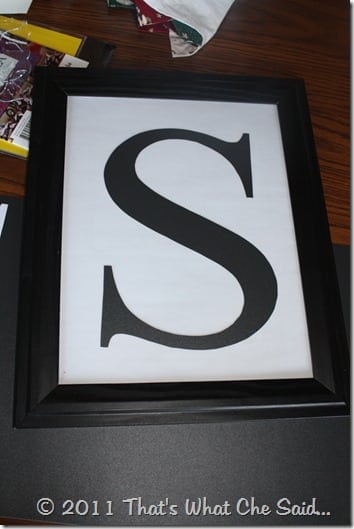
Then you are left with your finished product!
This may seem like a lot of steps but it’s really not…I just had help with the boys so I could take the time to photograph each step ![]() And notice my pictures are not orange? Yep, my parents actually have windows that let in glorious natural light!
And notice my pictures are not orange? Yep, my parents actually have windows that let in glorious natural light!
I can’t wait to find something to do with the negative of my Monogram! Maybe the cover of a binder or cook book? We’ll see!
UPDATE: You can see how I made a DIY Monogram Doormat with the negative above!! :)
Working with vinyl is great, don’t be intimidated if you don’t have a fancy cutter! There are many projects you can do without a cutter! The vinyl is super forgiving also. Believe me!
If I have motivated you to play with vinyl yourself, you can score a deal with OMCBLOG10 and get 10% off your entire purchase!
Linking Up Here
Disclosure: I was given vinyl from Oh My Crafts to use for my project. All opinions are 100% my own. I am sharing because I think you will love this too! You can view my full disclosure {HERE}



Comments & Reviews
Debi says
Coupon code doesn’t work. :(