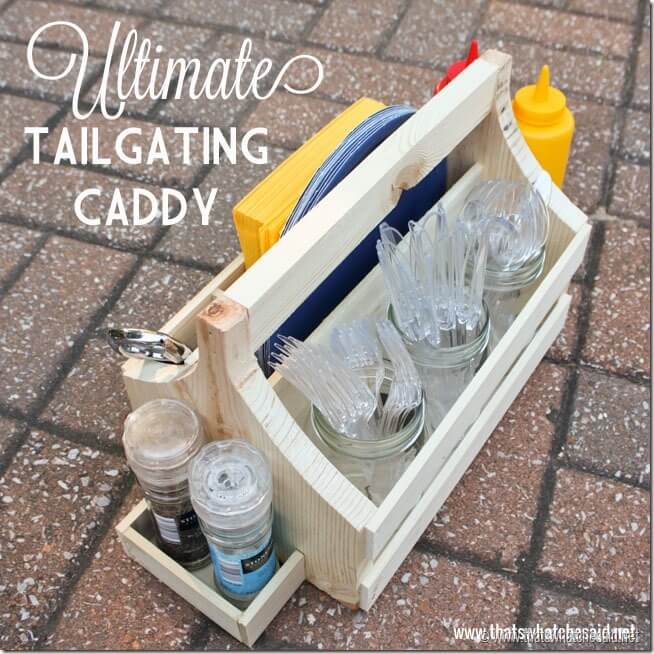
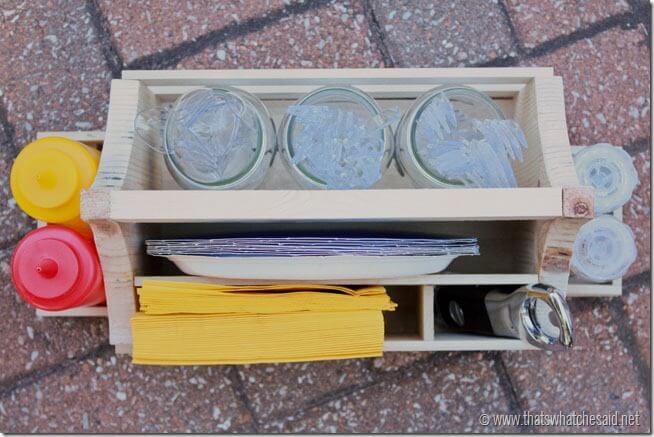
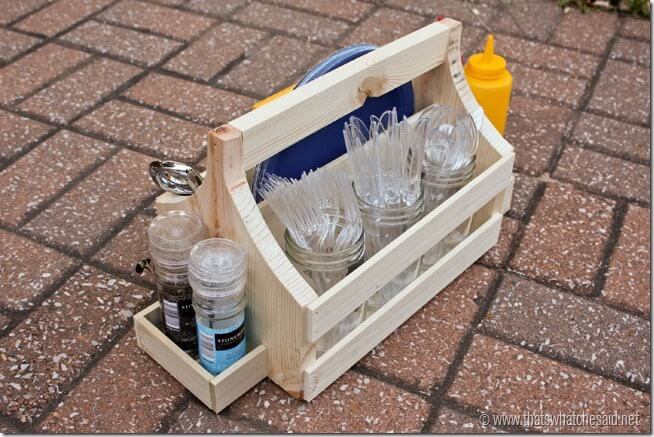
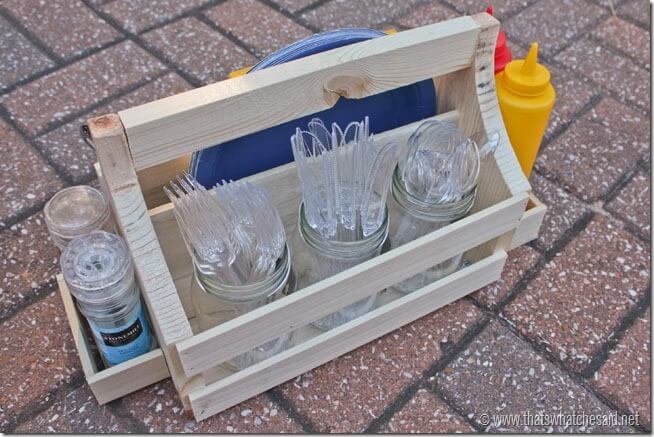
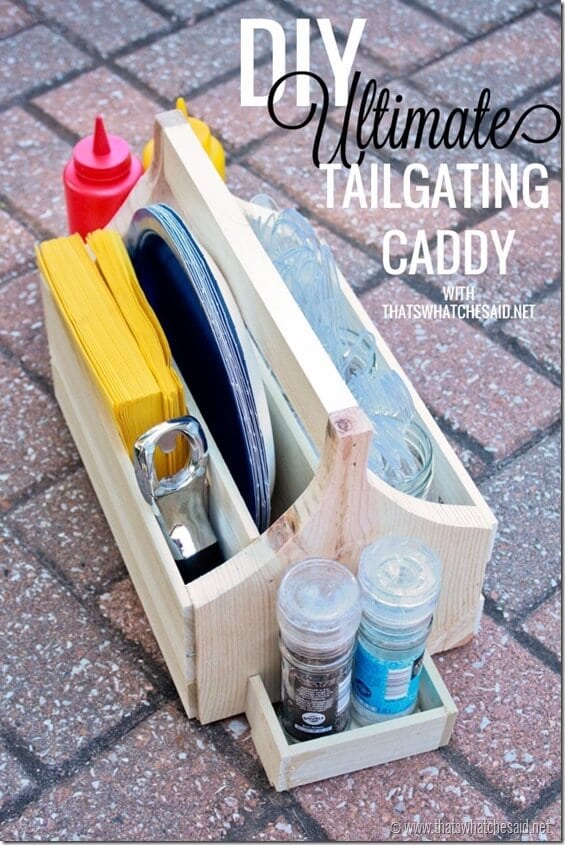
Welcome back to our second monthly blog hop! This month’s theme is football and tailgating and I am super excited to share my Ultimate Tailgating Caddy with you all!
Can you believe I made this out of my scrap wood pile in my garage? Don’t have a scrap pile…don’t worry, I can tell you what you need to get it done yourself! The monthly crafter blog hop is 11 of us who get together each month and make a craft, recipe or project geared towards that month’s theme. It’s tons of fun and the projects this month are Ah-mazing! If you are looking for more football and tailgating fun be sure to click on each of the photos on the image below and you will be taken to the awesome blogger behind the project!
So let’s get talking about making a caddy for your own tailgating festivities!
Supplies Needed:
- (2) 10 inch sections of 1 x 8
- (3) 1/4 x 1 1/2 x 36 inch strips
- (1) 1/4 x 5 1/2 x 36 inch strip
- (1) 12” section of 1 x 2
- Ryobi Compound Miter Saw
- Ryobi Jig Saw
- Ryobi Sander
- Ryobi AirStrike Nail gun
- 1” nails
- 2” nails
- Wood Glue
- Safety glasses
- hearing protection
- pencil
- tape measure
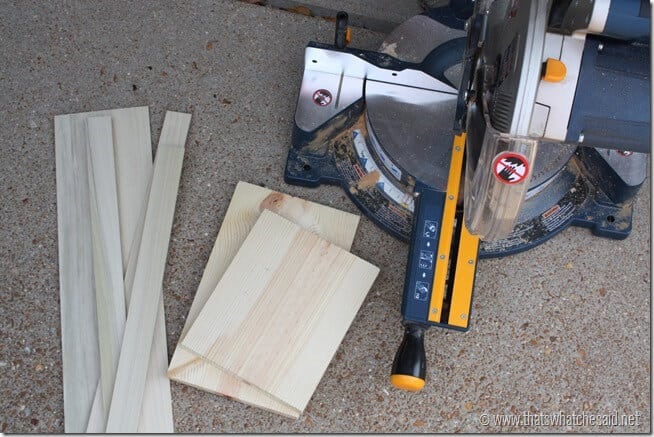
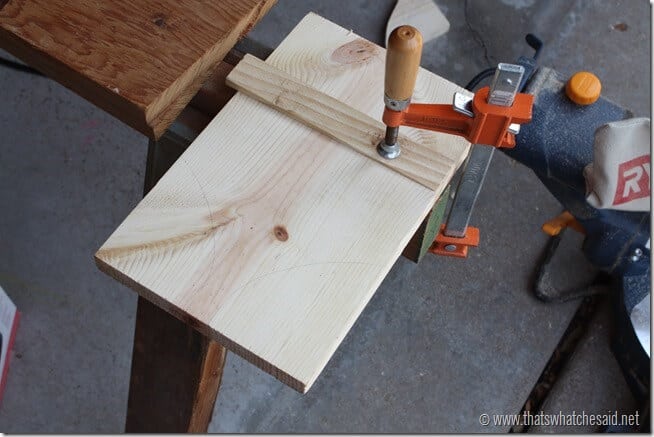
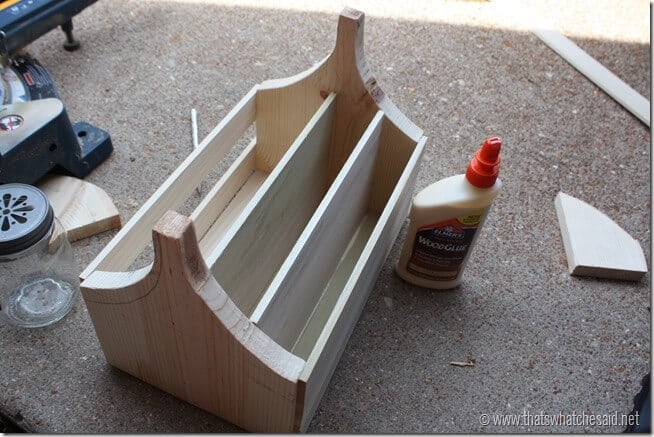
I started by cutting the ends of my caddy. Clamp the wood to a sawhorse and then I used a plate to make the curve but kept the top edge straight up to the top. I cut with my Ryobi Jigsaw and then sanded the edges with my mouse corner sander. My side templates were 9 inches tall and I started the curves at the 5 inch mark (from the bottom) leaving 3/4” in between the curves for the handle.
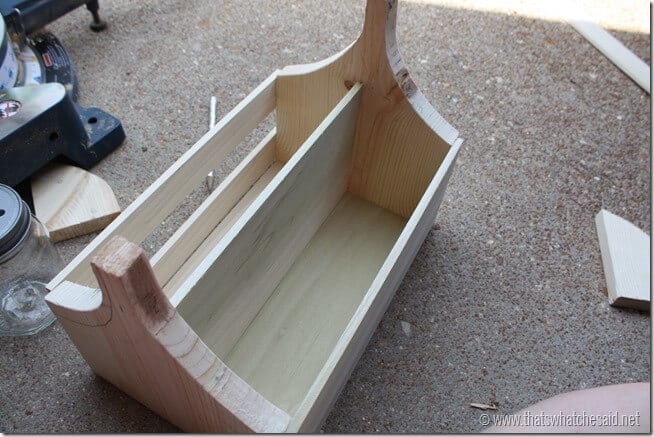
Using 2” nails in my Ryobi AirStrike Nailgun, I attached the 12” side pieces on the outsides of the side pieces. Three strips on one side and two on the other using equal spacing. (you now have a frame)
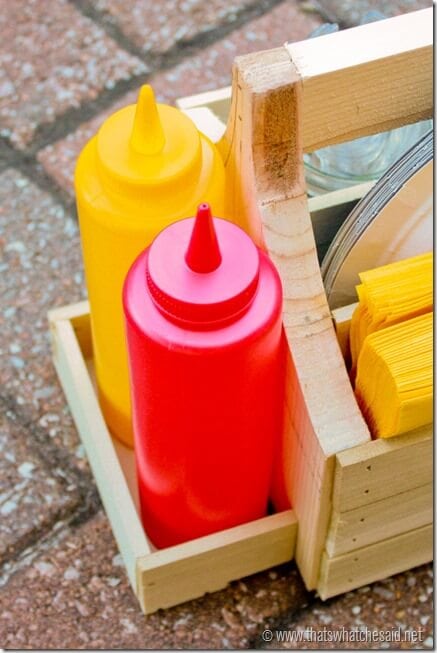
(optional) Next I cut my wood for the side compartments (Ketchup/mustard & Salt/Pepper). For the Ketchup/Mustard, I measured my squeeze bottles and made the following cuts in my 1/4 x 1-1/2 strips.
- (2) 2 3/4” pieces (sides)
- (1) 5” piece (back)
- (1) 5 1/2” piece (bottom)
For the Salt & Pepper:
- (2) 2 1/4” pieces (sides
- (1) 4” piece (back)
- (1) 4 1/2” piece (bottom)
I assembled the side compartments using 1” nails in my Ryobi AirStrike. I positioned the competed side compartments, lining up the bottom of the SIDES of the compartments with the bottom edge of the side of the main caddy. Use 1” nails and attach from the INSIDE of the Caddy.
Next I added the bottom strips to the caddy. I used scraps so I used 1 12” section of 1/4” x 5 1/2” and one strip of left over 1/4” x 1 1/2”. Nail in place.
Next you will need to cut your divider pieces. Measure the inside of your cubby. Mine were 10 7/8” and so I cut two and inserted them. I then took them out, added wood glue and then reinserted and used the 1” nails to secure from the outside of the Caddy.
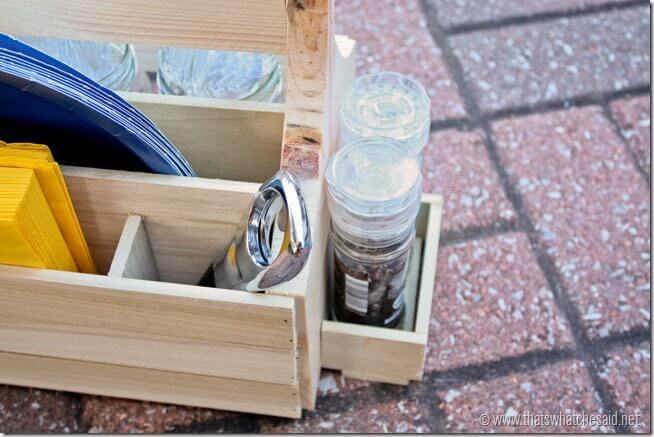
I also cut a left over piece of 1/4” x 1 1/2” to make an compartment for a bottle opener and/or wine bottle opener! ![]()
Lastly, measure the distance between the top of your sides and cut a piece of 1 x 2 to the correct length (in my case 10 7/8” and nail into place with 2” nails. This will be your handle!
Looking for a few more Football and Tailgating Fun? How about these super cute Football Rice Krispie Treats? I also have some awesome Crock Pot Buffalo Chicken Dip that is sure to please and you can serve it on your NFL painted Dishes! Add in some Cornhole Games to pass the time before kick off!
You might also want to whip up a batch of these Football Rice Krispie Treats! They are perfect for game day tailgating!




Comments & Reviews
Dana says
This looks awesome Cheryl! Great job!!!
Cheryl Spangenberg says
Thanks girl! Miss you!
David Esposito says
Will you build another one and sell it? I am looking for Miami dolphins colors.
Cheryl Spangenberg says
I’m so glad you love it David! I am pretty sure it would cost more to ship than to make!
Jen @ West Street Story says
This is awesome! It would also be perfect just for those summer picnics!
Cheryl Spangenberg says
Absolutely Jen! Even for the backyard…one easy trip from the kitchen to the picnic table!
Abbey says
WOW! That’s so cool you built this! Nice work, I love it! :) Hugs!
Cheryl Spangenberg says
Thanks Abbey-Cakes :)
Carli-DimplePrints says
Great idea! Awesome that you built it.
Cheryl Spangenberg says
Thanks so much Carli! I love projects I can use what I have!
Jen @ Four Marrs & One Venus says
Can I get a What What?! Look at you busting this out– holy smack! I love it– and you make it look so Easy! :)
Cheryl Spangenberg says
Haha! Of course I waited last minute and had to build in 110 degree heat! I will never learn! :)
Shannah @ Just Us Four says
This is so cute! I love being able to carry out everything in one swift motion. This would be perfect for backyard BBQs and tailgates. Thanks for the step by step instructions too. I love finding projects that actually help you figure out how to make it versus just sharing a pretty picture :)
Cheryl Spangenberg says
Thanks Shannah! I like to make as few trips as possible and keep everything together! lol! You are so welcome for the step by step. I hope you will build one too! xo
Lisa@ Cooking with Curls says
That is awesome!!! I definitely need one of those,and I have a garage FULL of scrap lumber :)
Cheryl Spangenberg says
Thanks Lisa! I love projects that use up that pile! Mine is growing and growing but I refuse to throw any of it away! lol!