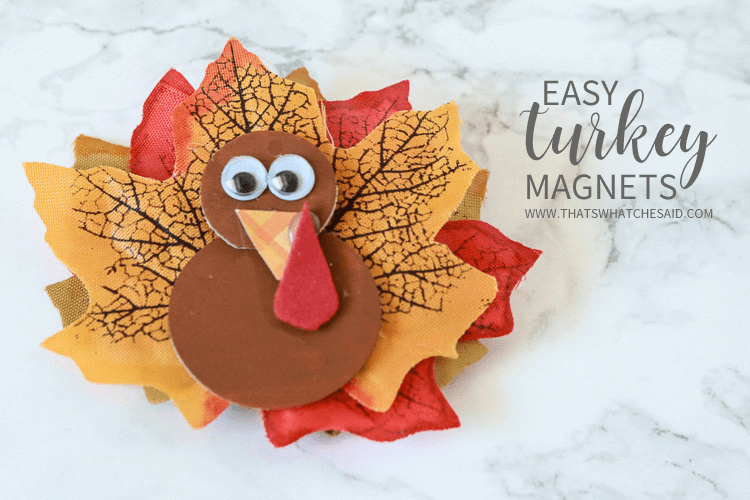
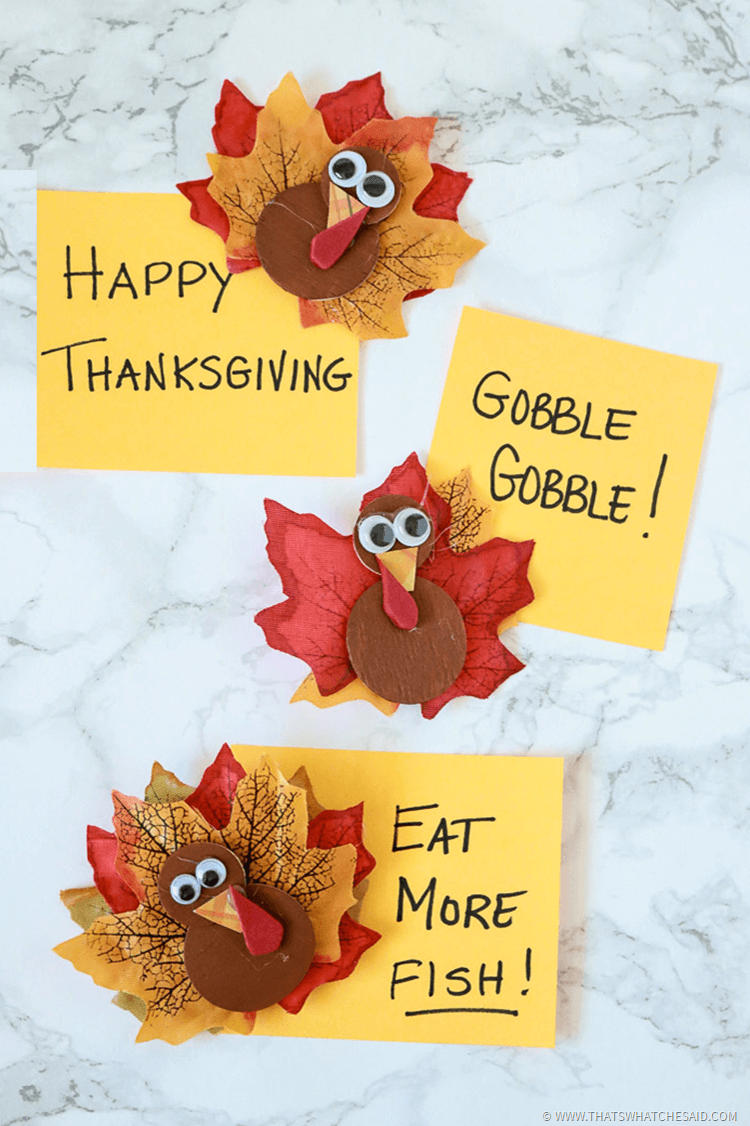
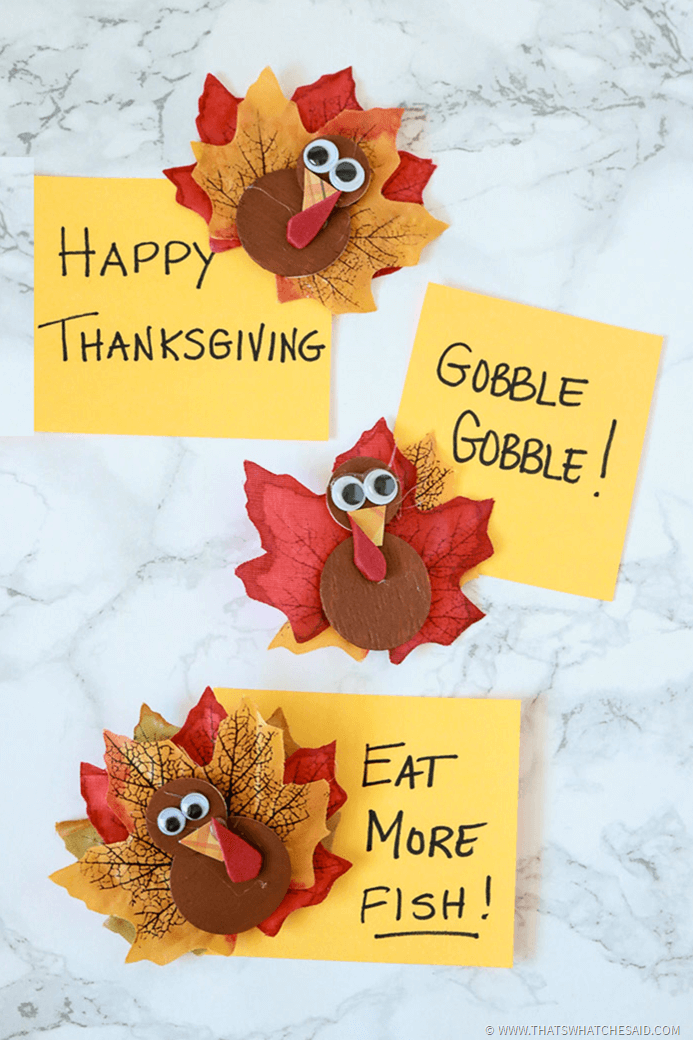
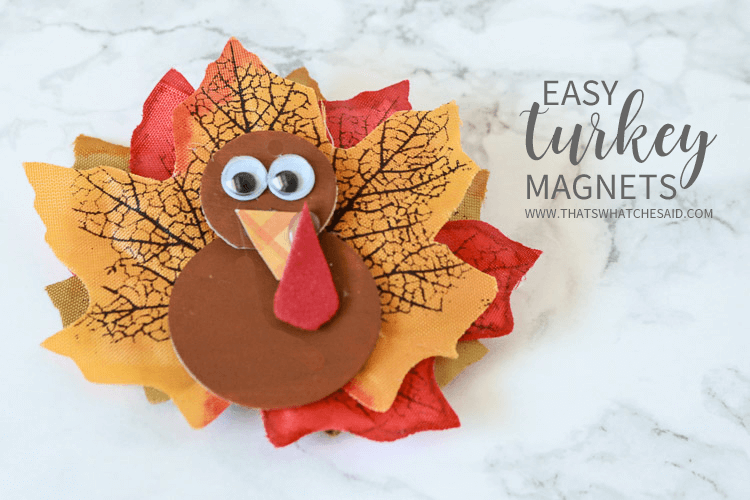
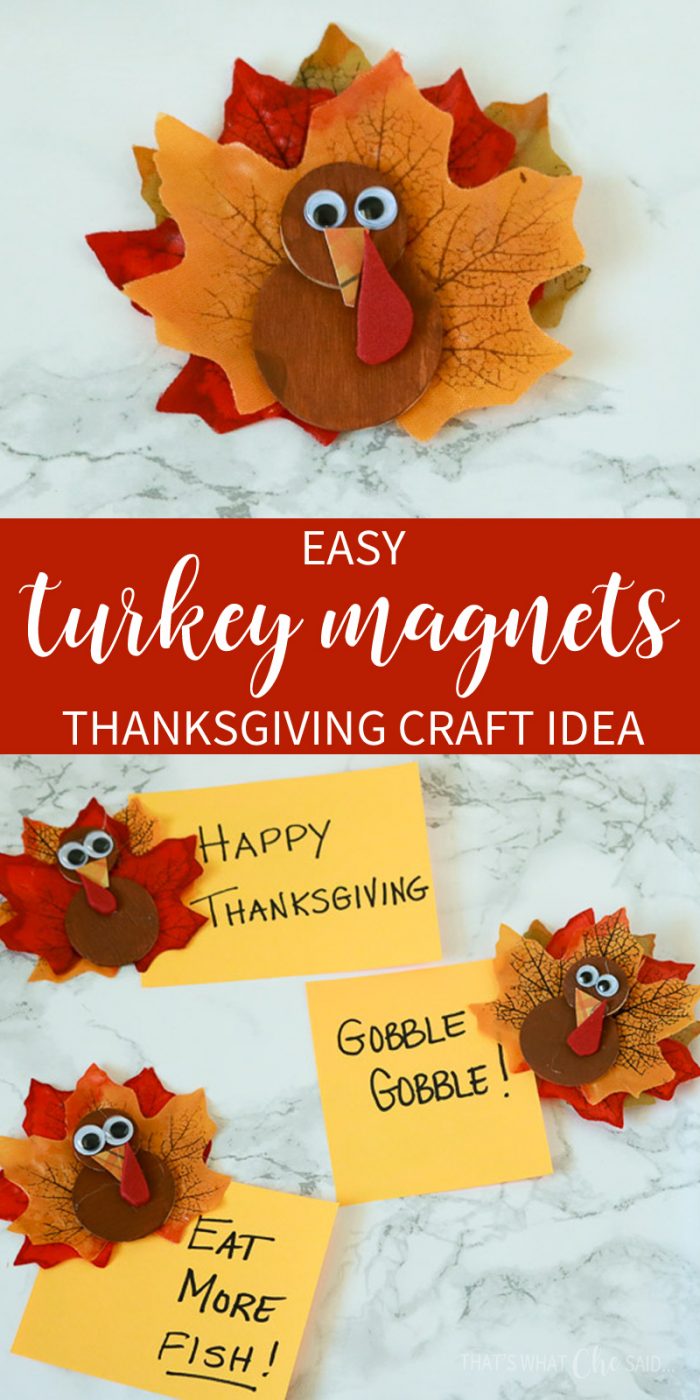
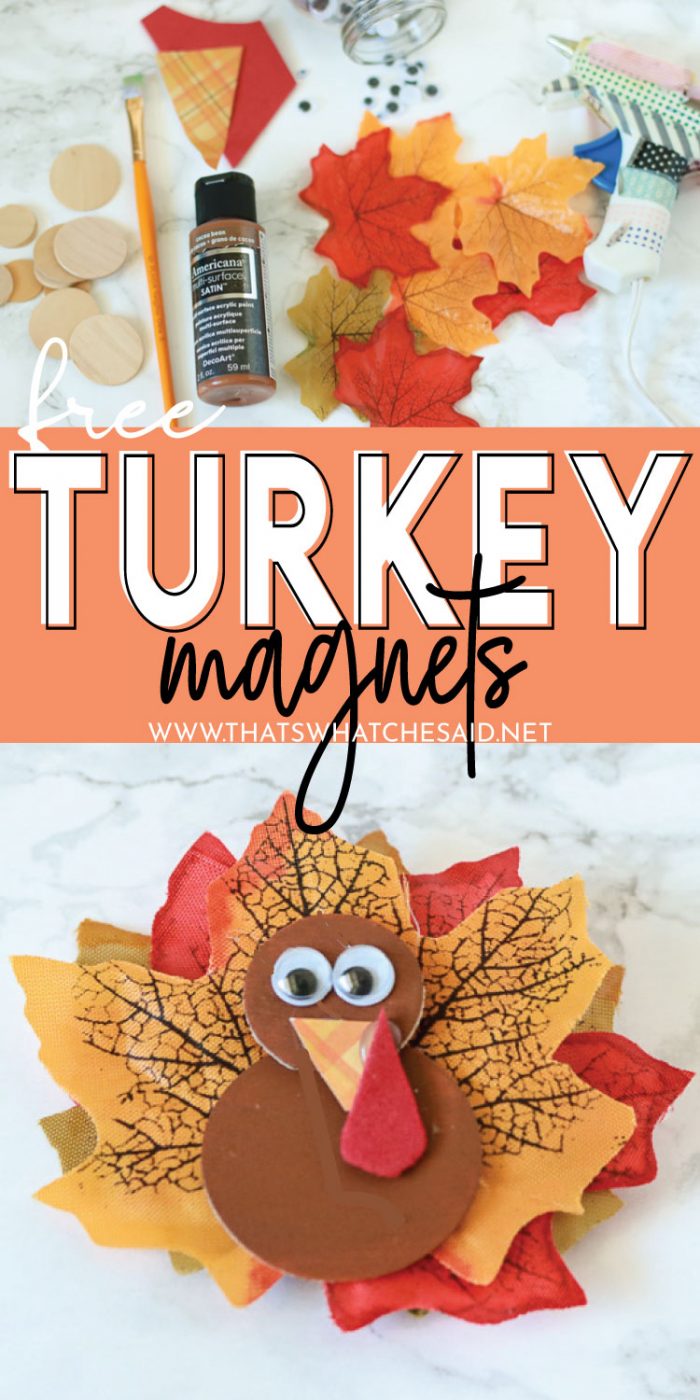
I may or may not go pretty crazy over turkeys as we get closer and closer to Thanksgiving! These turkey magnets are no exception to my craziness! This is an easy Thanksgiving craft that takes dollar store faux leaves and simple craft products to make these cute little guys to adorn your fridge!
When I do holiday crafting I tend to favor a specific aspect of that holiday and do all. the. crafts. that have to do with that specific thing. Obviously, for me, Turkey’s are my muse when it comes to Thanksgiving Crafts! I mean can you blame me though? They are so cute!
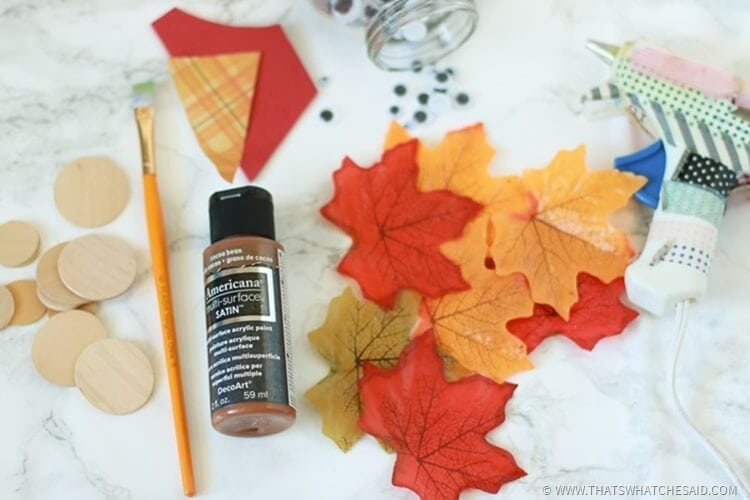
As always, most of the supplies you need can all be found at your local dollar store! I had these faux leaves leftover from my Fall Leaf Napkins, Fall Leaf Candles, and my Fall Candle Centerpiece.
This post may contain links to Amazon Associate and other affiliates.
As an Amazon affiliate, I earn a small commission from these links at no additional cost to you.
Turkey Magnet Supplies:
- Faux Leaves
- Small Wooden Discs
- Brown Paint
- Paint Brush
- Googly Eyes
- Scrap Orange & Red paper, fun foam, or felt
- Hot Glue Gun/Glue Sticks or Tacky Glue (if kids are helping!)
- Scissors
Turkey Magnet Tips:
- If the kids are helping, Aleene’s tacky glue works best! Otherwise, an adult needs to do the gluing, using the hot glue gun!
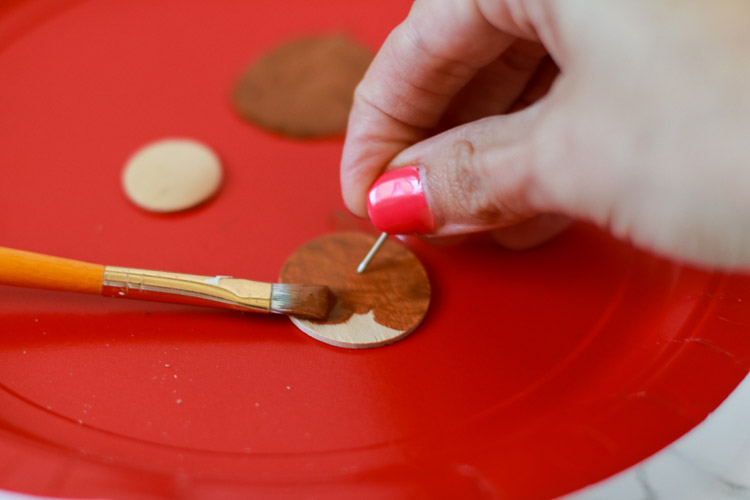
- Use a push pin to hold the wooden discs in place while you paint them! It saves your fingers from being painted!
How to Make Turkey Magnets
- Layer Faux Leaves
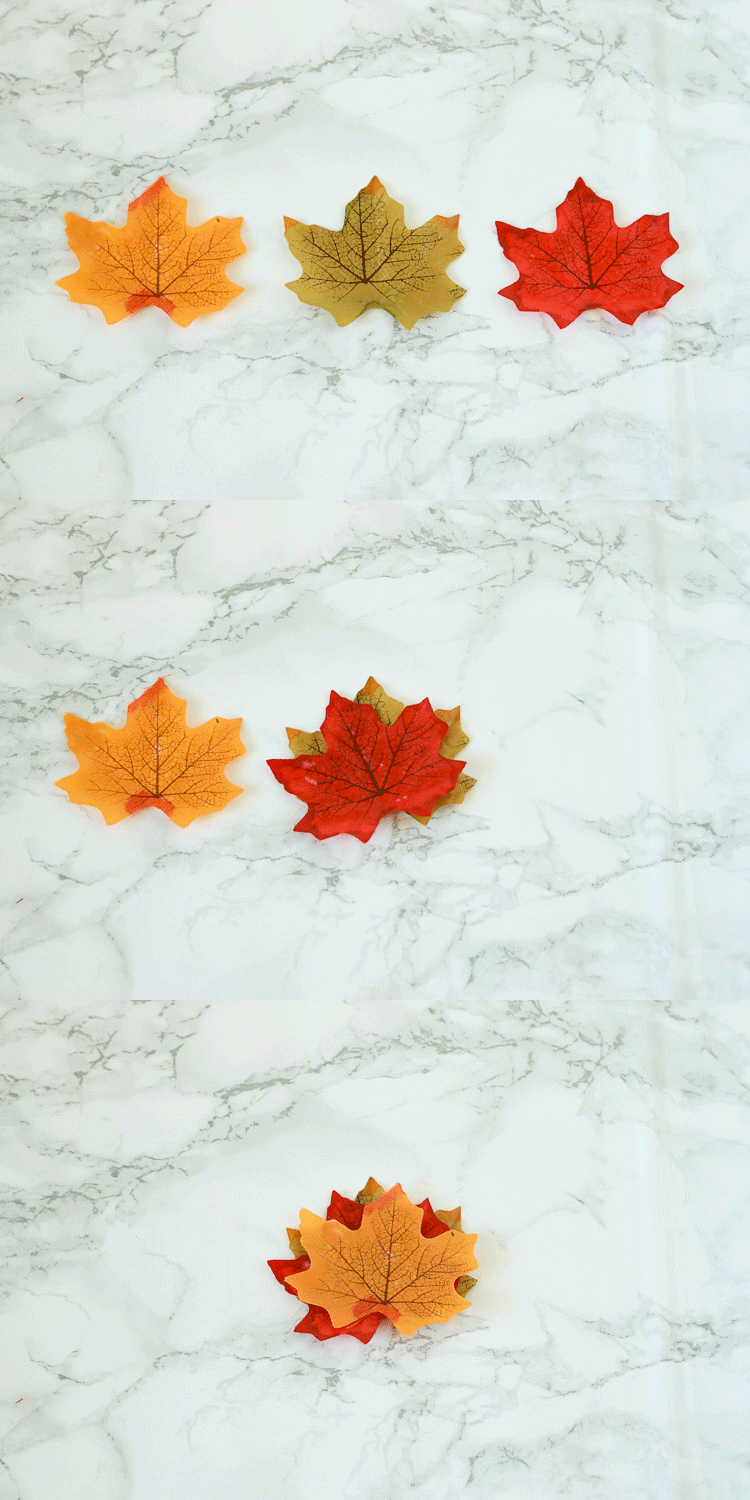
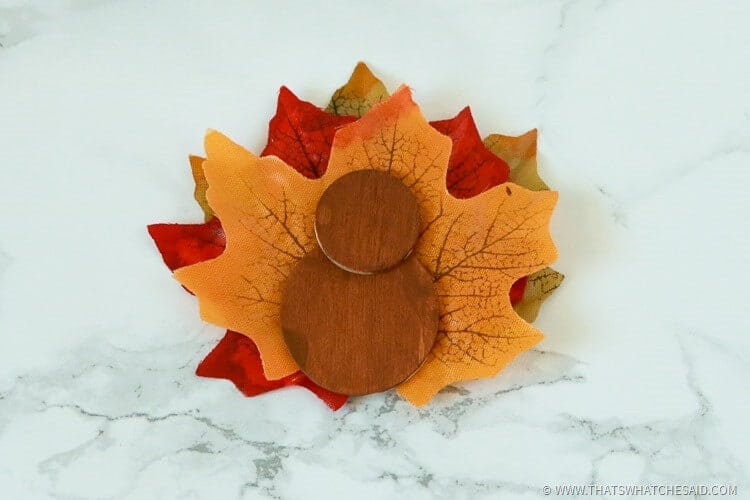
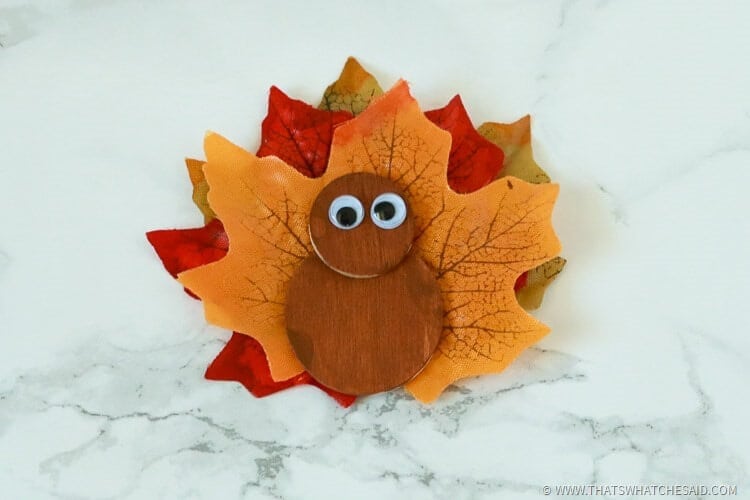
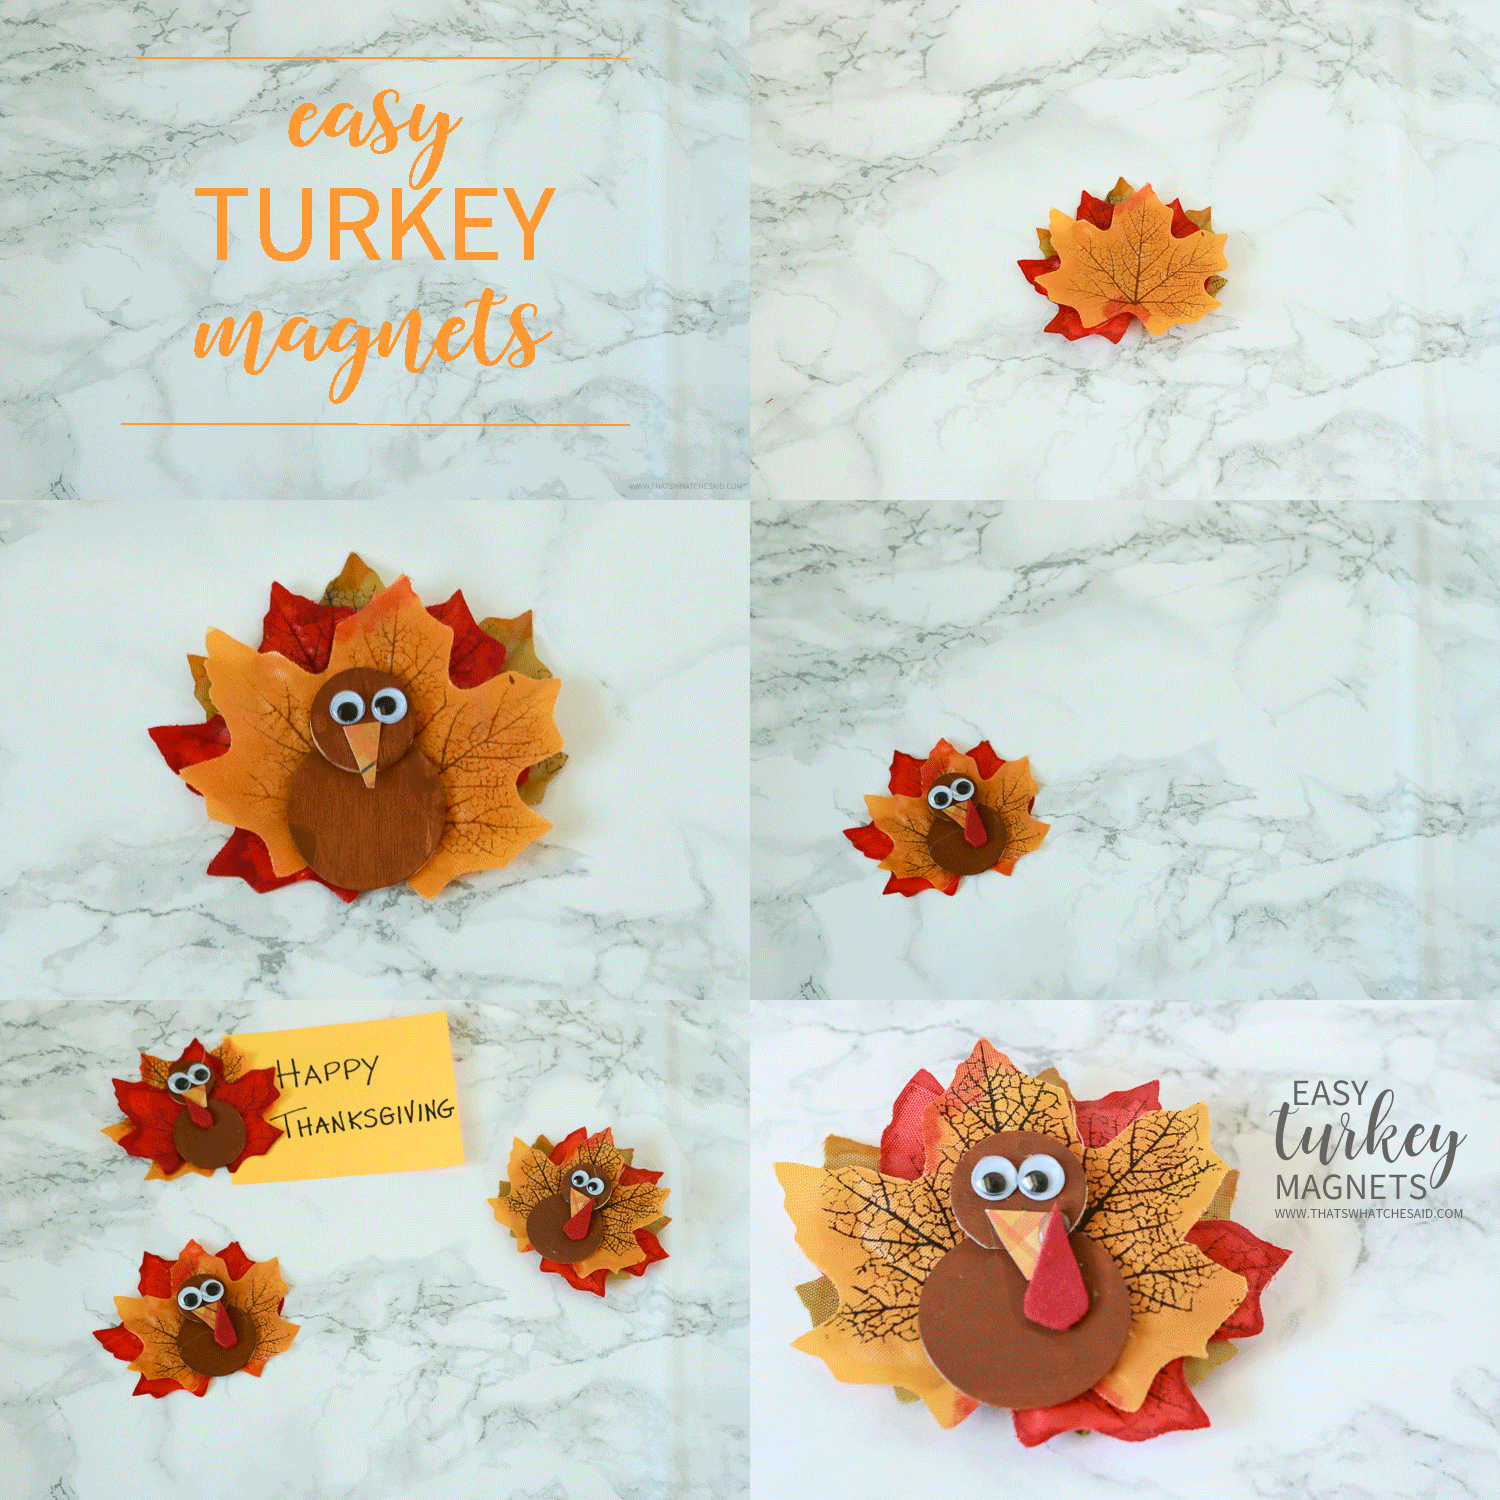
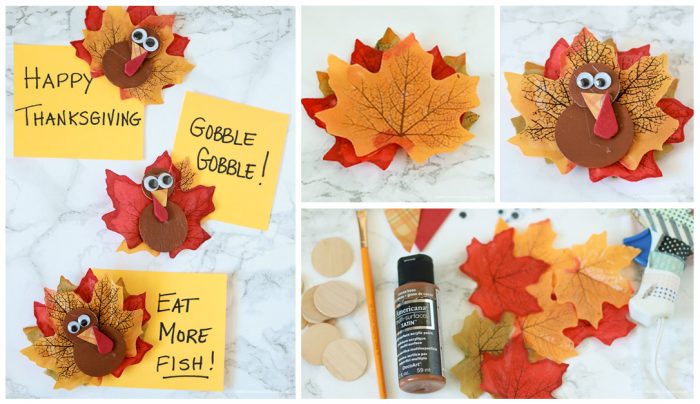
Start off by layering three faux leaves and put them each at a slight angle so they are not right on top of one another!
- Make Body
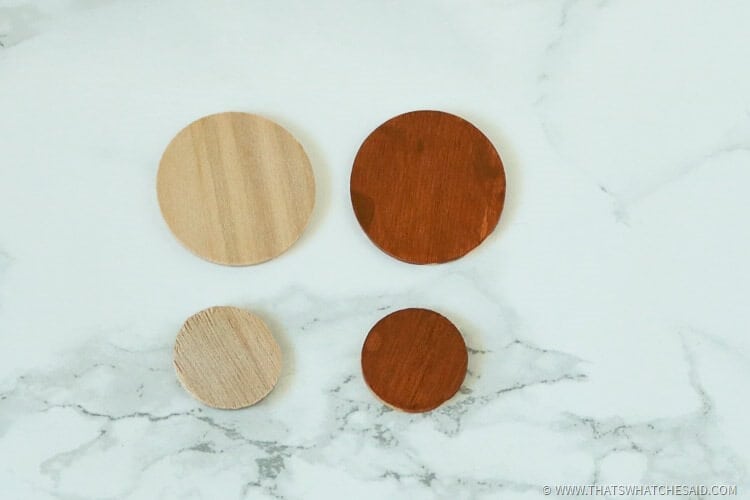
You should also know i am a really laid back and easy crafter so for my body I used these small wooden discs and I painted them brown. You can also use brown felt, fun foam, or paper for the body! Whatever you have on hand!
- Build Turkey
Once dry, I stacked the discs on the leaves to form a turkey body and head. Glue into place.
- Add Eyes
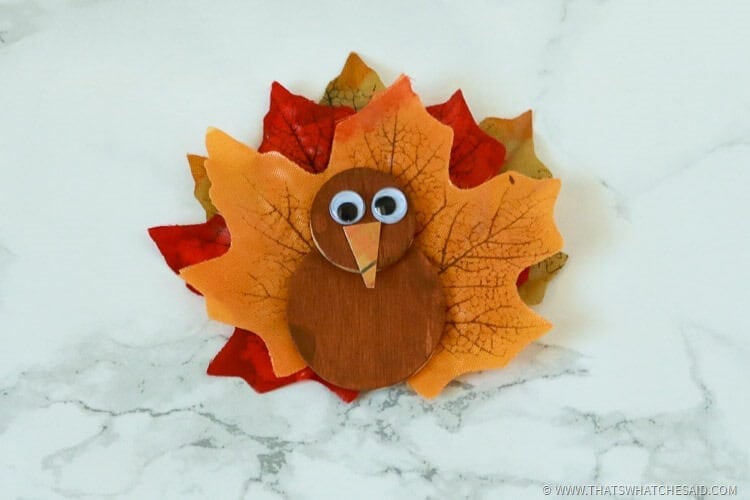
Use some googly eyes and glue on. The kids had fun with different sized eyes, lol!
- Add Beak
Then using some orange scrapbooking paper (a scrap at that) I cut and glued a small paper beak on the turkey.
- Add Gaggle
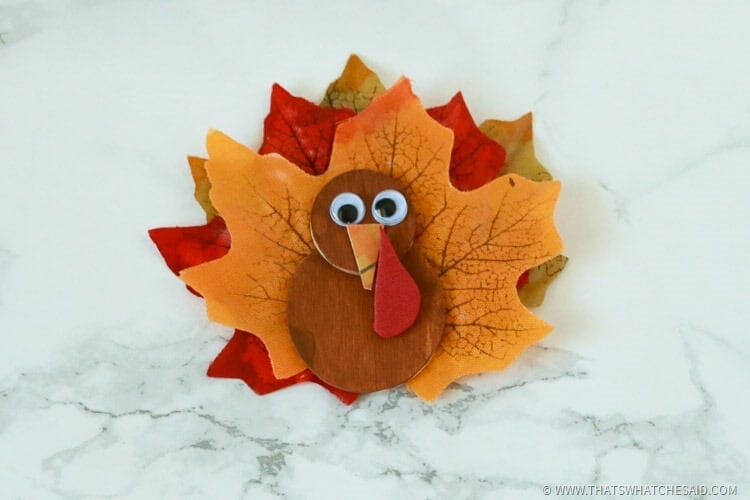
To complete my little turkey buddy, I added the gaggle. <—Is that what it’s even called?!? That’s what I call it, lol! I used a scrap of red fun foam for that!
- Add Magnet
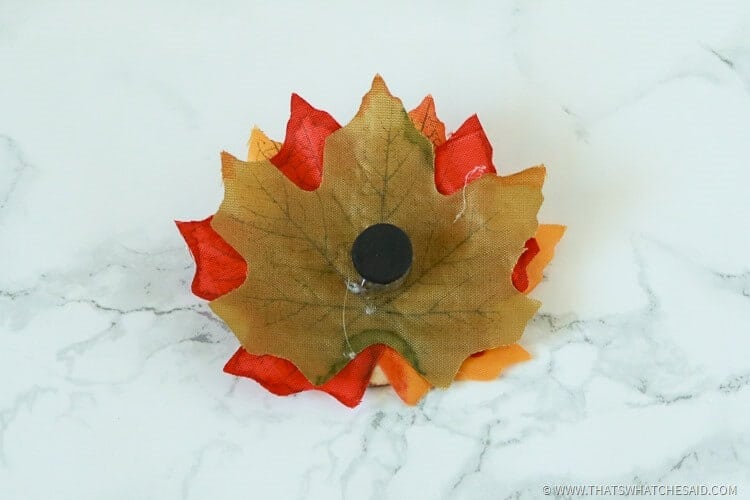
Finally, on the back I hot glued a magnet. You will definitely want to use hot glue for this part, versus using the tacky glue!
There it is! Now repeat over and over because you cannot have too many turkey magnets on your fridge!
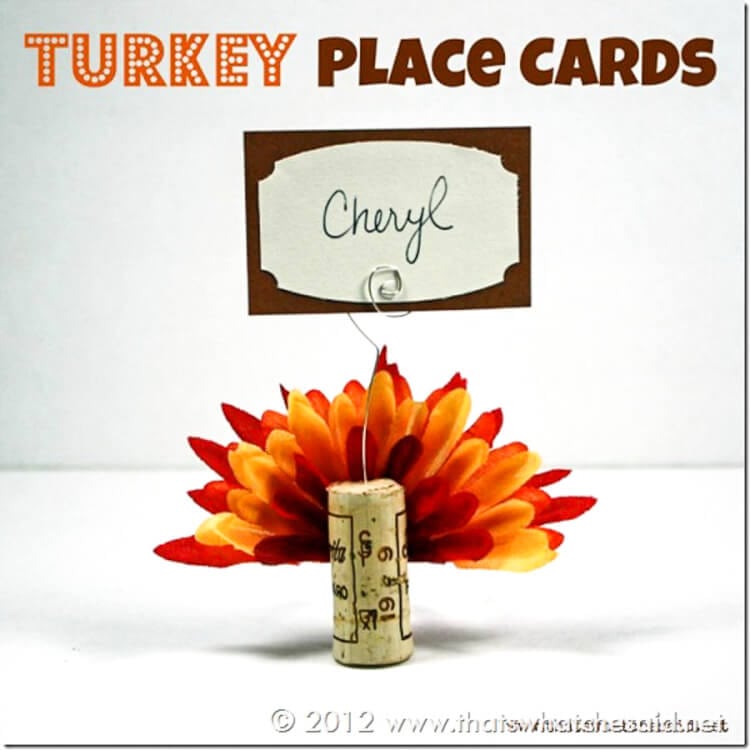
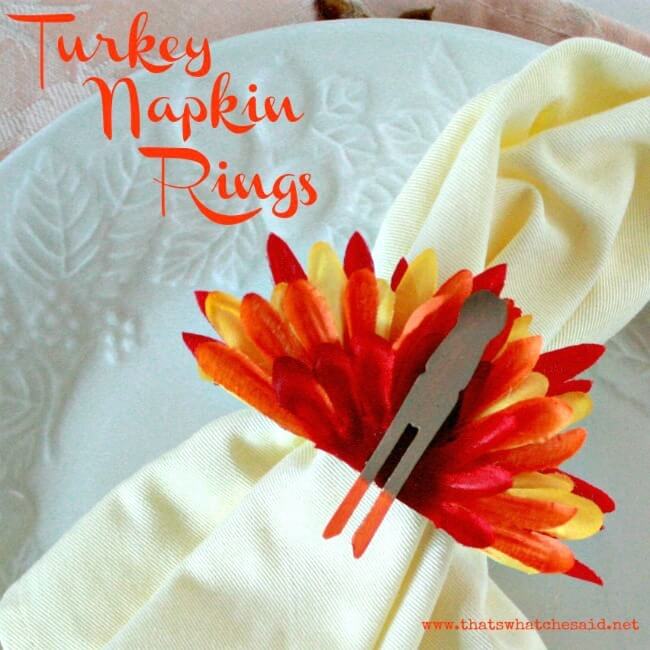
I invite you to check out my other turkey projects! Turkey Place Cards and the Turkey Napkin Rings are perfect on my Modern Rustic Table Setting and loved how they looked!



Comments & Reviews
Jen says
Super cute idea!! Love the use of the faux fall leaves as the feathers.
Thanks for sharing.
Cheryl Spangenberg says
Thanks Jen!
Dona says
Oh, girl! Just what I need for a craft to do with my great-grands!! They are 4 and 5 and we recently did a craft turkey. Um, they seemed to have no idea what a turkey was!! Well! I learned em up REEEEL good!! lol It was fun and this will be too! Thanks!! Dona
Cheryl Spangenberg says
Haha Dona! That’s funny! My kids are normally really confused because on actual Thanksgiving we have Ribs! :)
Rosanna says
The wooden circle did you use 2in and 1 in or was it 3in and 1 inch? Also were the leave about 3 and half inches?
Cheryl Spangenberg says
Rosanna the leaves were about 3 inches from end to end and the wooden discs were maybe 1 inch and 3/4 inch in size.