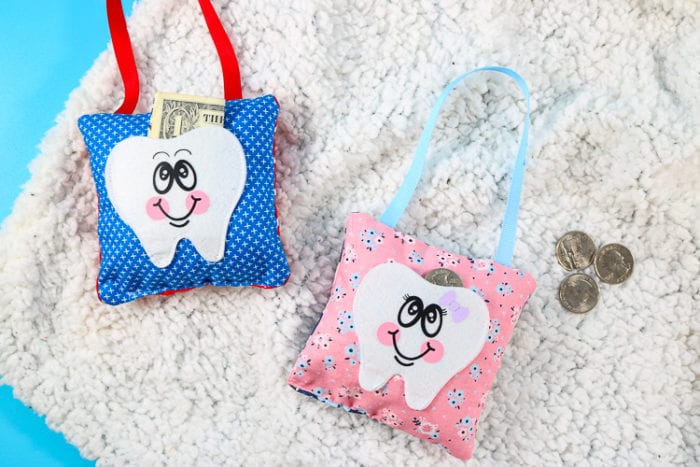
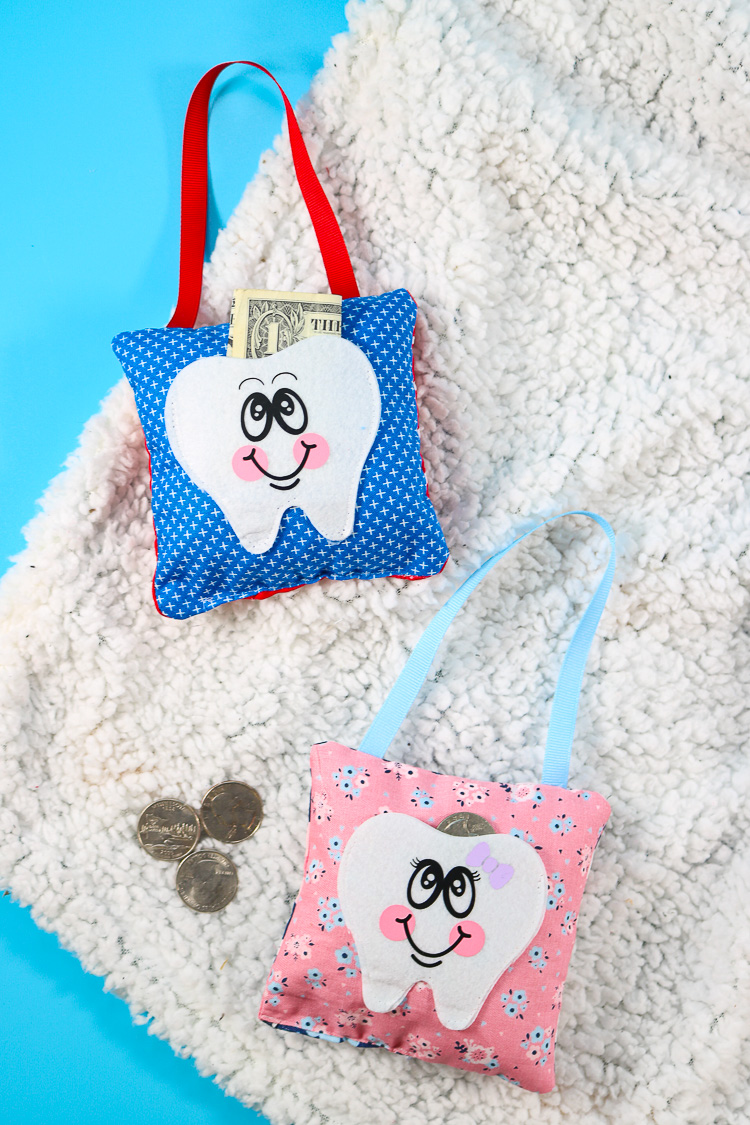
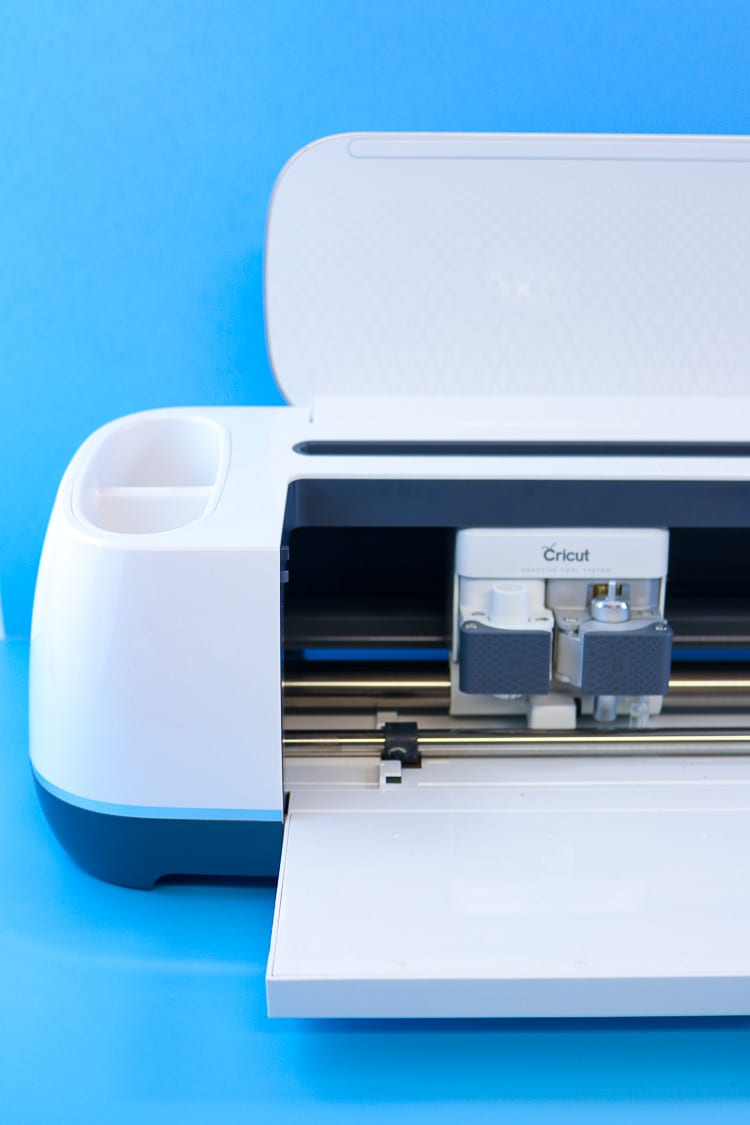
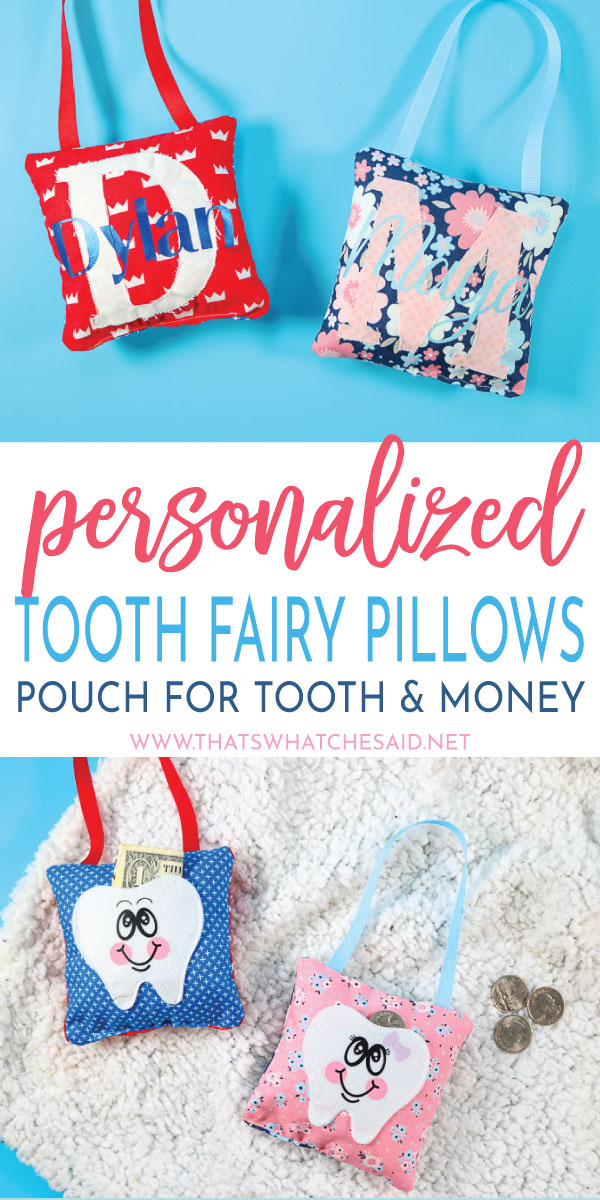
With the help of the Rotary Blade, specific to the Cricut Maker, you can easily cut different fabrics with precision and ease to make this adorable Tooth Fairy Pillow! No backing needed! Cut your fabrics directly on your mat! Options are endless!
Last week we got down to business on Everything You Need to Know about the Rotary Blade. Today we will put that knowledge to use and create these cute tooth fairy pillows for the smallest people in your life!
For the record, the Tooth Fairy, in my house, is not very reliable! She is forgetful and apparently has a super busy schedule that makes her not always available to grab my kids’ teeth on the same day as they lose them. If anyone would need some possible reasons that the tooth fairy did NOT come, and said reasons were accepted by small people, let me know! {wink}
To make it easier on said Tooth Fairy, we thought we could make these cute pillows/pouches to hang on our doorknob so that our tooth was easily accessible.
This post may contain links to Amazon Associate and other affiliates.
As an Amazon affiliate, I earn a small commission from these links at no additional cost to you.
Tooth Fairy Pillow Supplies:
- Cricut Maker
- Rotary Blade (comes with your maker)
- FabricGrip Mat (pink mat – comes with your maker)
- Riley Blake Let them be Little 5 inch stacker
- Riley Blake Hello Baby 5 inch Stacker
- White Felt (found in Carousel Sampler Pack)
- Everyday Iron On (I used Black, Pink, and Purple)
- Foil Iron on – Blue
- Patterned Iron on – Natalie Malan Aquamarine
- 6 x 7 EasyPress 2 & Mat
- Poly Fill
- Sewing Machine with Thread
- Coordinating Ribbon for your fabric.
- Hot Glue/Glue Sticks
You can find my files for this project in the Cricut Community here.
Open the project in Cricut Design Space. Click Customize.
Change the large initial to the letter that you need for your small person. Change the Name to your small person’s name.
Click Make it. Each mat will be a different fabric or iron on type.
HOW TO CUT USING ROTARY BLADE:
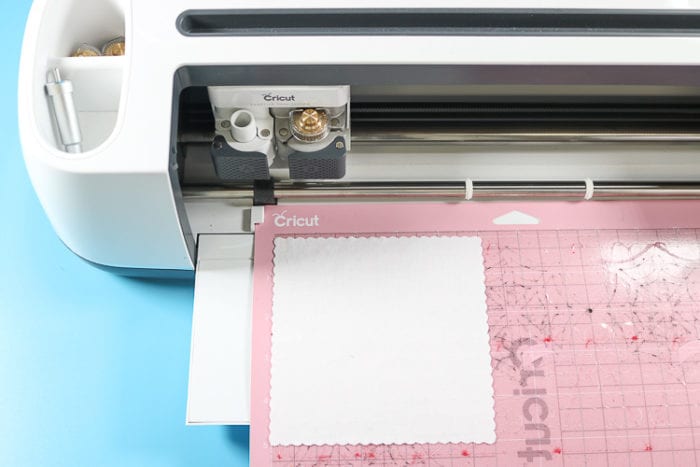
Place your fabric on the upper left corner of your FabricGrip Mat.
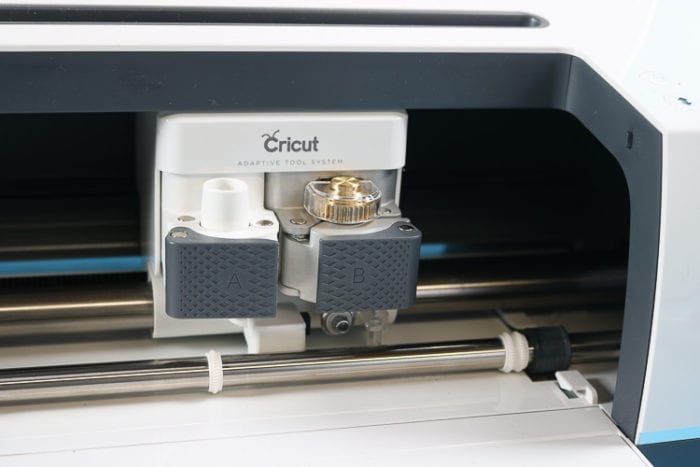
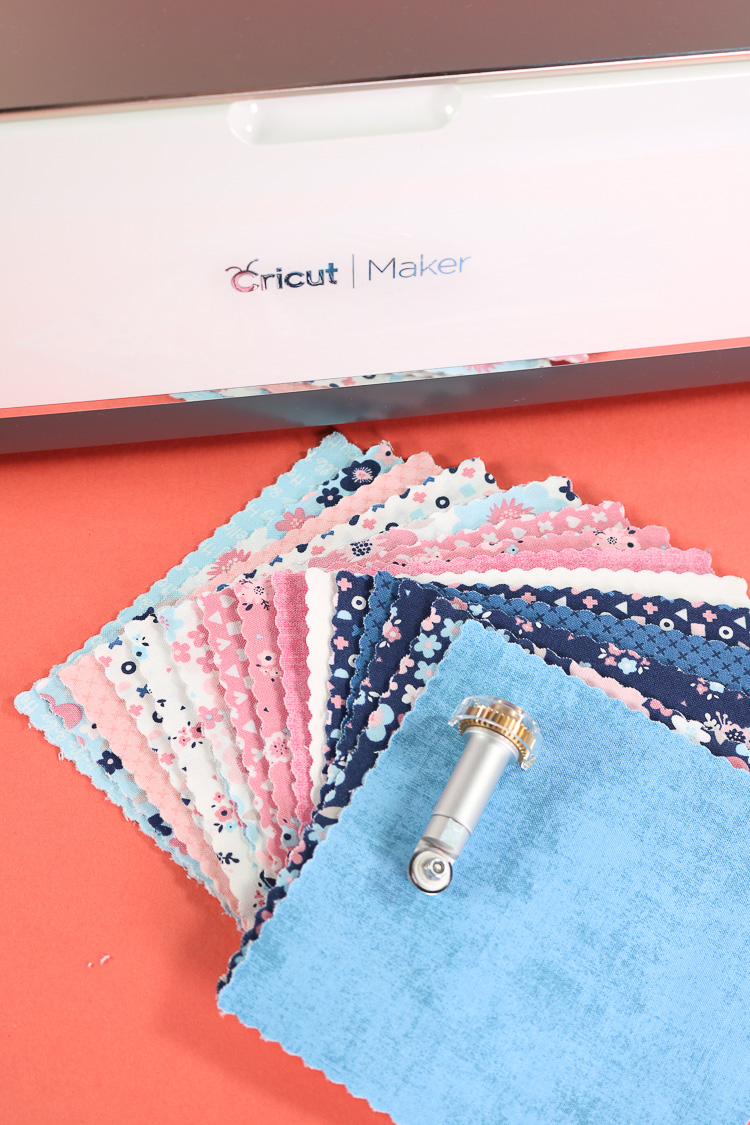
Remove the fine tip blade and replace it with the rotary blade. Keep the clear cover over the gear of the rotary blade for safety.
On the Mat Screen, you will want to make sure you MIRROR all the mats that you have iron on designs. That would be the faces, bow, and names. The circle cheeks are circles whether you mirror or not, lol! You can find detailed information on cutting iron on here if you are not familiar.
Click Continue on the Mat Screen of Cricut Design Space. Connect your Maker. Select the appropriate material depending on which mat you are cutting.
TIP: You can cut mats out of order. So once you have the rotary blade installed, cut all the fabric mats together so you do not have to keep changing your tool back and forth!
When cutting the fabric Initial, I selected Cotton as my material.
Load your mat. Click the Cricut C on your Maker. The carriage will move and “detect tool”. Once it confirms the rotary blade, it will begin cutting. Repeat for all fabric mats.
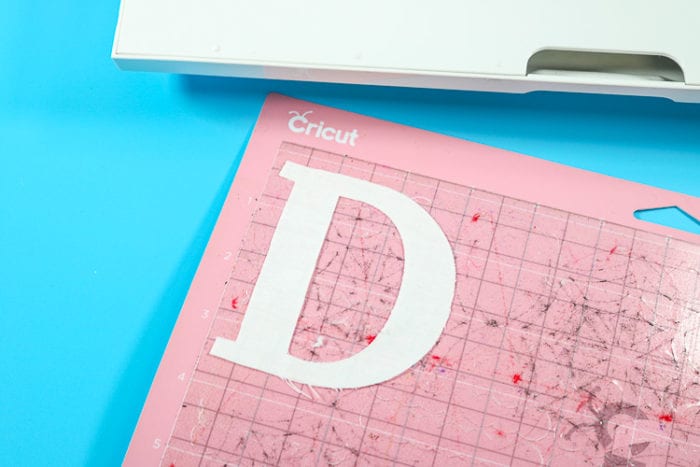
The design/letter is cut precisely every time!
Cutting Felt with the Rotary Blade:
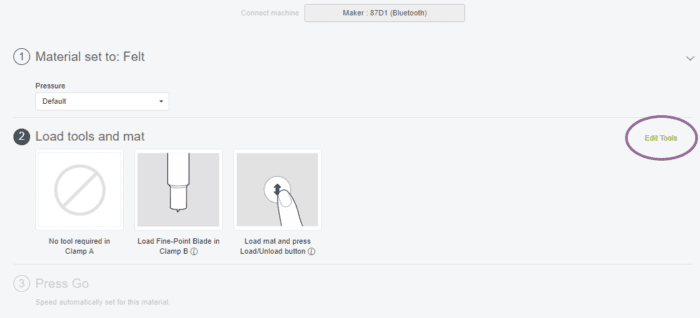
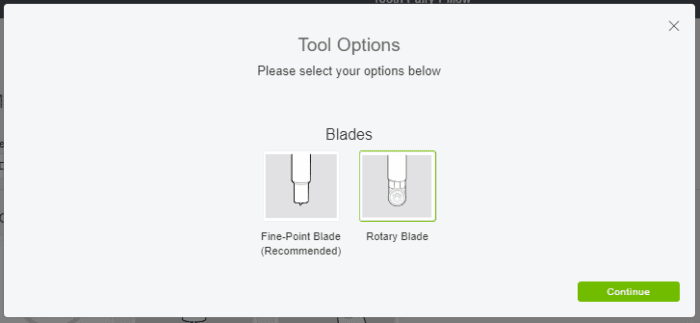
I used felt for the tooth pouch. When you select Felt as your material, Design Space will suggest the fine point blade. From experience let me tell you that the rotary blade works so. much. better. Here is how to tell Design Space we will be cutting our felt with the Rotary blade.
With Felt selected, click the down arrow under the tools section in Design Space.
It will give you the option of the fine point blade and the rotary blade. Select Rotary blade and click Continue.
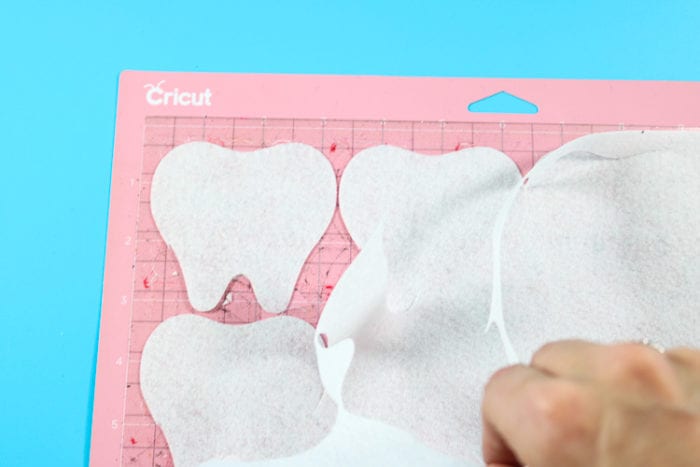
Now you can cut the felt with the rotary blade…and this is why…it just cuts beautifully using the rotary.
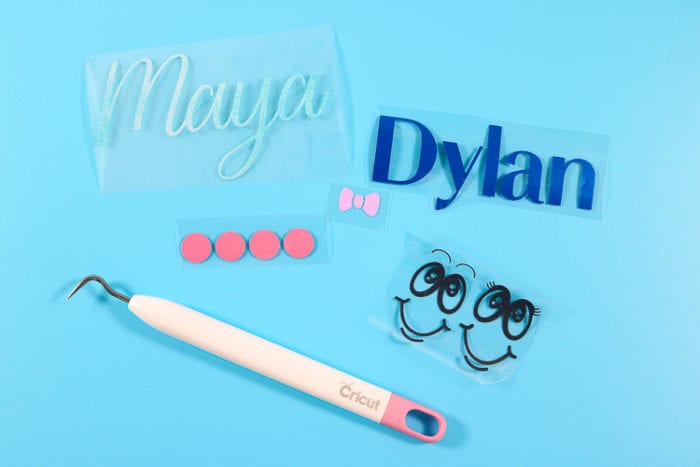
When all your mats are cut, use a weeding hook and weed the iron of all the excess vinyl.
How to Assemble the Tooth Fairy Pillow:
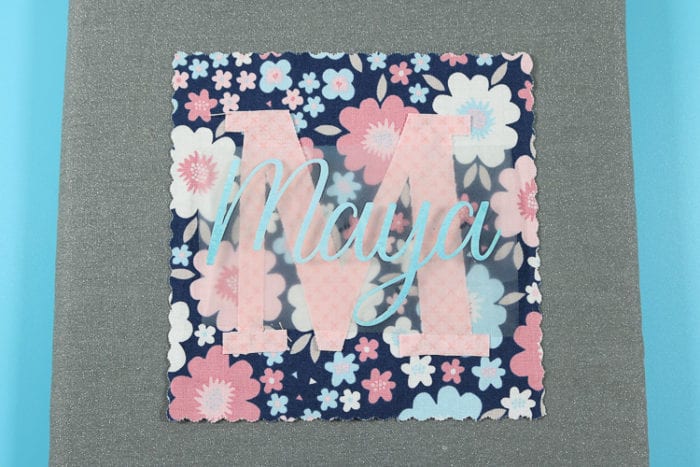
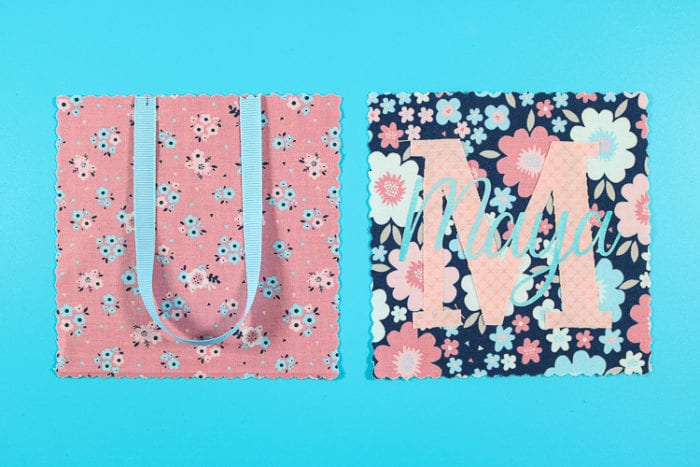
First, we will add our fabric initial and our iron-on name to the back piece of our pillow. I applied the initial and did a quick stitch around the edge and then applied the iron on the name on top of that.
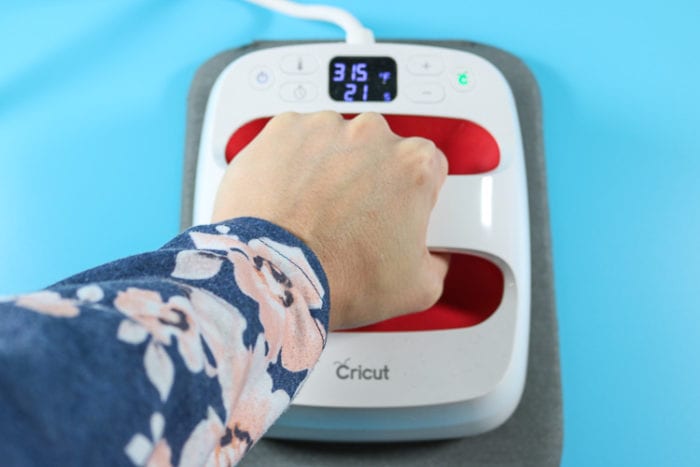
Using your EasyPress and the recommended Temperature Settings for the fabric and material you are using, apply the iron on.
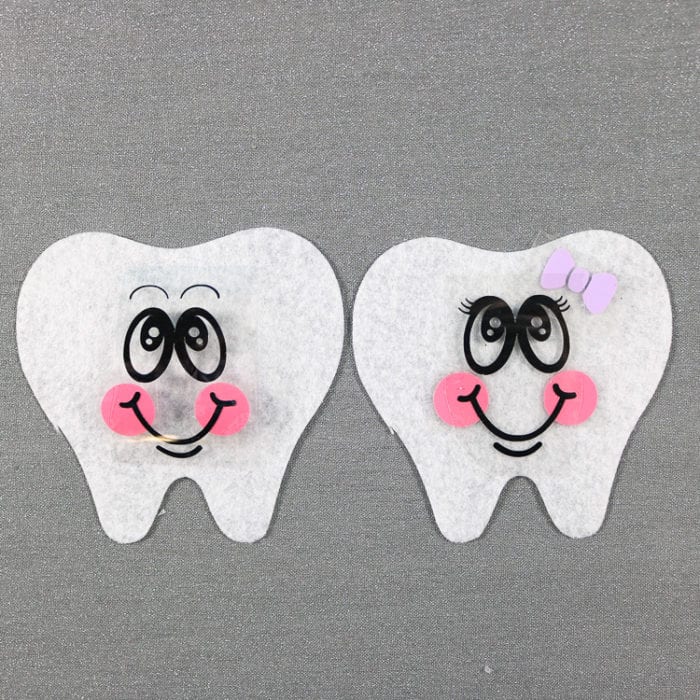
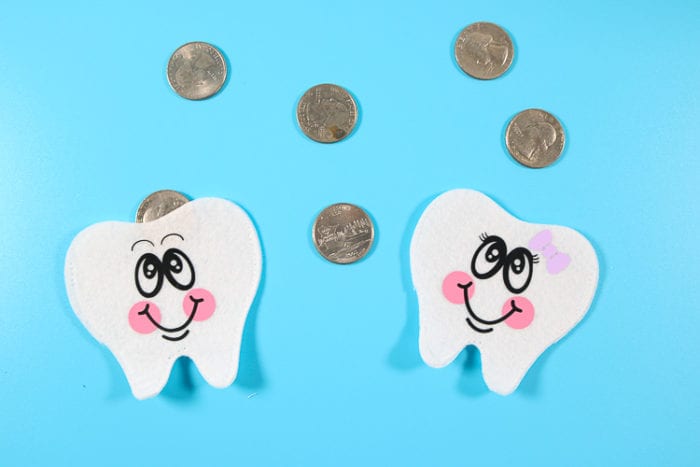
Next, let’s add our cute faces to the front of the tooth pocket. Again using your EasyPress2, adhere the iron-on to the felt.
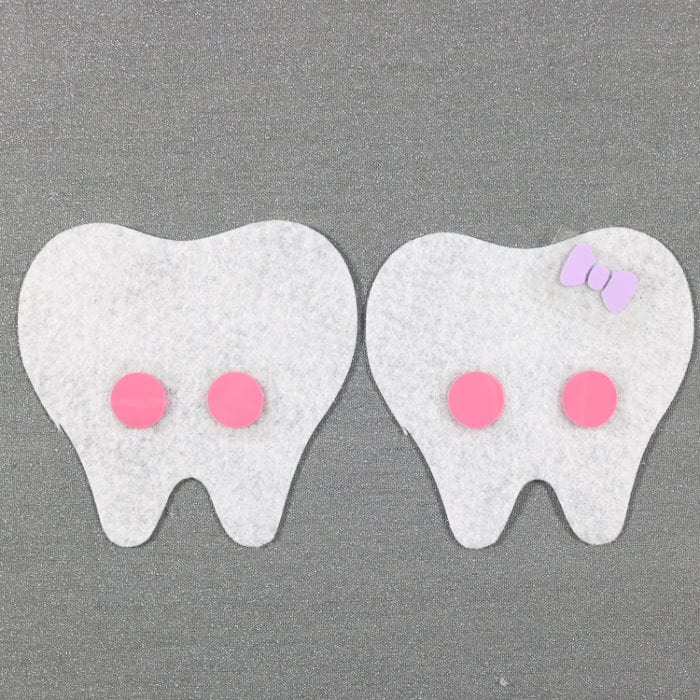
TIP: Layer your iron on design so that you can get placement. Remove the top layer carefully not to move the bottom layers, press, and then press the top layer!
Press the bottom layer and then the top. I have found the new Everyday Iron on needs a cool peel so let the designs cool before you remove the transfer tape.
You can find more detailed information on Iron on and Iron on Application in these posts.
Now let’s assemble the pillow!
You have 2 options, sewing or hot glue! I know, I know, such differences but this is not going to be used as a real pillow so hot glue works just fine if you do not have a sewing machine or just are more comfortable with a hot glue gun!
If sewing: Place a fabric square right side up. Cut an 8-inch length of ribbon and place as shown in the photo below. (edges of ribbon along the edge of the fabric, the loop of fabric towards the center of the fabric square)
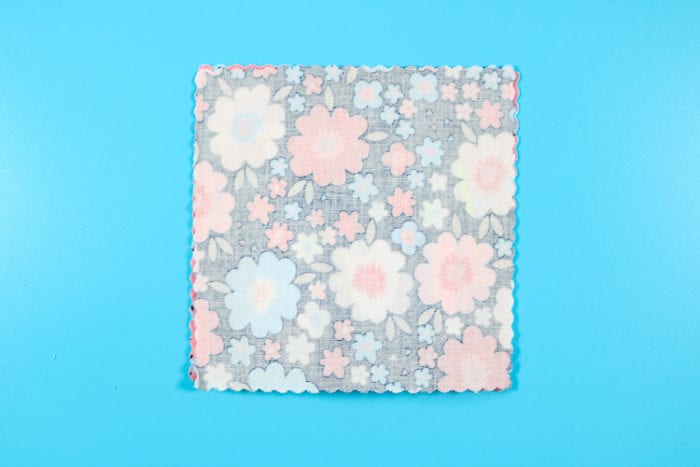
Place the monogram/name fabric square right side down on top of the first square and ribbon. Pin ribbon in place if needed.
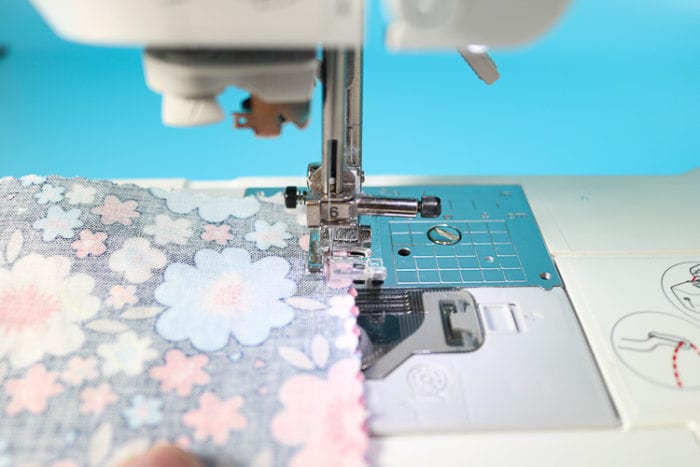
Sew around the edges with a straight stitch. Leave a 2-inch gap on the bottom of the pillow. Turn fabric right side out.
If hot gluing: place one fabric square down right side UP. Use small dabs of hot glue to adhere ribbon in place, positioned as above in the sewing instructions. Apply hot glue around the edge leaving a 2-inch gap at the bottom of the pillow. Place second fabric square on top of first right side DOWN. Wait until it’s cool and turn right side out.
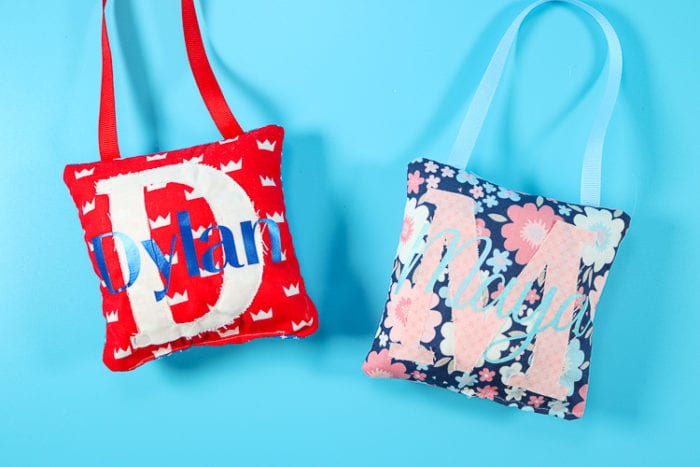
For both options, stuff with batting until your liking. Then fold the edges in and either sew or hot glue the gap to complete the pillow.
To assemble the tooth pocket:
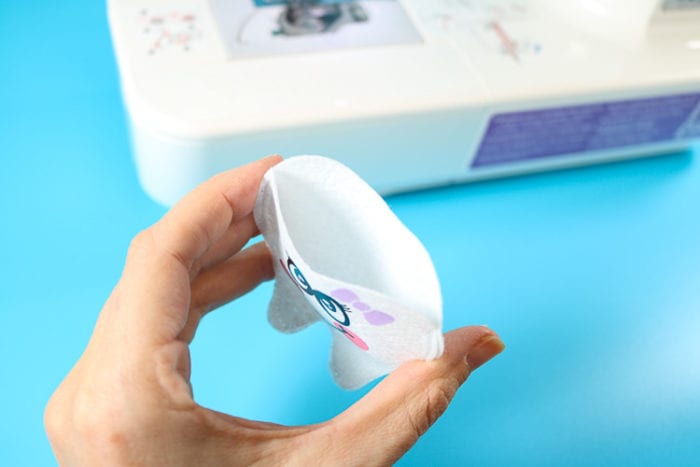
For both sewing and gluing methods: Place felt tooth with the face on top of blank felt tooth shape. Sew or Glue 2 felt tooth shapes on top of one another making sure to only sew or glue around the sides and bottom. Leave the top completely open.
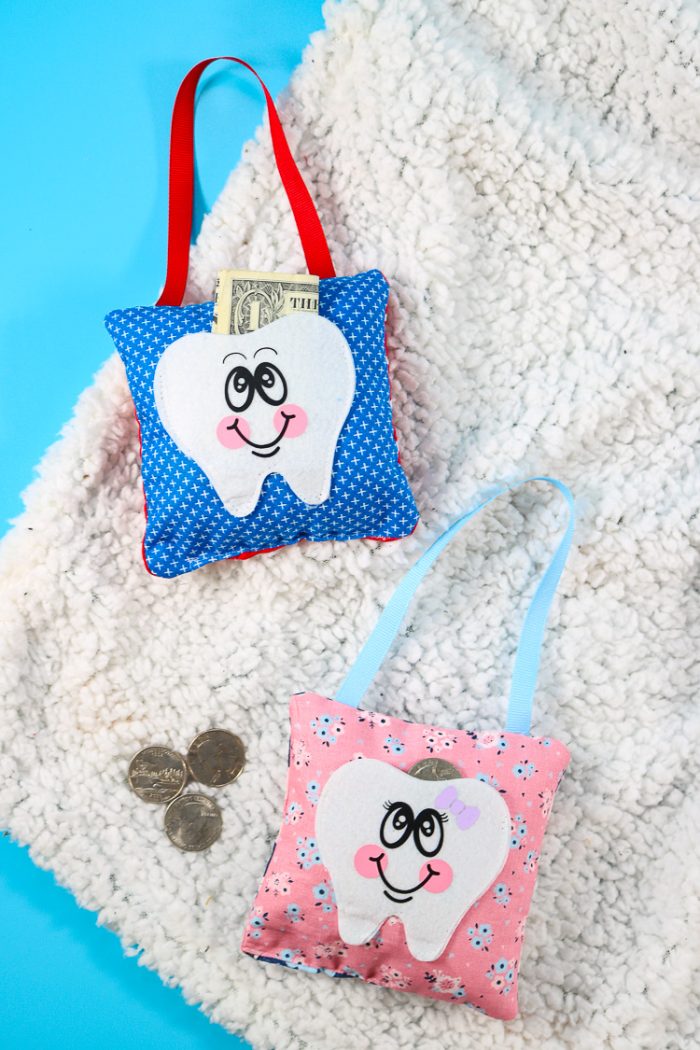
Using hot glue, adhere the tooth pouch onto the pillow. Let dry and hang and enjoy! The lost tooth fits perfectly in the felt tooth pouch and once removed the perfect spot for a dollar or two!
I am hoping the Tooth Fairy in your neck of the woods is more reliable than here!
Here are more of my Rotary Blade projects:




Comments & Reviews
Irene says
OMG! How stinkin’ cute!
LARA says
So very cute, the tooth fairy has only forgotten once in my house and she somehow remembered before the bed was made. The tooth fairy leaves a gold dollar at my house it’s more “fairish” but still spendable.
Cheryl Spangenberg says
That’s awesome Lara and I am totally jealous of your track record!
Janna Vanderhoof says
These are adorable! I don’t have a maker but still cute!
Cheryl Spangenberg says
Thanks Janna!
Marion Hopper says
Can I get your SVG designs even though I don’t own a Cricut Machine nor have a Design Space account?
Cheryl Spangenberg says
Hi Marion, while I do offer SVG files for the designs I create from scratch, this particular project is only available in Cricut Design Space. I designed these pillows using the images from Design Space for this sponsored post.
Onebravemomof3 says
Oh the tooth fairy forgot a few times here at my house too. She was sick, had a day off like mommy at her job, and my older child liked this one (this was when I was pregnant and I had a lot of health problems) she must have had her baby or not feeling well before the baby lol and my daughter said I wonder if I get more money cuz there are 2 tooth fairy’s you know the one in her belly counts as 2 fairy’s!! Lol hahaha
Cheryl Spangenberg says
Haha!
Deanna says
I cannot find it in the design space. I am so disappointed as I brought the cricut especially to make your too cute pillows for my grandkids. Can you please steer me to where I can find it?
Cheryl Spangenberg says
Unfortunately, Cricut moves stuff around pretty regularly and they don’t always forward the old links to the new. You can try this link to access the project: https://design.cricut.com/landing/project-detail/5c3f7be3fe82bf06440c2d3b