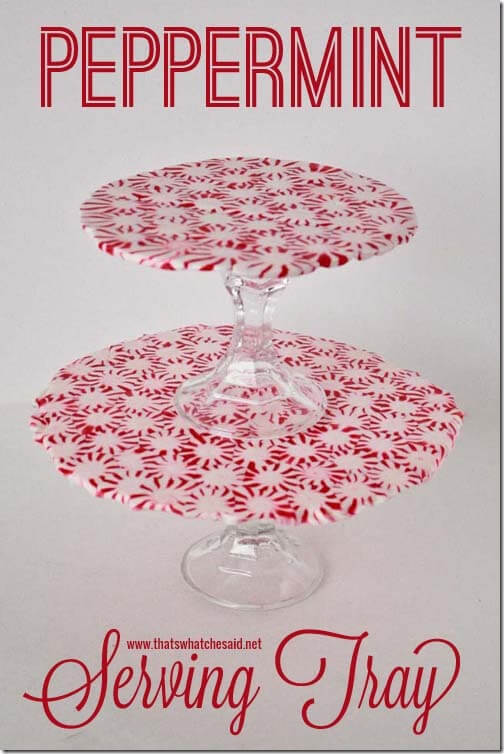
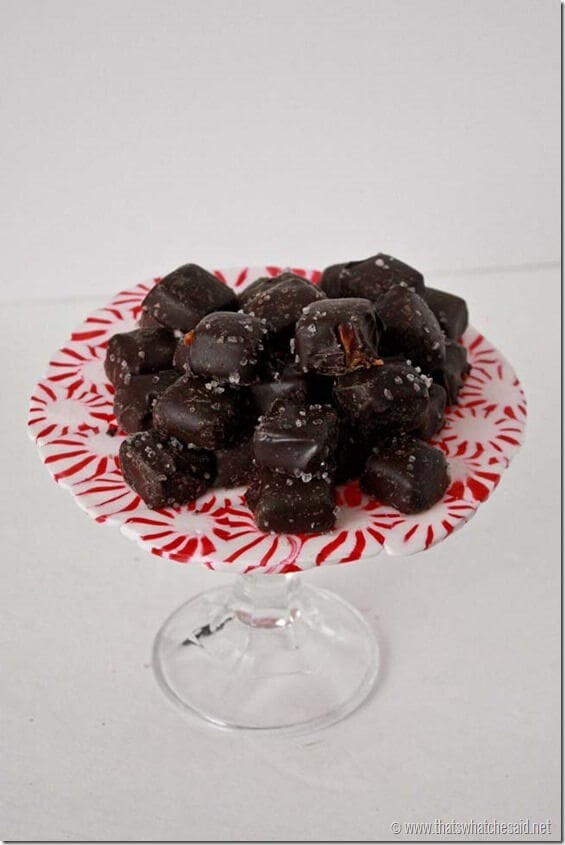
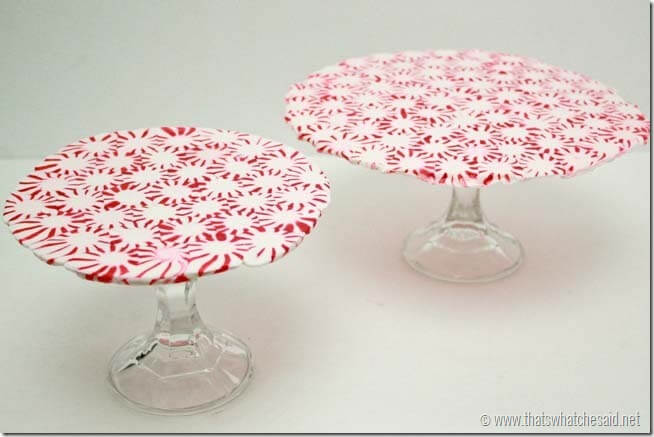
Take candy peppermints and turn them into a beautiful Peppermint Serving Tray this holiday season! You can even add some candlesticks and make the tray tiered! A Tiered Peppermint Serving Tray is perfect for desserts and treats to display on your holiday table
I am in total love with this Tiered Peppermint Serving Tray! Last year I made this Mod Podged Tiered Platter using some adorable holiday fabric napkins and I used it throughout the holiday season!
I remembered back when I was in Girl Scouts, and we made these melted peppermint ornaments. I got to thinking…why can’t I make them into a tiered serving tray instead? And this little creation occurred! I am so happy it did!
Peppermint Tray Supplies Needed:
- 2 bags of Peppermints (red or green)
- Parchment paper or a sil-pat
- Baking Sheet sheet
- Candle sticks (Dollar Tree)
- Hot Glue/Glue Sticks
How to Make a Tiered Peppermint Tray:
Begin by preheating the oven to 325 F. If your peppermints are unwrapped you are ready to move on. If your peppermints are wrapped, unwrap them all first!
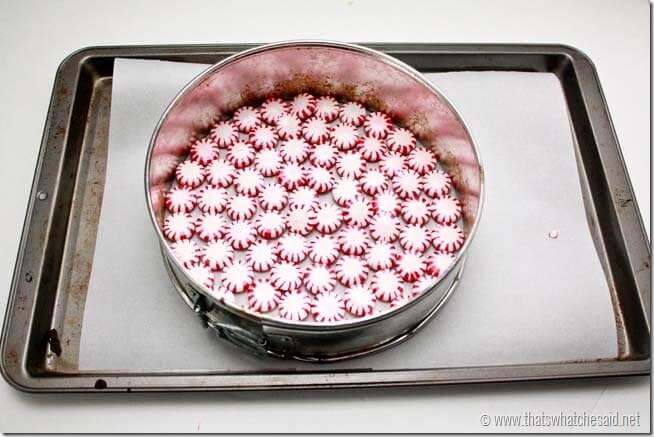
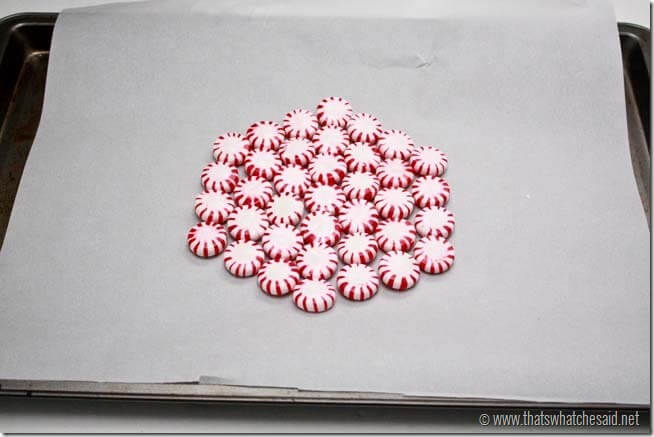
Next, I used a springform pan as a guide for my large circle. Add parchment paper to a baking sheet and then arrange the peppermints, using the springform pan as a guide. This does not have to be a perfect circle.
I used almost a whole bag for my large platter and read on to see how I didn’t even need the springform pan to make these so that is why I didn’t list it in the supply list above.
Then, bake for 9-10 minutes. Watch the peppermints closely. You want the mints melted together but not totally liquefied!
Carefully remove the baking sheet from the oven and let set for 2 minutes. Remove the springform pan. If needed, use a butter knife or the back of a spoon to “shape” your platter if the peppermints start to run.
I repeated for the smaller platter. Here is when I realized that you don’t really need that springform pan form. When you remove your sheet from the oven you can use a butter knife to re-shape the melted candies into a more circular shape! Worked great!
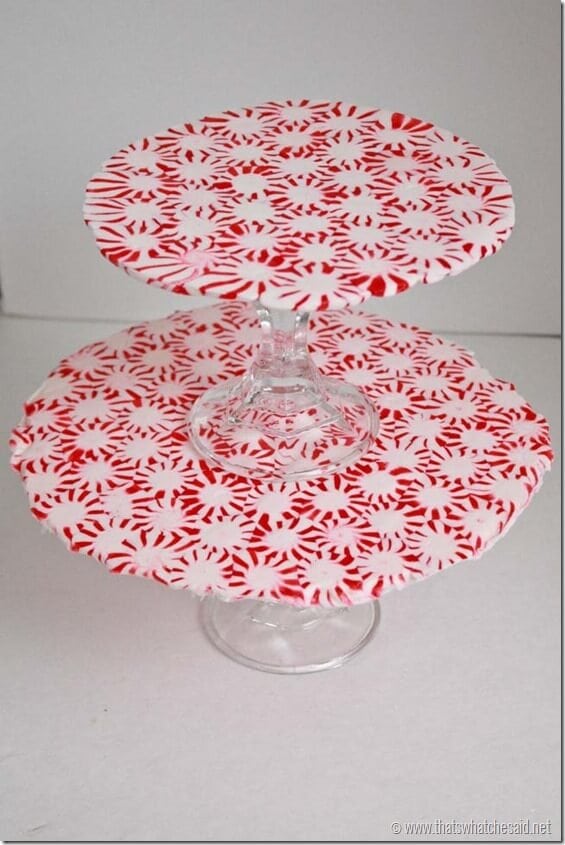
Once they were cool I peeled off the parchment paper and then attached them to the candlesticks with hot glue! Weird I know, but it worked great and I can just use a blow dryer to heat up the glue and remove it after the holidays!
You can choose to use them stacked on top of one another or by themselves!



Comments & Reviews
Heidi @ Happiness is Homemade says
I am totally in love with that stand! What a great idea! Thanks so much for sharing my printable! xoxo :)
JoeyfromSC says
This is one of the coolest things I have seen! lol..Thanks for the post! I am gonna try it!
Joey
Happy Holidays!
Cheryl Spangenberg says
Thanks Joey! We are loving these!
Vicki Richardson says
Hi:
Love it soooooooo much, thanks for sharing. Can you “seal” these so they last and bugs don’t eat them in storage? Or just make them each year? Being from the South I know that humidity is a bugger so was thinking out side the box.
Thanks,
Vicki
Gurvy Green says
Love this idea! How festive and add’s such a delightful feel to your serving plate. Thanks for sharing. Happy Holidays.
Heather - dollarstorecrafts says
Great idea! You are practically professional at melting those mints… I have heard it’s not as easy as you made it look. Thanks for sharing your tips for success!
I just featured your tray on Dollar Store Crafts.
Cheryl Spangenberg says
Thanks Heather! I hope you are doing well! Thanks for the feature! I appreciate it!
DEB says
Could you coat or spray something on it to preserve or just make a new one each year.
Cheryl Spangenberg says
Deb they are pretty brittle…I think you’d need to make a new one each year!
Lisa says
I have successfully stored mine wrapped in non stick Reynolds aluminum foil, stored in a sealed container in a cool closet. I have topiary balls covered in peppermints that I have stored this way for 3 years.
Michelle L says
Holy peppermints, that is so cool! I love the tiered version. Probably one of most original and gorgeous Xmas crafts I have seen this year. thanks, Cheryl!
Cheryl Spangenberg says
Thanks Michelle!
LuAnn Braley says
I love this idea! Do you coat the discs then to protect and preserve, or eat them after the holidays, or…?
Found your blog through Beckie at Roadkill Rescue.
Cheryl Spangenberg says
LuAnn, they are pretty fragile so I plan on just making new ones each year! Since you can pick up mints at the dollar store it’s totally worth it to me :)
Addie from California says
Super cool!!!! GREAT idea!!!! can’t wait to try….I bet the house smelled great too…from those peppermints in the oven!!!!
ro says
This is really neat. This also could be used for Valentines day . Possibly with only red candy that is like peppermints or even red and white peppermints. thanks for the great idea.
Yvita says
Humidity is a way of life in the south and I was wondering if anyone had a problem with the tray drooping as it got damp? Did it get sticky? I’m thinking it would be a one time use for me. It is so pretty!
Kelly says
Love, love, love but mine came out so sticky. Any suggestions? Merry Christmas!
Joanne says
I noticed when I took it out of the oven I saw some bubbles that didn’t go way especially when I tried poking them. any way to avoid them?
Cheryl Spangenberg says
I’m sorry Joanne, I have no idea. Maybe try a different brand of peppermints?
Lisa B says
Try lowering the temp a bit and keep an eye on them. I take mine out the very minute that I begin to see bubbles. You can also let it cool in the pan and the re-melt in the oven to see if the bubbles liquefy.
Karan Craddock says
I am making the tiered trays for all of my sisters. I have already started and they are so easy. I will be layering homemade cookies and candy on them. Thank you for this great post. Merry Christmas!
Cheryl Spangenberg says
Karan that sounds like a wonderful gift! Have a great holiday season!!
Kathryn says
will the cookies taste like peppermint or do you cover them before you put items on them?
Cheryl Spangenberg says
I do not cover it Kathryn. The candies themselves don’t seem to transfer any peppermint flavor.