In this sublimation for beginners post, let’s take a simple approach and explain what sublimation is, how it works and what you need in order to make sublimation projects yourself!
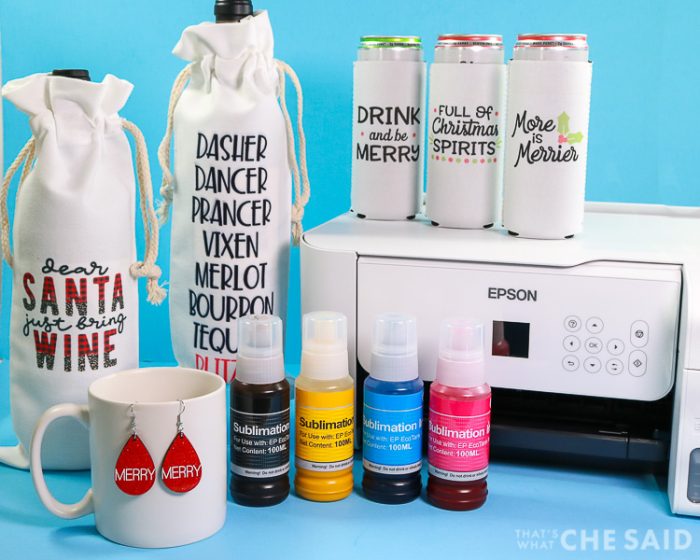
Sublimation has taken the lead as one of the most popular ways to personalize t-shirts, tumblers, coffee mugs, plates, totes, and more!
What Is Sublimation?
Sublimation for beginners: a permanent transfer of an inked design to fun projects like shirts, mugs, and tumblers that will not peel, crack or fade.
In basic chemistry, we learned that there are 3 main phases of matter. Solid, liquid, and gas. A solid can be melted to a liquid and that liquid can be vaporized to a gas or vice versa, the gas is condensed to a liquid, liquid frozen to a solid.
Sublimation is where a solid turns into a gas without passing through the liquid phase!
Sublimation printing, which is what we are talking about in this post, uses a special sublimation paper and sublimation ink to convert a solid printed design to a gas particle design. That design will adhere to the fabric and other surfaces. The process is permanent. A sublimated design will not peel, fade or crack.
This post may contain links to Amazon Associate and other affiliates.
As an Amazon affiliate, I earn a small commission from these links at no additional cost to you.
Supplies Needed for Sublimation:
Click the individual supply below and jump to a detailed explanation, options and links!
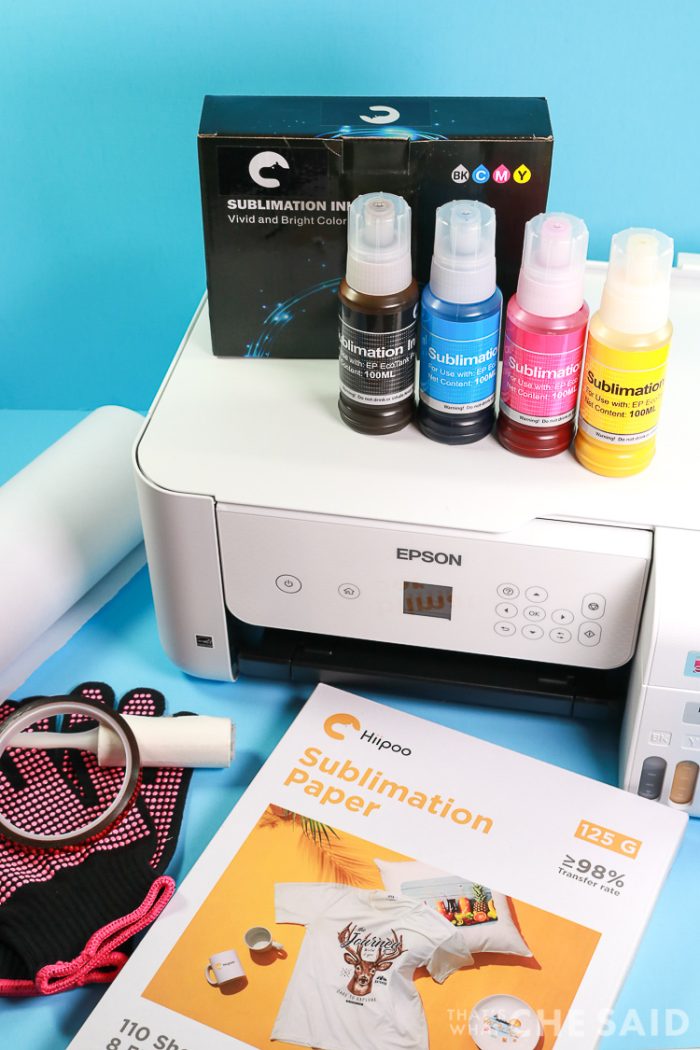
- Sublimation printer (see how I converted an Epson Ecotank here)
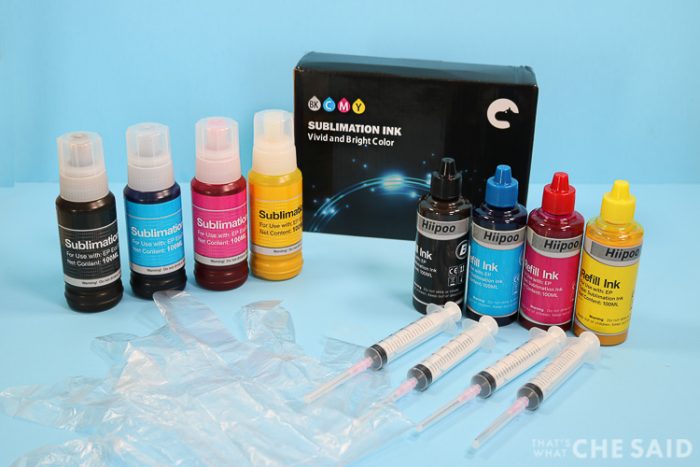
- Sublimation ink
- Heat Press or EasyPress 2
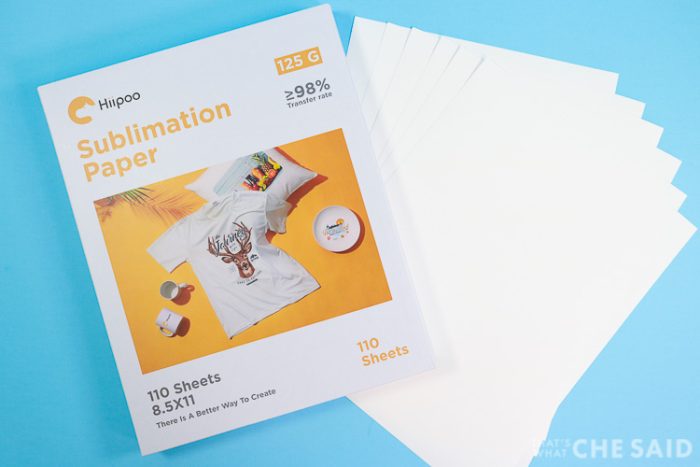
- Sublimation paper
- Heat Safe Gloves
- Sublimation design(s)
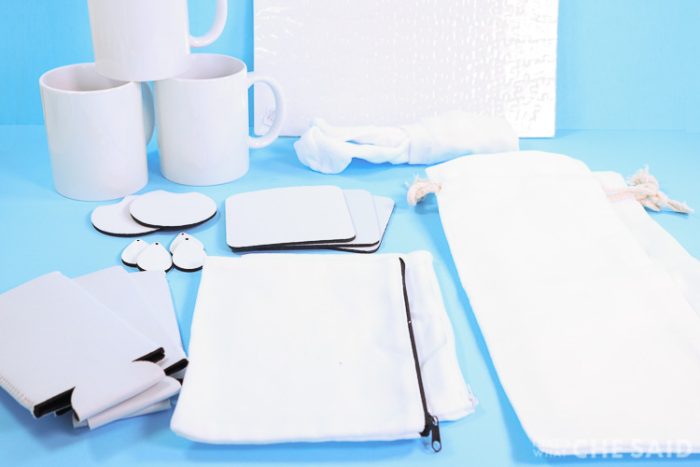
- Sublimation blanks* (t-shirt, mug, tumbler, car coasters, etc.)
- Butcher paper
- Heat safe tape
- Lint free towel and/or lint roller
*Can I use any blanks? The answer is NO! Sublimation works best with blanks that are over 70% polyester. If checking fabric content, look for that. Mugs, mousepads, tumblers, and other sublimation blanks have a polyester coating applied to them to make them compatible with Sublimation printing. More information on blanks is below.
Sublimation Printer
You can find printers that are specifically made for sublimation. These are often an investment and on the pricer side. A common brand is Sawgrass.
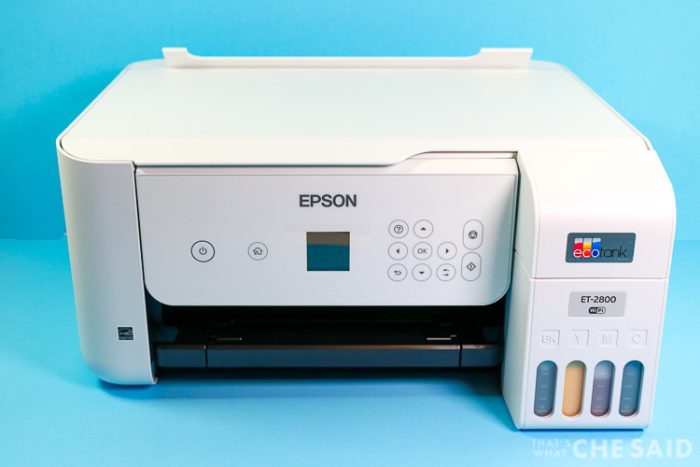
In my opinion, the best sublimation printer for beginners is to convert an Epson ET-2800 EcoTank into a sublimation printer by taking a brand new out-of-the-box printer, and instead of filling it with the included Epson ink, fill it with sublimation ink. This option has worked great and fit more in my budget. You can see how I converted an Epson EcoTank printer into a sublimation printer here.
Sublimation Ink
Regular printer ink (pigment ink) cannot be used as sublimation ink. Pigment ink is made up of colored pigment suspended in water or oil and has added ingredients such as resin to bind them all together. Pigment inks can fade when exposed to sun or heat.
Sublimation ink is made with solid colored pigments that are combined with solvents that evaporate allowing it to sublime from solid to gas and adhere to fabrics, solids, and more.
Just like the printers, there are many brands of Sublimation ink available. I used the Hiipoo brand and have been very impressed with its output.
NOTE: After you print your sublimated design, the ink will look dull and lackluster on the paper. Don’t worry! The colors will brighten when you apply heat!
Sublimation Paper
Sublimation paper starts out as normal paper but has a special coating that is added to help hold the sublimation inks. The coating is normally made up of silica and a binder.
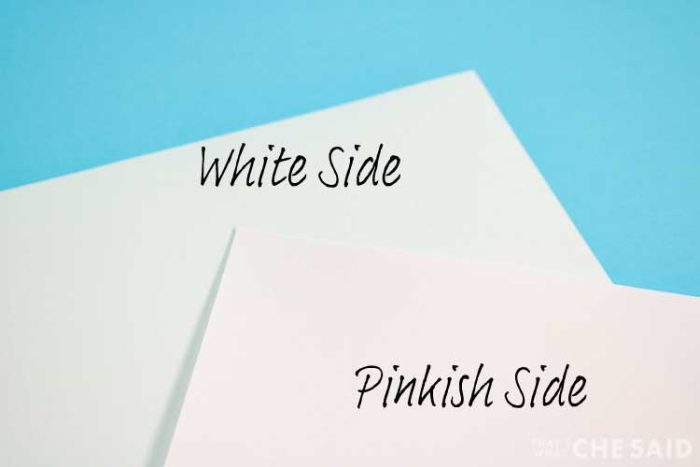
Sublimation has a bright white side and a side that looks slightly pink. Use the white side!
I used Hiipoo Sublimation paper. My friend Angie did a great sublimation paper comparison post on 3 other types of sublimation paper if you would like to see what she found!
Heat Safe Gloves
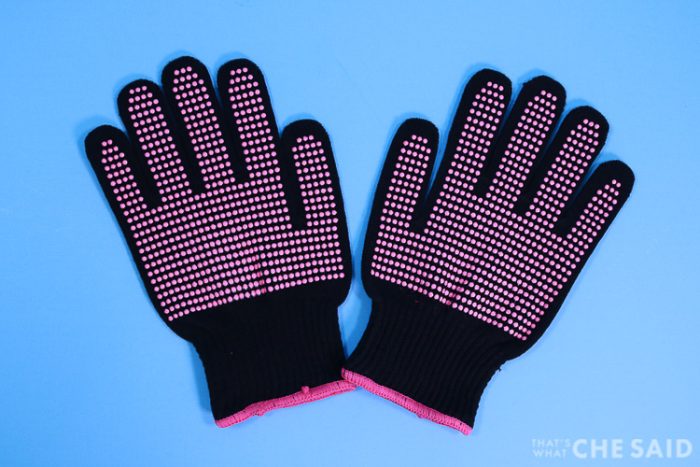
Sublimation uses very high temperatures in order to evaporate the solid ink particles so it is important to have some heat resistant gloves to handle both your heat press as well as the project after you have sublimated. They can be found at most local hardware stores or here are these cute pink heat-resistant gloves I got on Amazon!
Sublimation Designs
Unlike heat transfer applications where you have to be mindful of small details due to clean cuts and weeding, sublimation designs are printed and can be as intricate as an actual photograph! Here are some places that I love to get sublimation designs to use on projects!
Heat Press or EasyPress 2
It requires high heat to cause the solid ink to sublime onto a surface. This can be accomplished by using a Heat Press or an EasyPress2.
Heat Press
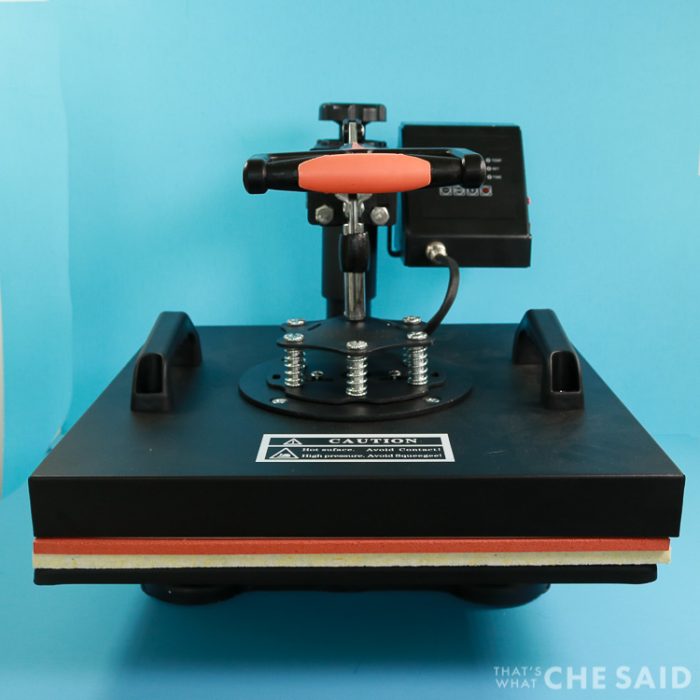
A heat press is good because you can get very specific with the temperature. It also has a timer and depending on what size press you get, a larger work surface. Many heat presses also come with attachments to sublimate mugs, hats, tumblers, and plates. Here is the heat press I have.
EasyPress 2
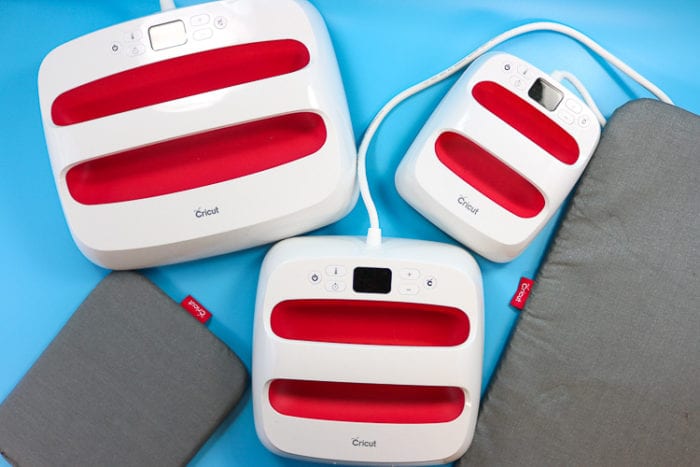
The EasyPress 2 does reach a high temperature of 400 degrees Farenheight which can also be used in sublimation projects. You can read more about the EasyPress 2 here. You can not get as accurate for the temperature as a heat press and you are limited by the sizes of the EasyPress2. They come in 6×9, 9×9, 12×9, and the mini. You want the heat plate to completely cover your design so you can press it in a single go.
For mugs, you will need the Cricut MugPress as there is not an attachment for mugs to the EasyPress like the heat press.
Sublimation Blanks
As I mentioned previously, in order for sublimation to work correctly your blanks must have a high polyester count. Some will say it needs to be over 50% however my rule of thumb is polyester count over 70% for sublimation. The higher the polyester percent, the more vibrant the colors and longer-lasting the end project will be.
I have created a whole Sublimation Shop within my Amazon Storefront if you would like to browse products. I will link the tutorials below to these projects as I complete them!
- Sublimation Teardrop earring blanks
- Mugs
- Can Coolers
- Tumblers
- Neoprene Car Coasters
- Mousepads
- Wine Bags
- Cosmetic Pouches
- Socks
- Puzzles
- Ornaments
Places to Shop Sublimation Blanks & Materials:
Here are my favorite places that I get blanks from when using them for sublimation projects.
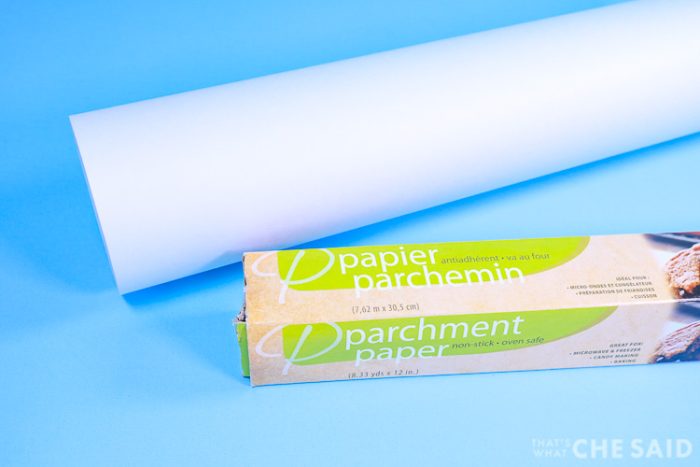
Butcher Paper
Last, but certainly not least, you will need butcher paper. Butcher paper not only keeps your heat-press pad clean of any extra dye that overlaps your project boundaries but it also creates a thin barrier from your project and the heat plate itself.
NOTE: It is important to use non-coated paper. Parchment and butcher paper are great! Do not use wax paper or any other paper that has a coating on it.
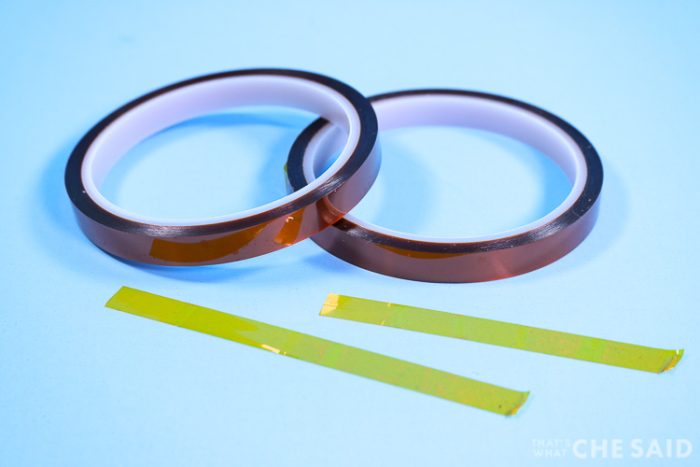
Heat Resistant Tape
These next few miscellaneous supplies are important to a successful sublimation project but are often overlooked!
Heat Resistant Tape is 100% necessary in order to keep the sublimated design firm against your blank. If they two are not completely touching you will get ghosting and faded spots on your project.
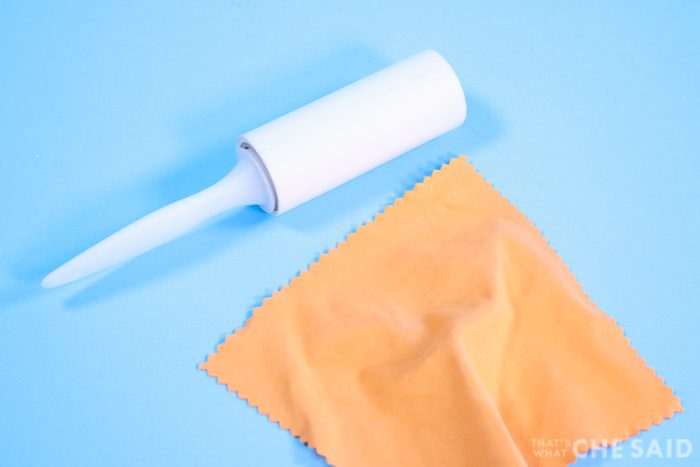
Lint Roller or Lint Free Fabric
Why on earth do you need this sublimation supply you ask? It is an important one because if there is dust, a stray thread, or a hair you will find a white spot where that blemish was on your finished project.
A lint roller is great for fabric projects like t-shirts, totes, mousepads, car coasters, koozies
The lint-free cloth is great to wipe mugs, tumblers, earrings. This will remove both lint and fingerprints!
Beginner Sublimation Project How-To
Time needed: 15 minutes
In this beginner sublimation project, we will create a set of teardrop earrings from start to finish in order to show the process used for sublimation projects overall. This how-to is assuming your printer is already set up with sublimation ink and you have all the necessary supplies listed above.
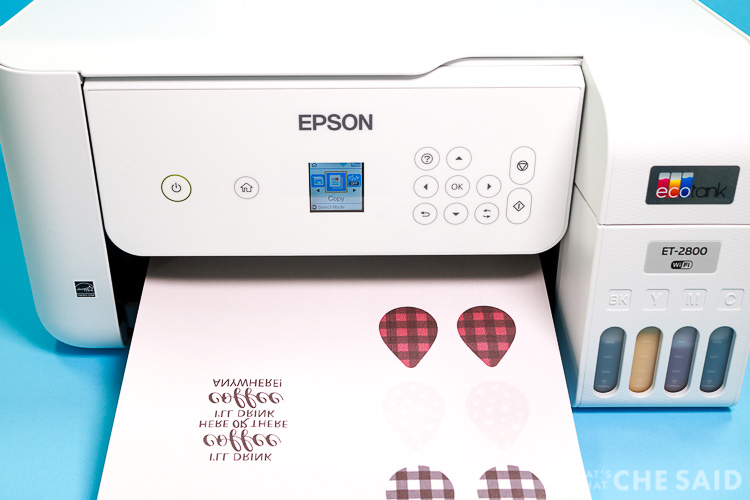
- Print the design you would like for your earrings
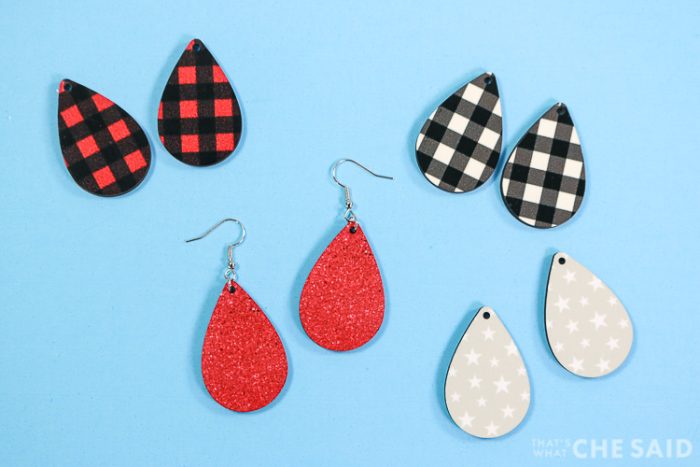
I picked up a cute package of over 100 earring designs from design bundles and I used the red glitter, stars and some buffalo check options and printed on sublimation paper.
- Trim excess paper away from design
I found it’s easier to get the design as close to the actual size with a small bit of overlap so your project will be completely covered.
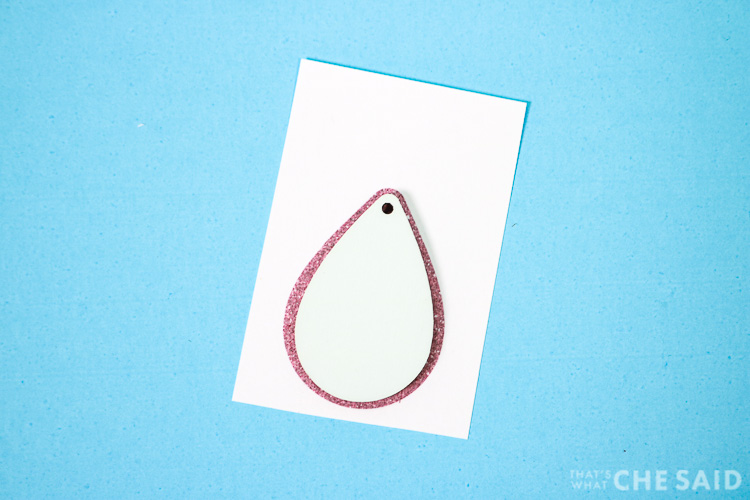
- Prepare the blank
Here is where I removed the plastic film and wiped the earrings down with a lint-free cloth.
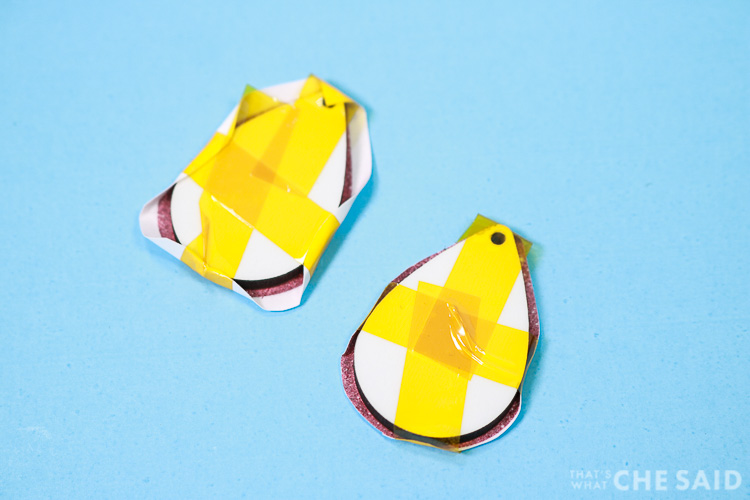
- Tape design onto a blank
Using heat-resistant tape, secure the paper design onto your earrings making sure that the design and the blank are touching completely.
- Set heat press to appropriate time and temperature
I set my heat press to 356 degrees and set the timer for 60 seconds and allowed it to heat up.
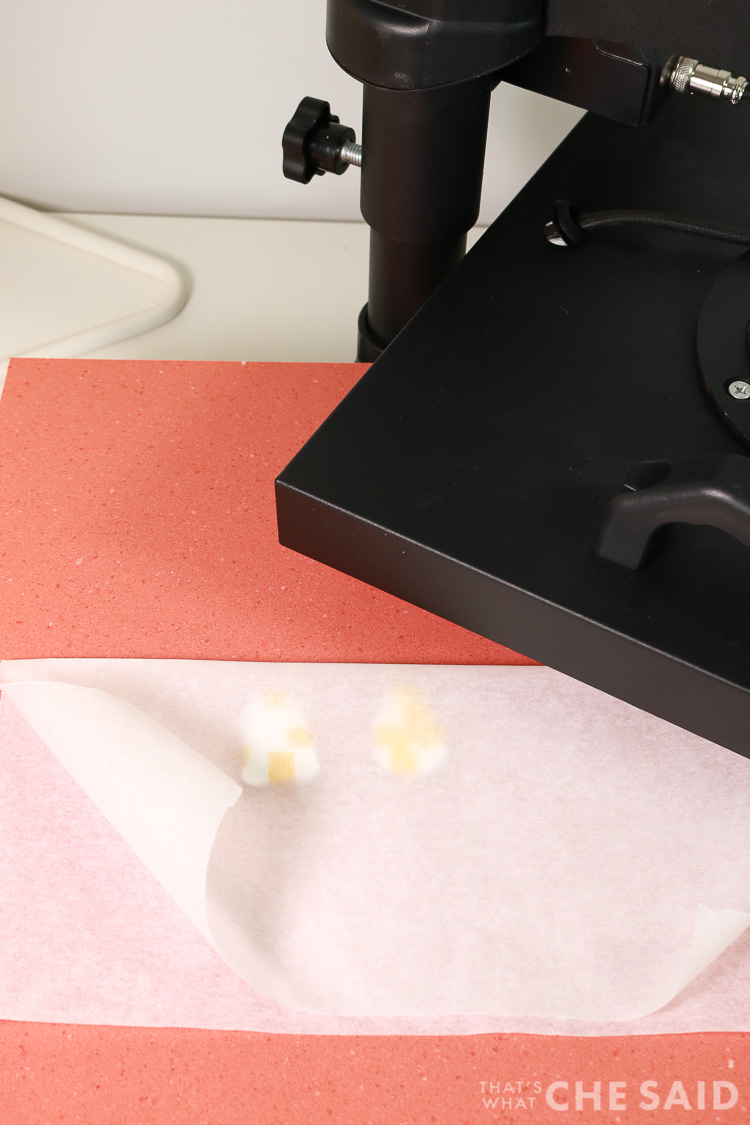
- Insert blanks onto heat press pad
I placed a piece of butcher paper, placed my earring with the paper side UP, and then folded the butcher paper over the top of the blanks.
- Secured the heat press plate and press
I clamped down the heat press plate and I pressed the “play” button to start the timer. Once finished, I unclamped the press plate and swung to the side but allowed the earrings to cool for a minute before moving. Use heat-resistant gloves.
- Remove tape and paper from the finished project
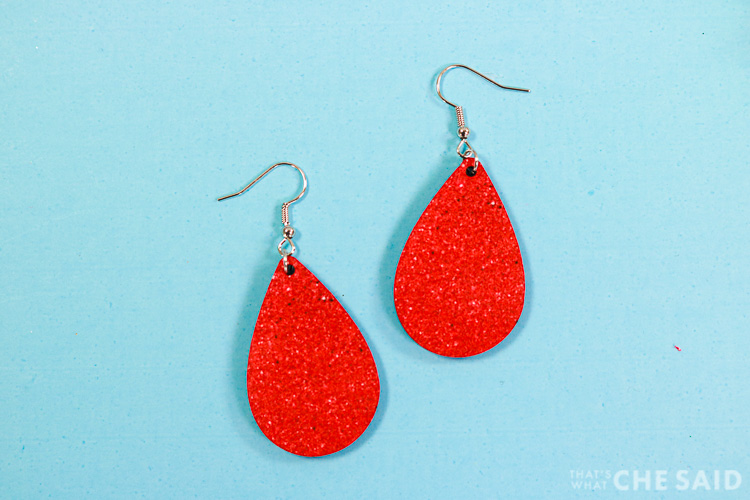
Once the earrings were cool enough to touch, I carefully removed the tape and paper from the earrings revealing adorable red glitter earrings! Furthermore, I will add the included jump rings and earring hooks to complete the earrings!
You can see the designs turned out brilliantly! These designs will not peel, fade or crack as vinyl or iron-on could!
As we dig deeper into sublimation, I will share different tips and tricks for each type of blank, however, this was a general rundown of how the process works overall.
These are the basic steps that will be completed regardless of the project you are working on.
Don’t forget to sign up for my emails so you don’t miss another sublimation project!
Don’t Miss Out!
Get new Sublimation tutorials, products, projects and deals straight to your inbox! Join my Sublimation club!


Comments & Reviews
Corinne Isak says
Thank you, thank you, thank you! I have been thinking about trying sublimation but there really isn’t too much information out there or if you ask in a Facebook group, you get varying opinions. Your article gave precise information, to the point and in terms most can understand. I just wish you can sublimate on dark colors as that’s my families favorite shade.. mostly black or navy blue! Again, thanks for all the information. It is very helpful!
Cheryl Spangenberg says
Corinne, I am so happy I could help! I agree about the dark colors, that is mostly what I wear also!
Lindsey Butler says
I have also been curious to try sublimation but am very overwhelmed by what I read. This breakdown is AMAZING! Thank you SO much for the explanations and links! Much appreciated!
Cheryl Spangenberg says
So happy to have helped, Lindsey!
KATHLEEN SUE RYAN says
I love your detailed instructions. But I need further help. I jumped the gun and bought an epson work force 2850 printer to convert and now I’m not sure how to do this or which refillable tanks are compatible. Can you help?
Cheryl Spangenberg says
Hi Kathleen, unfortunately, the Epson WorkForce WF-2850 is not compatible with sublimation. The WorkForce uses ink cartridges not fillable ink tanks like the Epson EcoTank so there is no way to convert the cartridges to sublimation.
Melissa Winter says
Hi! When you are using a Easy Press 2 and you want to put a sublimation design on a polyester t-shirt, I know it is 400 degrees but what is the time allowance for it usually? I am getting different times and I would really like to know the correct one. Thank you!
Cheryl Spangenberg says
Hi Melissa! Timing is dependent on the type of sublimation paper you are using. I am using Hippoo brand and I use 400 for 40 seconds.
MARGI A ALLEN says
I really appreciate your concise and easy to follow directions for setting up a printer to making sublimation projects. I thought setting up my Epson 2800 for sublimation would take hours, but I was done in minutes.
I will be trying your projects!
Thank you,
Cheryl Spangenberg says
So glad I could be of help, Margi! Sublimation is awesome!