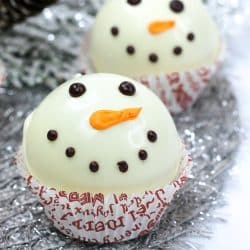
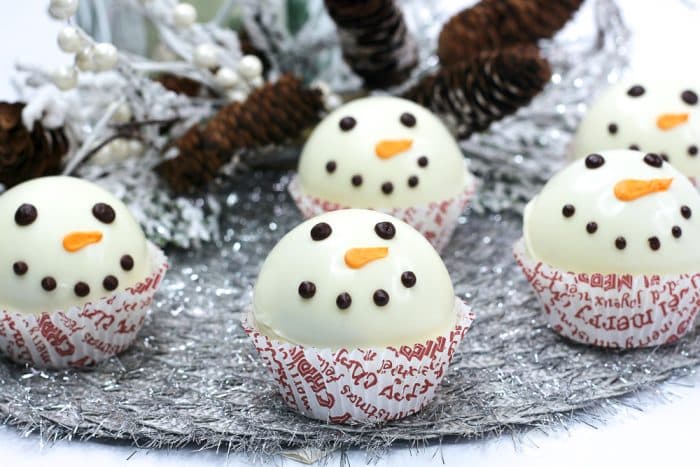
Snowman hot chocolate bombs are perfect for a chilly winter day! They will add instant warmth to your cup and they are fun to make and enjoy! Get creative with the snowman faces or keep them classic! These are great to package up and give as great gifts with a cute mug!
Pin Snowman Hot Chocolate Bombs Here
Pin It HereClick the button above to save to your board for later!
What are hot chocolate bombs?
Hot chocolate bombs are hollow chocolate spheres that are filled with hot chocolate mix and hot chocolate add-ins, such as marshmallows or peppermint pieces, and they are dissolved in a mug of warm milk or water.
As the chocolate shell melts, it bursts open like a “bomb” and creates a fun, interactive drink experience!
Hot chocolate bombs are highly customizable and you can create many different flavor combinations as well as outside shell motifs!
Here are some other hot chocolate bombs you may love:
This post may contain links to Amazon Associate and other affiliates.
As an Amazon affiliate, I earn a small commission from these links at no additional cost to you.
Kitchen Tools Needed for Snowman Hot Chocolate Bombs
- Silicone half sphere mold You want half sphere molds that are large enough to hold the hot chocolate mix and marshmallows but not too large they will not fit in the opening of your mug. I have linked the ones that I use.
- Piping Bag or Ziploc Bag: You don’t need a fancy piping back, use one if you have it! A small plastic bag works great too! Use whatever you have on hand.
- Spoon or offset spatula: Both work great to help spread the chocolate up the sides of your mold.
- Baking Sheet and liner: You can use wax paper, parchment or even a silicone baking sheet liner.
- Microwave Safe bowl: We will melt our chocolate melting wafers in this bowl so make sure it can take a few spins in the microwave, otherwise you will need to melt using the double boiler method.
Don’t Miss Out!
Get all my delicious email recipes straight to your inbox!
INGREDIENTS:
- Ghiradelli White Chocolate Melting Wafers – don’t skimp on these. Use the Ghiradelli. It’s 100% worth it, I promise! They melt beautifully and they taste amazing and they harden perfectly.
- Hot Cocoa Mix: You can use your favorite mix! (or make your own if you do that!) You can add flavored mixes, milk or dark chocolate. Whatever you love.
- Add-ins: Mini-marshmallows are a staple but think about peppermint chips, sprinkles, toffee bits, caramel bits, white chocolate chips, candy canes, and more! Again, whatever you love!
DON’T WANT TO MAKE A HOT CHOCOLATE BOMB?
Check out all these amazing hot chocolate recipes! Stovetop and slowcooker methods!
How to Make Snowman Hot Cocoa Bombs
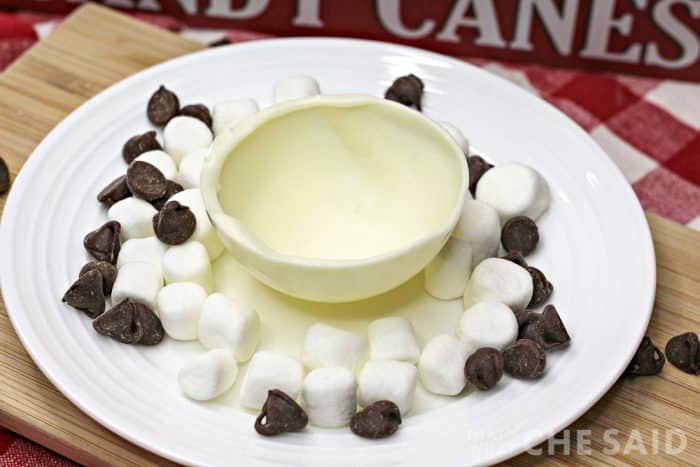
Melt your chocolate wafers in a microwave safe bowl and then spoon in 1-2 tablespoons of chocolate to the half sphere molds. Place in fridge to set and then carefully remove the silicone moldes from the chocolate shells.
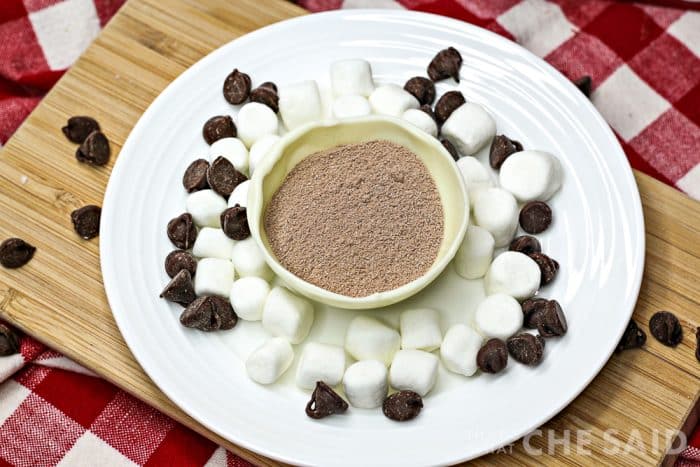
Here we build the hot cocoa bombs! Take one half a sphere and add hot chocolate mix.
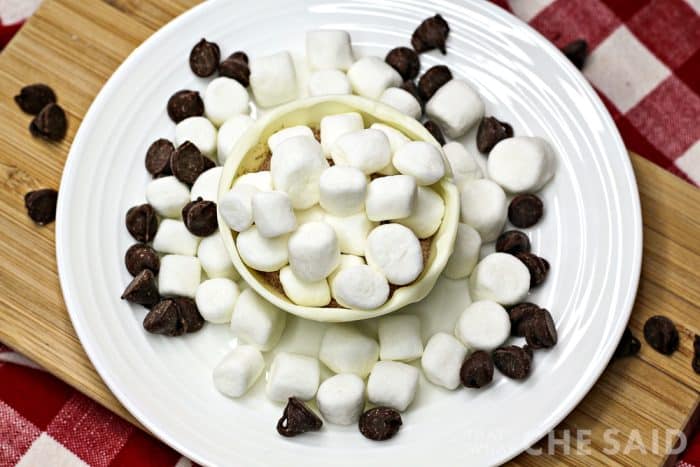
Add in your toppings.
Use some of the melted chocolate to “seal” the half sphere you just filled with goodness and an empty sphere. Use the back of a spoon to flaten the seam if needed.
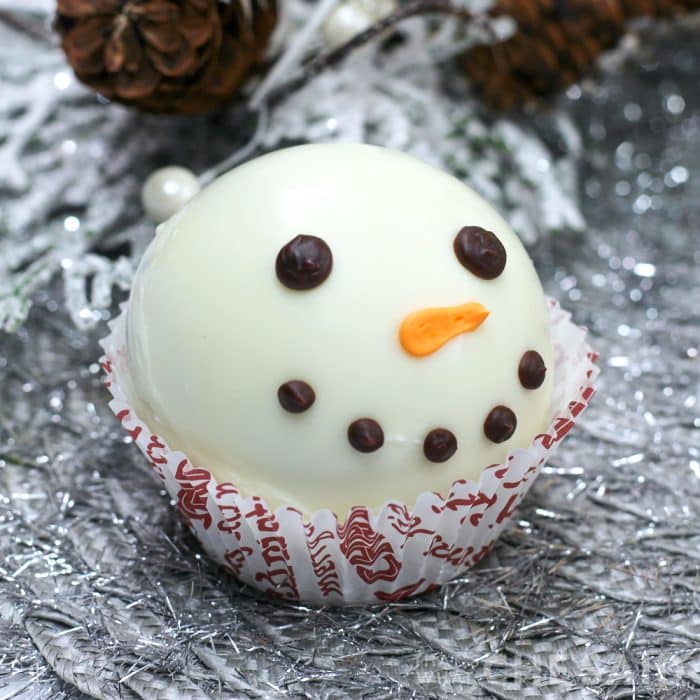
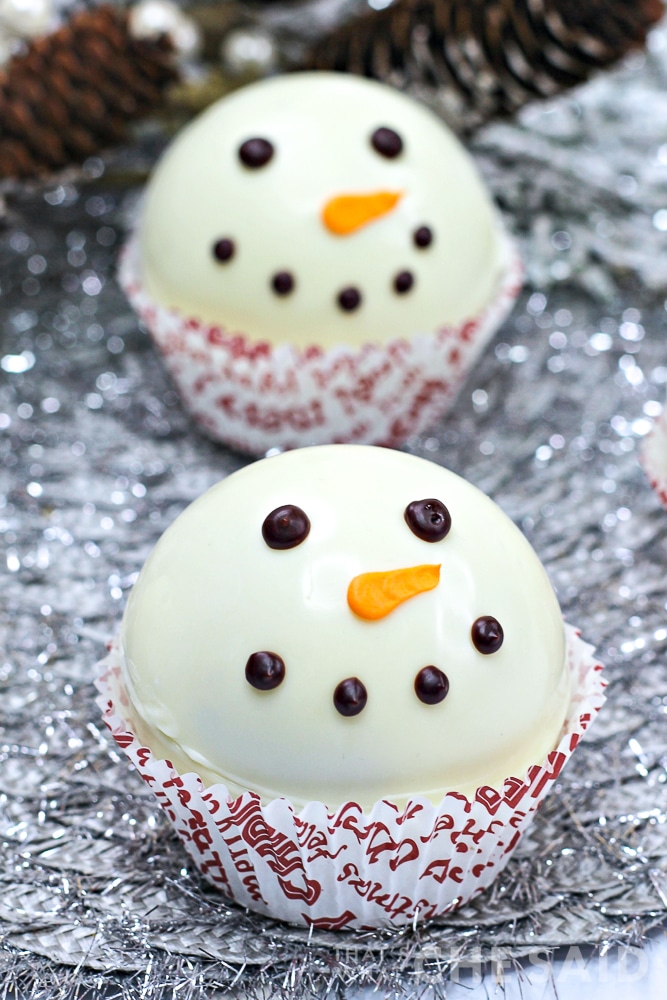
Add a snowman face with the chocolate and orange icing tubes and small circle decorating tips.
These can be stored in an airtight container for up to a week. Yoou can also freeze them and allow them to come to room temperature before serving!
To serve, add the hot chocolate bomb to a mug of hot milk or water. About 8 ounces would work great!

Snowman Hot Chocolate Bombs
Equipment
- 1 Piping bag - disposable works great, ziploc bag works too!
Ingredients
- 30 oz Ghirardelli white chocolate melting wafers
- 2 cups hot chocolate mix
- 1 tube orange icing
- 1 tube chocolate icing
- 2 cups Mini Marshmallows
Instructions
- Line a baking sheet with parchment or wax paper and set aside.
- Optional: Cut the silicone mold apart so each sphere half is stand alone. This makes it easier to work with but not necessary.
- In a microwave safe bowl, add the melting wafers. Melt in the microwave accoring to the package instructions. I found 45 second intervals to work great. Be sure to stir well between each heating increment. Repeat until smooth.
- Using a spoon, spoon about 1-2 tbsp of the chocolate into the mold
- Carefully swirl the chocolate to completely coat the inside of the mold. I found an offset spatula works great to help get the chocolate to completely cover the mold.
- Place the coated molds into the refrigerator for 5-10 minutes
- Remove from the fridge and gently peel the silicone mold back away from the hardened chocolate shell and place on the parchment lined baking sheet.
- Repeat steps until you have 16-20 half spheres.
- Add 2 tablespoons of hot cocoa mix to 8-10 of the sphere halves.
- Top with some mini marshmallows.
- Add some melted chocolate to a small piping bag or small plastic bag.
- Pipe a line of the melted chocolate around the edge of the bottom shell
- Carefully place the top shell onto the bottom and gently hold the top to the bottom for about 30 seconds to a minute to allow the piped chocolate to harden to the top shell
- Make sure there are no gaps in the seam. You can use the back of a warm spoon to smooth out the seam or leave as is.
- Add a small circle top to the chocolate icing and add eyes and a mouth.
- Add a small circle tip to the orange icing tube and draw a carrot nose.
- Let the faces set before serving in 8 ounces warm milk or water.


Leave A Reply!