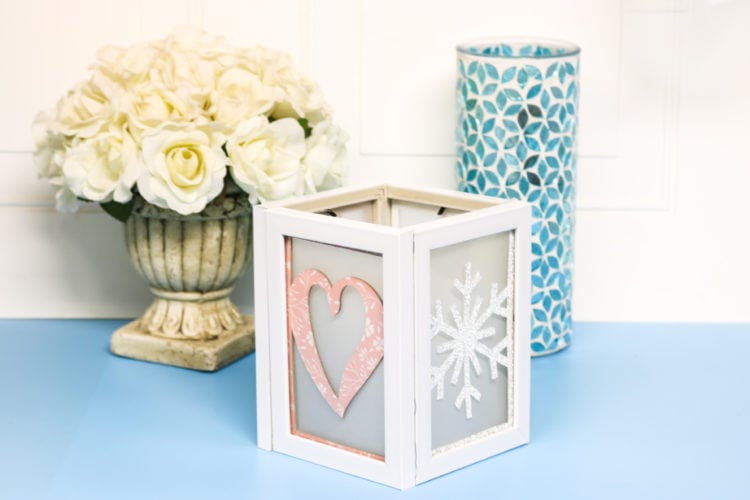
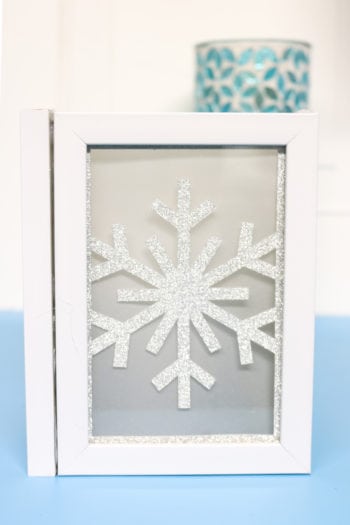
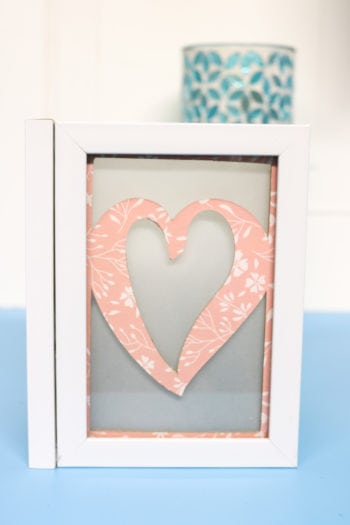
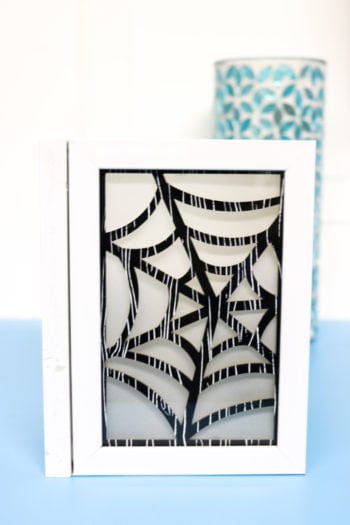
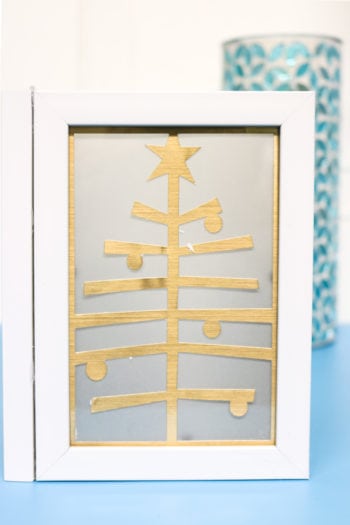
With the help of the versatile and amazing Cricut Maker, you can create this Seasonal Luminary. Easily customize and create these fun inserts to use this Luminary year round! Get creative with your designs and color choices with a huge selection of images and fonts from Cricut Design Space!
If you do not have a Cricut Maker I recommend adding that to all your wishlists! Birthday, Holidays, Anniversaries or just as a present to yourself! This machine is by far the best cutting machine I have ever used and I have used several!
The Maker is essentially several machines wrapped into one with the new adaptive tool system. You can use the fine tip blade, a rotary cutter to cut the most delicate of fabric and then switch to the knife blade (which we will use today!) to cut leather, wood and more!
The single and double scoring wheels will give you the perfect crisp fold to any of your cardmaking or 3D crafting needs, and let’s not forget about the Cricut Pens and Fabric Pen to create the perfect doodles and sewing patterns! Seriously…you all know how I love anything that multi-tasks! One machine on my shelf that does it all!
Let’s get Creating!
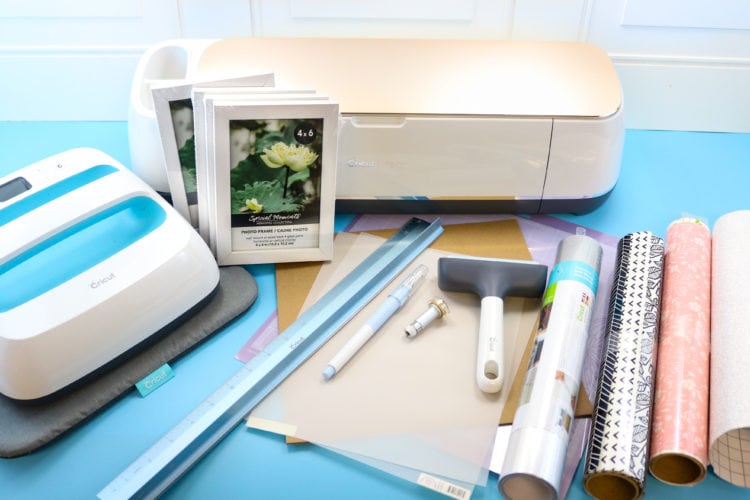
Supplies for Seasonal Luminary:
- Cricut Maker
- Knife Blade
- Strong Hold Mat (Purple)
- Brayer (optional)
- Chipboard (2.0 mm)
- Vinyl or Iron-on of your choice (I used patterned removable, an adhesive foil, patterned iron on and glitter iron-on)
- EasyPress and EasyPress Mat if using Iron-On
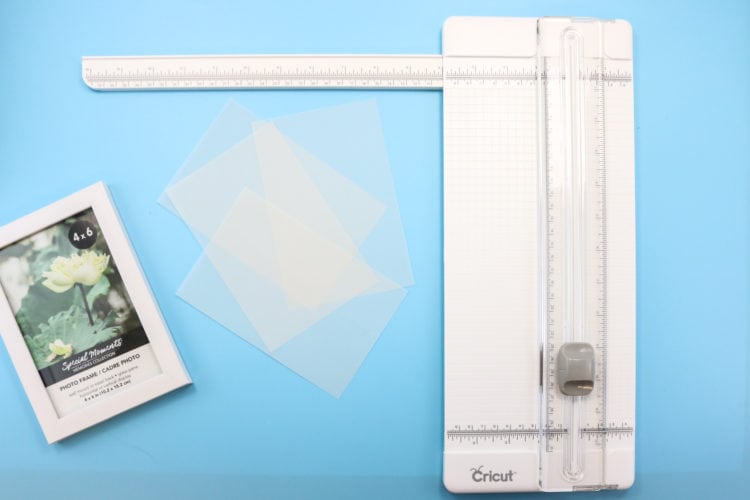
- 4 photo frames (look for square edges)
- Masking Tape
- Gorilla Glue
- Vellum
- LED Candle
You may find the four season inserts that I designed and made here in Cricut Design Space.
How to make Seasonal Luminary
Cricut Chipboard
Let’s prepare our Chipboard! We will be using 2 pieces of chipboard for 4 inserts. I find it best to adhere the iron on or the vinyl directly onto the chipboard before cutting!
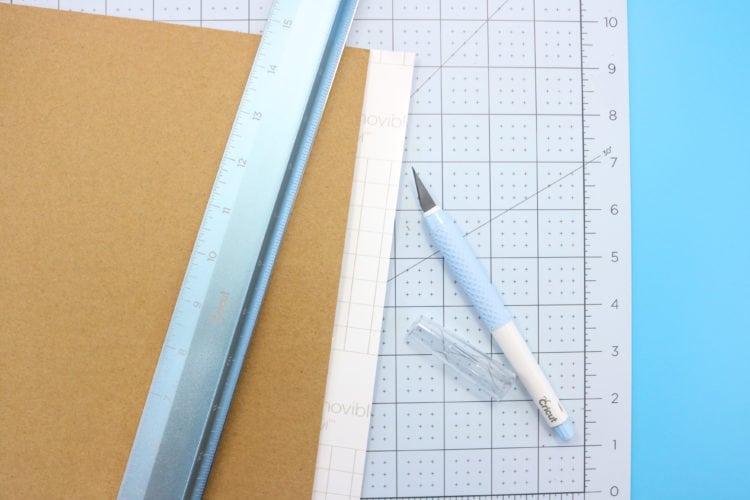
The chipboard is 11 x 11 and most sheets are 12 x 12. For the vinyl, you can simply wrap the edges of the vinyl around to the back of the chipboard and trim the corners or use the Ruler and TrueControl Knife to trim any excess.
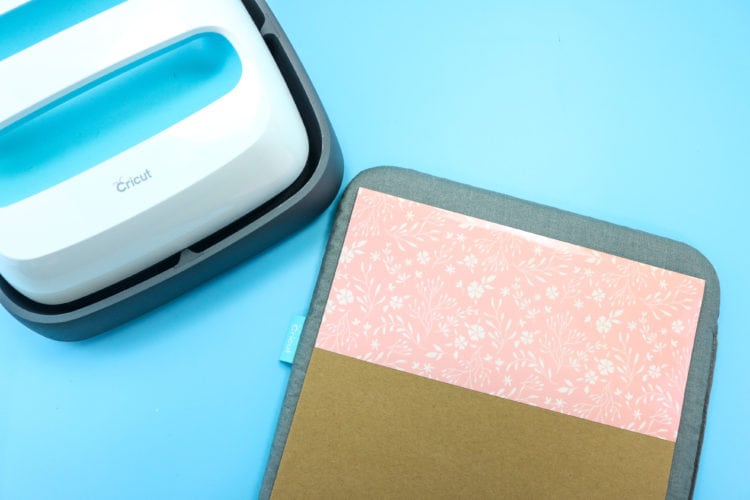
For the iron-on, I used my Cricut Paper Trimmer to cut an 11 x 5 strip. I applied 2 colors to 1 piece of chipboard using my EasyPress!
Yes, you can use iron-on with chipboard! I heated my EasyPress to 280 degrees and pressed it for 30 seconds for the Patterned Iron-On I chose to use. It worked beautifully!
Note: It did slightly warp the chipboard. It did not warp it enough to effect purpose or cutting for this project. You might want to check out what my friend Steph did if the warping could affect your project.
Now we have our two chipboards (with 4 different colors/patterns) ready to go.
Cutting Chipboard on the Maker
We will use the knife blade to cut the chipboard. If you have not already calibrated your knife blade, please see instructions on doing so here.
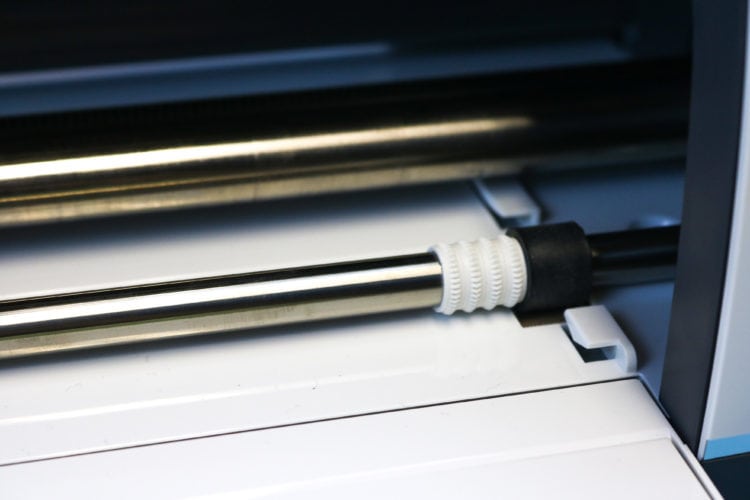
Start out by moving your star wheels (white wheels along the shaft of the maker) all the way to the right. I like to do this first because if you forget you can damage your machine and your material.
Next switch out your fine point blade with the knife blade. This is part of the adaptive tool system. One machine but many tools it can use! Simply unlatch, insert and relatch.
Next, we will place our chipboard with the Vinyl/Iron-on side DOWN on our purple Strong Hold Mat.
Yes DOWN. I find I get the cleanest cuts this way! I like to use the Brayer to really make sure the board is pressed firmly to the mat. Lastly, to make sure the chipboard doesn’t shift during cutting, it is recommended to use masking tape to secure all four sides.
Since you put your board pretty side DOWN you will need to MIRROR your image in Cricut Design Space!
Tips for Using the Knife Blade:
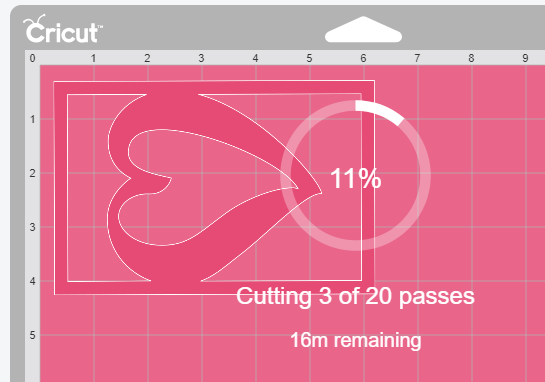
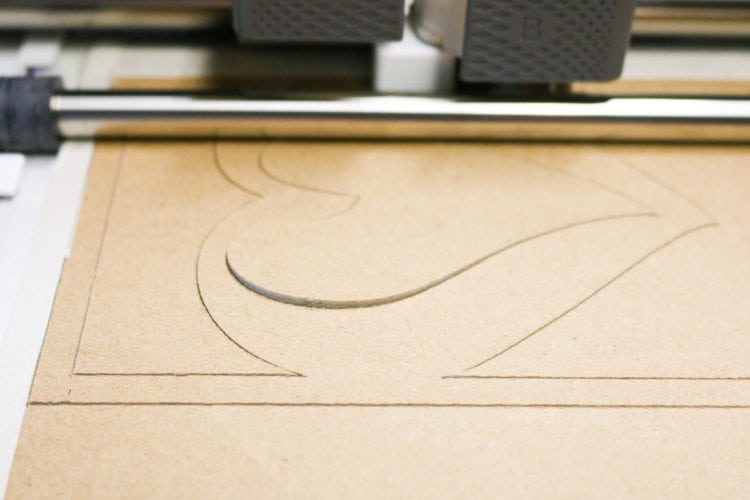
- This is not a “quick cut”. The knife blade makes numerous passes in order to cut through the thicker material.
- Many times, it will not need as many passes as Cricut Design Space specifies. It is important to pause and check your cuts so that you don’t cut through your machine. Don’t press start and walk away
- To help with deciding if you are good or need more passes, use the hook tool to check any inside cutouts to see if they remove easily and/or look at the corners of your chipboard and slightly bend (DO NOT REMOVE THE MAT) and see if the nearest cut is free.
- Sometimes the center cut out designs will start to pop out on their own. Press pause, remove those pieces, check the rest of your cuts and either remove the mat or continue with a few more passes.
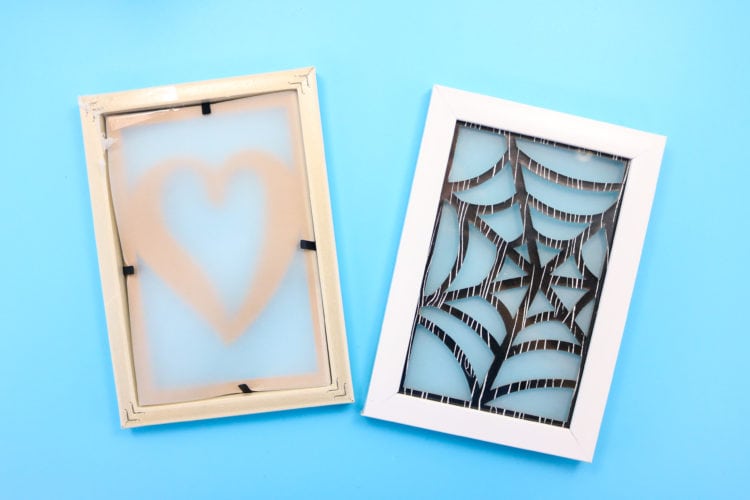
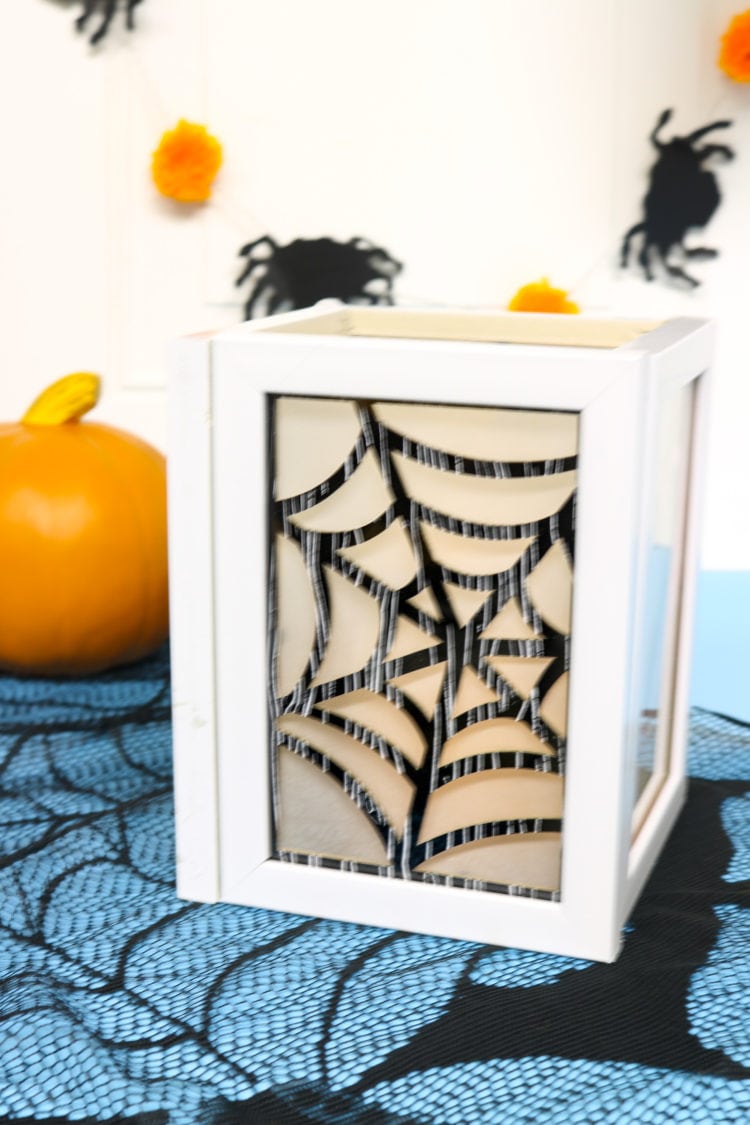
- Designs with more cuts will obviously take longer than designs with fewer cuts or more straight cuts. For example, the spiderweb for this project took substantially longer than the heart design.
I cut one designs then flip the chipboard over and cut the next one. 2 chipboards for 4 designs. There is leftover which you can use for other projects if you want to save the scraps (I save all the scraps I am crazy!)
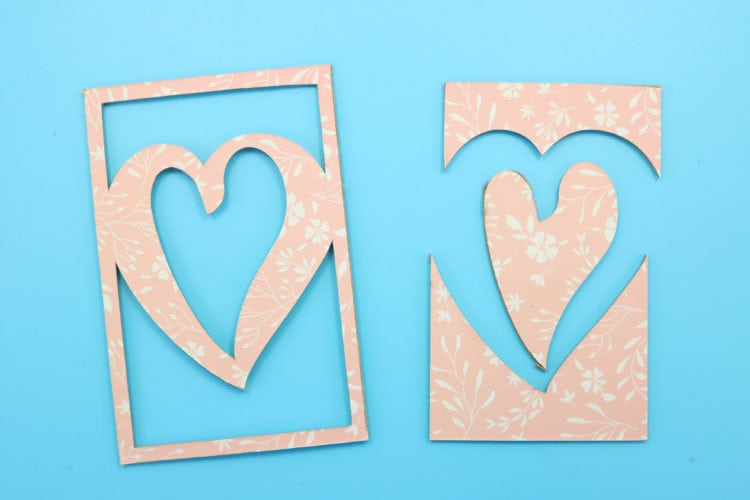
Once you take the mat out of the machine CAREFULLY remove your chipboard. I find it helpful to lightly bend the mat away from the chipboard. Do this slowly. If you have any spots that are not quite cut all the way through using the TrueControl Knife to finish the cut.
Assembly of the Seasonal Luminary:
Remove the backings and the display photo of all 4 frames. You can discard these.
Cut the blank vellum to fit into your frames using the Cricut Paper Trimmer.
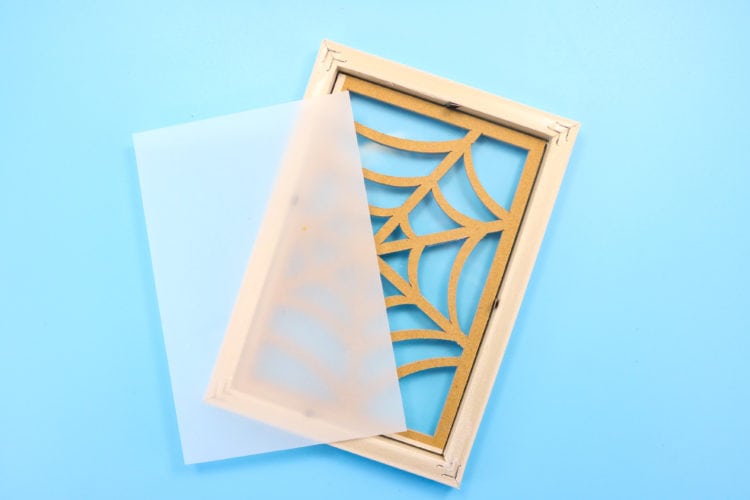
Insert a chipboard cut out, then a vellum sheet and then push the frame pegs down to keep those in place.
Do not replace the black cardboard backing. You want the light to illuminate out through the vellum and design!
Repeat for remaining frames.
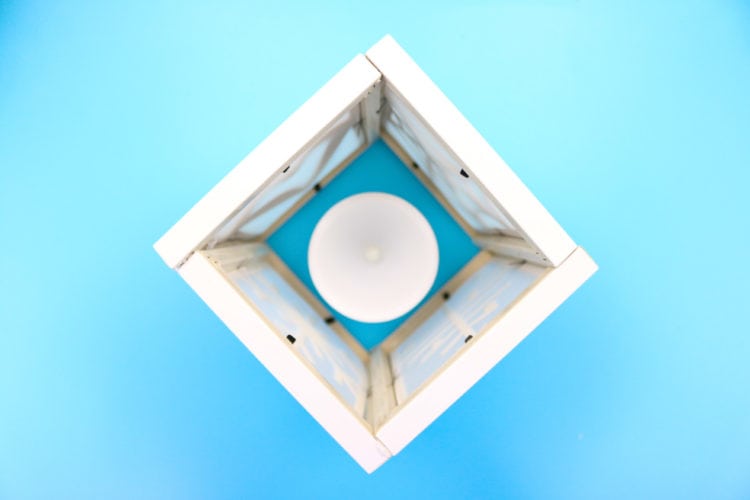
Use Gorilla Glue to adhere the 4 frames in a square shape. You can find all my tips here.
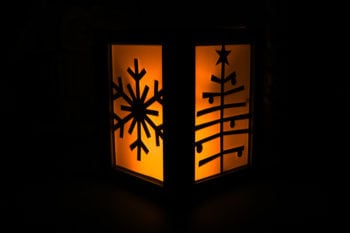
Let dry and then use a battery powered LED candle to illuminate!
Stay tuned for my tutorial on how I created these designs in Cricut Design Space using the Slice and Weld tools!
How to use Seasonal Luminary:
This Seasonal Luminary is perfect as a home decor handmade gift idea! You can even make all 4 sides the same and switch them out as the seasons change!
These are also great for centerpieces for events like luncheons (send them home with attendees) Mom’s group brunch and so much more! My kids like changing out the inserts and enjoying it on our mantel!
Simply forward face the current season and decorate as you normally would!
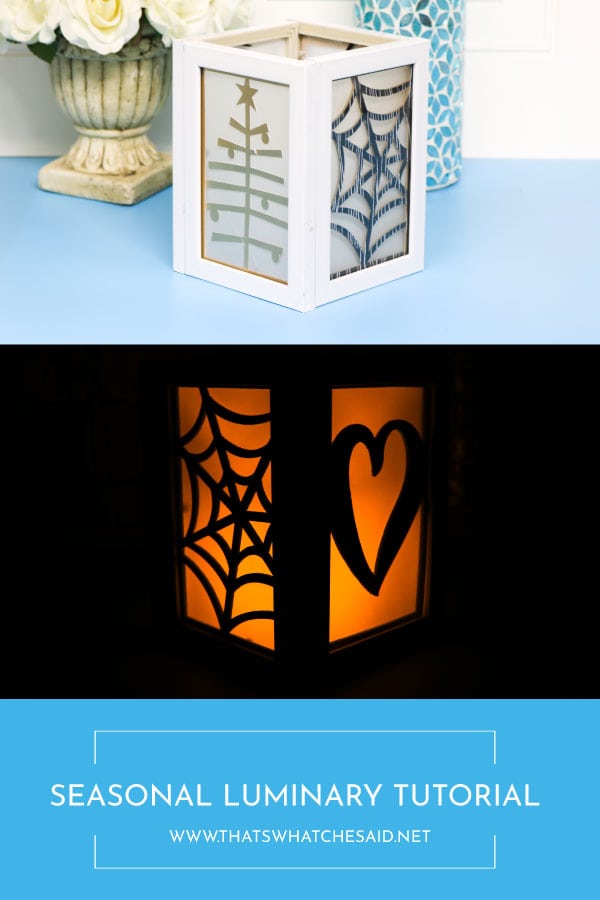
PIN SEASONAL LUMINARY
This is a sponsored conversation written by me on behalf of Cricut. The opinions and text are all mine.



Leave A Reply!