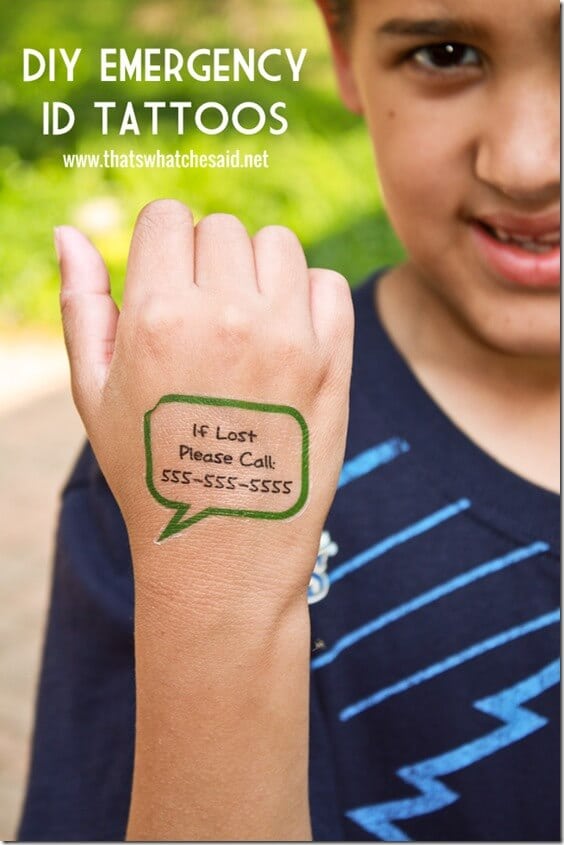
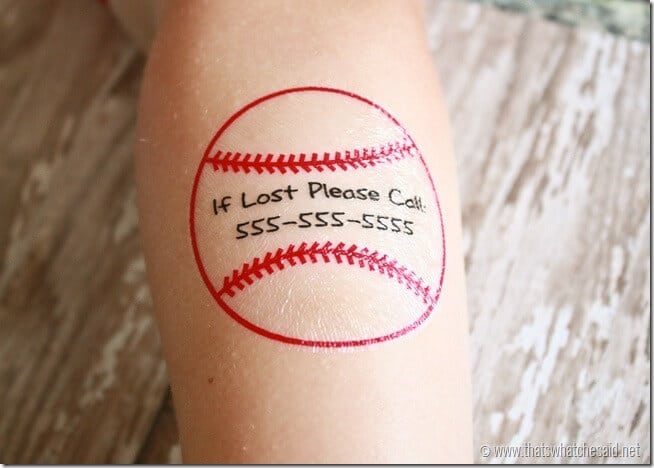
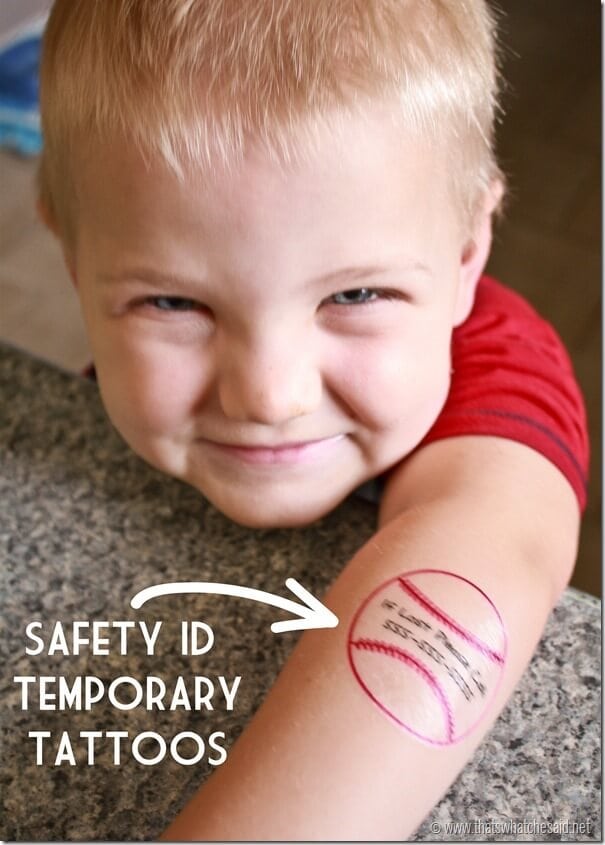
If you are headed to any vacation, amusement park, water park, festival or fair this year and you are taking small people, this post is for you! These DIY Safety Custom Temporary Tattoos are the perfect thing to add another level of security for your family
Losing sight of a small person can happen in an instant. They are short and can weave through crowds much faster than adults can.
They are following behind you and suddenly something catches their eye, they stop, you keep walking and the next thing you know they are nowhere in your sight! It can be scary!
Supplies for DIY Temporary Tattoos:
How to Make Temporary Tattoos:
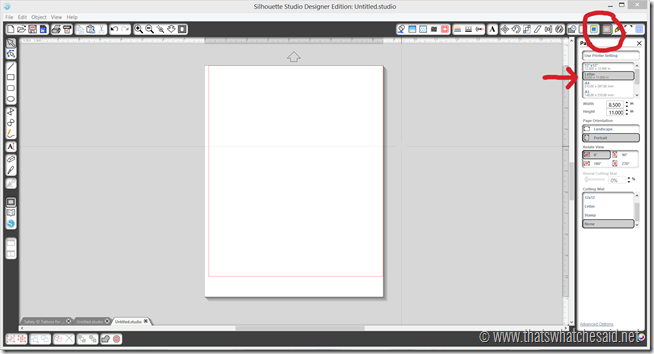
First I opened up my Silhouette Designer Edition Software (you don’t have to have the designer edition to do this!). You can find out more about the different kinds of upgraded Studio programs here.
I set my page to 8.5 x 11 size.
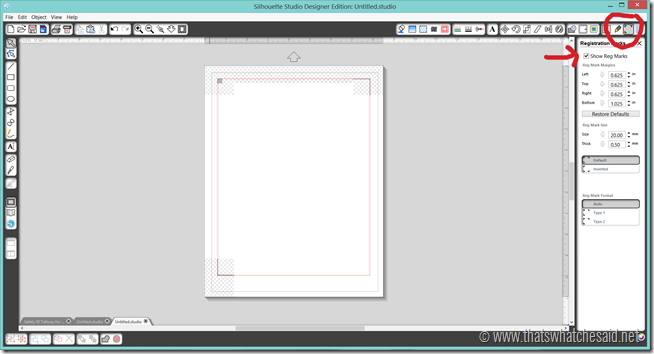
Then I clicked the box to “Show Registration Marks”. Any of that free space is yours to work with! .
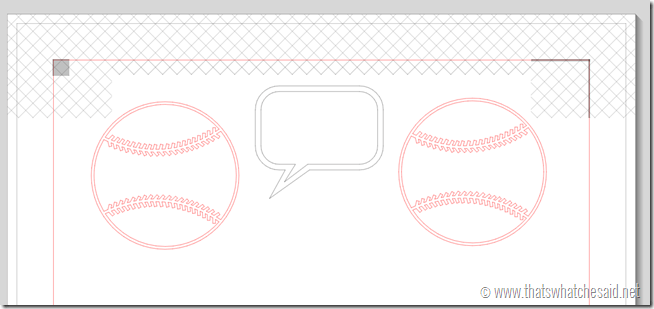
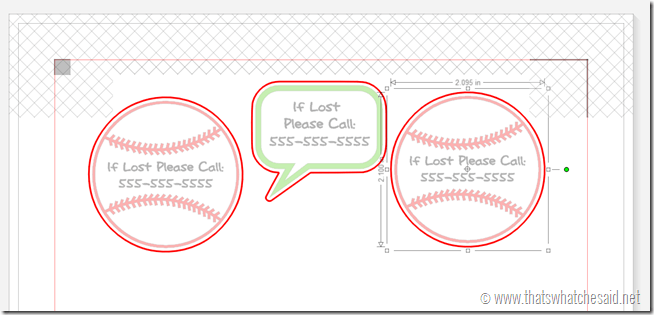
I opened up a baseball image. I *believe* this baseball image might have been one of the original 50 free shapes you get with your machines…but I could be wrong. If not, then you can find a baseball design here. I also used the “Talk” font and made a talk bubble and sized both appropriately.
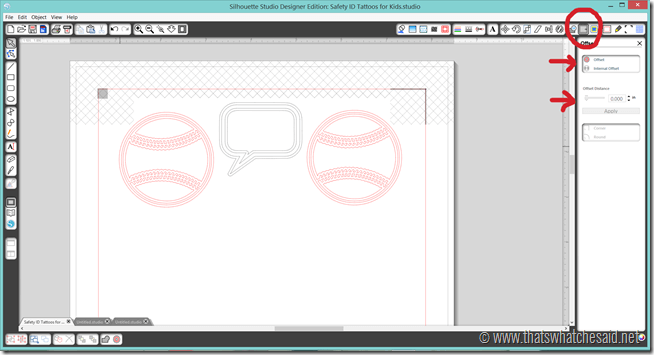
Next we need to add an offset to our designs. This is going to be where our Silhouette Machine cuts the tattoos. Because an offset makes lines on both the inside and outside of a design, we will then need to remove the inside lines so it does not cut there. This is how we do that.
Select your image, click the OFFSET TOOL, Select Offset and then adjust your Offset Distance to 0.050 and click apply. Repeat for all images.
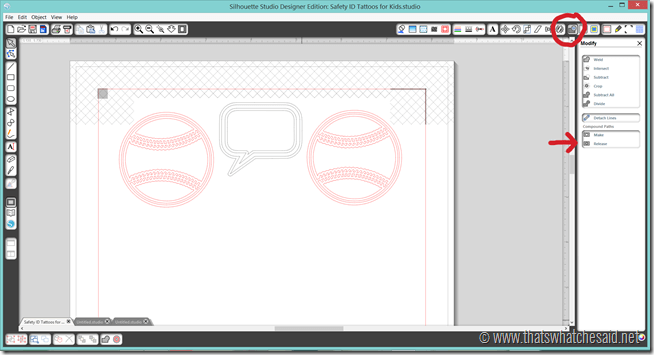
Next we need to remove the offset lines that are inside your design. To do this, select your design, and then navigate to the MODIFY TOOL, then select RELEASE at the bottom. That will release all the components of that design. Repeat for all designs.
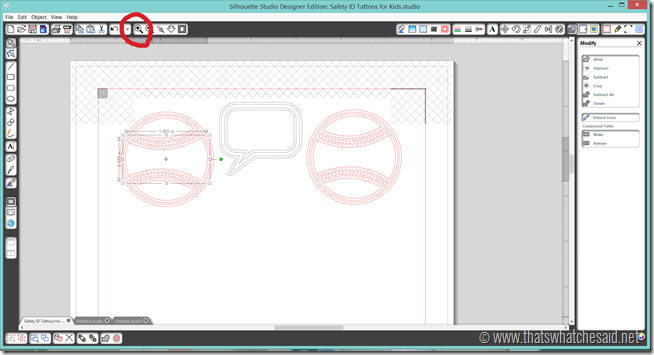
Now we have separate components we can carefully delete the inside offset lines. If you need to zoom in, do that so you can select the lines better! Simply select the inside lines and press delete.
Here is what your designs will look like after you remove all the inside offset lines.
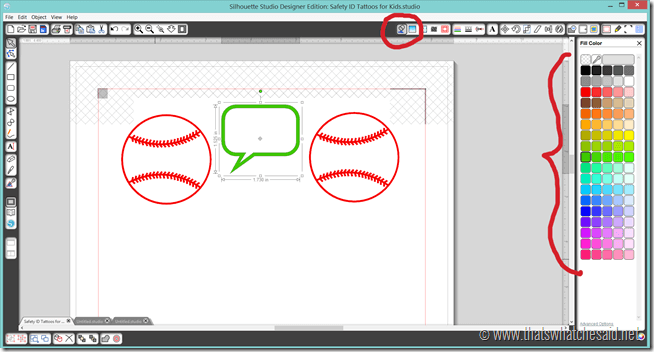
To fill these in with color for printing we need to go back and make our shapes again. So select your designs, go back to the MODIFY TOOL and select MAKE. Repeat for all designs. Then select your shape, go to the Fill screen and fill your designs with your color choices.
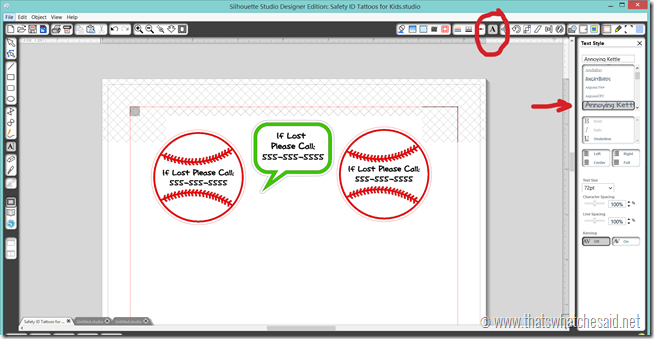
Using your TEXT TOOL, select your font, and add your emergency contact information. Resize to fit your design.
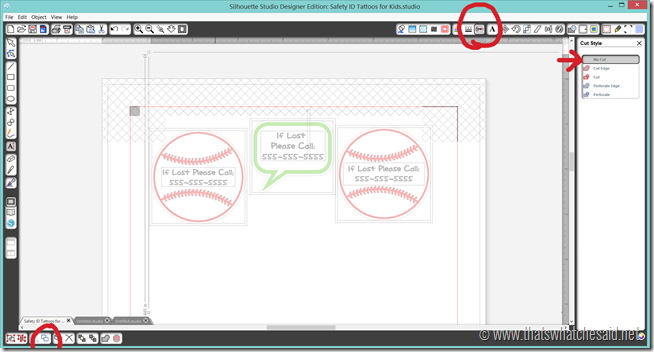
Now we need to tell the Silhouette where to cut. It’s smart, but right now it will cut absolutely everything on the screen! So we want ONLY our OUTSIDE OFFSET LINE to cut. To do this I select all of my designs and make them NO CUT on the CUT TOOL.
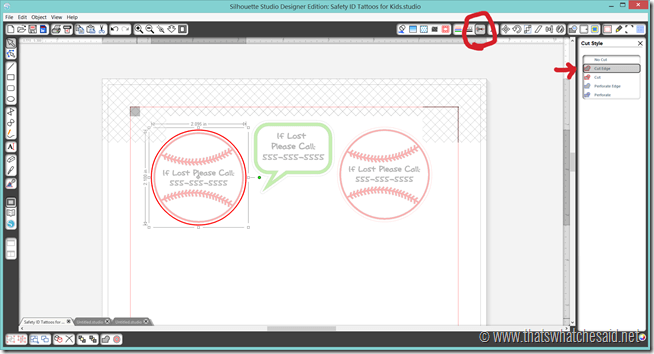
Then I go back and select the outside offset lines and make them CUT.
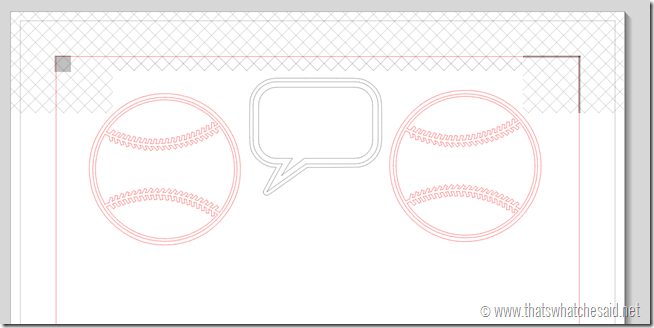
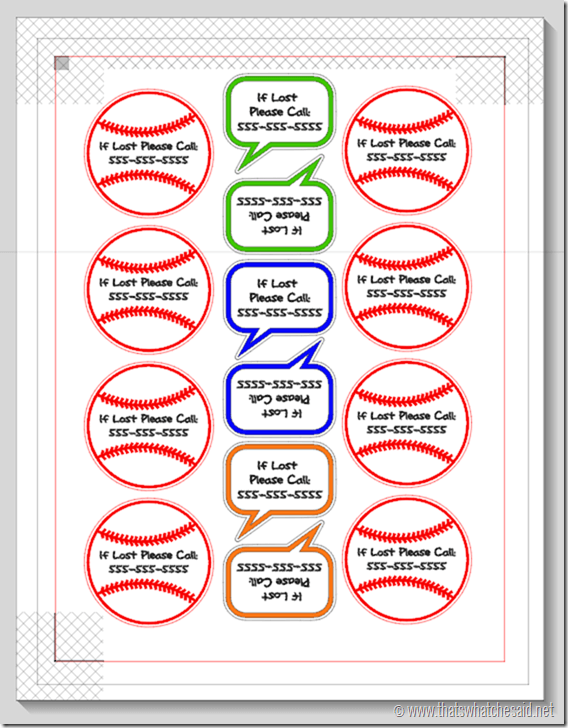
Then you have your designs to look like this:
It will now only cut those bolded red outside lines!
I duplicated and manipulated the designs to to fill the page up.
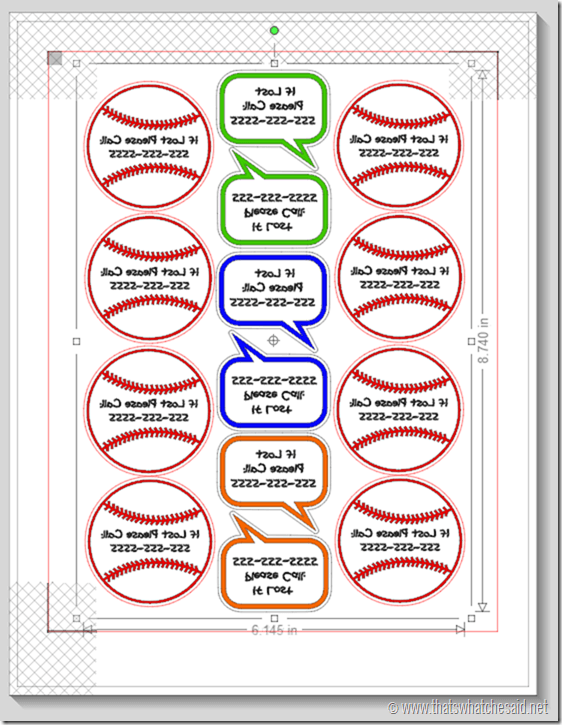
MOST IMPORTANT STEP: Select all of your designs and group them together. Then you will need to mirror them by right-clicking and selecting “Flip Horizontally” This is so important if you want your tattoos to read correctly on your small people’s arms!
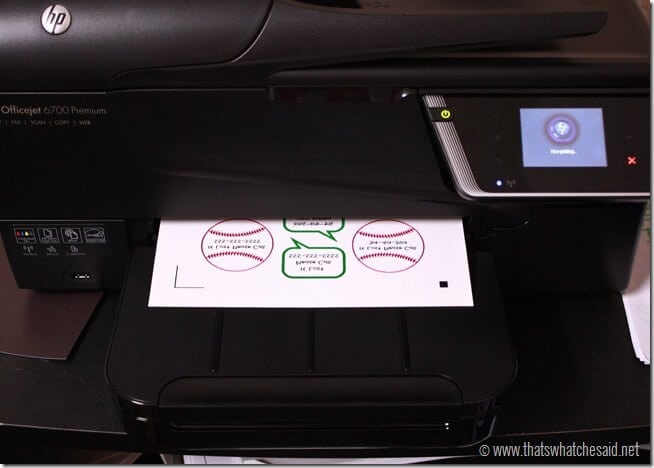
Then I print on my home printer using “Photo Paper” settings and it worked perfectly the first time. Make sure you feed the tattoo paper correctly into your printer depending on how your printer flips the paper (if it does) when printing.
When the ink was dry I applied the adhesive sheet on top of the printed piece. I smoothed out any air bubbles (which were very minimal) and then I fed it into my Silhouette CAMEO. I set my cameo to Tattoo Paper, adjusted the settings and cut!
I removed the plastic sheeting from the adhesive, placed on the small people’s arms and then applied a wet wash cloth. Removed the paper backing and Voila! There you have it!
