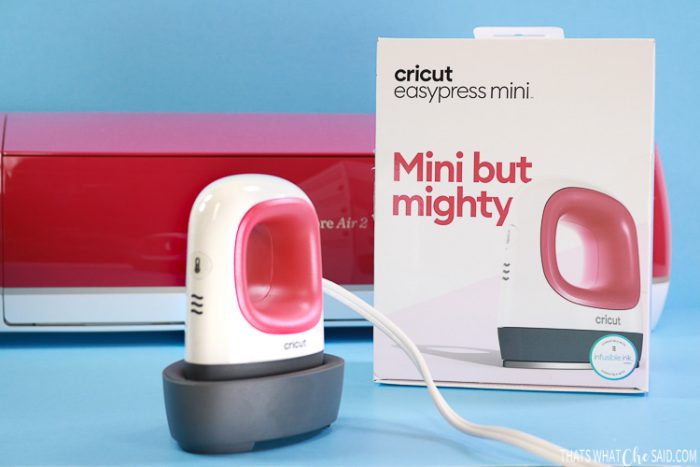
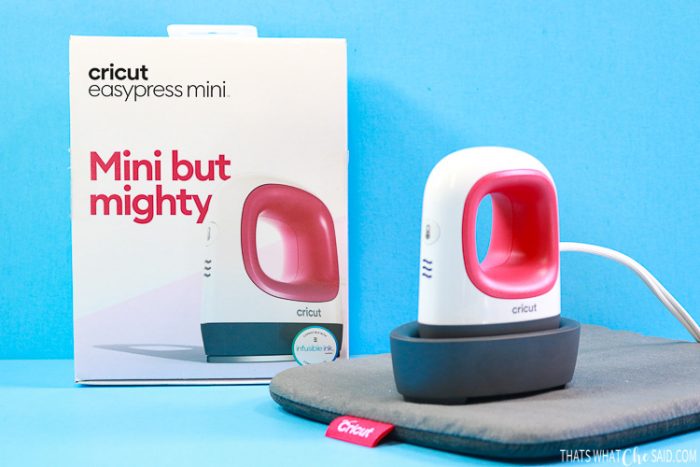
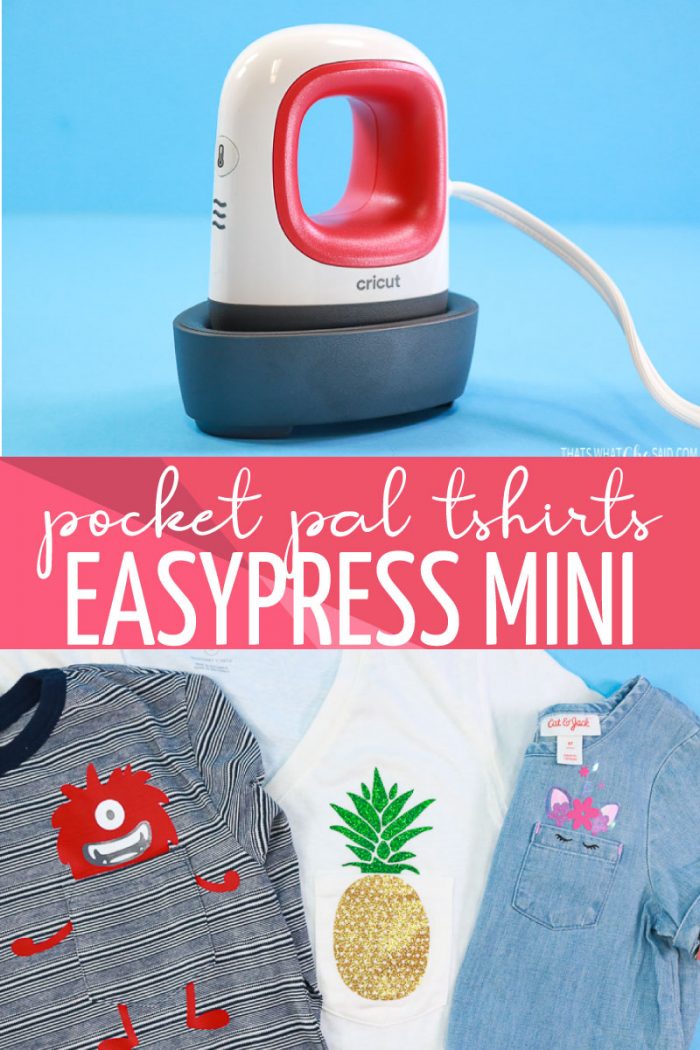
The perfect tiny iron for all those small projects is here! Whether you want to iron on with shoes, sleeves, cuffs, stuffed animals, hats or POCKETS, the Cricut EasyPress Mini is your answer!
Today I am making these adorable Pocket Pal T-shirts that otherwise were sort of a pain to make with larger heat presses! Those pockets are small and the seams really posed an issue with a larger heat plate! The newest edition to the Cricut EasyPress family, the Mini, to the rescue!
WHAT IS A POCKET PAL T-SHIRT?
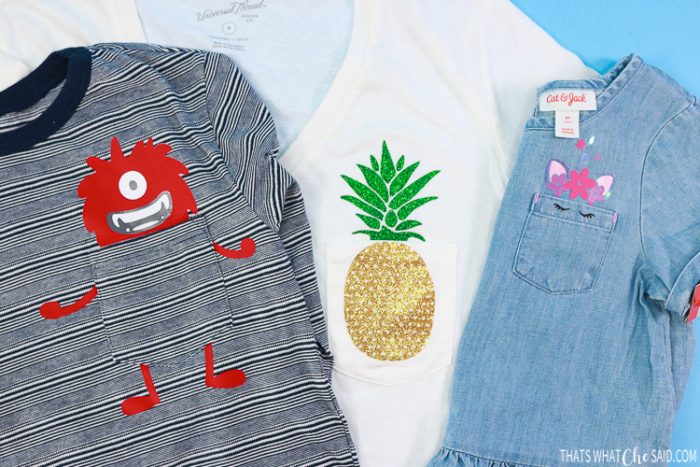
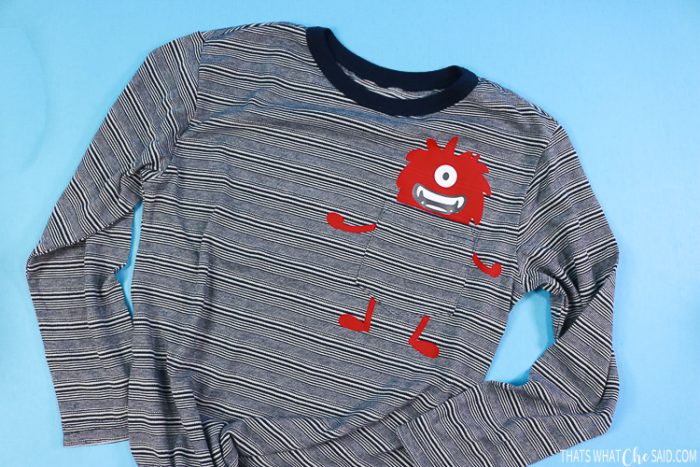
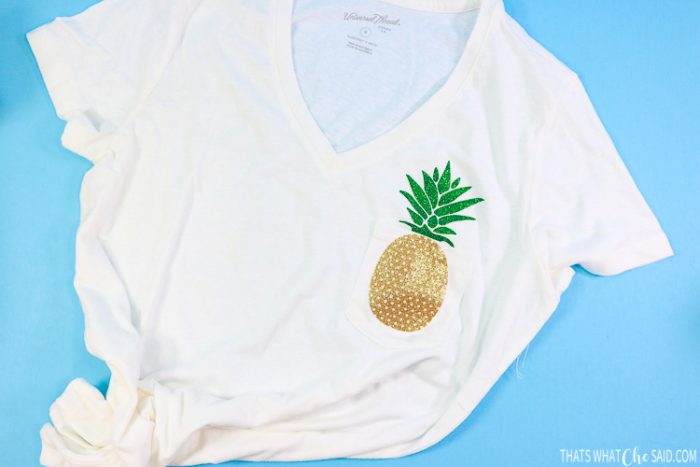
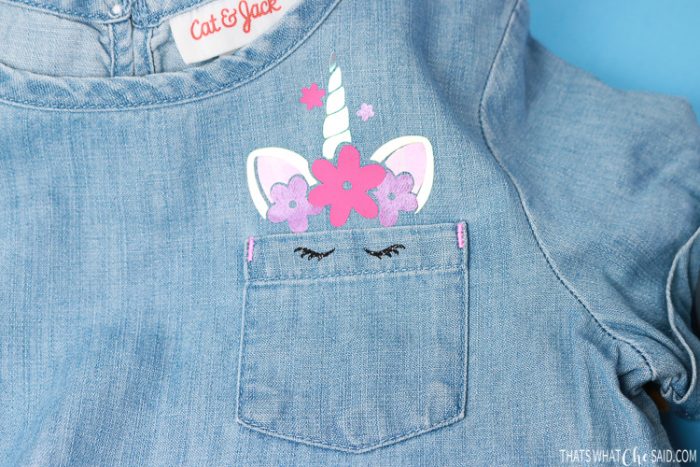
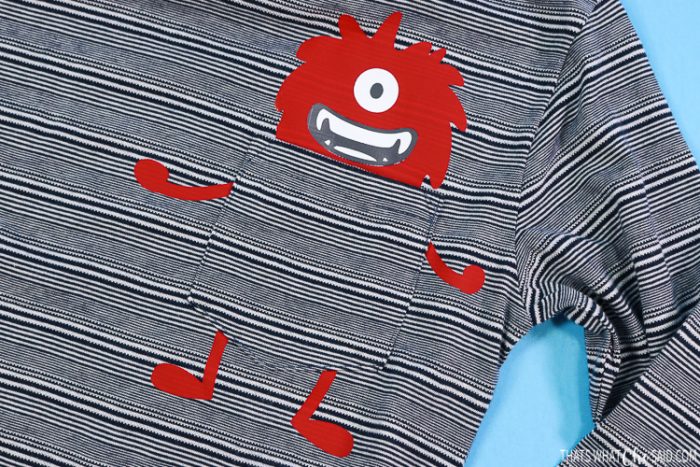
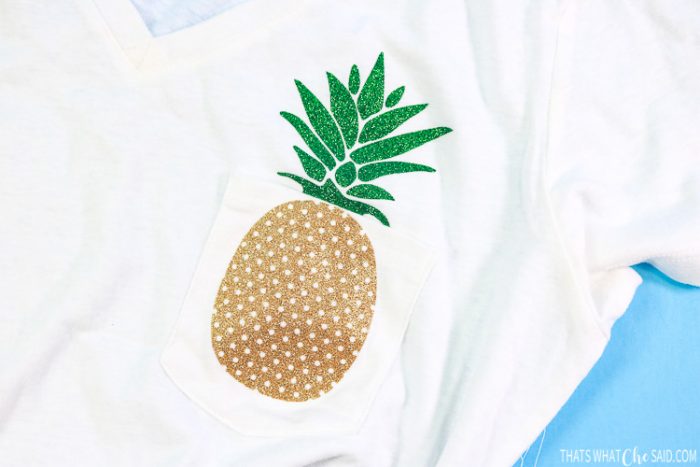
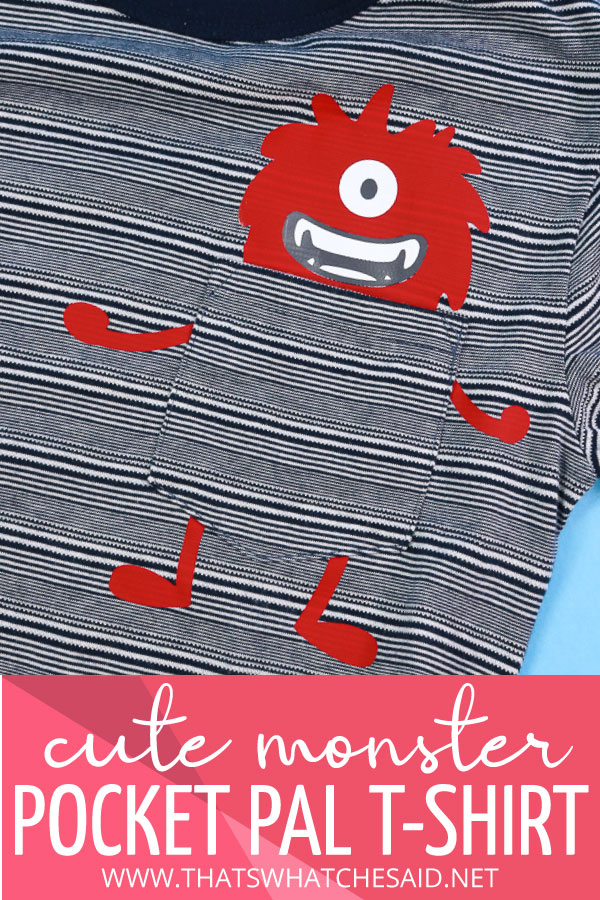
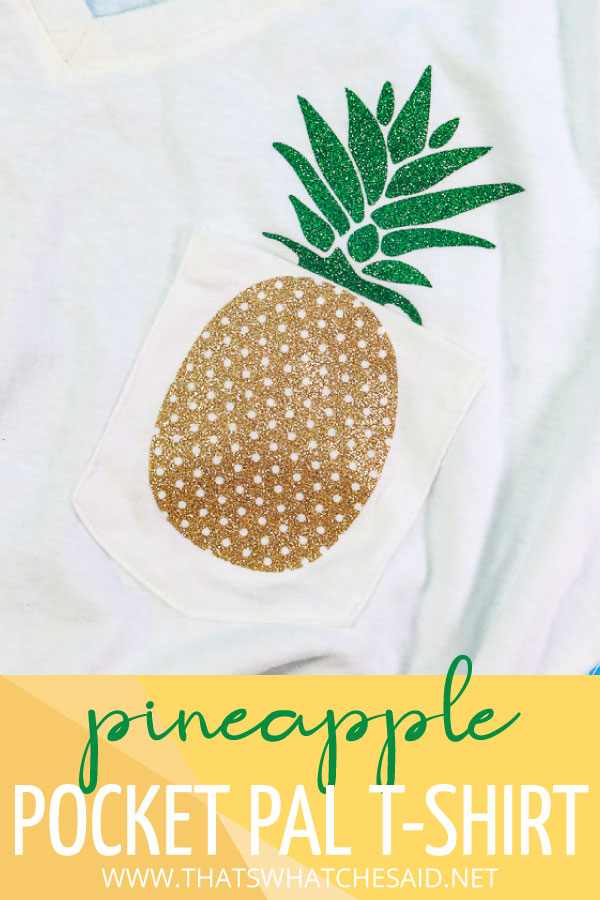
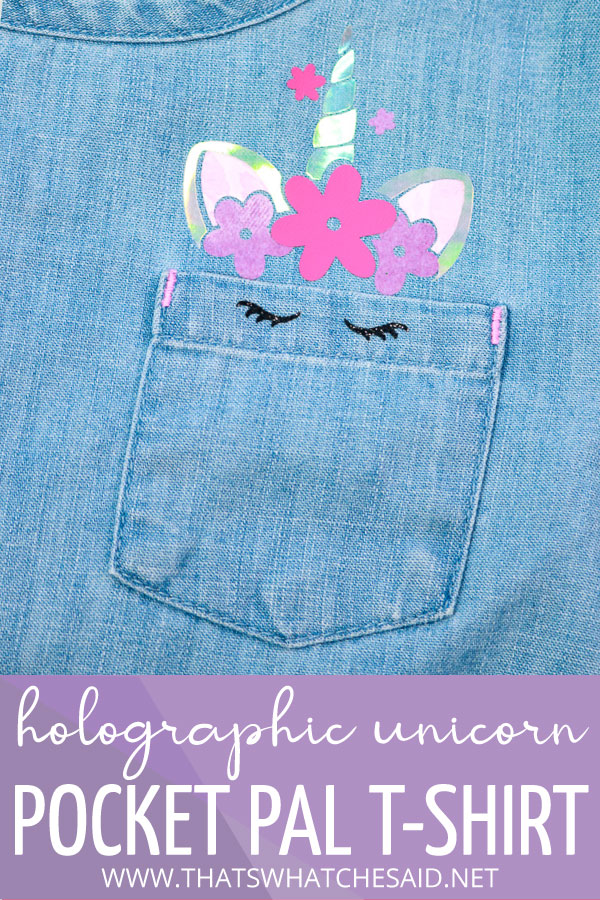
I’m so glad you asked! It’s any shirt that has a play on the pocket! Keep reading as there are three different versions here in this post! The monster has a body on all sides of the pocket. The Pineapple plays on forward/back dimension of the pocket and the Unicorn just peeks right out the pocket top!
Pocket Pal T-Shirt Supplies:
The general supplies you will need for a Pocket Pal T-shirt. Each individual project supply list are below!
MONSTER POCKET PAL SUPPLY LIST
- A T-shirt with Pocket (I used this Cat & Jack from Target)
- Red Everyday Iron-on – body color
- Grey Everyday Iron-on – mouth and pupil
- White Everyday Iron-on – teeth and eyeball
Grab the Monster Pocket Pal Design in Cricut Design Space here!
PINEAPPLE POCKET PAL SUPPLY LIST
- A T-shirt with Pocket (I used this one from target)
- Gold Glitter Mesh Iron-on
- Green Glitter Iron-on
Grab the Pineapple Design I used here in Design Space
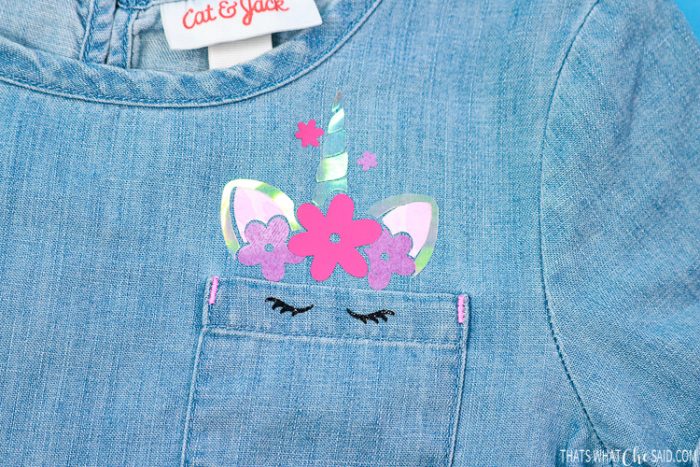
UNICORN POCKET PAL SUPPLY LIST
- A T-shirt with Pocket (I used this Cat & Jack from Target)
- Holographic Iron-on
- Pink Patterned Iron-on
- Purple Patterned Iron-on
- Magenta Everyday Iron-on
- Black Glitter Iron-on
Grab the Cricut Design Space File for this Unicorn Pocket Pal here!
Don’t feel like you have to stick to shirts either! Jeans and short pockets would also look adorable with a pocket pal added to them! Also any pockets on tote bags or backpacks!
How to Make a Pocket Pal T-Shirt
Time needed: 15 minutes
Create cute pocket pals to adorn your favorite t-shirt or pants pocket!
- Choose your design and open in Cricut Design Space
I have included all the files that I used in the supply lists above! Feel free to use these or design your own! Cricut Design Space has over 100,000 images in its library!
- Resize and click “Make It”
Resize the design to your pocket size and then the green Make It button in the upper right-hand corner of Design Space.
- Cut the designs
***BE SURE TO MIRROR YOUR IMAGES!***
Mirror your mats and click continue. Connect your machine, select your material and cut your mats.
NOTE: You may need to change your material from mat to mat if using the same materials I have listed above. Find detailed instructions on how to cut iron-on with a Cricut here. - Weed the designs
Using a weeding hook, remove the excess material leaving only your design on the carrier sheet.
- Consult Heat Guide for recommended settings
Head to the Cricut Heat Guide. Select the EasyPress Mini then select your iron-on material and then finally your fabric material and note the temperature level and time to press. Turn on your EasyPress Mini to recommended heat level.
- Press your Layers
You may need to trim the carrier sheet very close to the iron-on to get it in the correct place on the pocket.
Monster: Head goes on top of the pocket, arms on the side and legs below.
Pineapple: Base of pineapple goes on the pocket, ferns go on shirt behind the pocket.
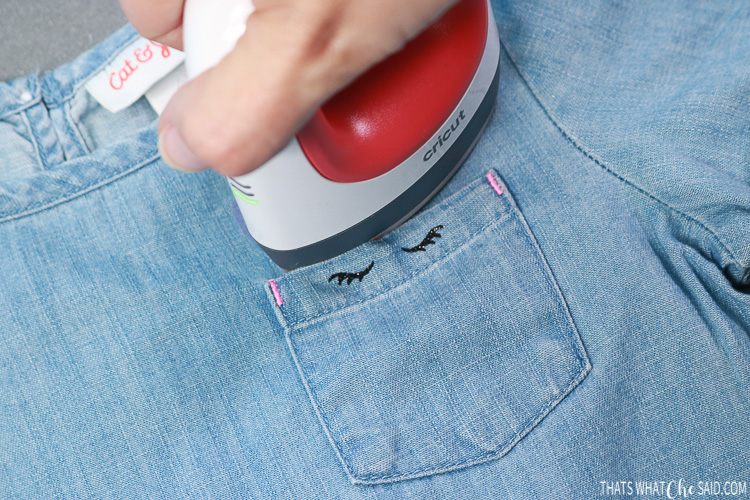
Unicorn: Eyes go on the pocket hem, head goes on shirt behind the pocket.
Be sure to place the back design (monster head, pineapple ferns, and a unicorn head) down inside the pocket a small bit so there is no shirt line showing. - Remove Carrier Sheet
The heat guide will tell you if you should warm or cool peel your carrier sheet! Repeat steps 5 and 6 for any additional layers. You may find a detailed tutorial on how to correctly layer iron-on vinyl here.
The monster is so darn cute my youngest son LOVES this shirt! I used red because it is his favorite color but feel free to use your small person’s favorite! A patterned iron-on would look cute here also!
I am a huge pineapple lover, you may know that by now so this shirt is for me! I love the way the mesh iron-on turned out but was really debating between the mesh and the new holographic mosaic in circles! I might have to make another one!
Oh my goodness this unicorn! She is the cutest! The holographic iron-on I used for the horn and ears is BEAUTIFUL in real life but a real beast to capture on the photograph! The patterned iron-on for the inside of the ears and the flowers looks so good in coordination with the Everyday Iron-on and Holographic. Of course, the lashes had to be glitter!
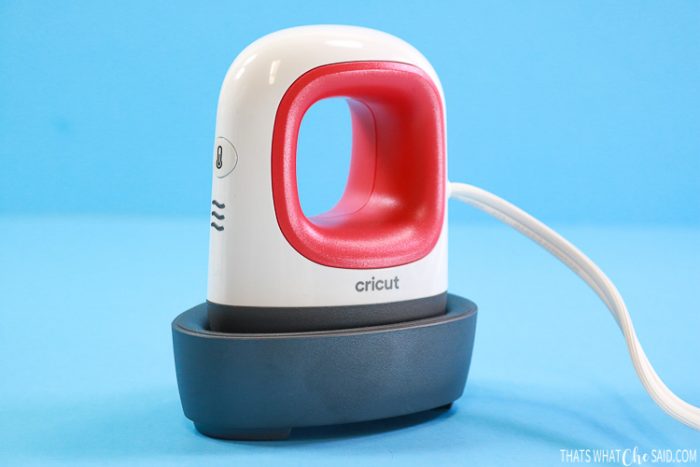
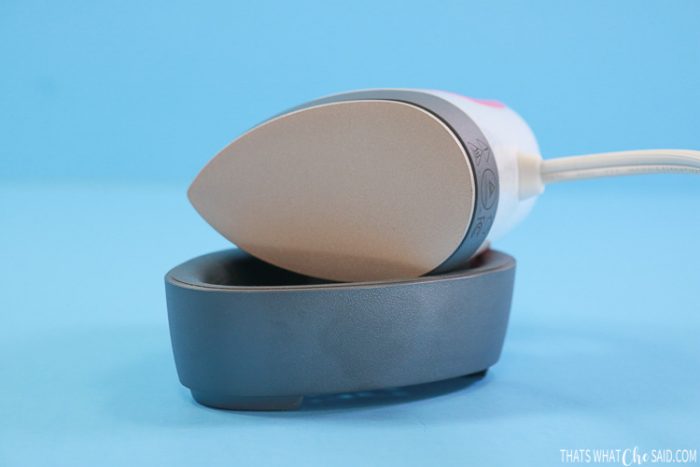
Cricut EasyPress Mini offers the same benefits and technology as the Cricut EasyPress 2: even heat plate and easy-to-use heat settings for effortless heat transfers. However, with the smaller size and pointed tip, you are able to easier apply iron-on to smaller areas with precision!
Between these three shirts, I used these types of iron-on and the mini was perfect for each: holographic, mesh glitter, glitter, Everyday and patterned.
Tips for using the EasyPress Mini:
- The smaller area and pointed tip allow you to get under the pocket flap. A larger press would not fit. In addition, the smaller area allows you to miss the seams and allows a smooth uninterrupted area to press.
- In the past, we have said to press and stay stationary. For the mini, if you are pressing an area larger than the surface area of the mini, use continuous motion in order not to leave seams in the iron-on from the edges of the plate.
- The mini works great for shoes, hats, stuffed animals, pockets, cuffs and any other smaller or non-flat surface. The ergonomic handle also allows for right or left-hand use with ease!
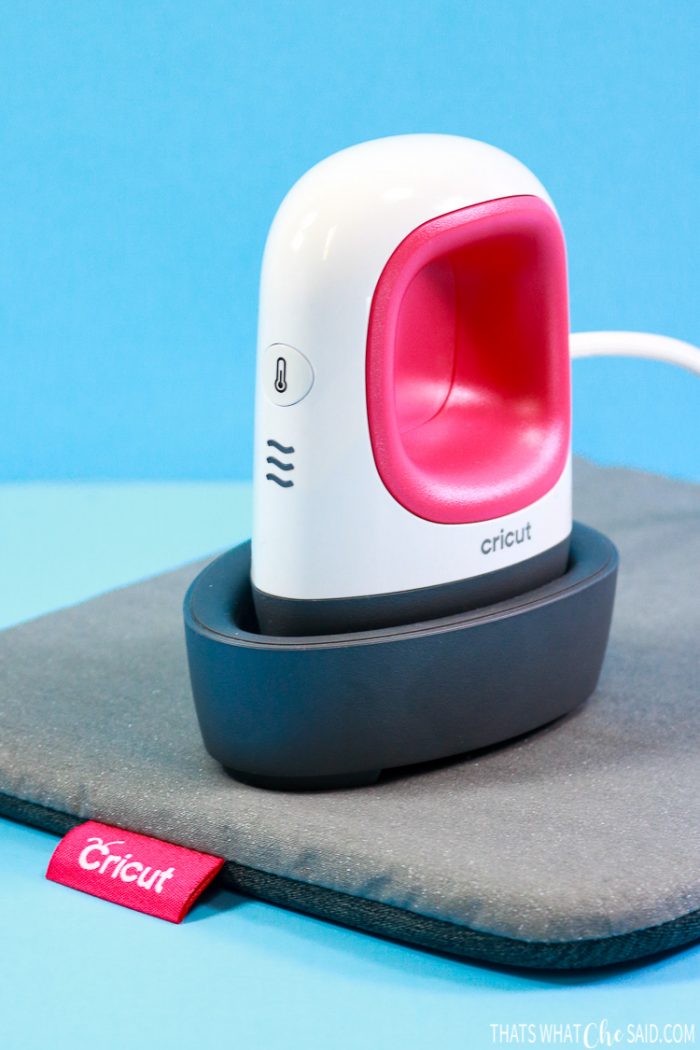
- The mini works on any size of the EasyPress Mats!
- Click the power button to cycle through the three heat levels and finally a 4th time to turn off. The power light and temperature level will remain red until the EasyPress Mini has reached temperature.
- The EasyPress Mini has an auto-off feature and base for safety.


Leave A Reply!