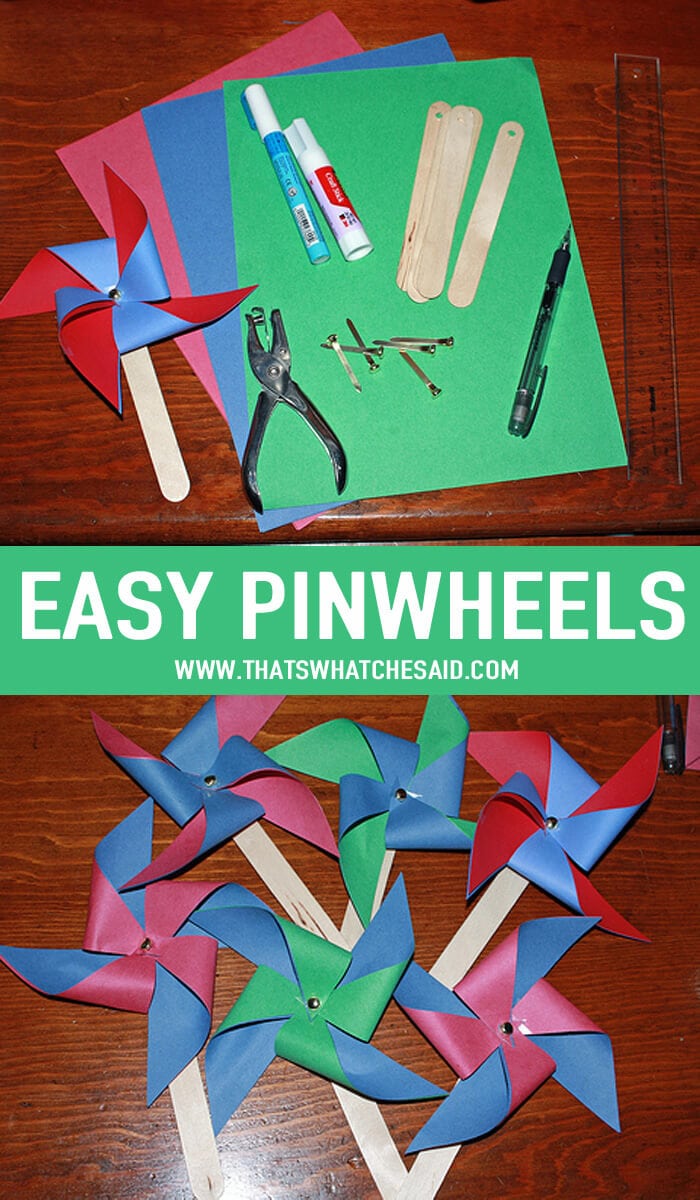
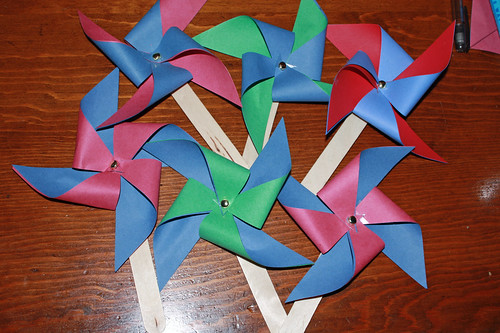
I wanted a fun element to the add to the kids lunch pails for Ryan’s first birthday party and thought some cute pinwheels would do the trick! Since these were for small kids, I did not want to use any pins so I came up with this fun way and am sharing How to Make a Pinwheel with you all!
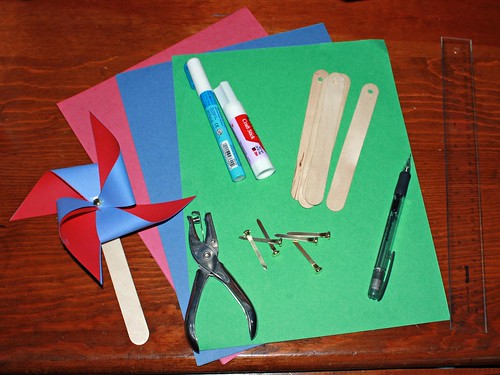
Items Needed to Make Pinwheels:
- 2 different patterns or colors of paper
- hole punch
- ruler
- pencil
- scissors
- brads
- large craft sticks (tongue depressors)
- tape or clear reinforcements
First I fcut two 5″ x 5″ squares from my paper and glued them together with a glue stick, pretty sides facing outwards. I drew a line from each corner to the opposite side resulting in a giant X. I measured 3″ from each corner towards the center and then cut along that 3″ mark. Because I was not using the pins, I hole punched every other point and reinforced with clear tape. I also punched a hole in the center of the X. This one did not need reinforcing because it was in the center.
Freddy drilled holes in the craft sticks for me. It is recommended to drill a small pilot hole first and then widen to fit the brad to avoid cracking the craft sticks.
Gather all corners with the holes punched and align with the center hole and push the brad through. Add the craft stick behind the pinwheel and push the brad through the hole in the craft stick. Bend the brad prongs outwards to hold the pinwheel on the craft stick.


