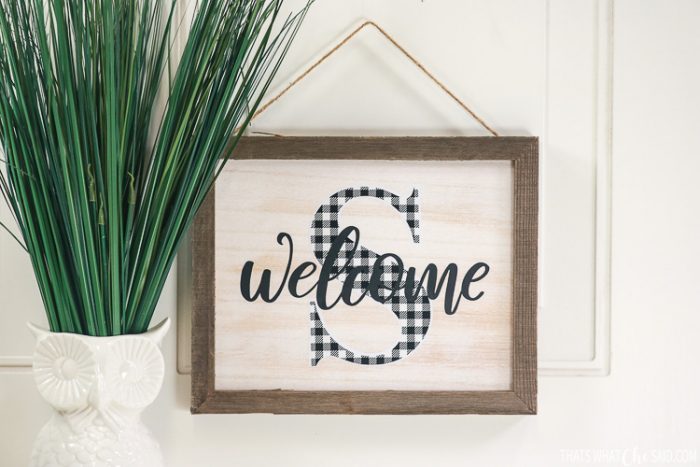
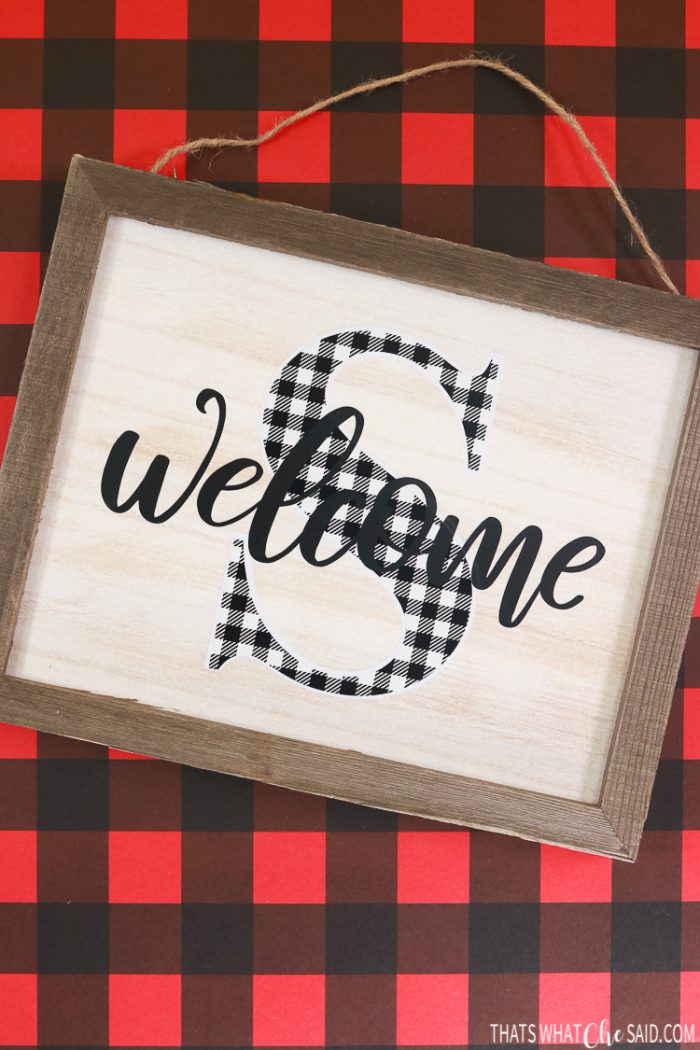
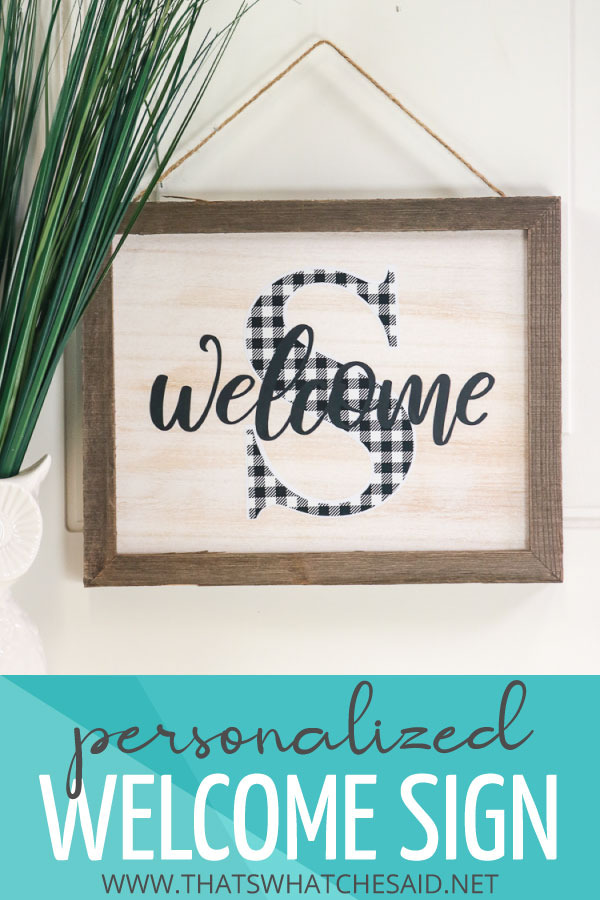
A personalized welcome sign is the perfect gift idea for any occasion! These can be great for weddings, housewarming gifts, hostess gifts, Christmas gifts and so much more! Personalized welcome signs can be used indoors and outdoors for custom decor!
Using these links, I earn a small commission at no additional cost to you.
This post is sponsored by Expressions Vinyl. Opinions are 100% my own.
I used a premade sign I picked up at my local craft store but my friend Kim has a great tutorial for making your own sign from scratch here.
Ways to create a personalized welcome sign
There are many different ways you can finish this sign. You can cut a stencil and use that to paint the design.
You can use iron-on, yep I said iron-on, like my friend Heidi, does for this wood sign.
Today I am going to use adhesive vinyl from Expressions Vinyl to complete my sign! If you are new to vinyl you can check out my Vinyl 101 – Vinyl Basics post and more on my Adhesive Craft Vinyl page!
I love the patterned vinyl in combination with the solid for this sign and there are so many fun patterns to choose from at EV! I love their selection! It is easy to customize this personalized welcome sign to any season, decor or holiday!
Personalized Welcome Sign Supplies
- Sign
- Paint/Stain and Brush if making your own from scratch or if your premade sign is naked.
- Adhesive Vinyl {Patterned | Solid}
- Transfer Tape
- Scraper
- Weeder
- Cutting Machine { Cricut | Silhouette}

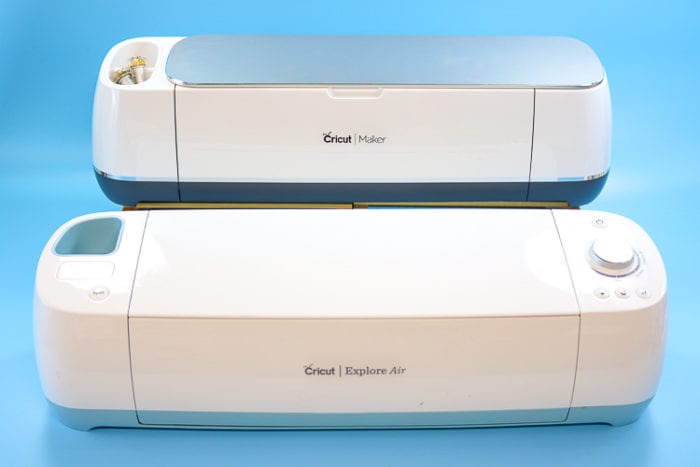
Today I am using my Cricut Maker (you can also use a Cricut Explore Air 2) and Cricut Design Space (free to download) to make this sign. You can easily make this in Silhouette Studio also following the same technique!
NOTE: You can use your system fonts with Cricut Design Space! When you select your font from the drop down, be sure “System” is selected and you can see all the fonts on your computer!

How to Make a Personalized Welcome Sign
Time needed: 30 minutes
Make a personalized welcome sign using a premade sign and patterned and solid adhesive vinyl.
- Prepare your sign
If you are using a pre-painted sign you are good to go. If your premade sign is naked, paint the inside and the frame as you wish with paint or stain and let completely dry before moving on.
- Prepare your Design
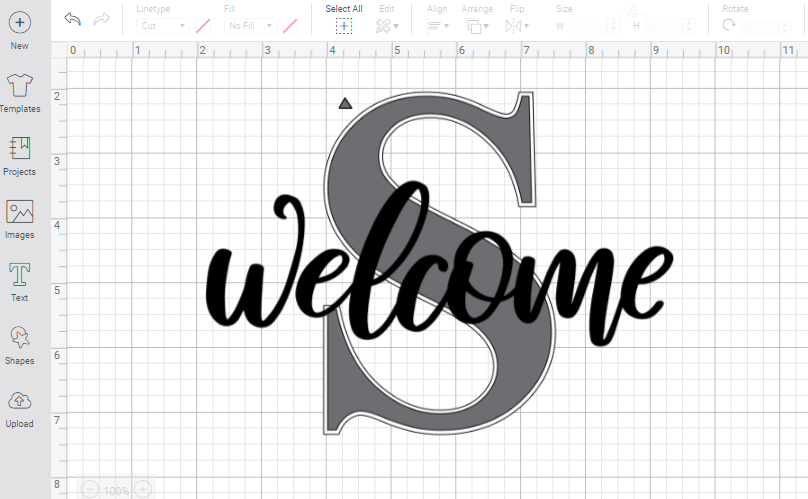
I chose basic Times New Roman for the last name initial and then a more scripted font (Raustila font) for the welcome. I sized both appropriately to my sign and then clicked Make It in the upper right corner of Design Space.
- Cut the Adhesive Vinyl
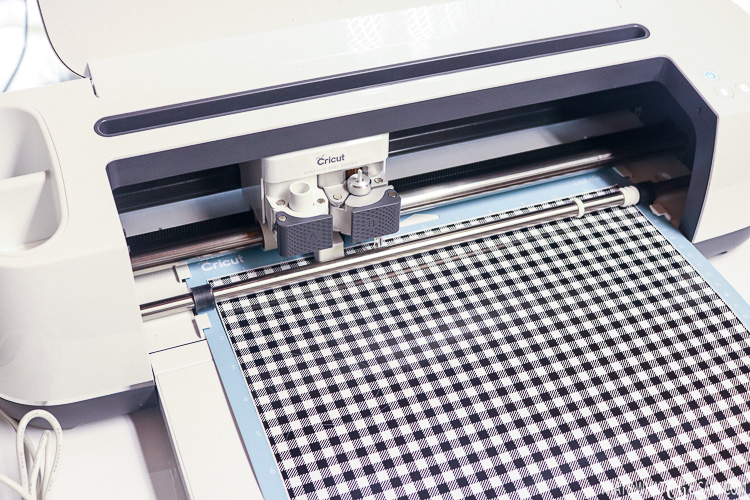
I selected to continue through the Mat Screen and then connected my machine, selected my material and cut my designs. You may find detailed instructions (+ video) on cutting adhesive vinyl on a Cricut here.
- Weed the Vinyl
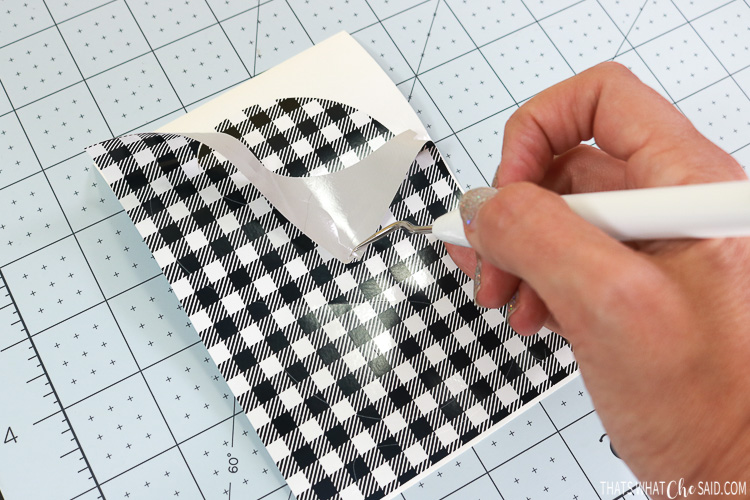
Using a weeding hook, remove the excess vinyl from your design leaving only your design on the paper carrier sheet.
- Use transfer tape to apply the vinyl design
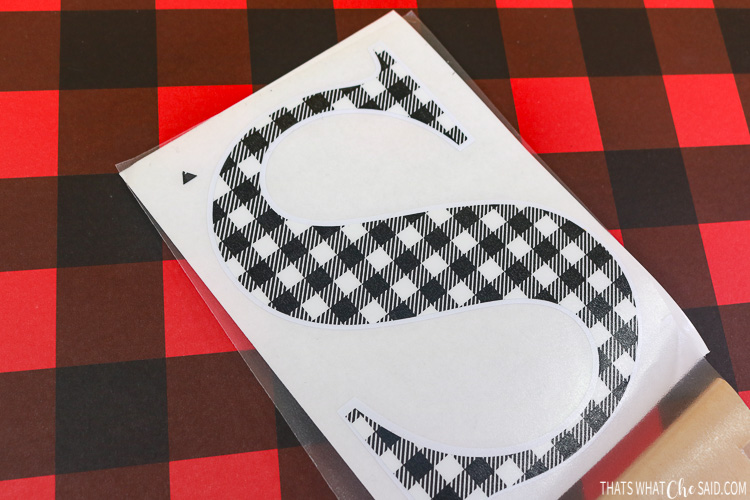
Using transfer tape, apply each layer of vinyl to the sign.
Detailed tutorials:
– Applying Adhesive Vinyl
– Best tips for Layering Adhesive Vinyl - Add optional ribbon embellishment
If you would like, add a bow or more decorative ribbon to your personalized welcome sign. Now your sign is ready to hang or to gift!
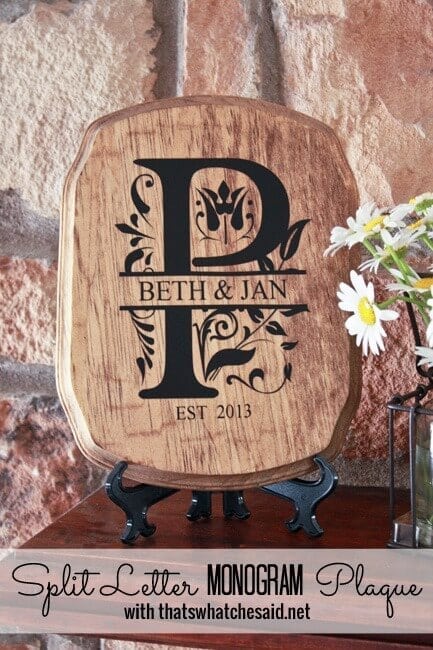
You can find a huge selection of personalized gift ideas at Expression Vinyl as well as some of my favorites:



Comments & Reviews
Laurie Crowninshield says
I love this site. I wanted to sign up for emails, but it said the email feature was deactivated ? How can I receive future emails?
Thank you,
Laurie
Cheryl Spangenberg says
Hi Laurie, Not sure where that showed you that message but you can sign up here: https://www.thatswhatchesaid.net/subscribe/
Barb Leonard says
Very cute project. I see there is an outline of white for the ‘S’. Can you please tell me if there is an easy way on design space to do that? Would bolding it work for the white? Or is there another trick? Thank you!
Cheryl Spangenberg says
Oh Barb, you are asking the question we have begged Cricut for years! Offset. Unfortunately, no, I did the S and the white offset in Adobe Illustrator. Sometimes, you can have luck with just making a larger S in Design space and placing it behind but that is depending on how the font itself grows as you enlarge it. I am sorry I couldn’t be more help. I am still sending all my “offset” vibes to Cricut Team, lol!