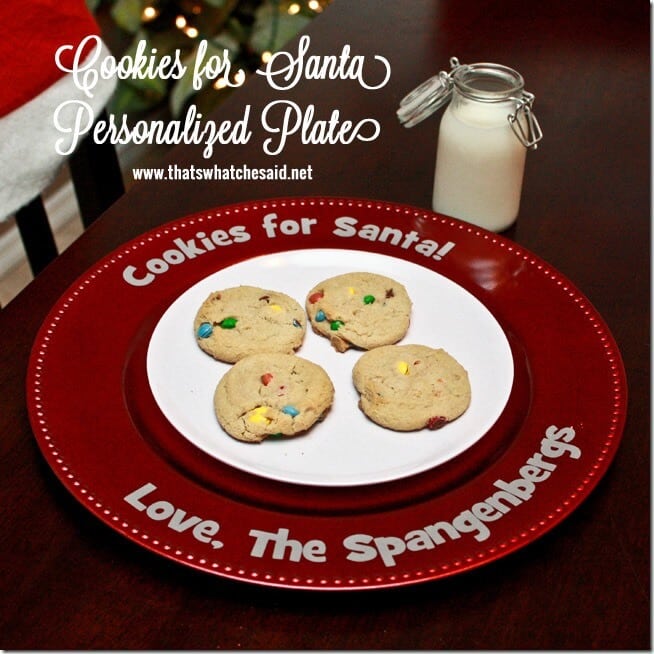
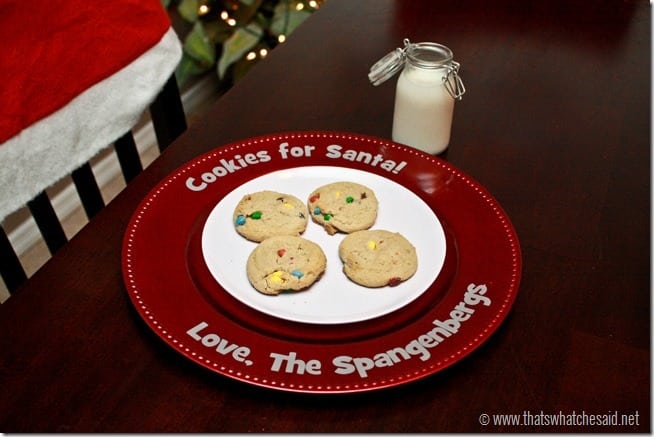
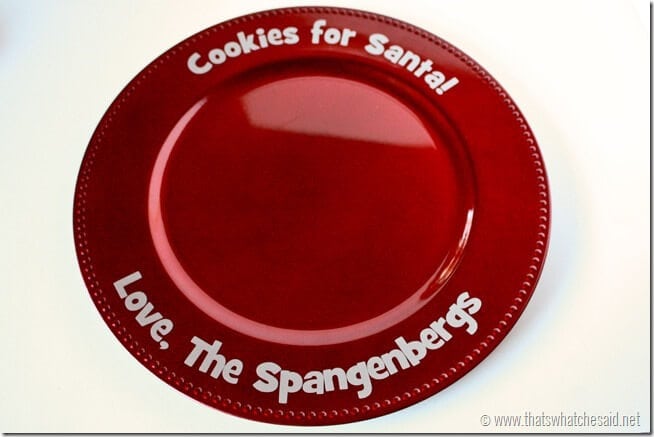
I shared a sneak peak of my personalized Cookies for Santa Plate when I shared the awesome Silhouette Deals that are happening right NOW, through Dec 8th. Today I am going to show you how I made my wording curved to wrap around my plate and share some hints I learned.
Supplies Needed:
- Charger Plate (Dollar Tree)
- Vinyl (I used Silver)
- Transfer Paper
- Ruler
- scratch paper and pen
OK so we have to talk numbers here first. In Silhouette software you use a circle to make your arc so we nave to have the right sized circle in order to look correct on our plate. We can’t just measure the plate because then our letters wont’ be centered. We can’t just center them without figuring out how tall our letters will be so we have to make a calculation first.
First you will have to measure your plate’s diameter. So just edge to edge. Like measure from the 9 to the 3 position on the clock :) Write that number down. Next you will want to measure about how tall you want your words to be. I chose 1 inch to make it easy. Finally I measured the width of the “lip” on my charger. The area I am putting my words. Write that number down too.
So to calculate your magic number for your curve do this calculation (its not hard!):
Width of the Lip of the Charger – height of letters = margin
Diameter of Plate – Margin – (2) height of letters = magical curve number
So for my 14” Diameter plate with 1” words with a 2 “ lip, my calculations are as follows:
2” =1” = 1 inch margin
14 inch diameter – 1 inch margin – (2)1 inch height of letters = 11 inches is my magical curve number.
I then made a screencast to show you how easy it is and explain it a bit better.


Leave A Reply!