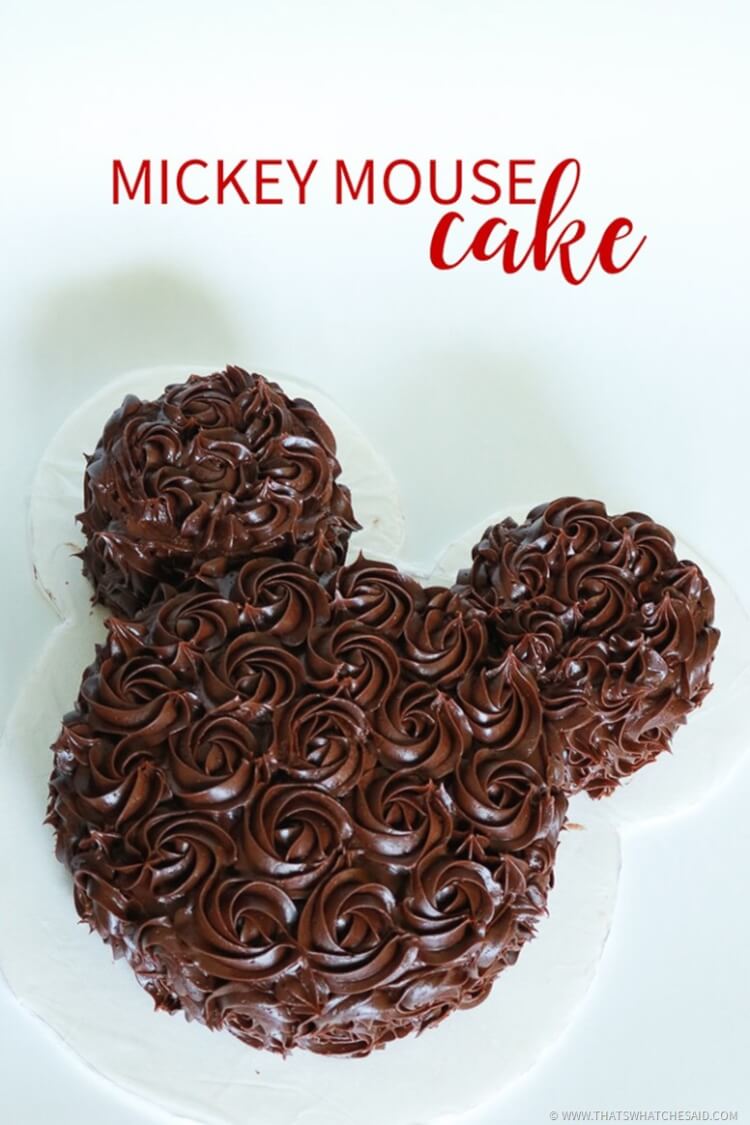
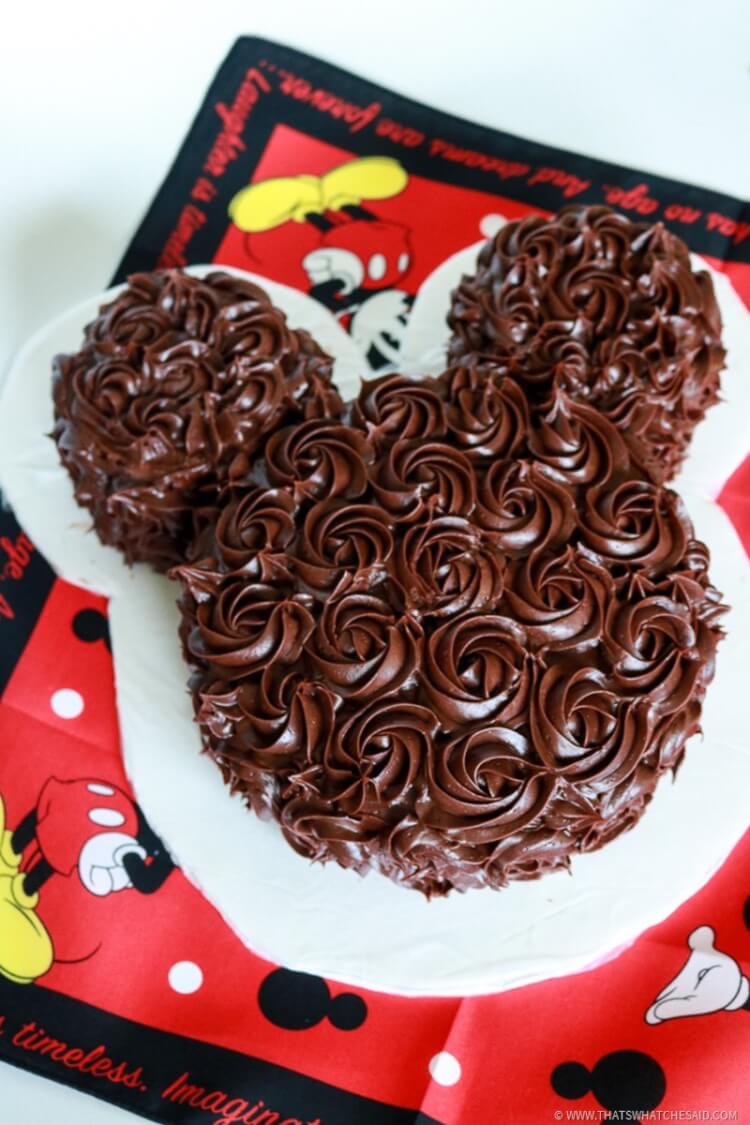
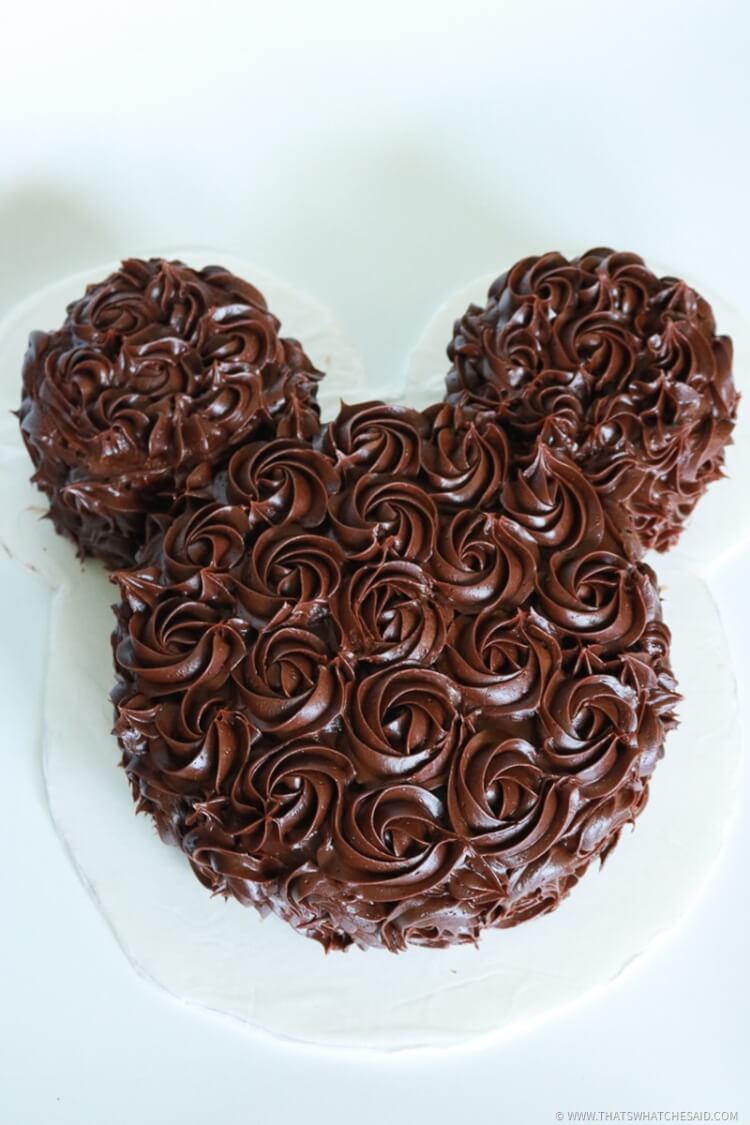
Make a fun and classy Mickey Mouse Cake for your little ones next birthday! Who says it has to be primary colors and cartoonish? This cake is classy and fun and every one knows “We’ve got ears, say Cheers!”
Guys, it happened. Spangenbaby turned 2. I am not sure how it happened or why it happened because I surely did not agree to this growing up stuff! Goodness! It happened and so we celebrated anyway!
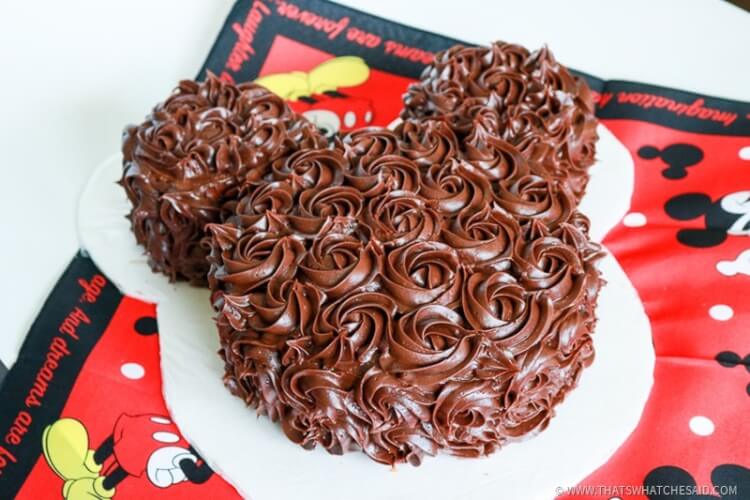
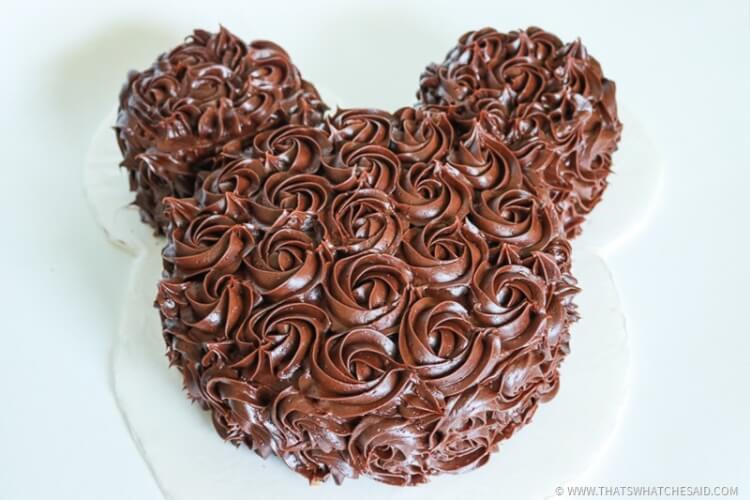
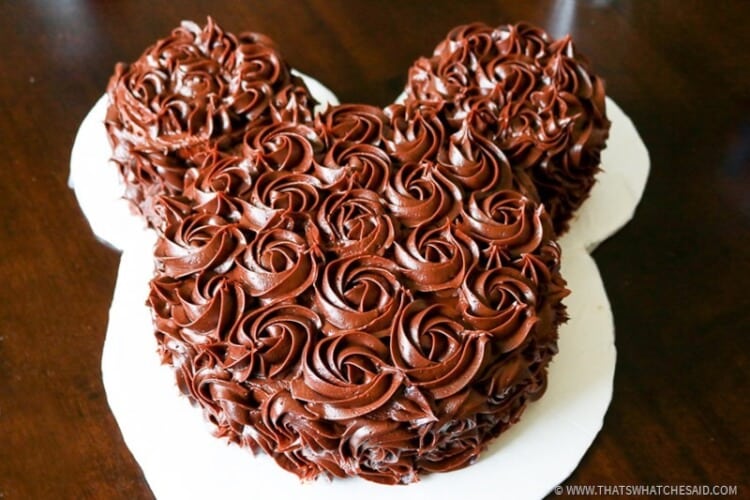
I have always wanted to make one of those beautiful cakes with the icing roses. I never seem to have the opportunity to actually do it, so when I knew we were having a Mickey themed party, it dawned on me that I could make mickey out of circle cake pans and these beautiful rose flowers! Finally!
Since he is only two all he saw was the giant Mickey cake. He had no idea I was getting my way with the icing roses! It was a total win-win situation! This cake is actually SO EASY! Seriously. If you can squeeze icing in a circle…you can do this! I have added links to the products I used below!
Supplies needed for Mickey Mouse Cake:
- Wilton Mini Springform Pan Set – I chose to purchase these so I could use them for other treats. You can also just use the mini cake pans!
- (2) Wilton 8” cake pans
- Your favorite box cake mix – 2 boxes
- Your favorite chocolate or fudge icing
- Wilton Angled Spatula
- Foam Board for Cake Base
- Press-N-Seal (optional)
- 1M Icing Tip
- Large Ziploc Bag or Icing Bag
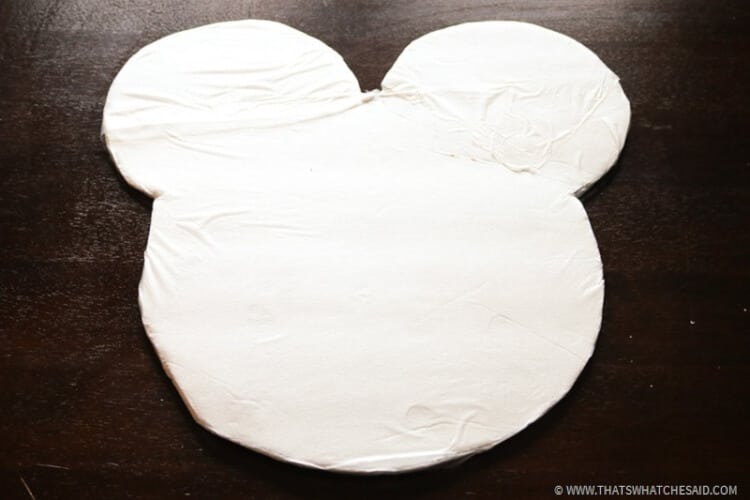
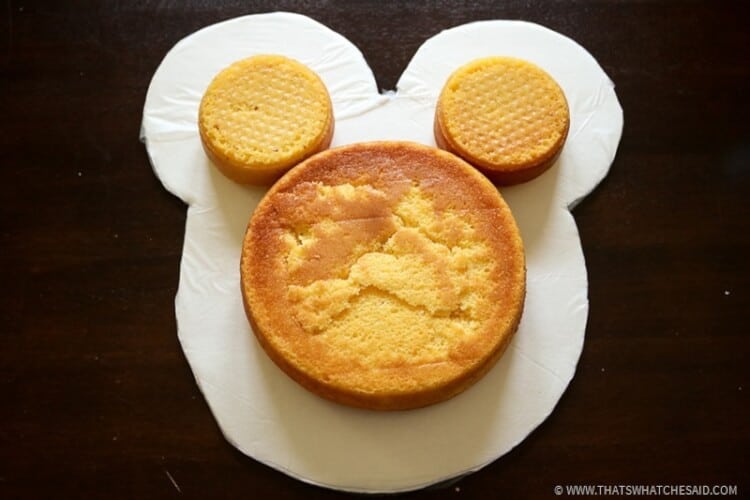
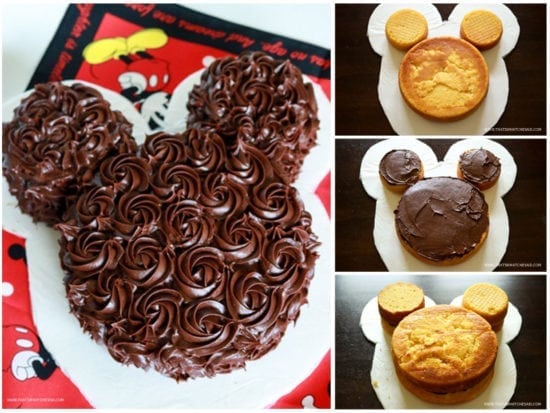
First things first, I needed a cake board to put my masterpiece on. I opted for the easy way and I used foam board from the Dollar Tree covered in press-n-seal. I laid out the empty cake pans and just traced about 2 inches around them, cut it out and voila!
Next I baked my cakes according to package directions. Since the mini-pans come in a set of 4 and you need 4, you will have to do the ears in two stages but here is my tips: Get all your pans ready to go and use fill the batter evenly in all the pans (reserving some for the last ear). If you add the same amount (level) to each pan they will bake to the same height. If not, simply use a knife to cut the extra cake off.
Then I set my first cake layer.
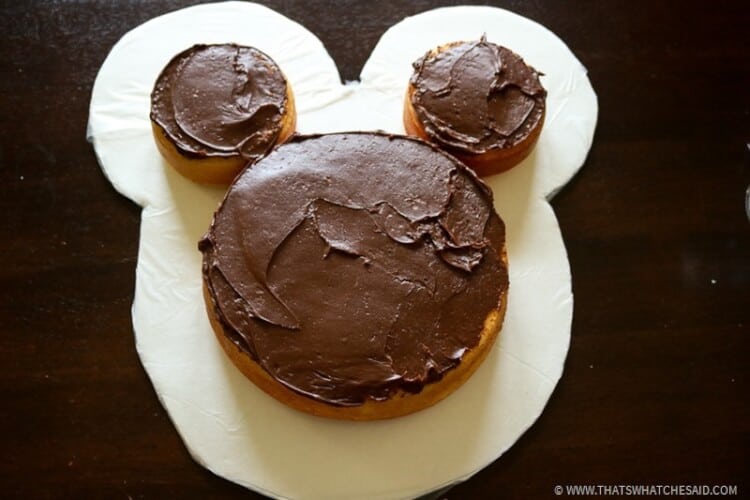
Next, I added a layer of fudge icing to the tops of all three cakes.
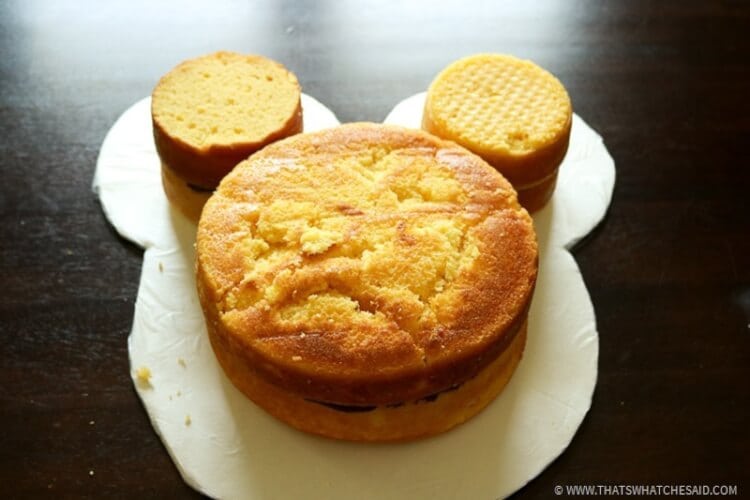
Then I added my 2nd layer of cake.
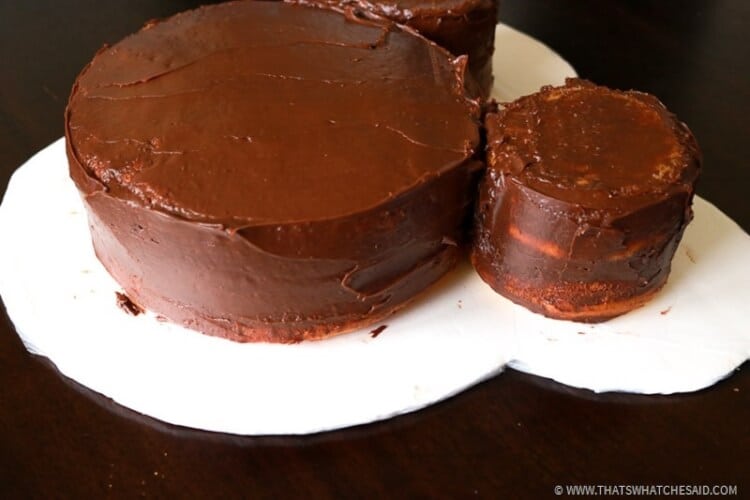
Now we are going to rough ice the cake. That means you are just going to put a very thin base layer of icing on the cake. We do this to cover up any holes that might be left in the icing roses. It’s OK if the cake shows through.
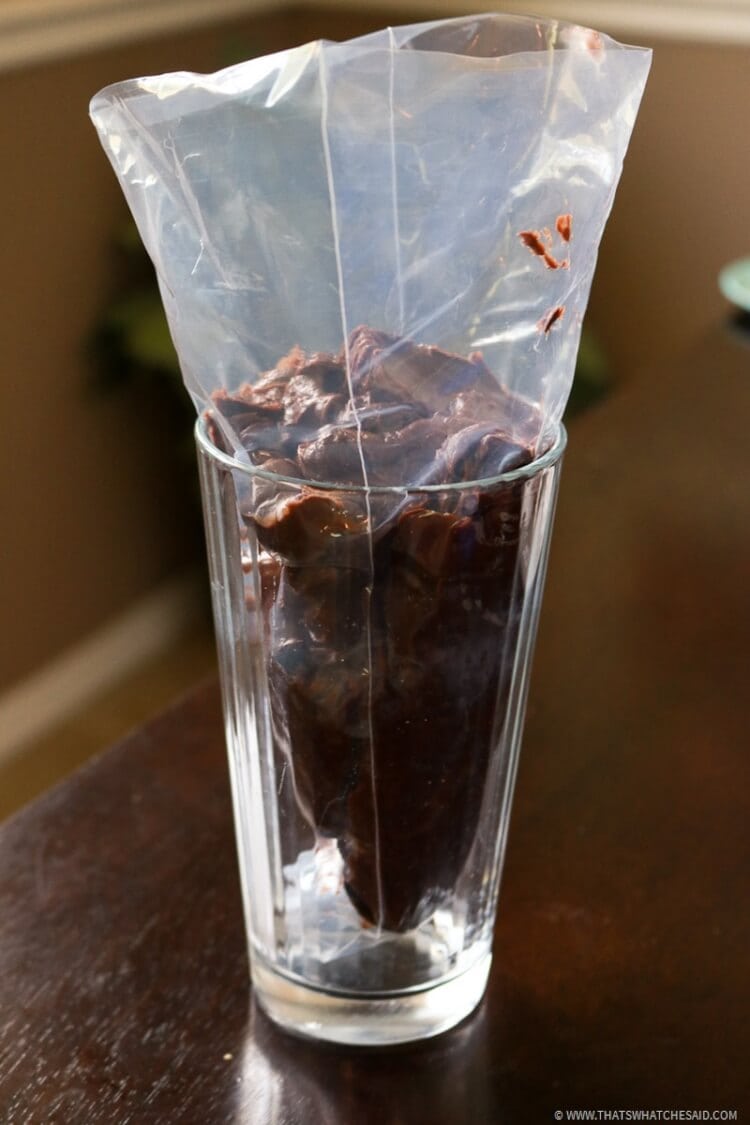
Now we are going to fill an icing bag or large Ziploc bag with your icing. To do this, place the decorating tip in the bag in the corner. Mark where it sets, and then cut the corner of the bag off with scissors so that the tip falls nicely through the hole without falling out! Place the bag in a glass to help with filling.
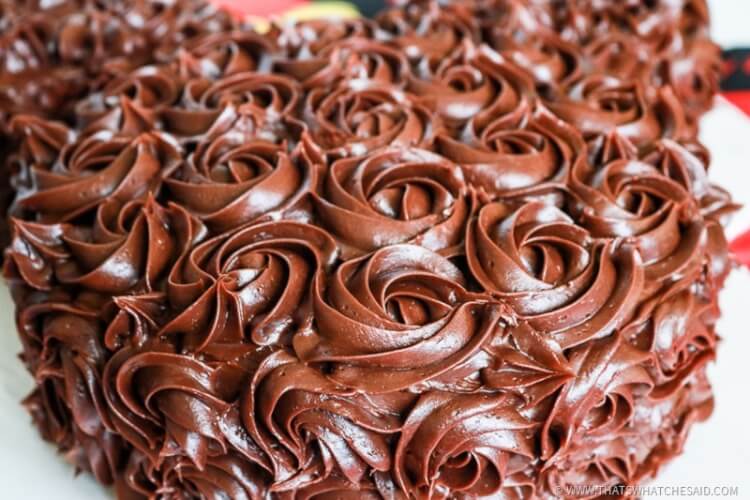
Now it’s time for roses! Simply make a swirl in a circular motion with your icing over and over and over and over. If you get any larger holes you can simply fill those by making a icing star. It’s just like making a dot but with the 1M tip. (see below picture towards bottom right)
This Mickey Mouse Cake is so easy and yet so elegant!
You can check out more Mickey Themed Party Projects here including water bottle labels, centerpieces and more! Also you might be interested in my other Cake Recipes!



Comments & Reviews
Ashley says
Great tutorial! I think I’m going to try this for my little guy’s 2nd birthday, also. Quick question- how did you go about covering the cake before it was served? I’m guessing it won’t fit under a cake stand, etc. Thanks!!
Cheryl Spangenberg says
I used some toothpicks and plastic wrap!
Ashley says
Perfect- thank you! I’ll be making this on Saturday! :)
Teressa says
Do you have a recipe for the cake and frosting? I’m doing a Mickey theme but want no or low sugar cake & frosting as it’s for a 1!yesr old.
Cheryl Spangenberg says
Teressa, I used a box mix and store bought frosting for mine!
Emy says
simple and effective! I love it thanks
Asif Malik says
I lOVE Your Cake decoration. Nice Work