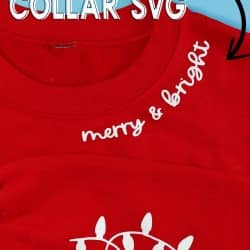
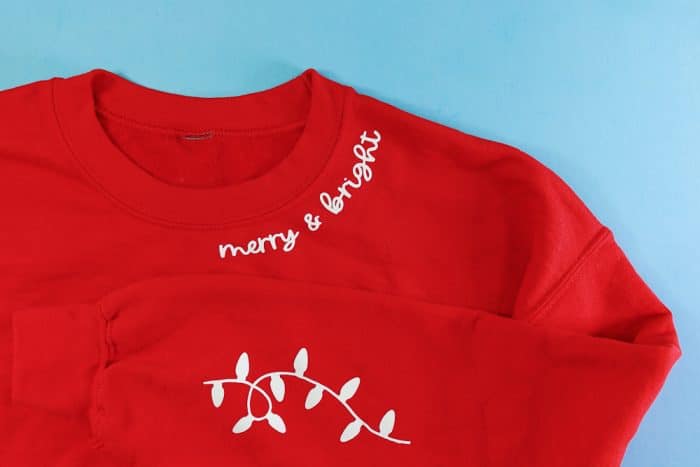
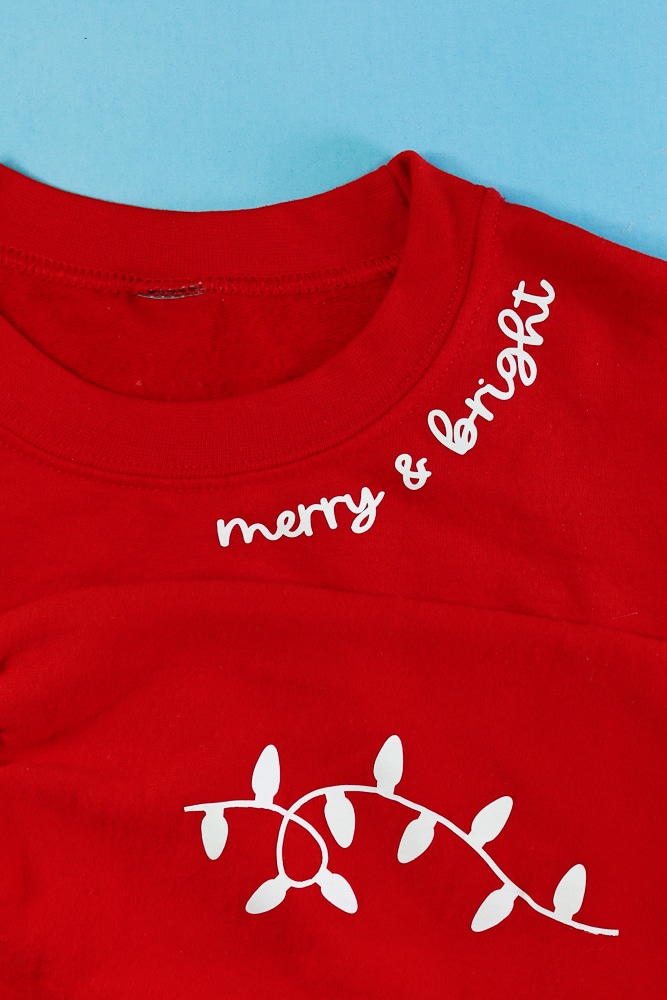
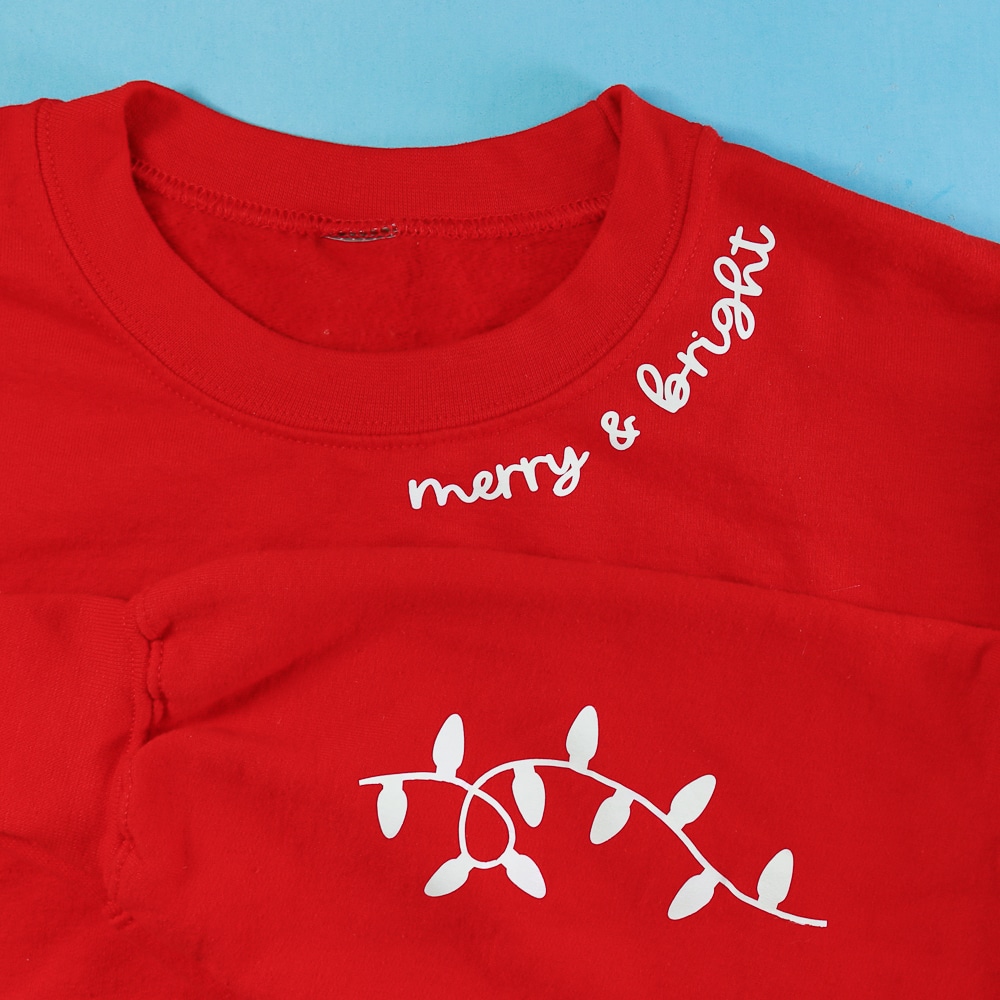
Here is an easy way to achieve trendy Collar Design sweatshirts without needing an embroidery machine! If you have a Cricut or a Silhouette and some heat transfer vinyl you are set! Oh and don’t forget the adorable string of Christmas Lights on the sleeves! SO fun!
Pin Merry & Bright Collar Sweatshirt
Pin It HereClick the button above to save to your board for later!
We have tons of Cricut and Silhouette projects as well as laser projects, cookie recipes and decor ideas coming up and I hope you will join me. Add your email to my 25 days of Christmas list to be notified first for all new freebies and projects!
This post may contain links to Amazon Associate and other affiliates.
As an Amazon affiliate, I earn a small commission from these links at no additional cost to you.
I first saw these sweatshirts with the word “mama” written along the curve of the collar. Then your kids’ names were written on the sleeve and I absolutely LOVE this idea. I wanted to spin it for the holidays!
I set up my embroidery machine and made several attempts to line up the words with the collar but my machine is just not meant for this type of project. My machine has a small working area (only 4×4) so it was posing quite a challenge.
I could have embroidered it by hand but let’s be honest, it’s the holiday season and I just didn’t have time for that, lol! So I turned to my trusty Cricut and some iron on vinyl.
Collar Design Sweatshirt Supplies
- Cricut or Silhouette Cutting Machine
- Sweatshirt (find mine here)
- Iron on Vinyl in your choice of color(s)
- Weeding tool
- Cricut EasyPress 2 with Mat (6×9 or mini work best for this project)
- Design File (found below in the post)
How to Create a Collar Design Video
Here is a video tutorial for both options, option A: Upload a photograph of your sweatshirt, and Option B: Use a Design Space shirt template. You can then cut the iron-on as normal after designing. If you don’t want to watch the video (it’s short!) you can find a written tutorial below!
Follow me on YouTube for more Cricut & Craft videos!
How to Make a Merry & Bright Collar Design Sweatshirt
Time needed: 15 minutes
Create collar designs for any occasion. Today we will be making a Merry & Bright Christmas Collar Design Sweatshirt from scratch! You can find the design I made below the tutorial if you’d prefer not to design one from scratch!
- Decide on Technique
There are two ways to create a curved design around the collar.
Option A: Import a photo of your sweatshirt.
Option B: use a template in Design Space.
Option A will be more accurate however will require you to photograph it, upload it to your phone/computer/tablet and upload it into DS, while Option B will be faster but not quite as accurate (but still accurate!) - Option A: Import a Photo of the Sweatshirt
If you chose Option A from step 1, this is for you. If you chose Option B, skip ahead to step 3.
Upload the photograph into Cricut Design Space and size the photo so that it is on the scale of real life. This doesn’t have to be exactly precise but near-ish. I find the best way to do that is to measure the neckline (of your actual sweatshirt) across and use that measurement. Once finished, skip to Step 4. - Option B: Use Design Space Template
On the left-hand side of a Design Space canvas select Template. Search for “shirt” and choose either crew neck or wide crew neck depending on your sweatshirt.
- Add Text
Using the Text Tool, add a text block, type in your words and then choose your font. I went with “merry & bright” in lowercase and used the font cakepop. That is a font I uploaded to my computer so it appeared under the SYSTEMS tab of the font menu.
- Curve Text
Using a text box that is relatively proportional to your shirt design, select the text box and then use the CURVE tool and adjust the slider to fit the collar. You may need to resize and adjust the angle as you go.
- MAKE IT
Delete all other layers or hide them using the eye on the layers panel. Then you will want to click MAKE IT in the upper right-hand corner.
- Mirror and Cut
On the Mat screen be sure that you have the MIRROR option turned ON. Click Continue in the lower right corner and then on the next screen, connect your machine, select iron-on material and cut the iron-on design.
- Weed Iron-on
Remove your cut iron-on from the mat and use a weeding hook to weed the excess iron-on away from the design.
- Press on to the Sweatshirt
Line up the iron-on to the collar of the sweatshirt. Use an EasyPress to press the design. The smaller 6×9 or the mini will work best around the seam of the collar area! Full details on how to correctly apply iron-on here.
- Enjoy!
You can use the same steps above to cut Christmas Light Strings from iron-on and apply them to the back of the sleeves on the forearms. This is completely optional! I have some Christmas Lightbulb SVG files in my shop (which would be adorable for elbow patches!) or you can find some here.
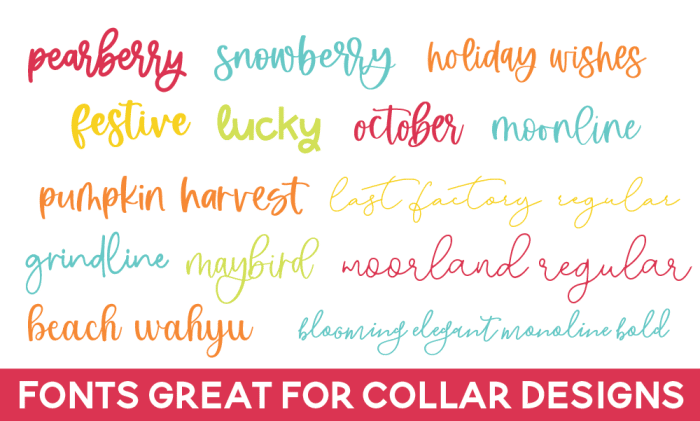
More fonts that would look great as a collar design:
Pearberry – Snowberry – Holiday Wishes
Festive – Lucky – October – Moonline
Pumpkin Harvest – Last Factory Regular
Grindline – Maybird – Moorland Regular
Beach Wahyu – Blooming Elegant Monoline
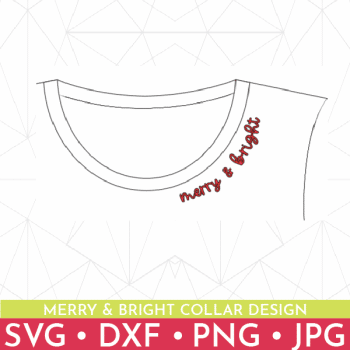
GET MERRY & BRIGHT COLLAR DESIGN HERE
Getting the freebie is easy! First, enter your name and email below and join my email list community (AND gain access to my freebie library)!! After that, click the download button and the freebie will begin automatically.
I use box.com to deliver my freebies safely! There is no need to sign up for a box.com account!
Please see this FAQ post + Video on how to download my freebies.
This download is for personal use only!
Want more Collar Designs? Grab the Discounted Bundle!
This bundle contains the sayings: Merry & Bright, Fa La La La La, Ho Ho Ho and Naughty & Nice
MORE CHRISTMAS SVG FILES YOU MAY LIKE:








Comments & Reviews
Kathy Burkart says
Love this!! Thank you so very much for sharing & teaching!!!!