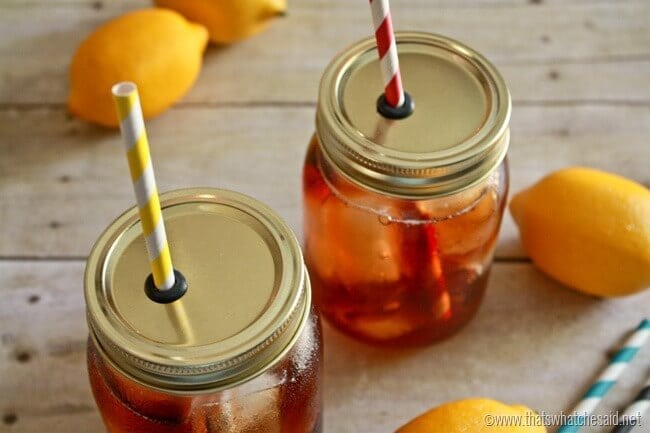
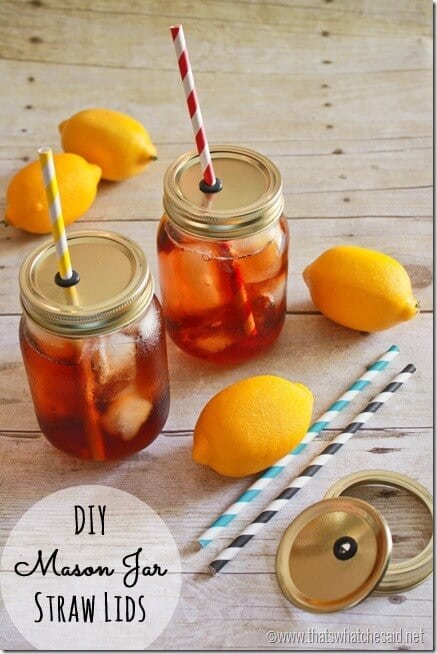
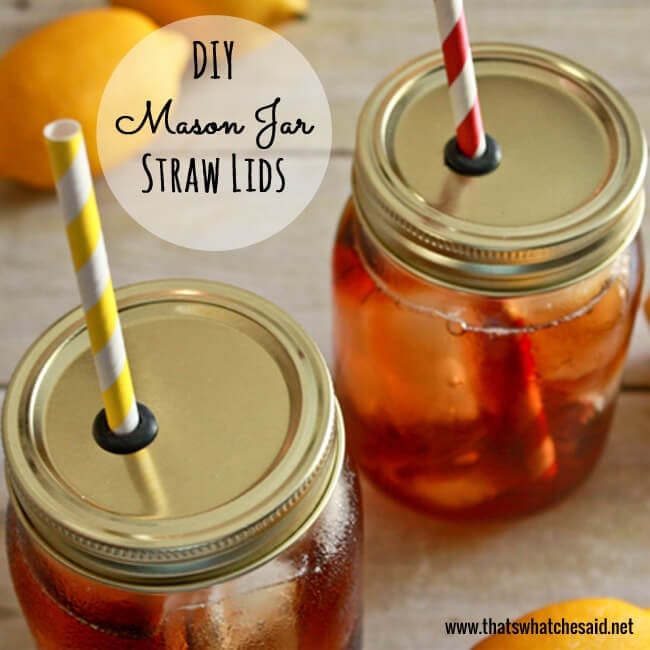
Discover how easy it is to make these adorable DIY mason jar straw lids in a matter of minutes! These will be great all summer long and are perfect for picnics to keep those pesky bugs out of your beverages!! Perfect way to upcycle all those random mason jars you have acquired!
Mason jars are all the rage and continue to shine with useful purposes intended like canning fruits, veggies and jams but also unintentional purposes like storage, organization, drink ware and more!
This post may contain links to Amazon Associate and other affiliates.
As an Amazon affiliate, I earn a small commission from these links at no additional cost to you.
Supplies needed:
- Mason Jar lids
- 5/16 Rubber Grommets
- Power Drill with 3/8” drill bit
- Fun Straws
- Scrap piece of wood to drill into
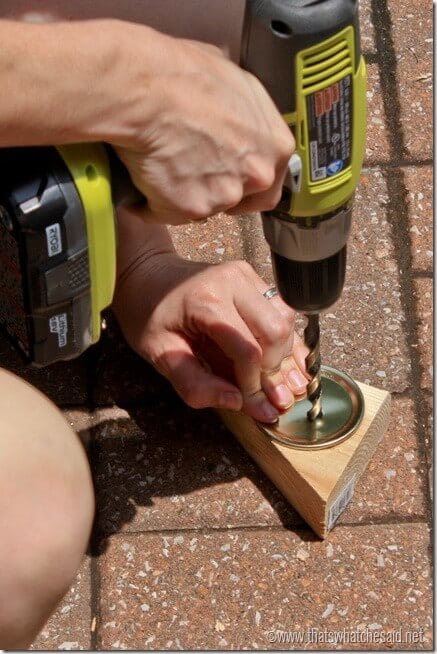
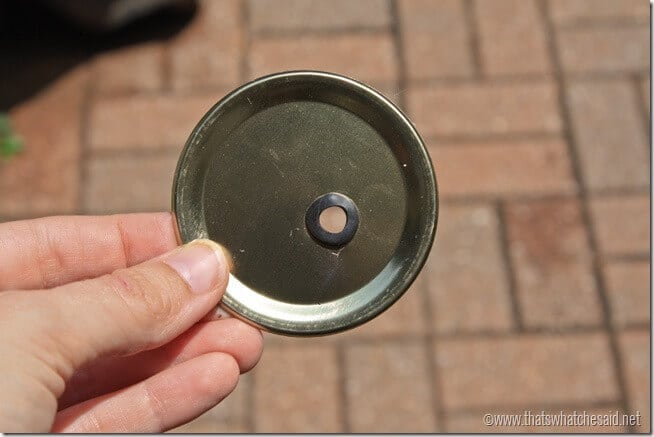
This could not be easier! (I did 4 and found the best way to get smooth edges on your drilled hole is use a scrap piece of wood behind it.) Put your lid on your scrap piece of wood and drill down slowly until you are all the way through. I offset my straw hole to one side (not centered) just by choice.
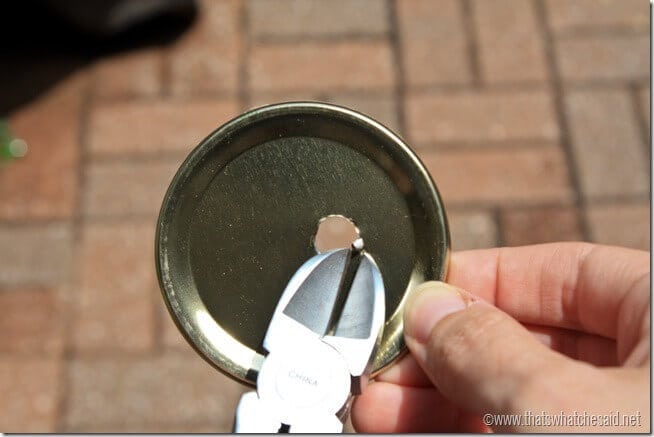
If you happen to get a sharp edge, then just trim with some metal snips.
Carefully slip your rubber grommet through the hole.
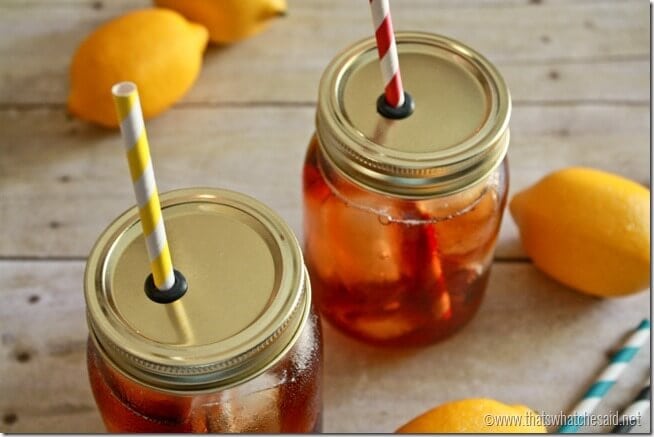
Insert lid back on jar and put a straw in it! Told you it was easy!
Don’t Miss Out!
Get quick crafts, easy recipes and free printables & cut files straight to your inbox! You won’t want to miss a thing! Join now!
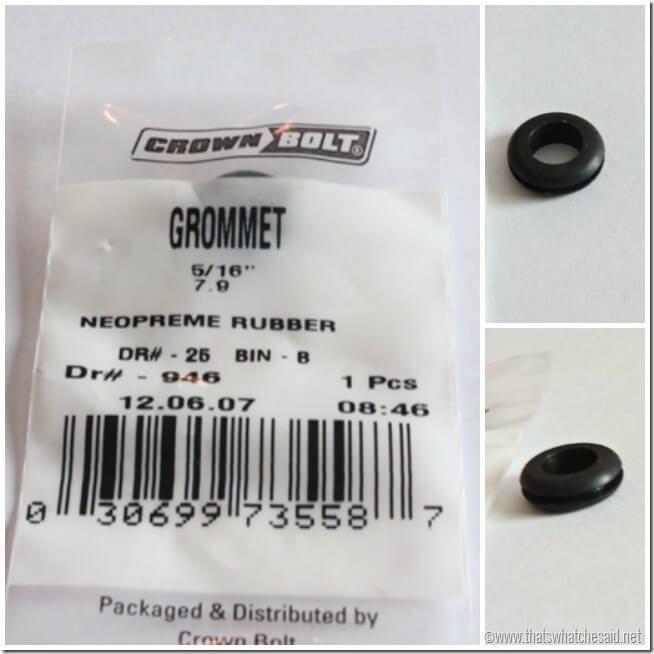
The grommets are not food grade but they really don’t come in contact with the beverage at all so I am ok with that. Here is what the bag looks like and I found them in the small drawers in the nuts/bolts/screws aisle at The Home Depot. They were in the grommets section.
If you want to decorate them up for a party you can also see the chalkboard labels that I did for our Mickey Mouse Birthday party.
Happy Sipping Friends!
I’m thinking of mixing up a batch of my White Peach Sangria or my Copy Cat Lime-A-Rita to put in these cuties! Even my Cucumber, Lemon & Mint Detox Water or my Tropical Green Smoothie would be fabulous! What would you put in yours???
UPDATE: Since I wrote this post in 2013 there have been major advances in the Mason Jar drink ware game! Instead of having to DIY you now can just buy them! Nice right?
You can find my Mason Jar Madness shop on Amazon here!
MORE MASON JAR PROJECTS


Comments & Reviews
Janet says
Awesome!!! I like this so much better than others I’ve seen.
Janet
Cheryl Spangenberg says
Thanks Janet!
Rhondda Mol says
Great post ! I love this idea – it will help keep the bugs out of the beverages :)
Tanya says
I love this idea, brilliant Cheryl!! Shared on FB and Pinned. Happy weekend!
xo, Tanya
twelveOeight
Cheryl Spangenberg says
Thanks Tanya! And thanks for sharing!!
Shannon @Fox Hollow Cottage says
Super Qt idea and dedication! These are simple, but oh-so-smart! A perfect combination!!
Emily says
Clever!! I’ve been wondering how to do this. Thanks for the tute :)
I’ve featured you today: http://www.52mantels.com/2013/06/summer-ideas-recipes.html
Sthiegs says
It may be worth noting for those who want to make a number of these (I’m in the midst of making 25 for a family gathering for the 4th) that HD only keep a small number of these grommets in stock and they cost about $1/each. After toying with special ordering (additional cost) and much ado at the service counter (will they arrive in time, etc), I googled rubber grommets and quickly found a company called Imports that sold me a pack of 100 (!) for $10. Not sure what I’m going to do with that many rubber grommets but if you’re making more than 10, this might be a better choice. And they are scheduled to be her in 3 days from order date. Just a heads up as I had already drilled, bought new snips and committed with I felt the sticker shock of rubber grommets. Thanks!!
Cheryl Spangenberg says
That’s Great info Sara! Thanks for sharing!!!
Vernita says
I found the grommets at a hardware store for $.39. I got some white plastic screw on lids that fit the jars and and made some to fit regular straws and some that fit the thicker (1/2″ I think) smoothie straws. They work great and are a lot of fun. I love using those new pretty “vintage” blue pint jars. I would love to get some of those stainless steel straws I saw on Amazon…
Kate says
such a great idea! I want to do this for a big BBQ birthday party I’m throwing this weekend. Thanks!! :)
Cheryl Spangenberg says
Absolutely Kate! They will be perfect!
Catherine says
This is so adorable and creative! It’s spill-proof, which is perfect for kids! :)
Cheryl Spangenberg says
Thanks Catherine! My kids love them! I just make sure they don’t walk around with them…since the mason jars are glass!
Vivien says
Love it! Thanks for the lovely inspiration.
I featured your idea on my Weekend DIY
http://craftsmitherz.blogspot.de/2013/07/weekend-diy-mason-jars.html
Cheryl Spangenberg says
Thanks Vivien!
Alex says
I love these! Put a little twist on them and painted them with chalkboard paint so that you can keep track of your drink! I also found that the holes came out much cleaner when you drill them from the bottom! Thanks!
Cheryl Spangenberg says
Great ideas and tips Alex! Thanks for sharing! Have a great rest of the week!
Traycee Bedford says
Love this idea! Anyone know if a Crop-A-Dile tool would work too? I don’t have one but have drooled over them in the craft stores. This just might be the excuse I need to buy one!
Cheryl Spangenberg says
I’m not exactly sure Traycee. I am not sure the largest size that the crop-a-dile punches!! I’d love to hear it if you try it!
Rhonda says
Yes a Crop-A-Dile works great! That’s what I use.
Phyllis Stebe says
Blackburns preserves come in a glass jar with handle and screw on lid. I have purchased this jelly many times from Menards, and it would work perfectly for this project. The lid is one-piece and would be easy to drill and insert the grommet.
Cheryl Spangenberg says
Yes Phyllis, that’s a great idea! I know exactly what you are talking about! Thanks for stopping over!
Theresa Craig says
I am having trouble getting those gronments to fit in the hole of the lids
Cheryl Spangenberg says
Theresa, if you used a 3/8″ drill bit they fit almost perfectly. You have to slide one side in and then pop the other in and it fits really nice and snug!
Eurethia Tallent says
I made these except I used a plastic peanut butter lid. Adorable and so much cheaper than the bought ones