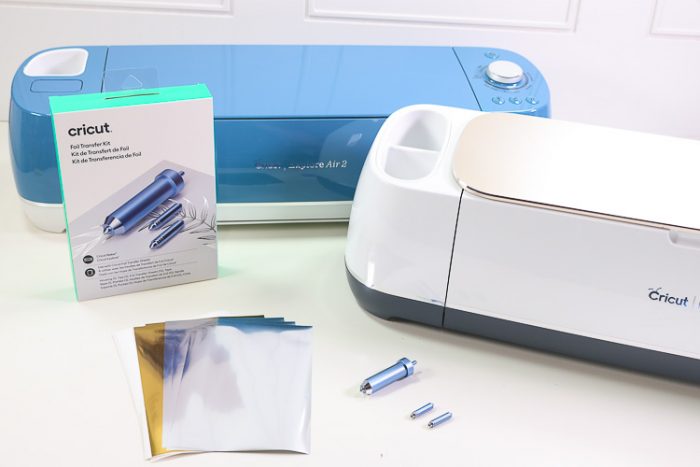
If you haven’t heard yet, the new Cricut Foil Transfer System is adding yet another layer of creative genius to your projects! This system is easy to use, works with both the Cricut Explore Family of machines as well as the Cricut Maker, and requires no heat, cords, or external power supplies! Let’s learn how to use foil with a Cricut machine!
If you haven’t already gotten comfortable with the Cricut Foil Transfer System, I urge you to check out this in-depth post that discusses everything Cricut Foil! In this post, I am going to show you how to make the cutest birthday card and birthday gift tags using the new system!
What you will learn in this post
- Supplies Needed for Card and Gift Tags
- How to Change the Foil Tips in the Foil Tip Housing
- How to Convert Designs to Foil in Cricut Design Space
- How to Correctly Place Cricut Foil on your base material
- How to Make a Single Color Foil Embellished Gift Tag
- How to Make a Multiple Color Foil Embellished Card
- Foil Projects

This post may contain links to Amazon Associate and other affiliates.
As an Amazon affiliate, I earn a small commission from these links at no additional cost to you.
Foil Embellished Card & Tag Supplies:
- Cricut machine (Explore, Explore Air, Explore Air 2, Cricut Maker)
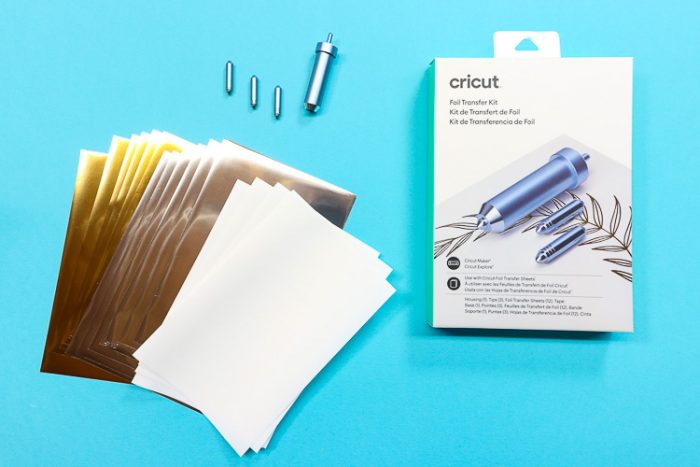
- Foil Tip Transfer System Tool (includes, housing, fine/medium/bold foil tips, 4 x 6 foil in silver and gold, and pre-cut adhesive strips)
- Cricut Foil in Jewel Tones
- Cricut Cardstock
- Fine Point Blade (comes with machine)
- Scoring Stylus for Explore users, Scoring Wheel for Maker users

How to Change the Foil Tips in the Foil Transfer System Housing
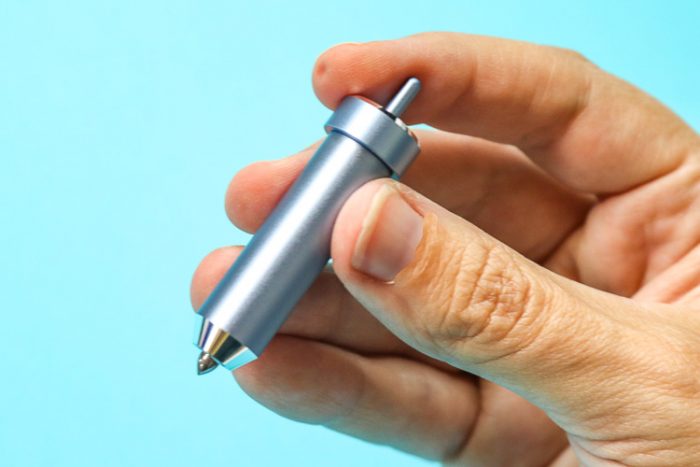
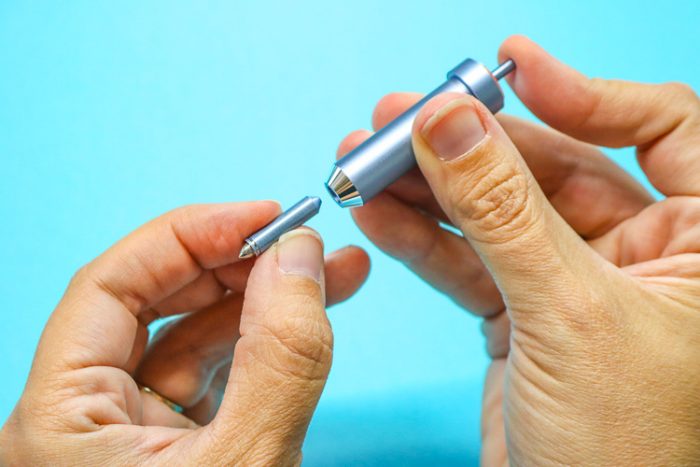
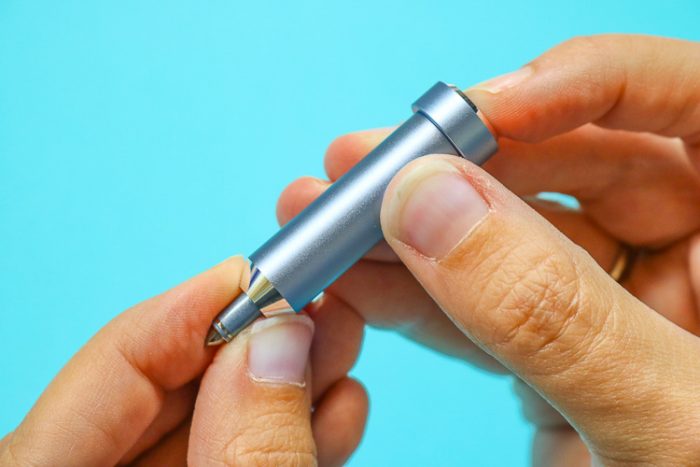
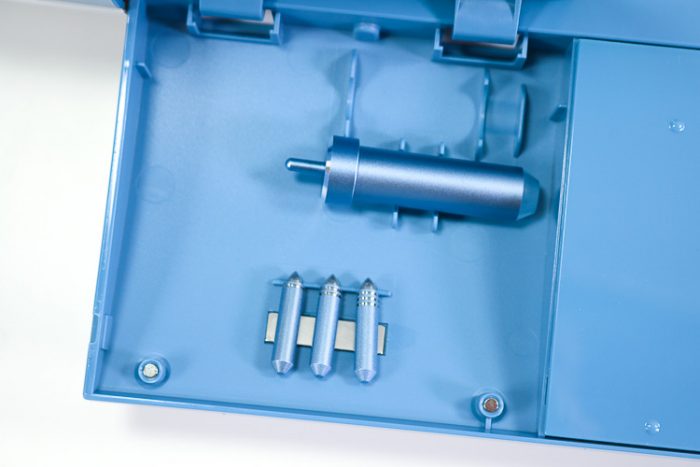
The Foil Tip housing is exactly like the quick swap housing. To insert a foil tip simply place it in the opening. The housing and the tip are both magnetic and they will attract.
To change the tip, push the top plunger, and remove the tip to replace it with a different size!
Since the tips are magnetic and can easily be stored on the magnetic strip inside the front door of your machine.
They can also be stored in the Cricut Tool Caddy.
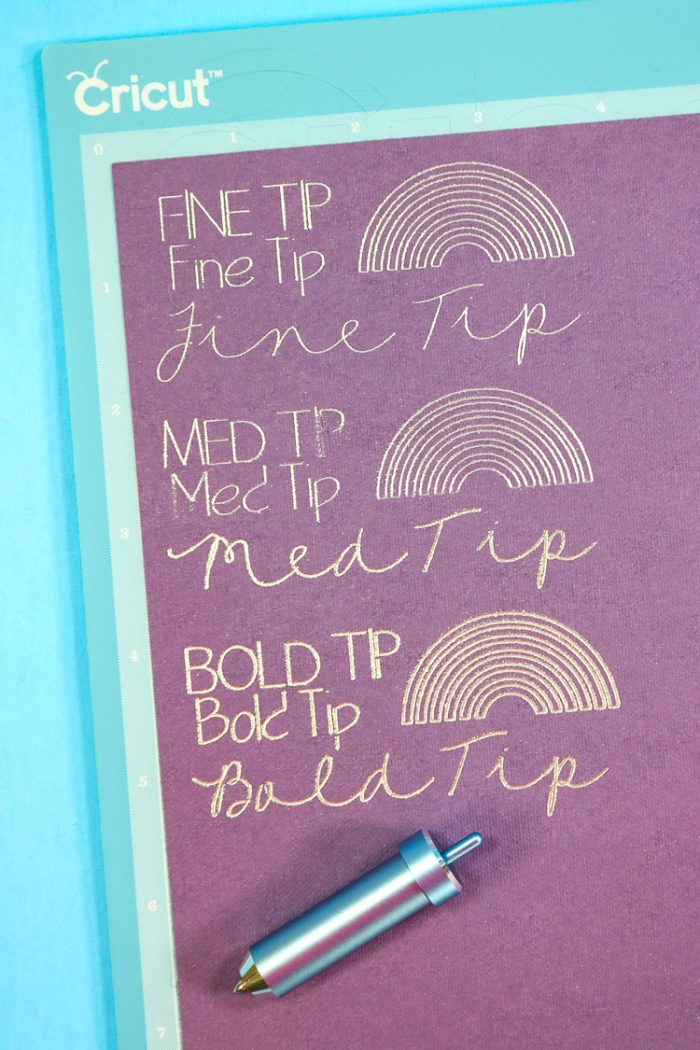
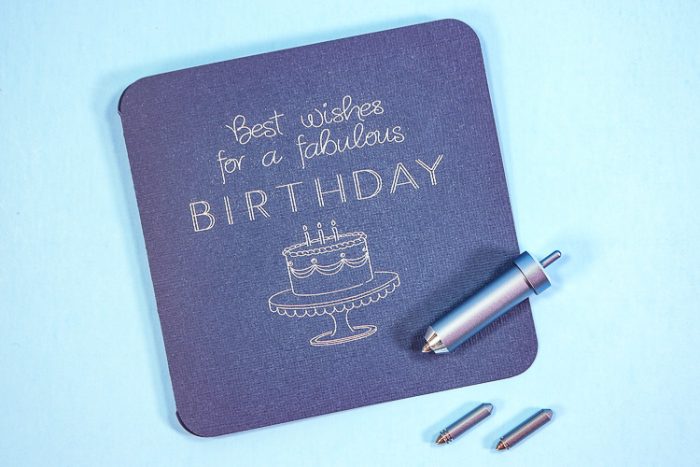
Three tips in one housing means three times the creative opportunities! See how each tip stacks up!
How to Convert Designs to Foil in Design Space
You might notice some new single-line designs in the Design Space Library! Let’s talk about how to use these designs as well as other designs with the foil transfer system!
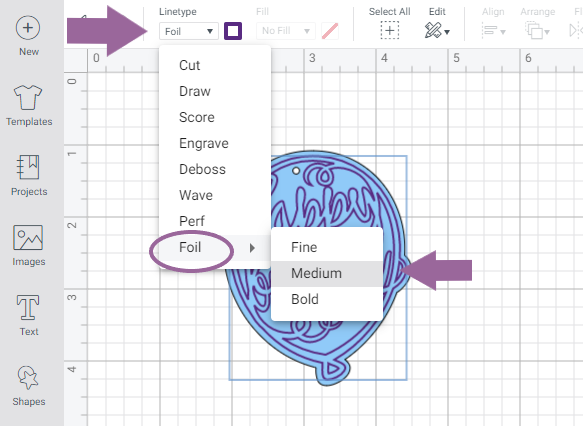
For single-line designs and other designs in design space, once pulled up on your canvas and sized and ready to go, you will select your design and change the line type to Foil. When you select foil, another window opens with Fine, Medium, and Bold for you to choose your tip width.
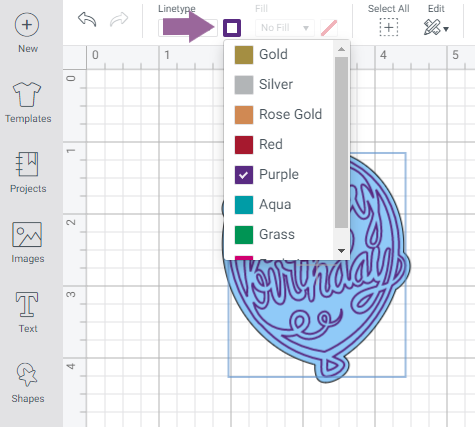
You should also change the color of the foil to the appropriate color you are using. This is very important if using more than one color foil!
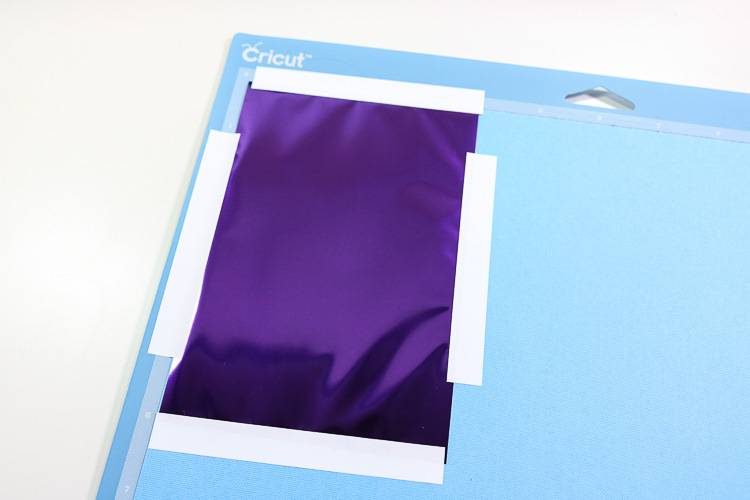
How to Correctly Place Cricut Foil on Base Materials
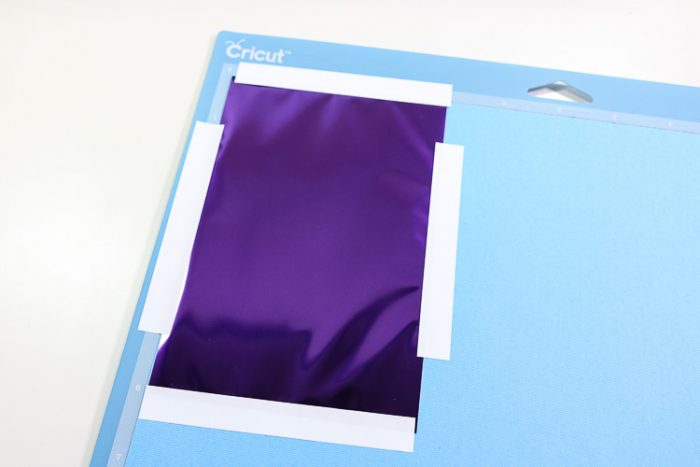
When you purchase a package of Cricut Foil, it will include enough pre-cut adhesive strips so that each sheet in the package will have 4 strips for all 4 edges.
The adhesive strips are cut to the size of the foil. If you cut the foil down smaller, cut the adhesive strips down also.
To correctly place Cricut Foil on your base material, remember these things:
- The colored side of the foil sheet goes up.
- Keep the adhesive tape about 1/4 inch on the foil.
- Apply one side first (there is a slight static cling so be careful!)
- Smooth the foil down as smoothly and tight as possible for best results
- Apply adhesive strip to the opposite side, then the remaining sides.
- You want the foil to be smooth, fairly tight, and secured in place by the adhesive strips
- Be sure that your design is smaller than the area of the foil sheet including the area of the foil covered by the adhesive tape.
How to Add Foil to Projects Using a Cricut Machine
Time needed: 10 minutes
Easily embellish your projects with the new Cricut Foil Transfer System. No heat, cords or external power supply needed! 3 blade tips inter-change in the foil housing for endless options!
- Convert your Design in Cricut Design Space
As mentioned above you will change the linetype of the design you want to foil, from CUT to FOIL, and select the tip size (Fine, Medium or Bold). Also, select the color of the foil you will be using.
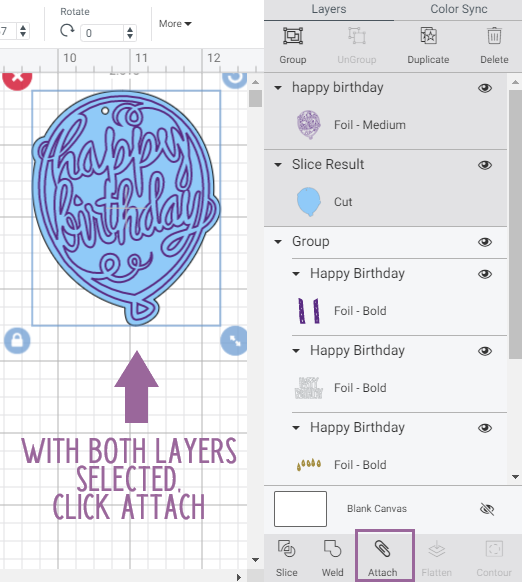
- Attach Foil Design to Base Material
Whether you are making a gift tag or a card or anything else, it’s important to select your foil design and the base of your project and click ATTACH.
This will keep your foil design and cut design together.
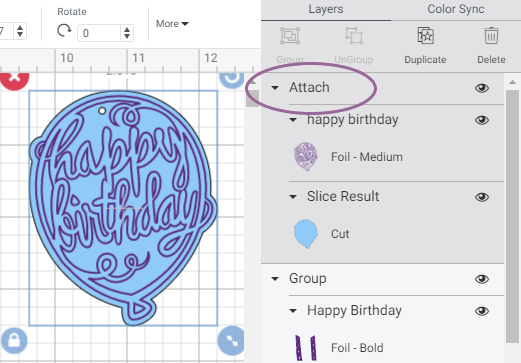
You will then see the layers under an “Attach” header in the layers panel.
- Click Make It
In the upper right-hand corner of Design Space, click the green MAKE IT button.
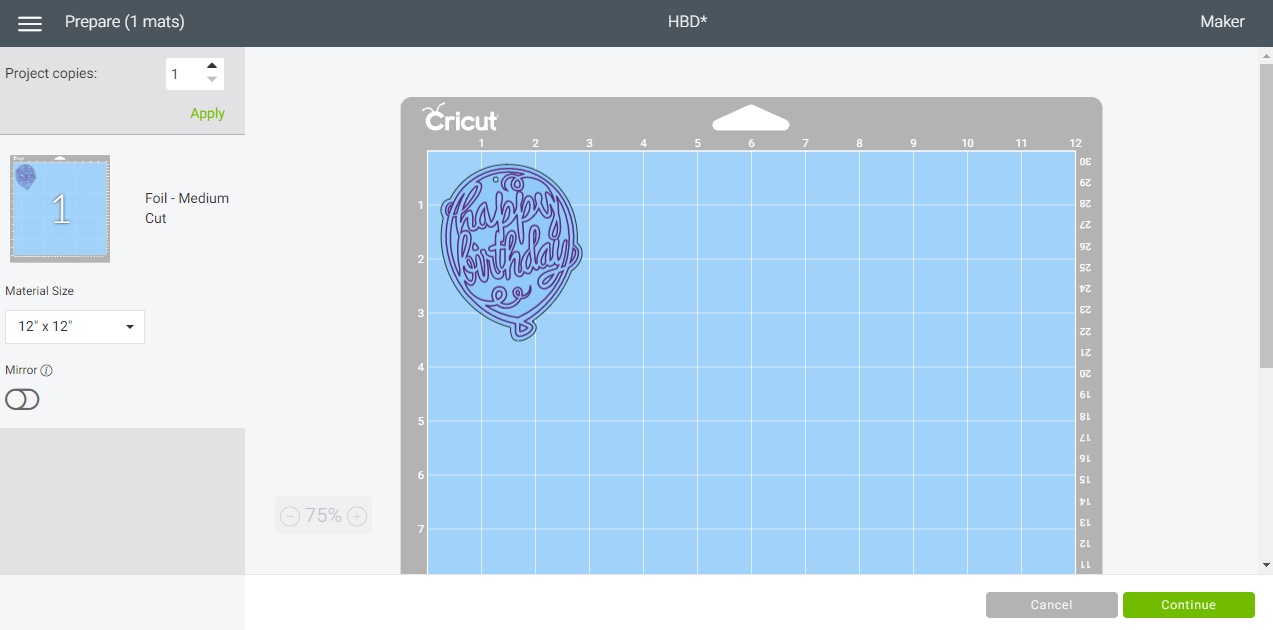
- Verify Design
On the Mat Screen, verify that your foil design and your base design are on the same mat. If so, click CONTINUE in the lower right corner. If not, click cancel and make sure everything is attached as discussed in Step 3.
- Connect Your Machine & Choose Materials
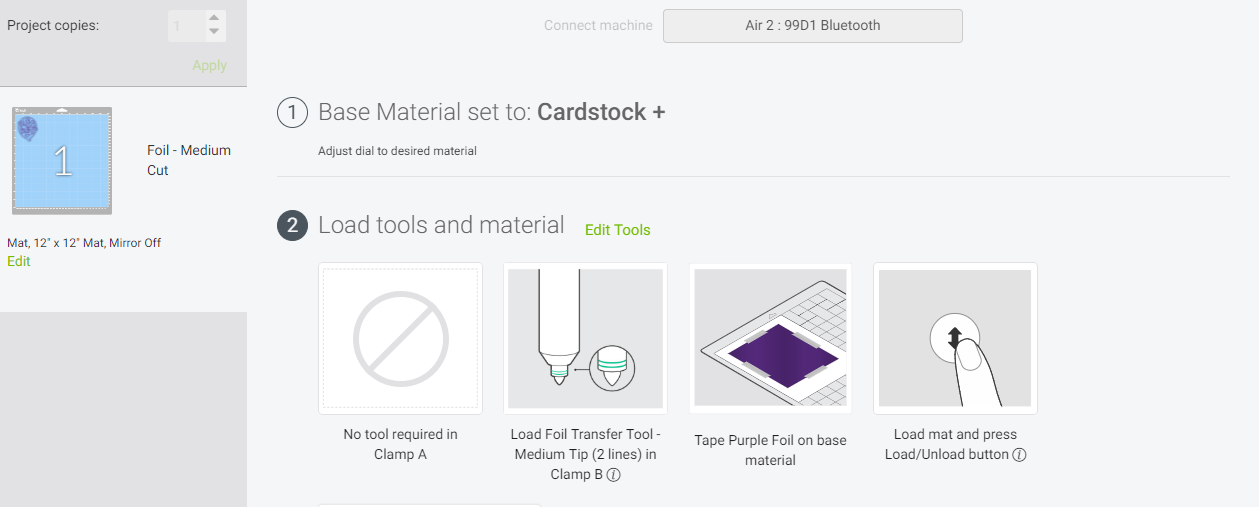
Connect your machine and choose your base material. For this tag, we are using 80lb Cricut Cardstock.
Explore Users: turn the knob to Cardstock (or the dot between cardstock and Fabric, Cardstock+)
Maker Users: select 80lb Cardstock from the Material list in DS. - Follow Design Space Directions & Load Mat
Depending on what you are making, you will load different tools. Cards score as the first step for example, so it’s important to follow the directions on Design Space moving forward.
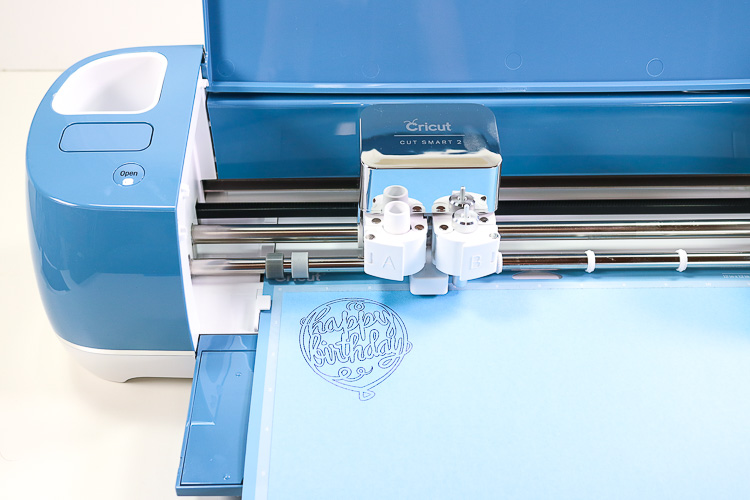
For our tag, we will load our mat with the cardstock applied and the foil applied to the top of the cardstock. (Detailed directions on foil sheet application above) Press the flashing arrows to load mat. - Verify Foil Housing and Tip are installed
If you haven’t already, install the Foil Transfer System Housing with the correct tip size inserted. (Detailed directions on that above)
- Click Cricut Flashing “C”
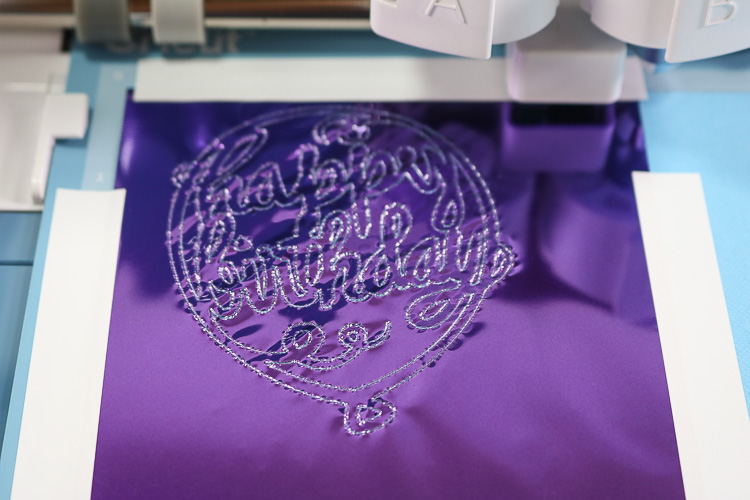
Start the foil transfer by clicking the flashing C. When complete use the flashing arrow button again to unload the mat.
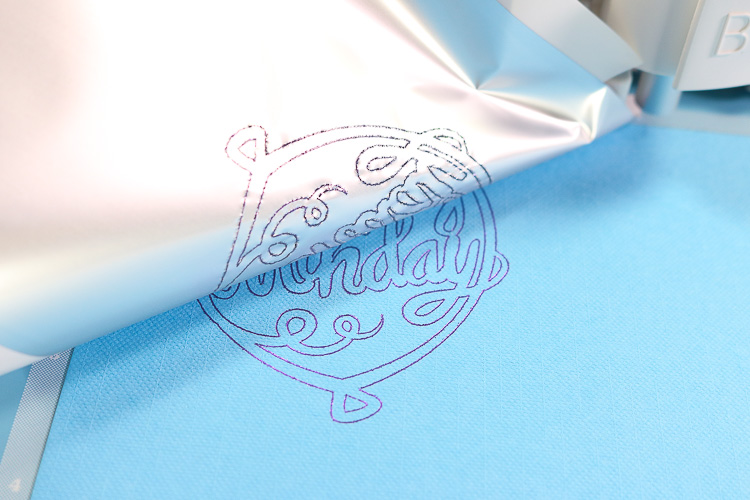
- Remove the Foil
Carefully remove the adhesive strip and the foil sheet from the cardstock on the mat. Do not Unload the Mat!
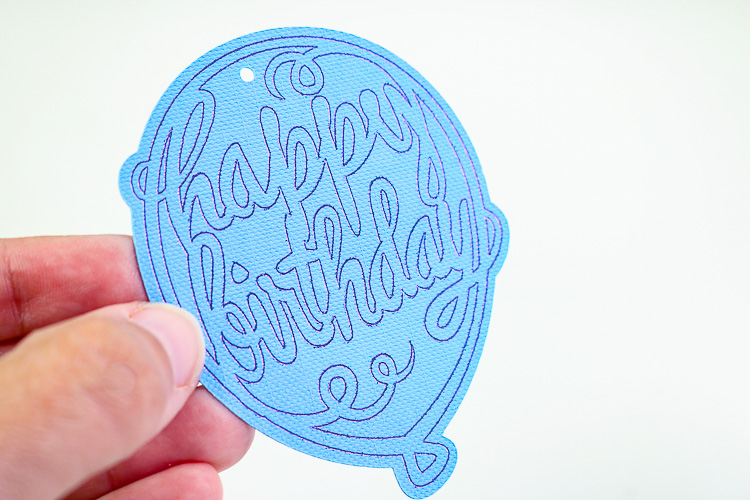
- Cut the Tag
Remove the Foil Housing and replace it with the fine tip blade. Press the flashing C to cut the design.
- Carefully remove your tag from the Cutting Mat
Carefully peel the mat away from the cardstock and separate the cut design from the excess cardstock sheet.
- Finish the Tag
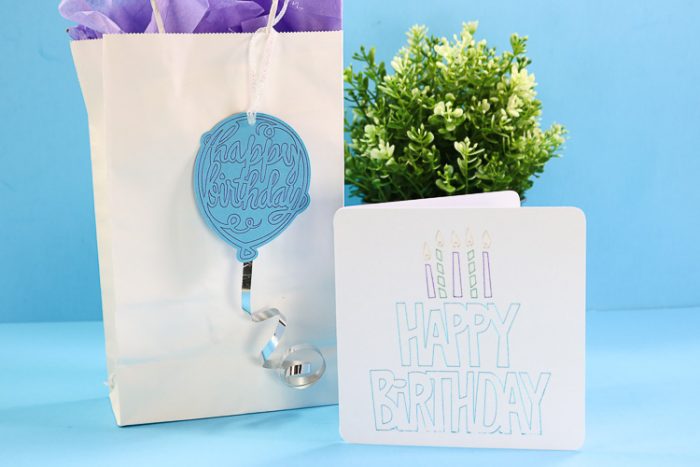
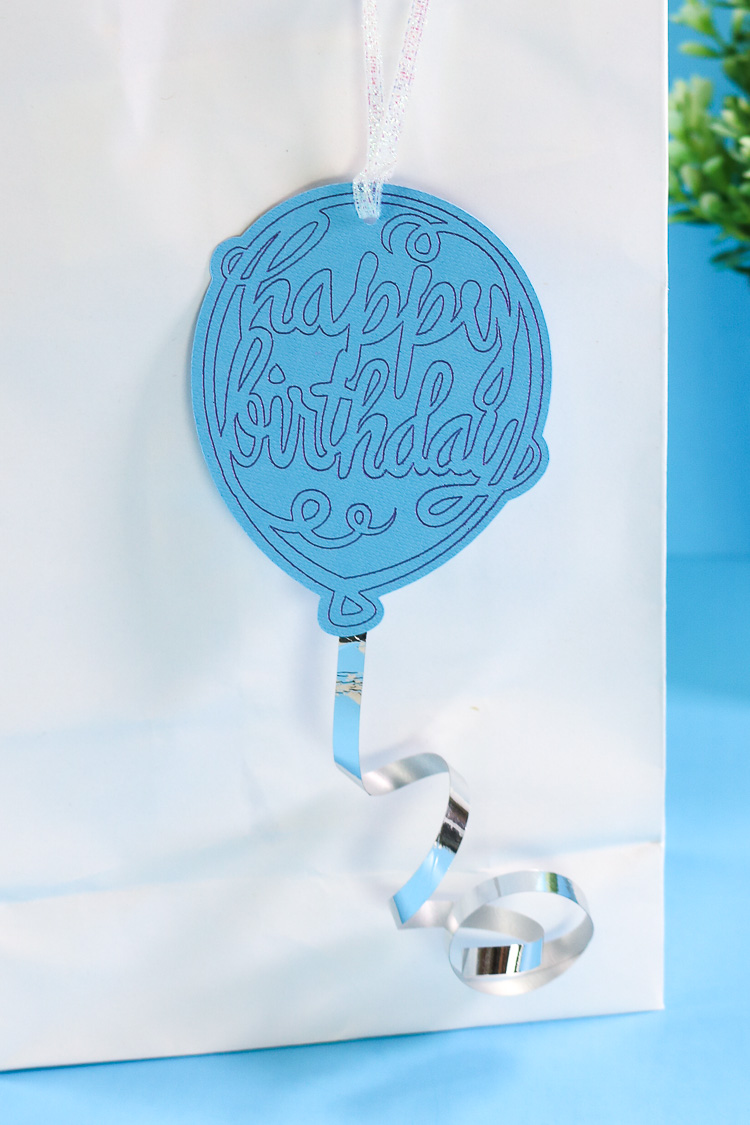
Insert some ribbon through the hole at the top of the gift tag to hang from a bag and add a length of curling ribbon to the bottom as the balloon string.
Foiling with the Cricut using more than one color foil sheet
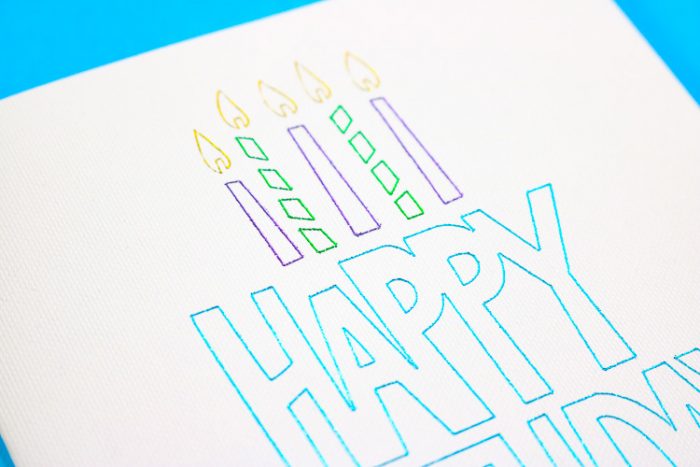
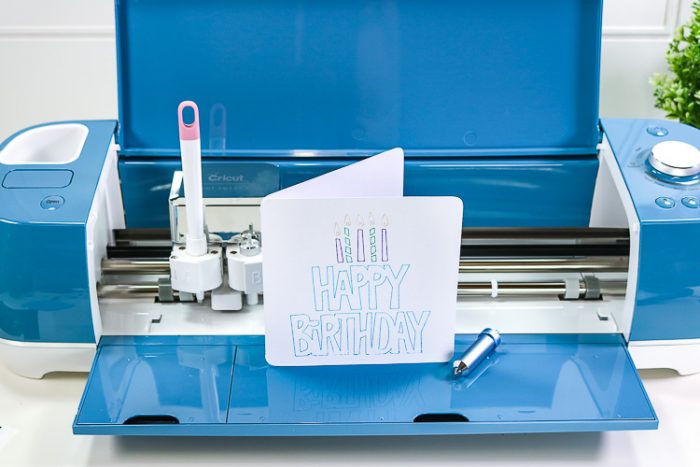
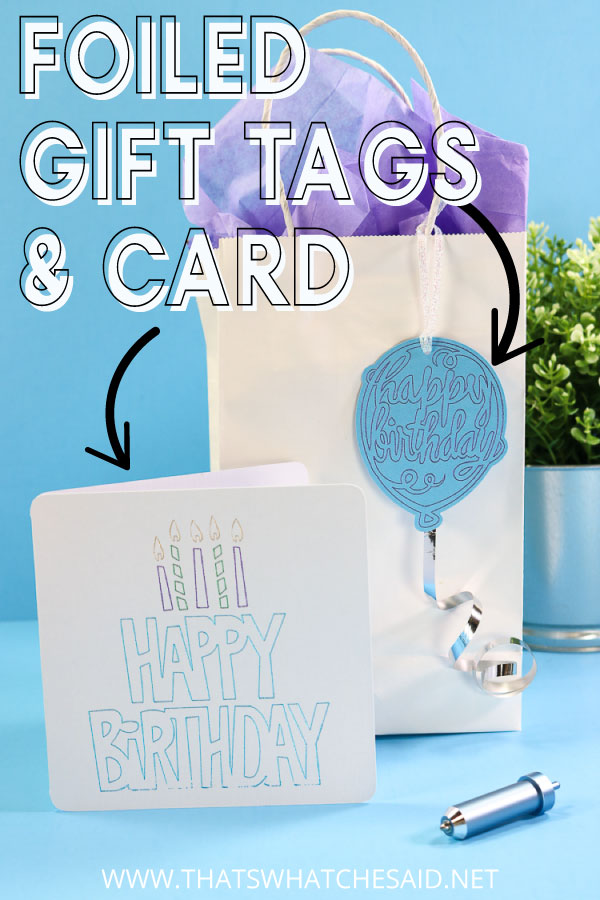
It is possible to add more than one color to your designs! Let’s look at this Birthday Card with a Happy Birthday Cake Design!
You can find my design to use in Design Space here.
I made 4 copies of the design, one for each color layer, and used the contour tool to separate the design into color layers. You may use my project found here (link coming soon)
I made sure to attach all layers to my card including the score line.
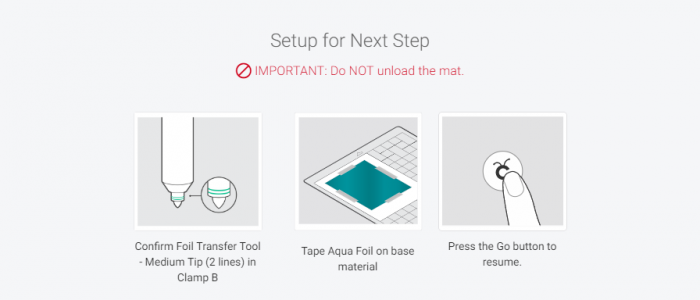
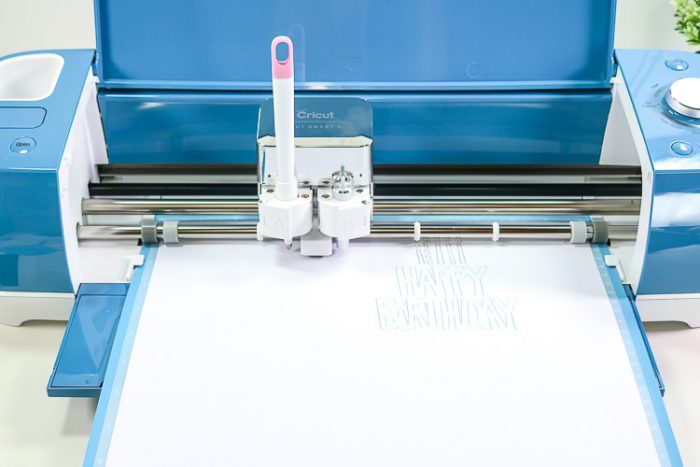
Following Design Space Prompts, I inserted the scoring stylus, medium foil tip in housing and scored the card fold.
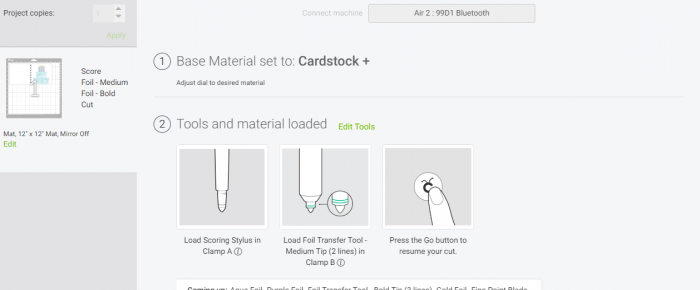
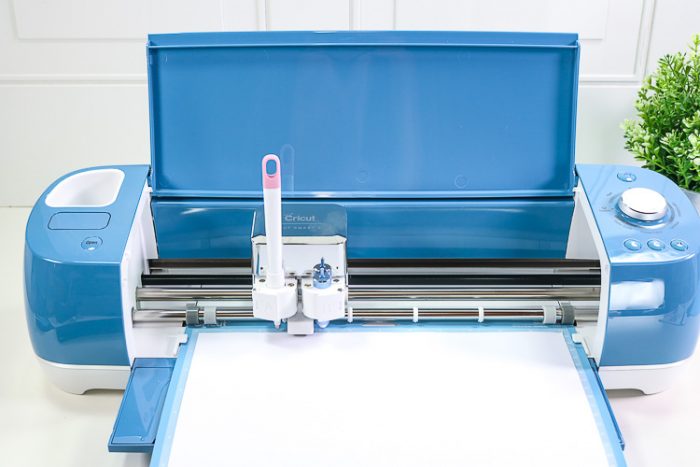
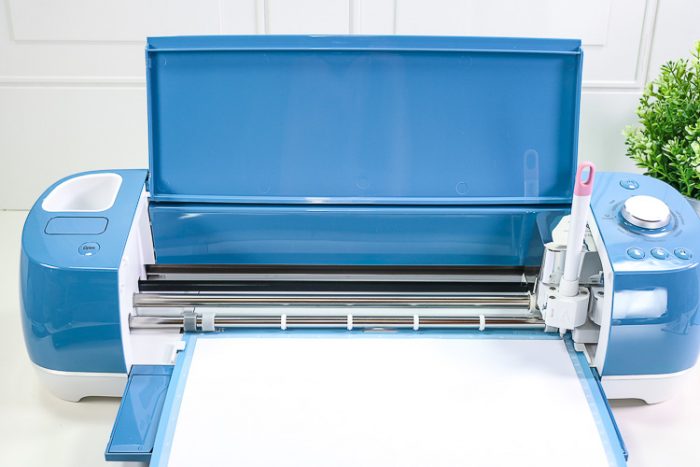
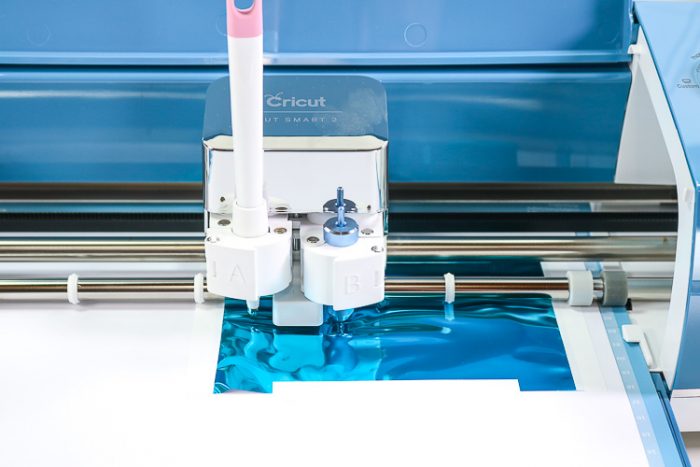
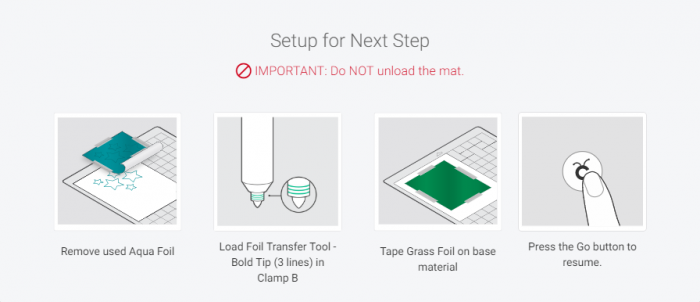
When it was done scoring the carriage moved all the way to the right so I could add my foil sheets (without removing the mat from the machine) and I clicked the flashing C to foil the aqua layer.
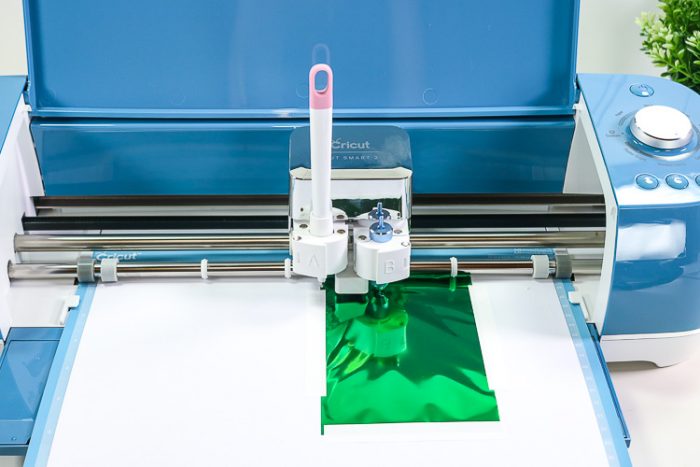
Next, Design Space Prompted me to remove the aqua layer of foil and add the green layer to the cardstock, again without removing the mat. Clicked the flashing C again to foil the green layer.
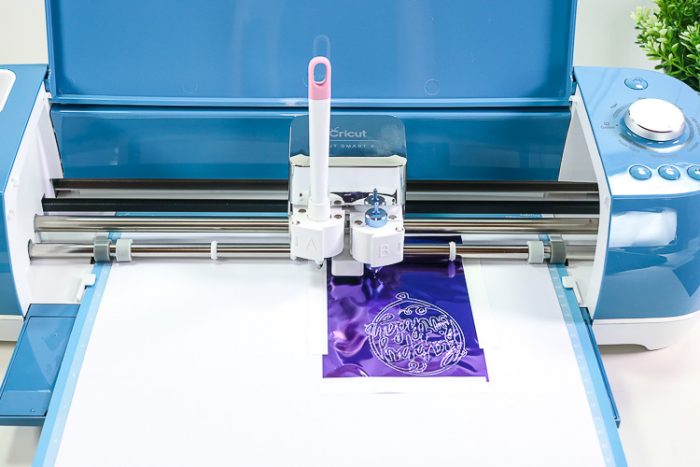
When that was finish I was prompted to remove the green foil sheet and add the purple. You can see I reused the sheet from our gift tag above. Clicked the flashing C again to foil the purple layer.
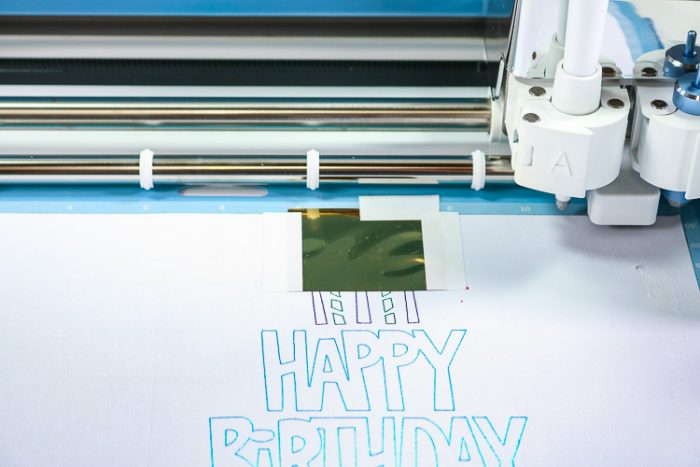
Finally, I removed the purple layer, added a scrap of gold foil (left over from another project) and foiled that layer.
I was prompted to then remove the gold sheet and exchange the foil housing and tip for the fine tip blade so my machine could cut my card.
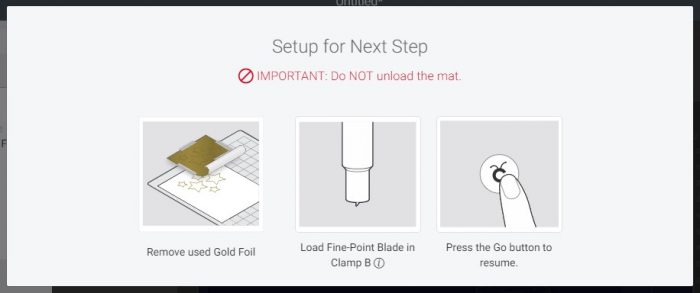
Unload the mat and remove the card, fold and enjoy your multi-colored handiwork!
If you closely follow the prompts of design space you will get flawless long-lasting results!
Don’t Miss Out!
Get new Cricut Tutorials, Product Announcements, Project Ideas, SVG Files and more straight to your inbox!
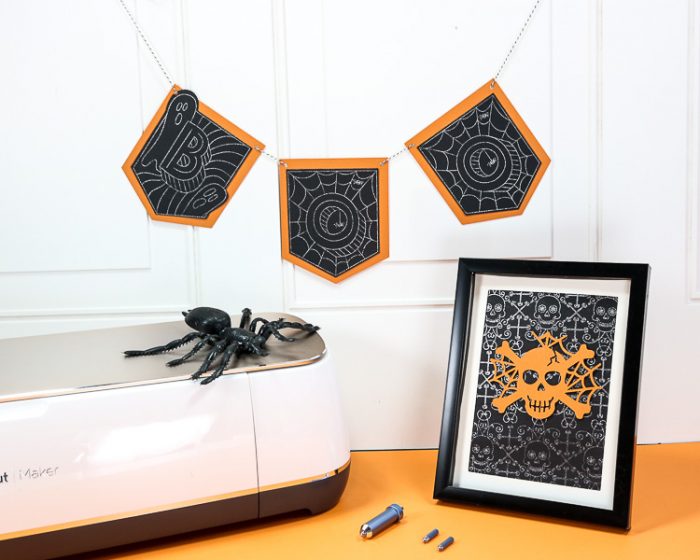
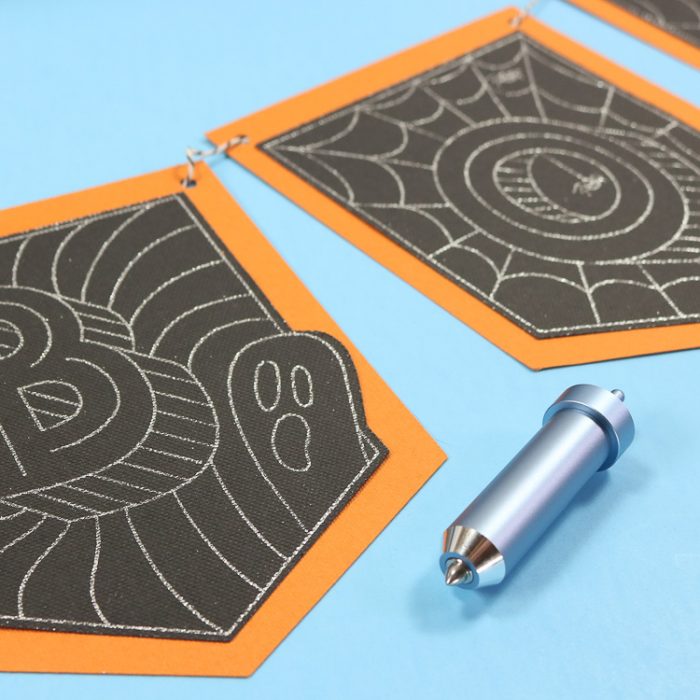
Foil Projects
Tutorials for these are coming soon!



Comments & Reviews
Sue says
Just ordered mine this morning. Can’t wait to try it.
Thanks for the tutorial also.
Have a blessed day
Cheryl Spangenberg says
You’re welcome! It’s lots of fun!