Whip up projects in minutes with these fun new Cricut Iron-on Designs. No cutting machine needed, simply choose the best one for your project (good luck they are all soooo cute!) and Iron-on your blank with the EasyPress™ or your household iron! I am sharing all my tips and tricks on how to use Cricut Iron-on Designs!
Creating projects has never been easier! Whether you want to adorn a shirt, jacket, sweatshirt, blanket, bag or more you can do so in minutes with these predesigned, ready to go Cricut Iron-on Designs.
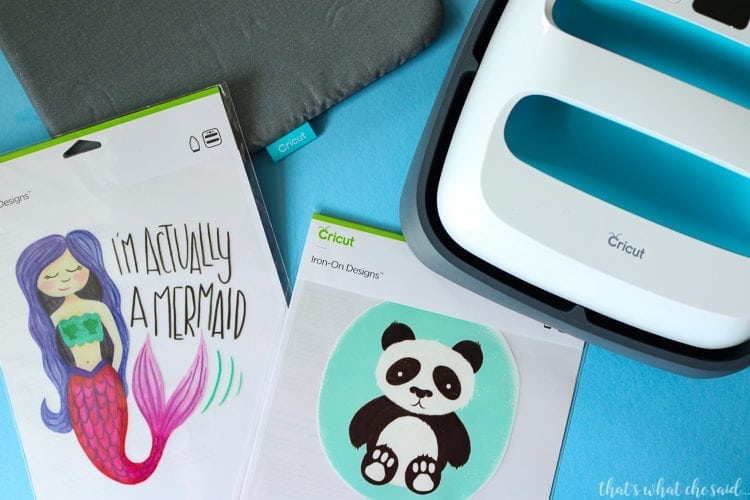
They are available in large and small sizes. Simply remove from the package and iron on. (You can cut the designs if you need to separate parts!) The application is a breeze with the EasyPress™ and EasyPress™ mat, however, it’s also simple using your own household iron!
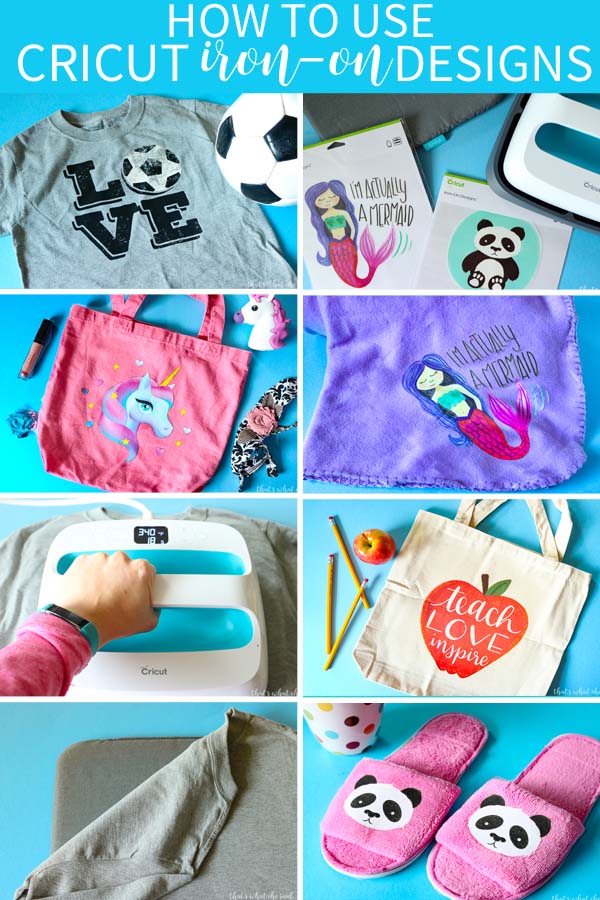
There are currently over 50 awesome designs available and more on the way! I went to town with these, they are just so fun and easy to use. Let’s see what I whipped up in minutes!
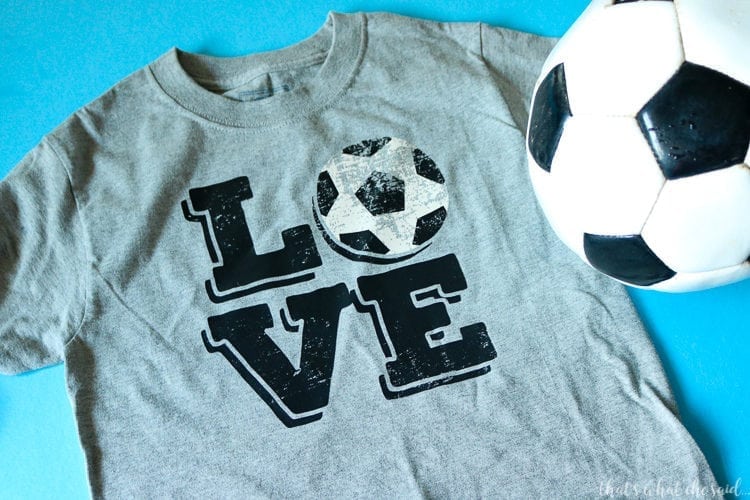
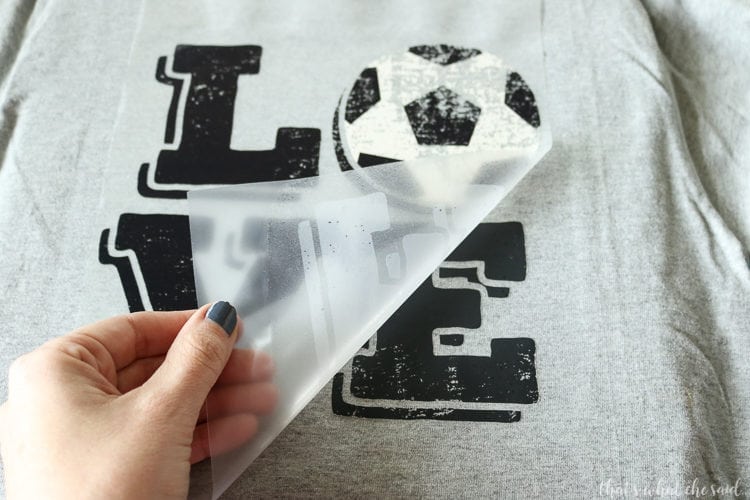
This Soccer Love design is perfect for my soccer-loving kids or would be perfect for a Soccer Mom shirt! I love the distressed look of this one. That is hard to achieve with regular iron-on unless you want to spend all day weeding out those tiny pieces!
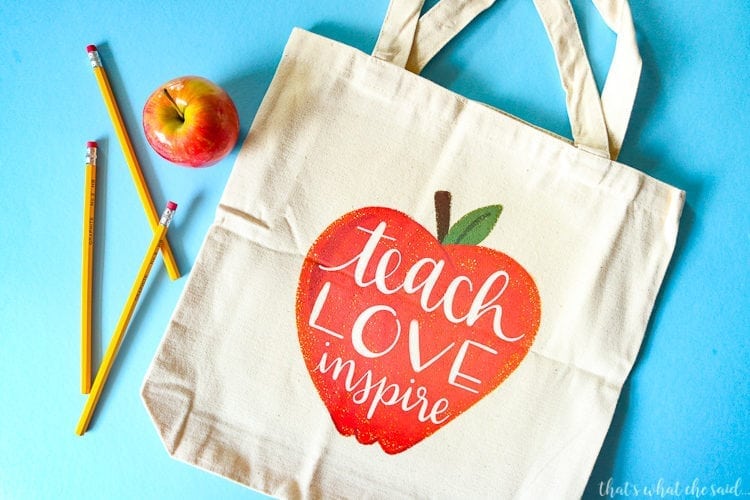
It never fails that we remember we need a teacher appreciation gift during one of the busiest weeks of our lives. It always happens to me! I adore my children’s teachers and want to show them how awesome they are and now it’s so easy. Whipped up this bag in minutes with this cute apple design. It was a hard choice among this teacher design and this one too! I told you it would be hard they are all so cute!
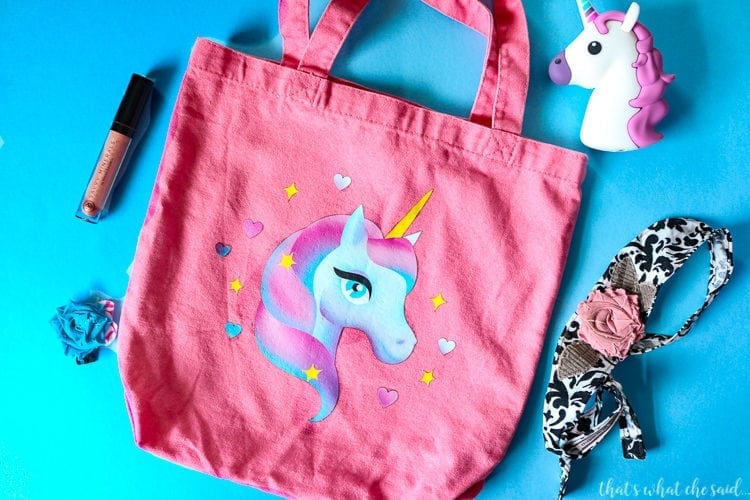
These designs work great on colored fabrics as well. You don’t just need white! This unicorn design on a tote is cute to boot! Perfect for my nieces color books, baby dolls or ballet shoes!
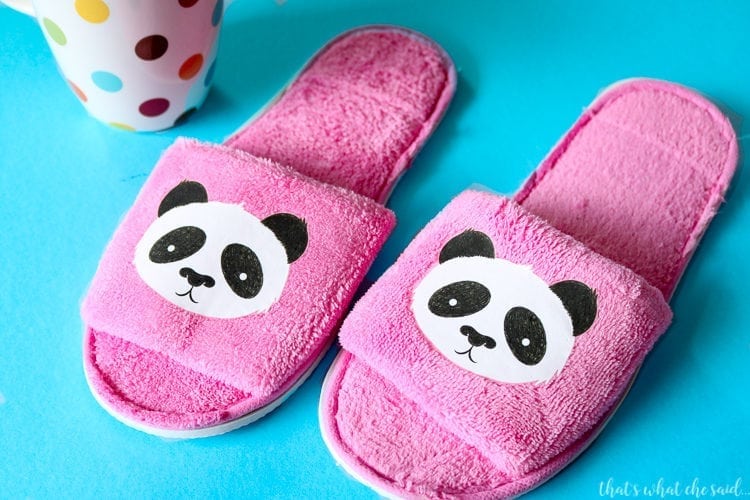
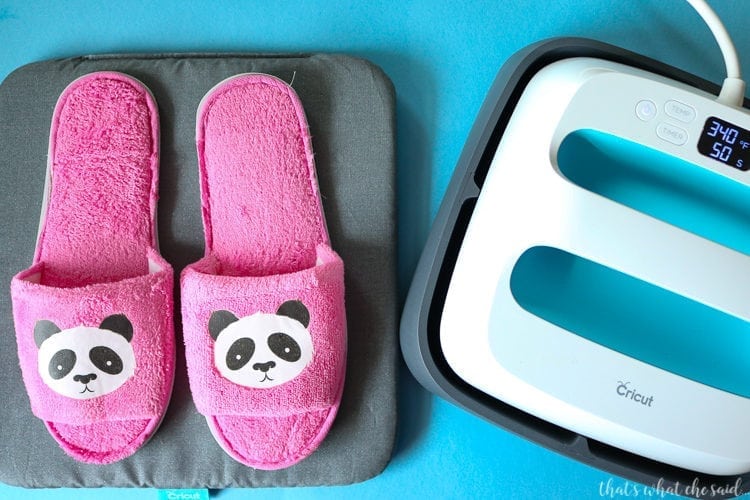
I cut apart this adorable Panda design and at first, I was going to put them on some gloves! How cute would those be? I really wanted to sport the panda’s NOW versus waiting until next fall so I substituted the gloves for a pair of slippers! Gah, they are adorable.
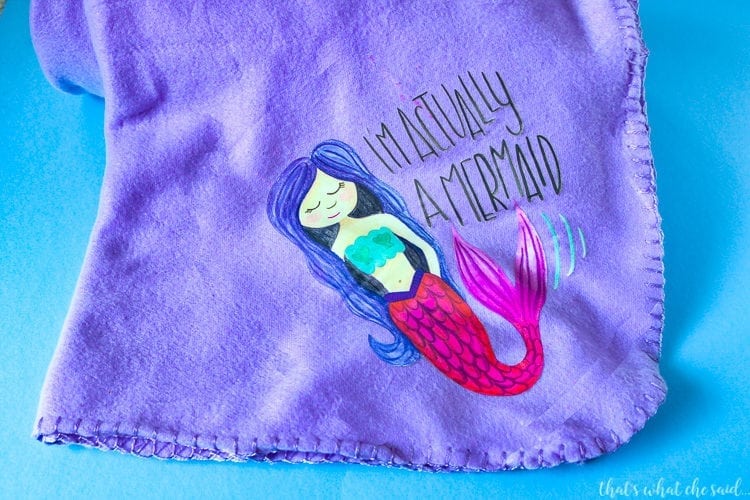
Lastly, I whipped up this adorable blanket! The mermaid design is one of my favorites and I HAD to put it on something! The blanket was perfect!
Application of Iron-On Designs with EasyPress™:
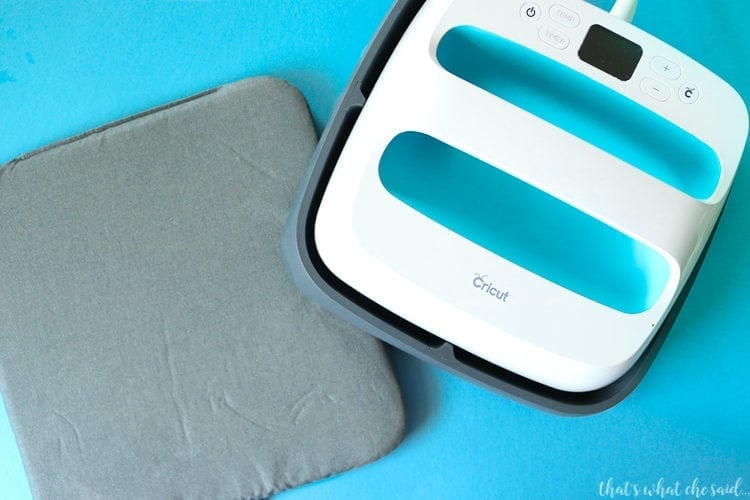
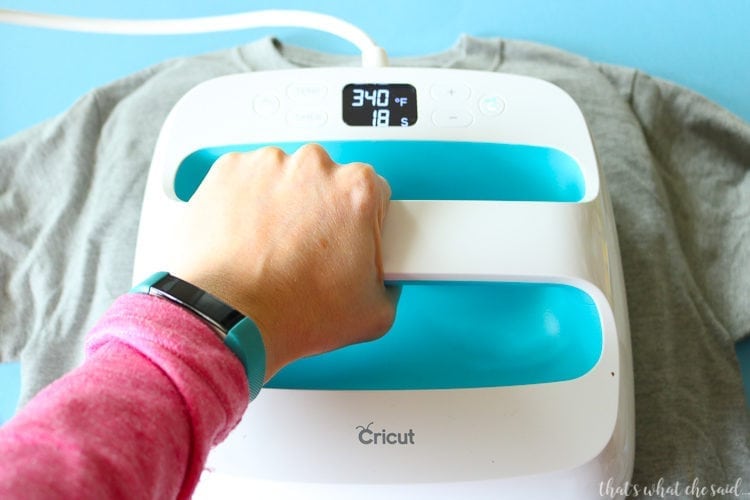
The EasyPress™ is an awesome tool to have in your craft arsenal. The solid 9 x 9 plate heats evenly making iron-on designs a breeze to use. It’s portable, has a timer and visual thermostat that are easily adjustable so you get it right each time!
You can find a super helpful chart of recommended settings for your EasyPress™ with different base materials here.
Using EasyPress™ Mat:
When using the EasyPress Mat you will reduce your press time. The EasyPress Mat eliminates moisture and directs heat to the iron-on design which results in less time needed to properly adhere the design to your blank. The mat also protects your work surface from damaging heat and moisture!
- Set EasyPress™ to 340°F (171°C).
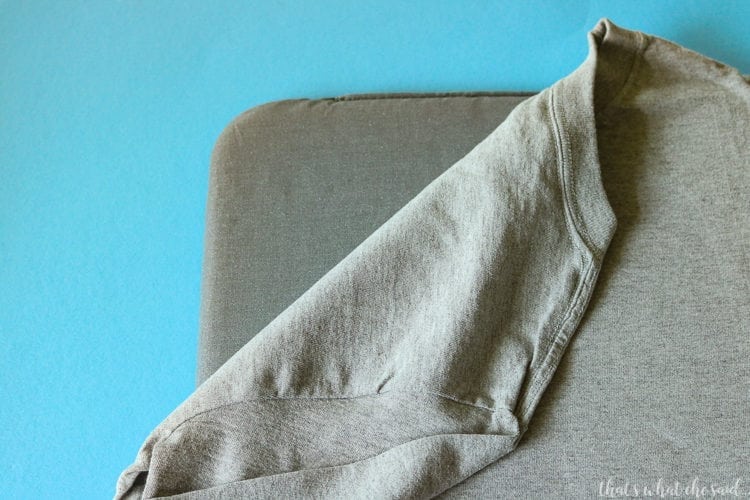
- Place your blank on the EasyPress™ Mat.
- Preheat your blank for 10-15 seconds.
- Place the ready-made iron-on design onto the preheated blank.
- Heat each part of the iron-on design for 30 seconds with medium pressure.
- Flip base material over (or inside out) and heat back side of the design for 15 seconds.
- Iron-on Designs are Cool Peel: Let cool completely and remove the lining.
Using Towel:
- Set EasyPress™ to 340°F (171°C).
- Preheat your blank for 10-15 seconds.
- Place the ready-made iron-on design onto the preheated blank.
- Heat each part of the iron-on design for 50 seconds with medium pressure.
- Flip blank over and heat back side of the design for 15 seconds.
- Iron-on Designs are Cool Peel: Let cool completely and remove the lining.
Application of Iron-on Designs with Household Iron:
- Set your iron to the Cotton/Linen setting. Make sure steam setting is OFF for steam irons.
- Preheat your blank for 10 to 15 seconds.
- Place the ready-made iron-on design onto the preheated blank.
- Heat each part of the iron-on design for 50 seconds with medium pressure.
- Flip blank over and heat back side of the design for 15 seconds.
- Iron-on Designs are Cool Peel: Let cool completely and remove the lining.
Care tips for Iron-on Design Projects:
-
Allow 24 hours after application before washing.
-
Wash and tumble dry inside out.
-
Do not bleach.
-
If you need to iron, only iron on the backside of the garment.
More Awesome Cricut Tutorials:
- How to use Cricut SportFlex™
- How to Cut Iron-on with your Cricut
- How to make Curved Text in Cricut Design Space
- How to upload SVG’s into Cricut Design Space
- How to use the Print then Cut Feature
So tell me…what are YOU excited to make with these awesome Iron-on Designs?
PIN HOW TO USE CRICUT IRON-ON DESIGNS
This is a sponsored conversation written by me on behalf of Cricut. The opinions and text are all mine.


Leave A Reply!