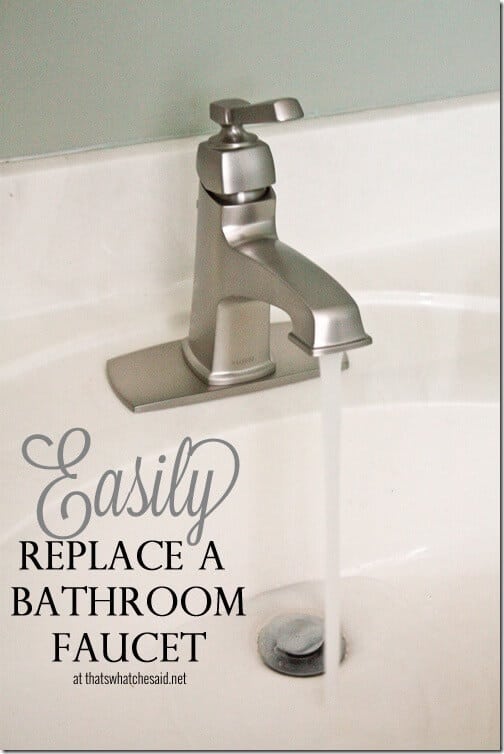
It’s something we have to do now and then that when the time comes, you ask yourself why you didn’t do it earler! I’m sharing how to replace a bathroom faucet! It’s a simple project that can make such an impact on your space. It took our bathroom from brassy 80’s to modern!
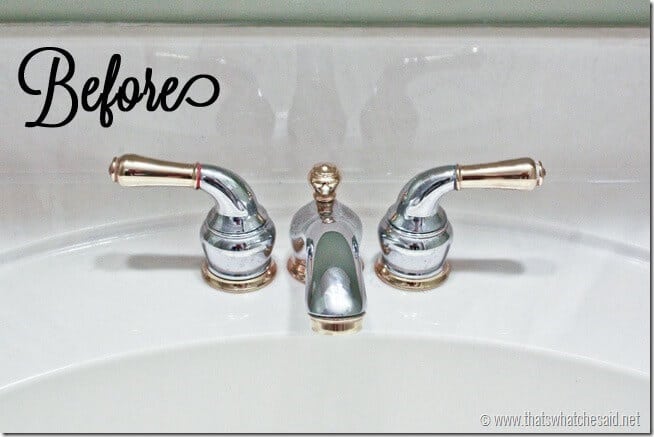
The family who lived here before us lived here for 26 years. They did do a good job of keeping the house décor up with the times however the fixtures they installed in both the bathrooms, I was not a huge fan of. The sinks both have dual handles and I prefer a single handle just for convenience. They also chose bright shiny two toned fixtures. Bright shiny chrome and shiny brass. I am not really a fan of brass and I am definitely not a fan of shiny chrome in the bathroom where every drip shoes like a sore thumb.
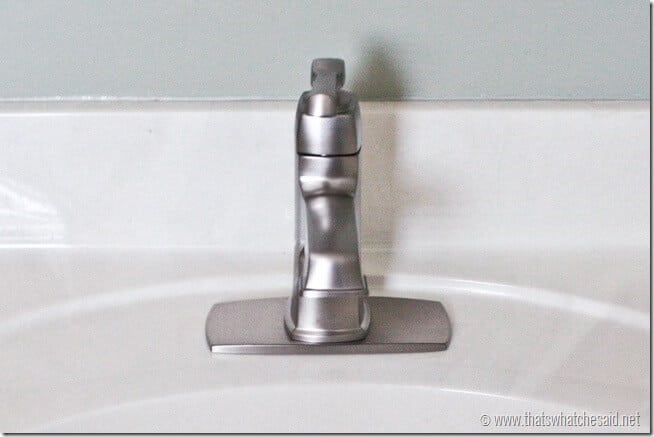
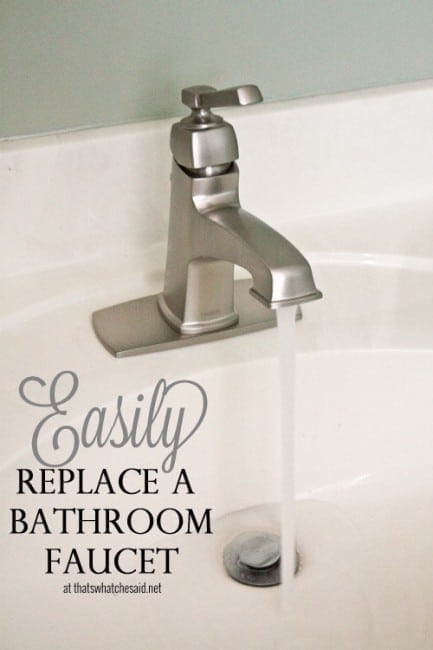
I was thrilled when this Moen Boardwalk 1-Handle bathroom faucet in Spot Resist arrived! I love the brushed nickel finish. I love that it’s spot resistant and I love that it is modern and has a single handle!

Now let’s get on to showing how to replace a bathroom faucet!
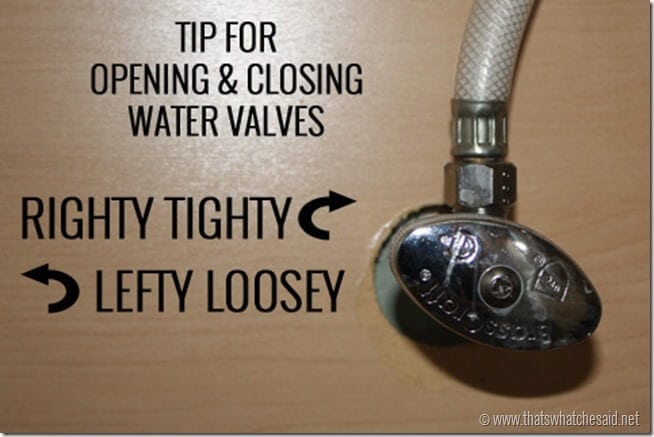
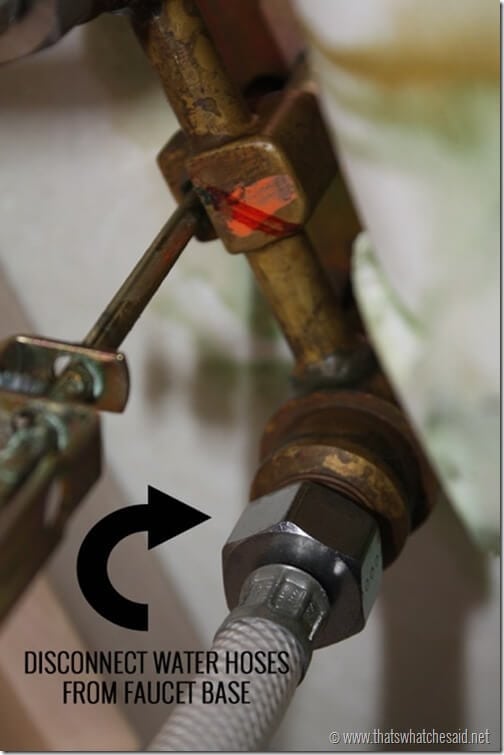
1. Turn off your water valves and disconnect the water hoses from the existing faucet.
TIP: Remember the saying “Righty Tighty, Lefty Loosey” to know which way to turn your valves to open and close!
2. Remove old faucet, drain and plug. Start by disconnecting the drain plug from the faucet. There normally is just a clip you release. There are many different styles of faucets but most have either a single or double wing caps that you have to unscrew under your sink that will release the faucet itself from the sink/countertop. You might need a pair of pliers or utility knife to remove the drain from your sink. The plug should pull out easily after you release the clip under the sink.
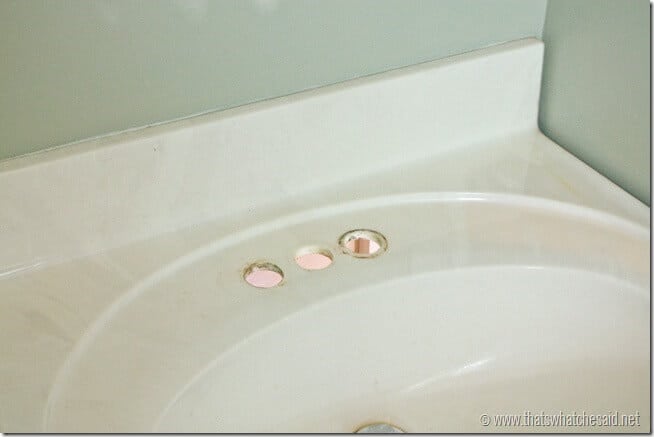
3. I took this opportunity to clean up the vanity around where the old faucet was!4. Follow the directions of your faucet. From now on I will show how I installed my Moen Boardwalk Faucet:
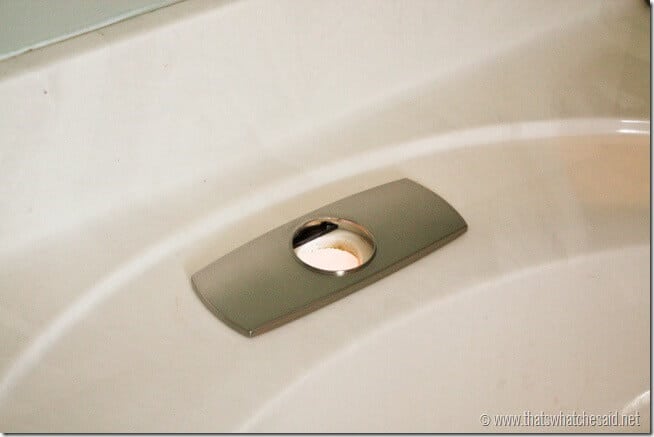
5. Since I had three holes in my sink top I used the base plate. That included a foam seal and then the plate. If not using the plate then you will use an O-ring in place of the foam seal.
6. Then I dropped the water hoses (that are already attached to your faucet = totally awesomeness!) down through the center hole. We positioned it square on the baseplate.
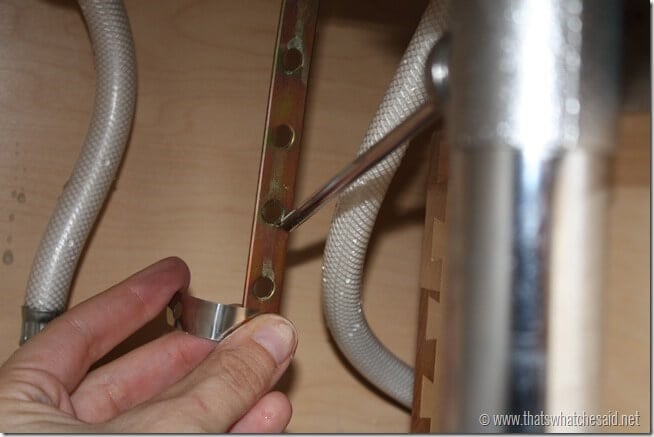
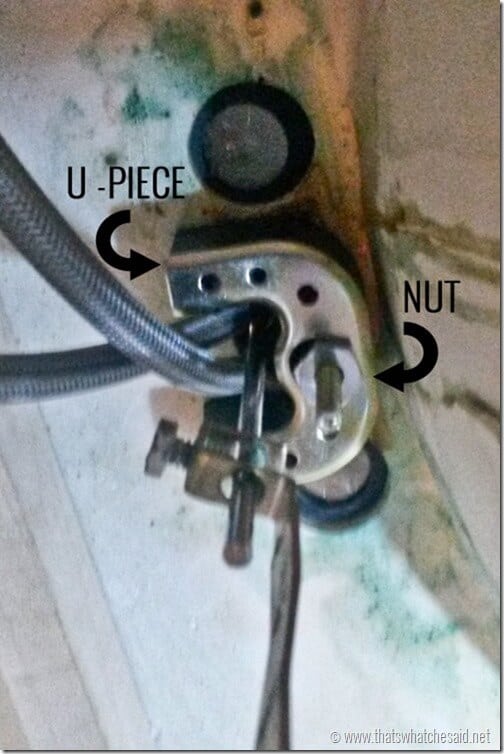
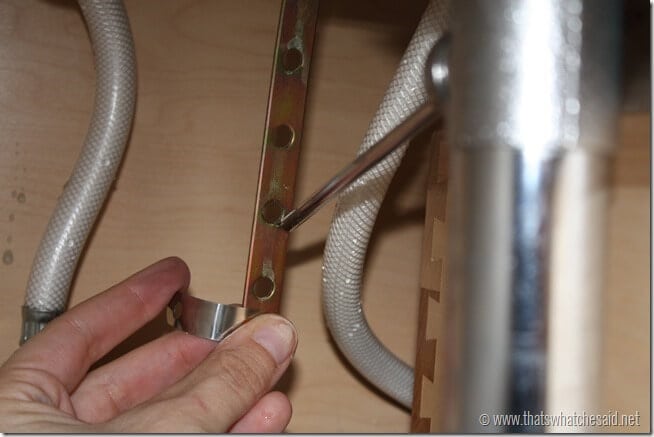
7. Under the sink I slid in the U-piece that will hold the faucet in place on to the threaded stud sticking down from the faucet. I secured the U-piece with a nut provided with my faucet! (Please don’t mind the yucky underside of my sink or my cell phone photo! <—I was in tight quarters under there!)
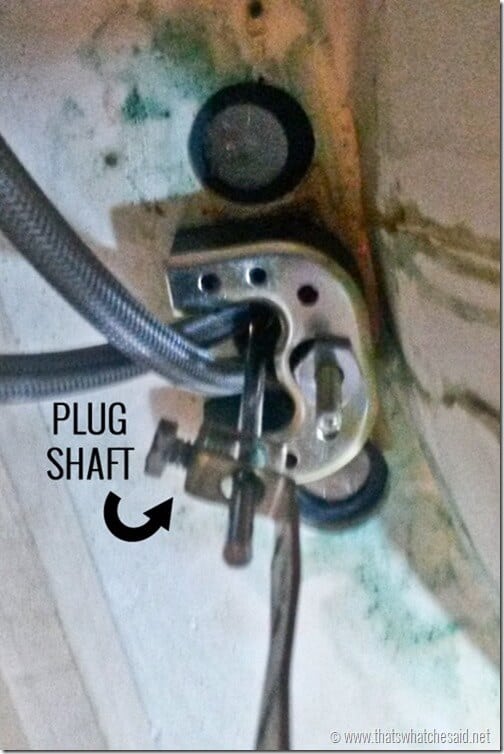
8. Using plumbers putty install the drain into the opening. Drop in your plug and reattach the plug to the drain control under the sink.
9. Connect the water hoses to your water valves and open your valves back up!
10. Enjoy!
This faucet was so fantastic to install. The fact that the water hoses are already connected to the faucet itself just makes installation so much easier. I actually kept thinking I was doing something wrong because it went in so easily!
The spot resistant finish is every mom’s dream! Don’t you hate when you spend all that time cleaning your bathroom and then the first person washes their hands and then all your scrubbing and wiping efforts are down the drain! Not anymore! The single handle, in my opinion is just a necessity with busy boys and messy hands!
What home improvement project is on your list of things to do?


Comments & Reviews
Jeanie @ create&babble says
Love your new faucet! I have two that need replaced so I’ll be referring back to your tutorial so I can do it myself! Thanks for sharing this!
Cheryl Spangenberg says
Thanks Jeanie! It’s such a nice sight when you walk in and see the new faucets! This one from Moen has to be my absolute favorite!
Mique says
We have a few faucets that need to be replaced (when one goes, they all go, right!?). Thanks for this!
Cheryl Spangenberg says
Isn’t that the truth? The list is never-ending! Thankfully this was a breeze to install!
Stacy Risenmay says
It is beautiful! What a difference :)
Cheryl Spangenberg says
Right? Thanks friend! I am now off to change all the rest of them in my house! LOL!
Ashley @ Simply Designing says
Beautiful new faucet!!! I love it!
Cheryl Spangenberg says
Thanks Ashley! The spot resistant part is about as glorious and anything can be! Lol!
Laura says
Love that faucet! Both of our bathrooms need some love. We have done a lot of work to the kid’s bathroom, but the counter/sink and faucet still need to be updated. I like that this one is just one handle. Might make it easier for the kids to not leave the water running! :)
Cheryl Spangenberg says
Yes! And the spot resistant feature is pure awesomesauce!
Michele R says
What a great faucet! We just replaced our shower head with a Moen and love it! It’s a simple change too and well worth it.
Cheryl Spangenberg says
Thanks Michele! Totally worth it! I might do my shower head next!
Erin @ DIY on the Cheap says
Love the new faucet! Very stylish.
Carissa Bonham says
This looks so easy! I know my bathroom faucets could use an upgrade and your tutorial made it way less scary.
ChiWei says
Love the clean look of the new faucet!