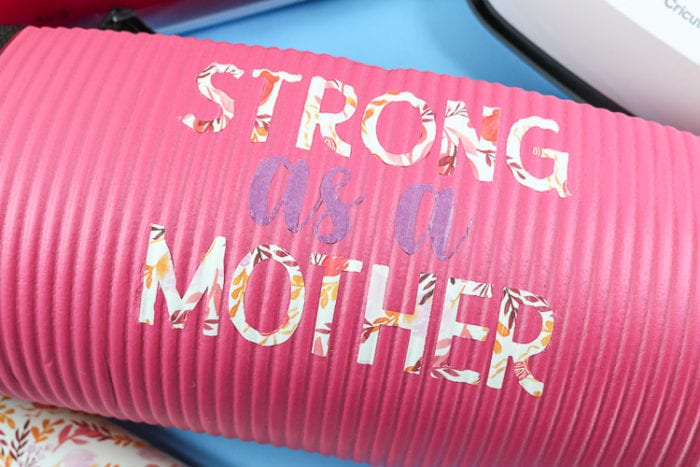
I am sharing all my tips on the perfect way to create a custom yoga mat. This project pairs well with my previous self-care projects of a Monogrammed Water Bottle and Gratitude Journal.
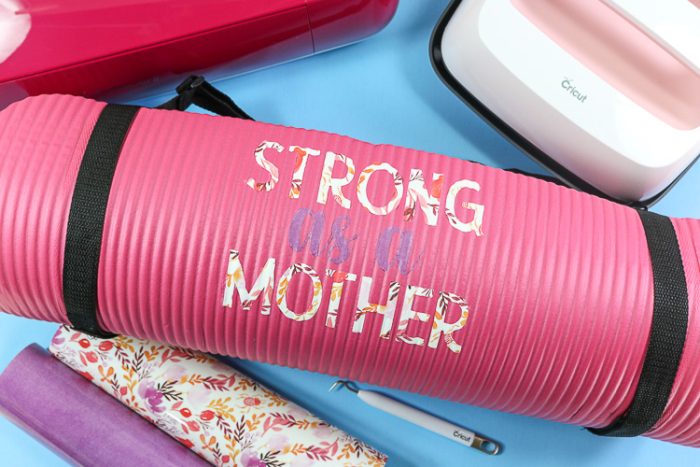
In honor of Mother’s Day, I was thinking about how many moms put their needs behind those of their family’s. It is incredibly important for us take care of ourselves as well. Yoga is a great way to connect a yoga workout with mindfulness and yoga practice is common among many of my good friends.
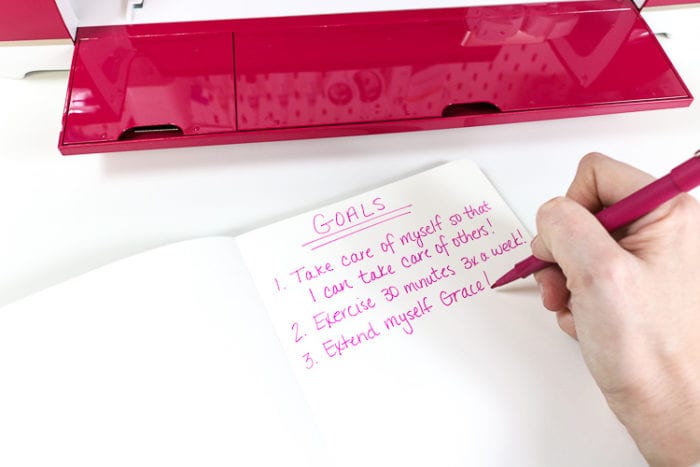
This custom journal is great to add gratitude and goals each day. I made this with the same Cricut I am making the yoga mat today!
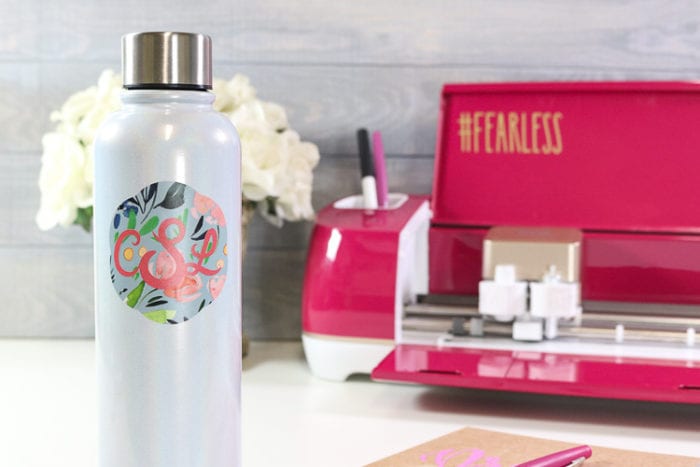
My second project was a Monogrammed Water Bottle with layered adhesive vinyl. On the crafty side, I showed you my tried and true tips for layering adhesive vinyl the easy way using the most beautiful patterned vinyl from the Natalie Malan collection exclusive to JOANN’s. Personal side: Take that time to drink water, take a walk, eat healthy meals. Invest in you.
Today on the crafty side I am showing you how to use iron on to make a custom yoga mat with the new EasyPress 2 Rose Bundle! Yes, you can use iron-on with a foam yoga mat, I will show you how! On the personal side, I hope you combine the journal, water bottle, and yoga mat (or whatever your form of relaxation is) and do it! Take the time. Go to the class, meet for lunch, and read the book. Take time for yourself!
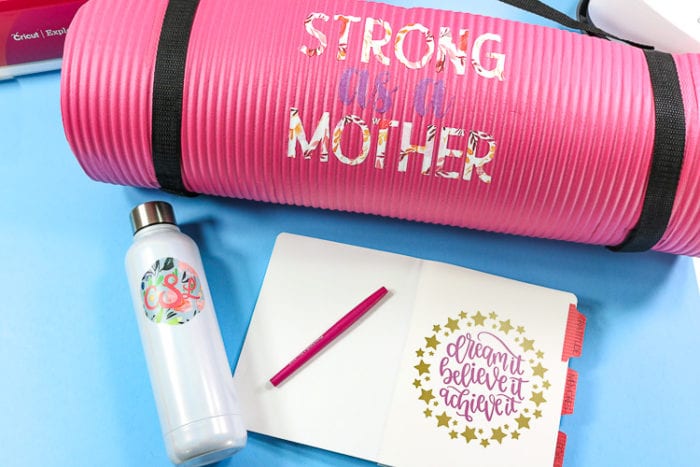
The custom-made yoga mat, water bottles and journal make a great self-care thoughtful gift idea!
Who Needs a Custom Yoga Mat?
Custom mats are perfect for spicing up your own yoga mat or making the perfect gift for your yogi friends, yoga teachers, or the yoga enthusiast in your life.
Imagine you are in a downward dog pose and you have a funny or uplifting quote on your yoga mat to give you motivation! It will take it to the next level!
If you are a yoga teacher you can add a custom logo yoga mats to sell branded yoga mats to your yoga class! Whether that be the fitness centers logo or the yoga studios logo, a custom-designed yoga mat is fun and further enhances your community!
Can I use Iron-on with a Yoga Mat?
The answer is yes! I actually prefer it! Regular adhesive vinyl can also be used, however, I found that iron-on is much more durable and lasts longer! I also prefer to work with iron-on over adhesive vinyl, but that is a personal preference!
Heat Press Settings for Custom Yoga Mat?
A protective sheet or a piece of parchment paper (both work great) is required and the idea is “low and slow”. I use a lower temperature of 275F and press for 30-45 seconds. I normally start at 30 seconds and add on more time if needed in 15-second increments.
You can follow the interactive EasyPress guide to find out if the iron-on you are using is a cool or warm peel.
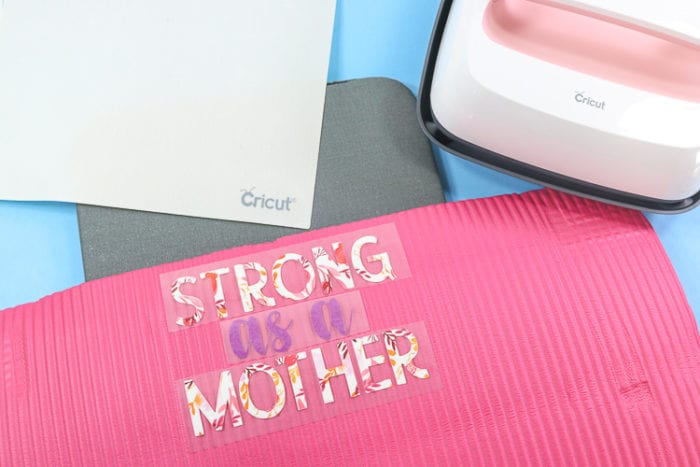
Custom yoga mat sayings:
- Namaste in Bed
- I don’t do yoga, yoga does me
- Yoga Pants, because Jeans are stressful
- Thankful, Grateful, Blessed
- You are one yoga class away from a good mood
- If you fall, I will be there – Love, Your Mat
- I’m not napping. This is Savasana!
- “I’m not napping. This is savasana!
Supplies for Personalized Yoga Mat
- Cricut Explore Air 2 Wild Rose Edition
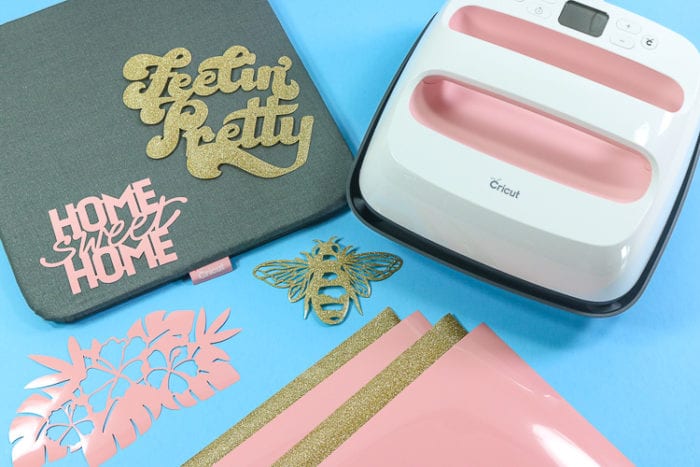
- Cricut EasyPress2 Rose Bundle (includes Easypress 2, mat, iron on and pre-cut designs)
- Yoga Mat
- Weeding Hook (comes with Wild Rose machine!)
- Protective Sheet or Parchment paper
- Natalie Malan Patterned Iron on (I used Nature Walk Sampler)

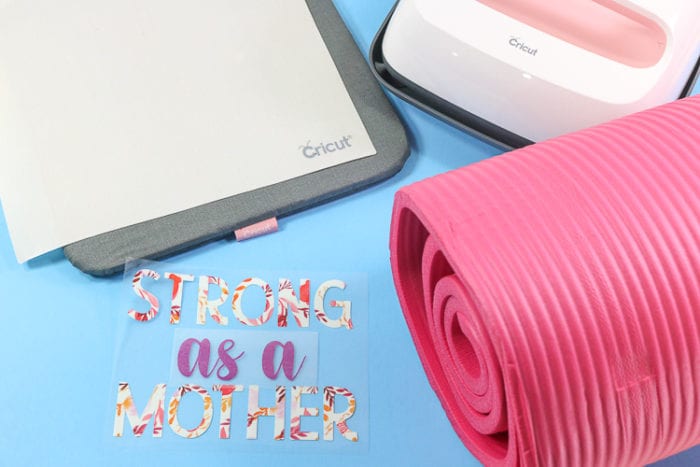
How to Make a Custom Yoga Mat:
Time needed: 10 minutes
Below are the steps to use iron-on vinyl to personalize a foam yoga mat. You may find detailed tutorials with step-by-step photos for the EasyPress 2, Cutting and applying iron on here.
- Choose a Design for your mat.
Choose from one of the many amazing designs in Cricut Access, which is Cricut’s design tool, or add a name or monogram or upload a design of your own creations and size it appropriately for your mat.
You may use my file in Cricut Community here.
You can find my tutorial for How to Create a Monogram in Cricut Design Space here as well as details for How to Upload SVG’s into CDS here. - Click Make It.
In the upper right hand corner, click the green MAKE IT button.
- Mirror your Mats
On the mat scree, check the box to mirror your design and click Continue.
- Cut the Design
Place the iron on, shiny side down onto a LightGrip mat (blue) Connect your Machine and select your material by moving the knob on the Explore Air 2 to IRON-ON. Load the mats and cut the iron on.
You may find detailed instructions for cutting iron on here.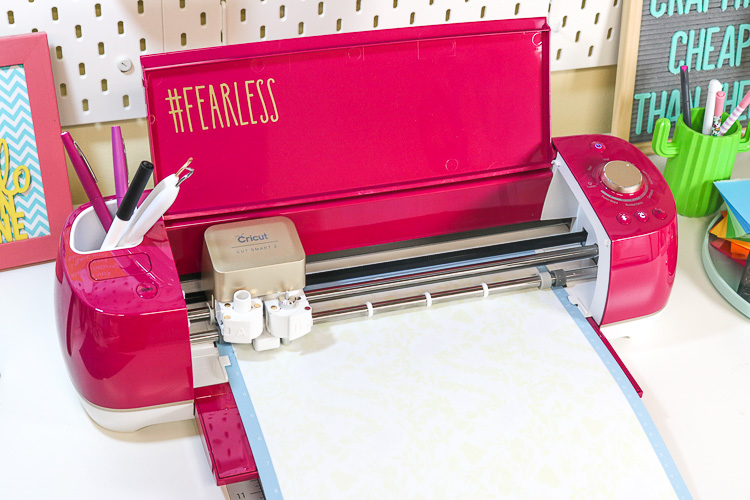
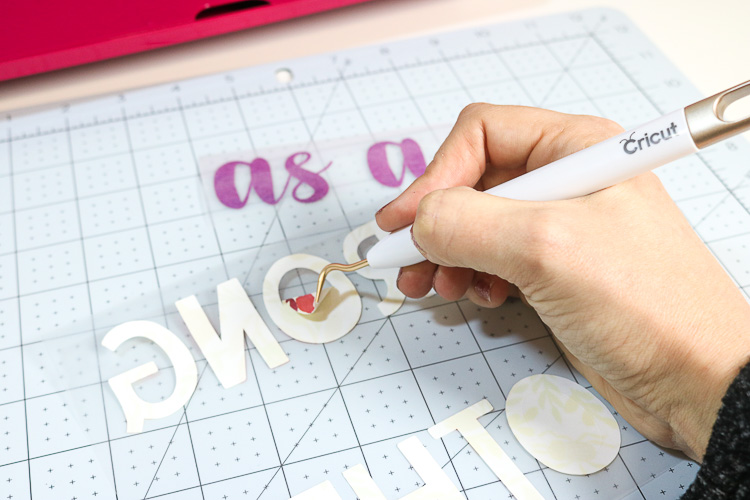
- Weed the Design
Using a Weeding hook, remove the excess iron on leaving only your design.
- Iron on the Design
Set your EasyPress 2 to 275F and 30 seconds. Place your yoga mat on the EasyPress Mat, place the iron on where you would like it, and cover with parchment or a protective sheet. Press with the EasyPress. Carefully remove the clear carrier sheet from the iron-on custom yoga mat design.
Here you may find detailed instructions on using the EasyPress 2 and also for correctly applying iron on.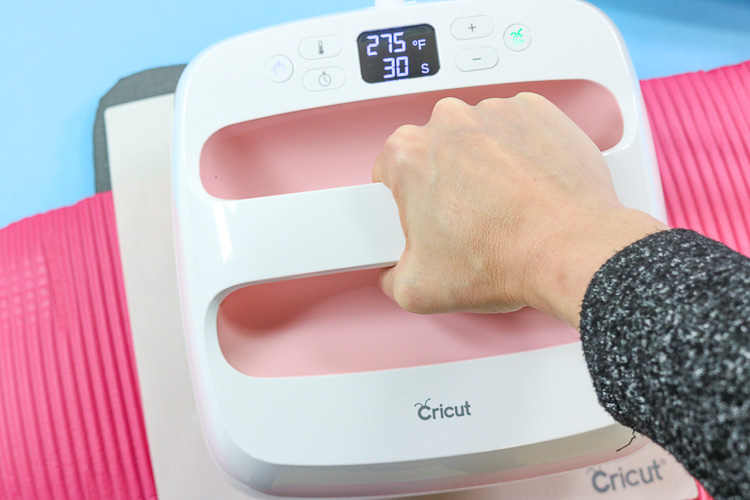
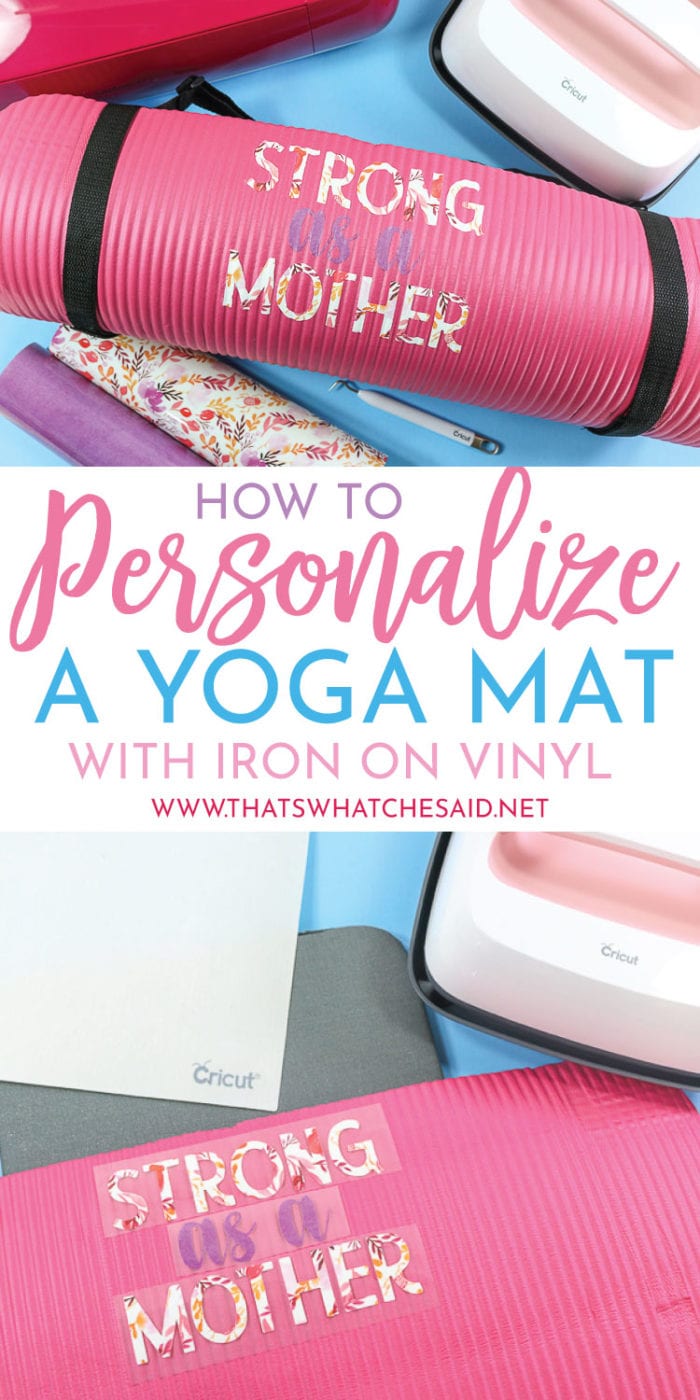
Pin How to Make a Custom Yoga Mat


Comments & Reviews
rosella erdmann says
thank you for the tutorial for customizing a yoga mat I enjoy all the videos you do and the free files
Cheryl Spangenberg says
You’re welcome, Rosella! I am so happy to hear that!
Leslie says
I didn’t know you could use iron on vinyl with something like a yoga mat. This is awesome!
Ashley says
I had no idea you could use HTV on squishy material! Game changer. Thanks for the post.
Kim says
I’d use the Easy Press to add HTV to my handmade shirts!
Shannelle says
I like doing yoga and have some friends that does it also! I would love to gift them this idea. Thank you for sharing.
Heather Justice says
I am a Newbie so I want to make Everything that I see everyone show that they have made , all I need is the knowledge to match the ambition
Christina says
I’d be able to finish making all the shirts for myself I’ve been putting off!
Candy says
I love getting your emails with your tried-and-true tips and tricks, SVGs and more! It’s nice to see how versatile the Easy-press is–never would have thought it could be used on a yoga mat! :-)
Claudette says
I love this idea!! Will definitely try it soon! Thank you!
Carrie says
The first thing I would make is t-shirts for our upcoming Disney World trip!!! :)
Linda Bentley says
I would put vinyl on shirts for my granddaughters.
Lynn Desroche says
I would love to make T-shirt’s for my nephew and I to wear when the new Toy Story movie opens!
Amy says
I have wanted to decorate my yoga mat for a long time, but did not know how to accomplish the task. Thank you for the tutorial.
Melis says
Oohh… I would love one of these. My daughter started an anti-bullying club at her school… I’d make them some shirts with their koala mascot on it!!!
Jessica Wish says
First thing I would do if I won the Bundle would be make baby t’s and bodysuits for a friend that is having a baby soon. :)
Diane Graham says
This is awesome. I’m wanting to try the iron on wood sign DIY projects. I can think of lots of other projects this would be good for. One on my nieces would like her name on her nap mat at school. Thank you for having such an awesome give away.
Kimberly says
Great projects!
Cheryl Spangenberg says
Thanks Kimberly!
Monica says
I would make a t-shirt!
Verna Bradshaw says
This would be so neat to win. So many options of things to use it for!!
Luanne says
I would make a big heart of glitter turquoise to cover a stain for my Granddaughter who ruined her favorite shirt! Thanks for the Chance to win an easypress2!
I tried and tried to leave this response above but it didn’t work so I thought you should know…