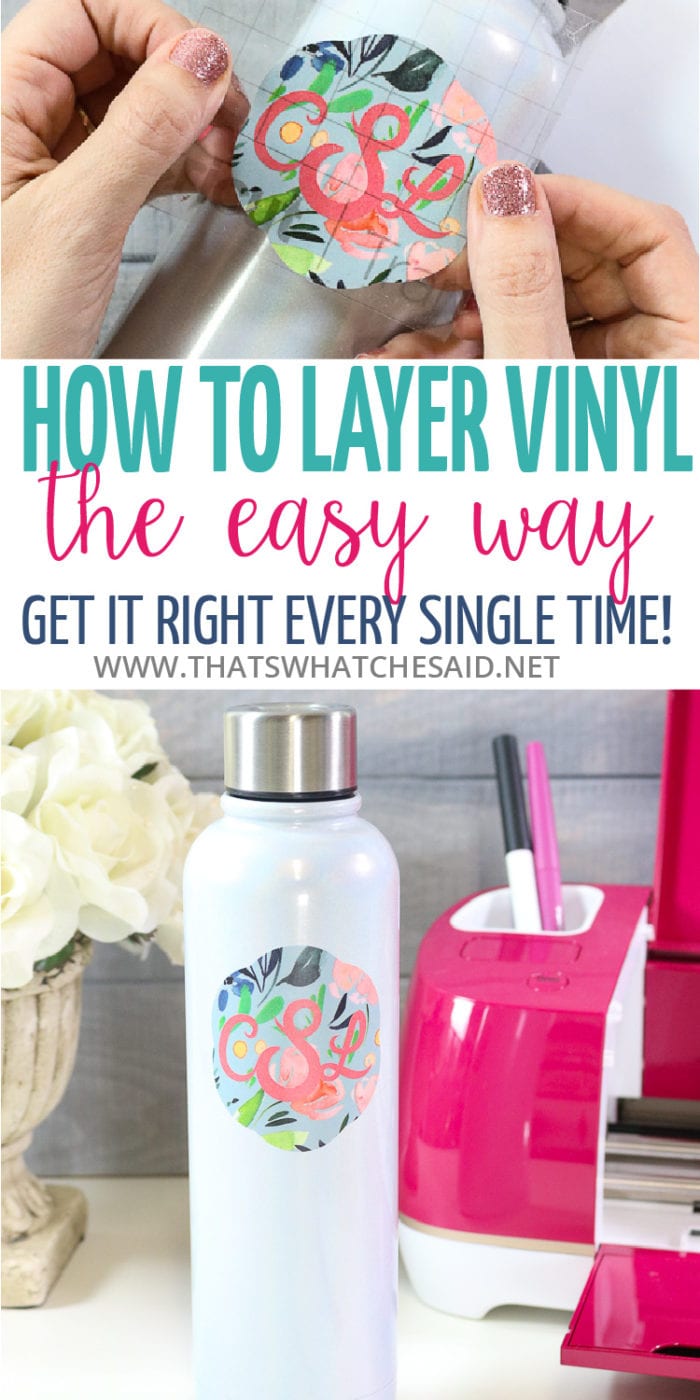
It is fun to mix and match adhesive vinyl, especially beautiful patterned vinyl, and layering can often be a daunting task! I am sharing my foolproof tips & tricks on How to Layer Vinyl the easy way! Get perfect results every time and learn to layer vinyl like the boss you are!
Topics Covered in this Post
This tutorial is for layering ADHESIVE vinyl perfectly every time! Check out this post if you need to learn about How to Layer IRON-ON Vinyl
One of the biggest hang-ups I hear when talking to readers or my friends about adhesive vinyl is how difficult it is to layer correctly.
It’s sticky, it gets static cling and that bottom layer jumps up to kiss that top layer before you have it centered correctly and it can be challenging to pull the layers apart without ruining them. They often wrinkle once you pull them apart and try to reapply them. I am going to show you the best hack that is for beginners to the seasoned crafter!

VIDEO – HOW TO LAYER ADHESIVE VINYL
Follow me on YouTube for more Cricut & Craft videos!
What Is Adhesive Vinyl?
This post will dive into layering adhesive craft vinyl with a foolproof method that yields perfect results in every application. If you need to freshen up on Adhesive vinyl or haven’t been introduced yet, please check out this Vinyl 101 post for all the details and an in-depth dive into the different types and brands.
Adhesive craft vinyl is a thin, cuttable sheet of vinyl that sticks to your surface with a glue layer, similar to a sticker. Adhesive vinyl comes in removable, permanent, glittered, patterned, and holographic vinyl options!

This post may contain links to Amazon Associate and other affiliates.
As an Amazon affiliate, I earn a small commission from these links at no additional cost to you.
Supplies and Tools Needed for Layering Vinyl
- Cutting Machine – Cricut or Silhouette
- Adhesive Vinyl in your choice of different colors or patterns. Shop Cricut or Shop Expressions Vinyl
- Transfer Tape
- Weeding Tool
- Scraper Tool
- Layered SVG Files of your choice – Find my Free svg Files here and also check out my svg shop.
Check out my entire Amazon Shop for everything you need for using Adhesive Vinyl!
You can use any of the Cricut machines including Cricut Joy, Cricut Explore Air, Explore Air 2/3, Cricut Maker, or Cricut Maker 3. In the same light, you can use any Silhouette Cameo version, original through 5 or a Silhouette portrait through 4 as well as a Curio. You can also use the blade option on the xTool M1 Hybrid Laser/Blade cutter.
The tip I will share today for layering vinyl is actually in the software and Cricut Design Space, Silhouette Studio and xTool Creative Space software can all make this happen!
WHEN TO USE THIS TUTORIAL:
- Layer Vinyl Decals
- Layer a name over a shape or design
- When working with several different types of vinyl
- For detailed or intricate vinyl designs
- Whenever you would like the convenience!
How to Layer Vinyl the Easy Way
Time needed: 10 minutes
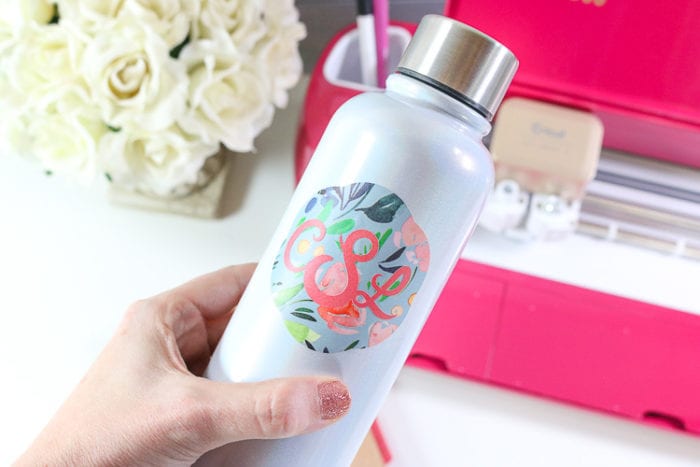
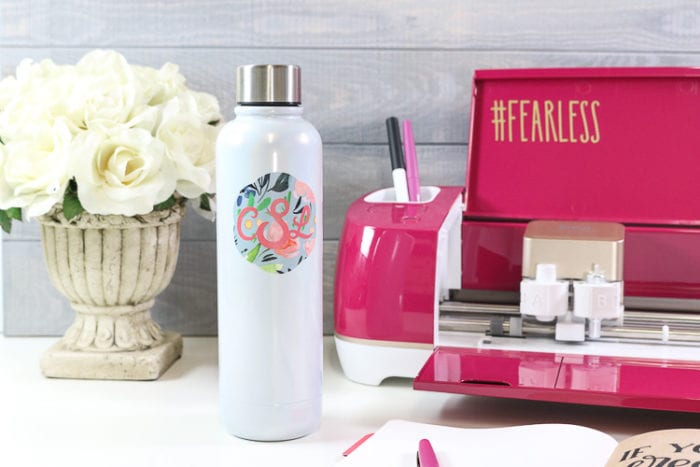
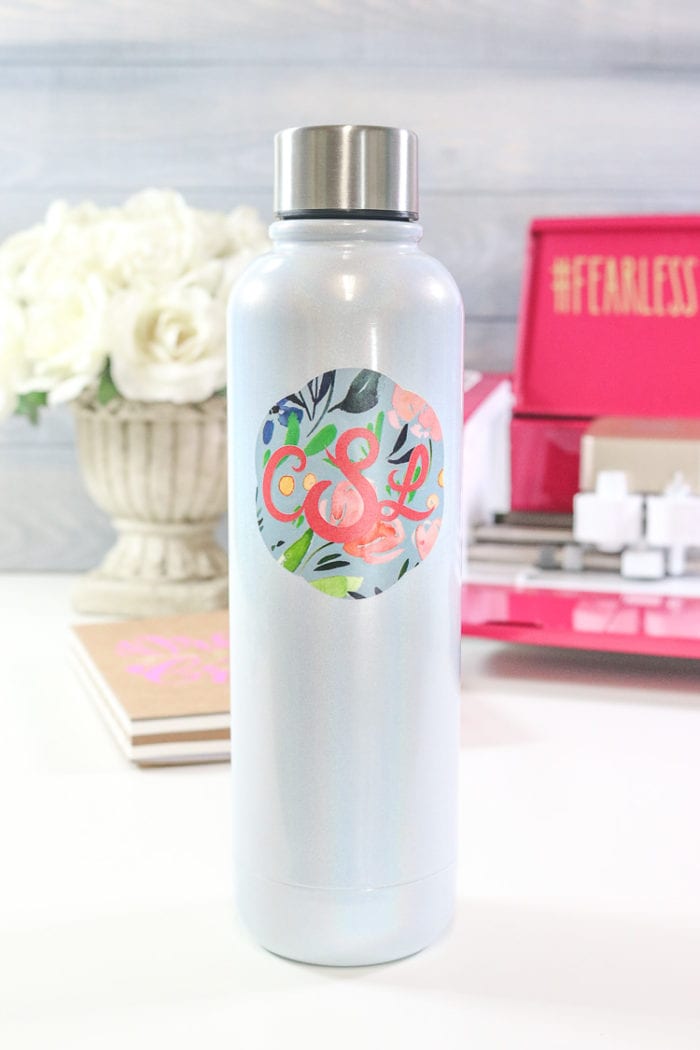
Here is an easy tutorial on how to add registration marks to your different vinyl colors in order to easily layer them for your finished project. I am layering my monogram over a patterned base shape. You can find step-by-step instructions on How to Create a Monogram in Cricut Design Space here. If you would like to use your own system fonts vs. Cricut Design Space fonts, you can find information on how to install and use fonts with Cricut Design Space here.
- Add Shape Markers in Cricut Design Space
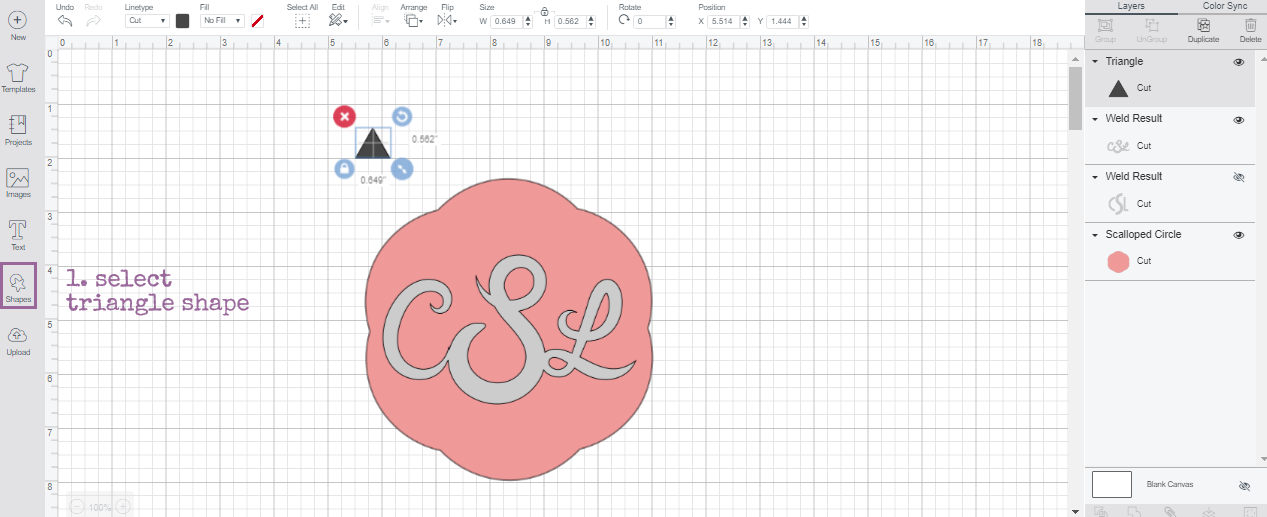
With your layered design ready to go in Cricut Design Space and using the shape tool, add a triangle. Resize to about half an inch.
- Duplicate the Triangle
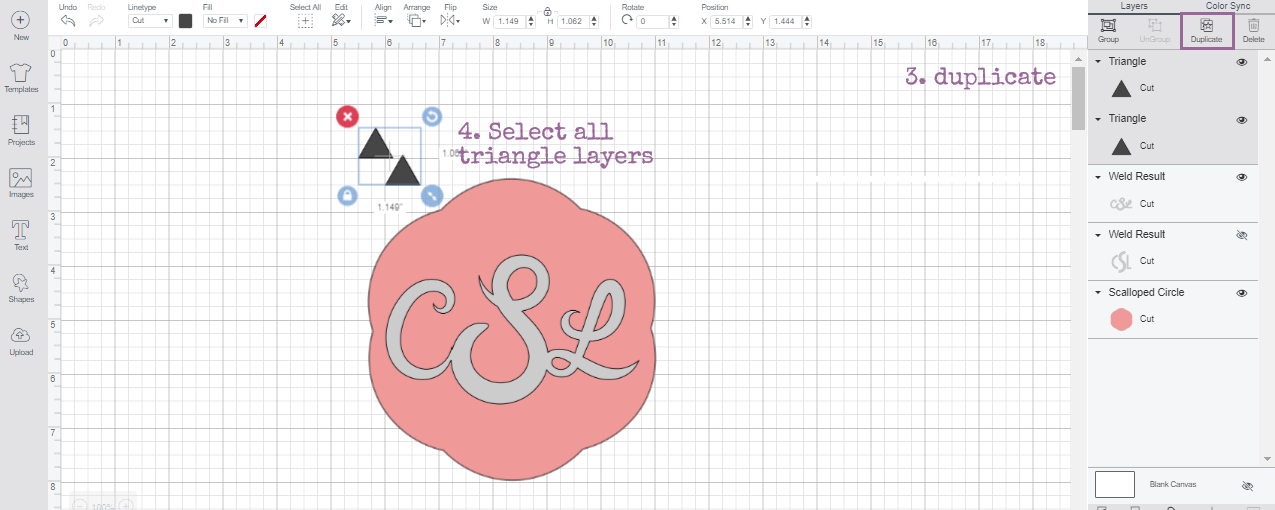
Multiply the triangle (using the duplicate tool) for as many layers as your design has. (2 layers = 2 triangles) Select all triangle layers.
- Center the Triangle Layers
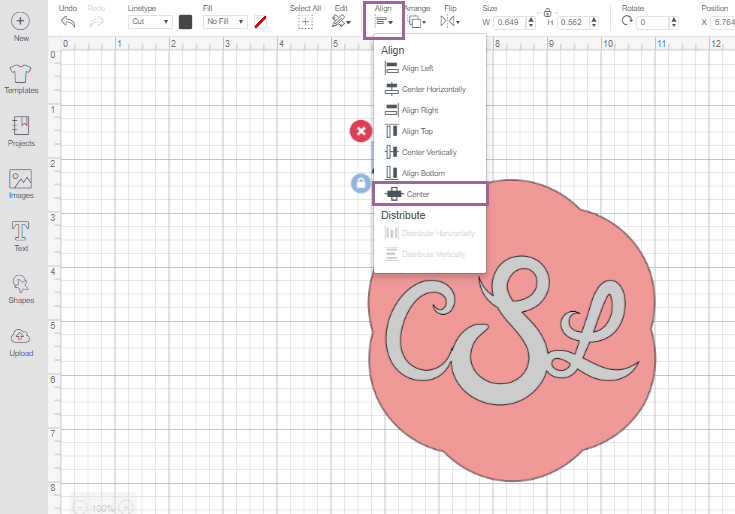
With all triangle layers selected, click the Align Tool and select Center. This stacks the triangles on top of one another in the design software. They are still each on their own layer even when stacked.
- Assign Layer Colors to Each Triangle
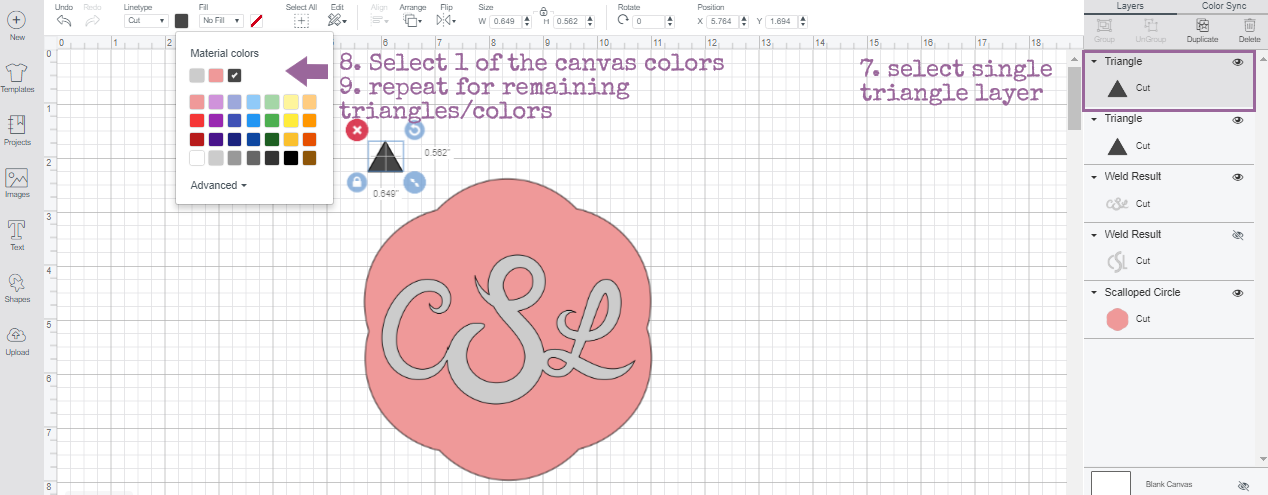
Select a single triangle layer in the layers panel on the right side of the canvas and change to one of the colors of your design. Note: Each layer should have its own color. Repeat for the second layer. If using more than 2 layers, repeat for all layers.
- Attach the Same Colored Layers
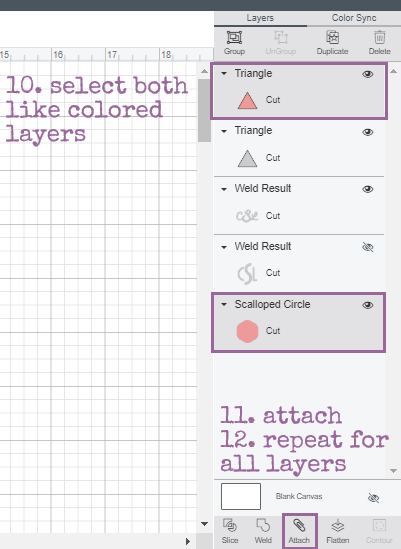
Select the like-colored layers and Attach them. Repeat for the final layer.
- Make It
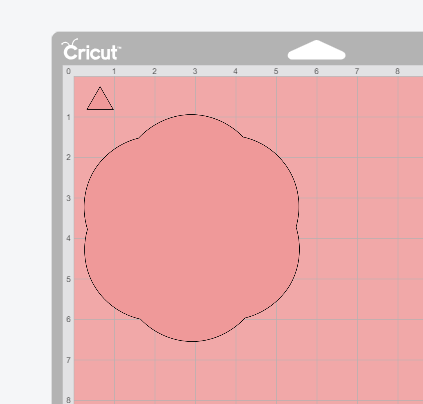
Click Make It and proceed to the Mat Screen. You will see each layer has a triangle where we placed it on the canvas screen. Click Continue.
NOTE: If your triangles are not in the same spot for all layers you did not ATTACH them. Please go back to step 5 and verify. - Cut Your Vinyl
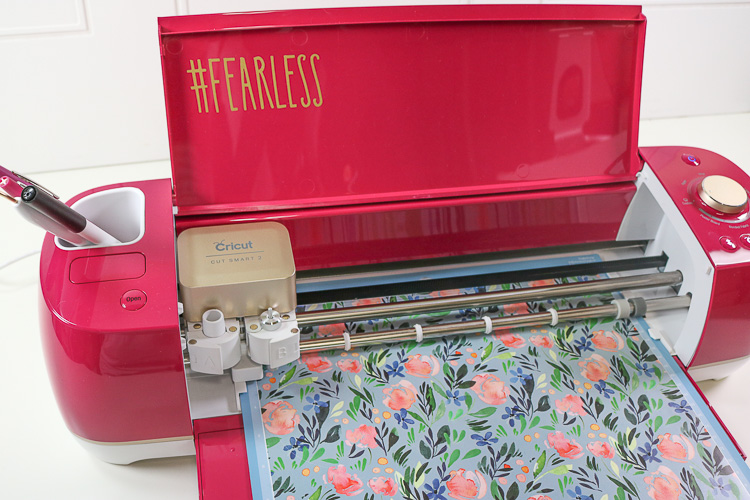
Connect your machine, select your material, load the mat, and cut. You can find detailed information on cutting adhesive vinyl on a Cricut here.
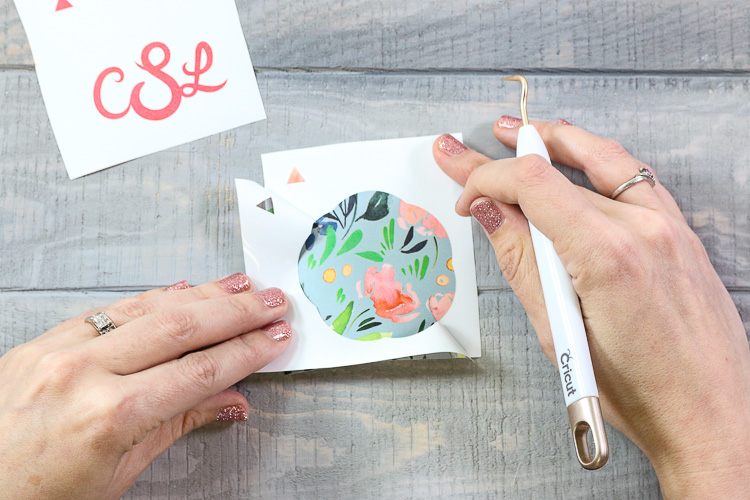
- Weed Excess Vinyl from Triangle and Design.
Using a weeding hook remove the excess vinyl for each layer leaving the triangle and your design.
- Prepare your Layers
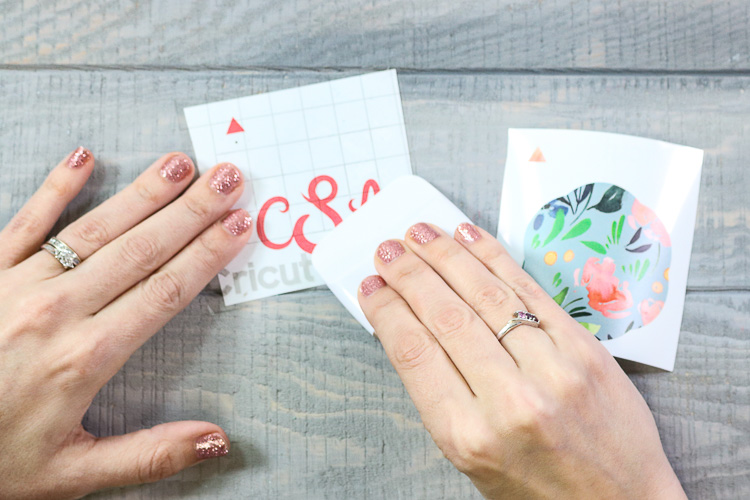
Start with the TOP layer of vinyl on your workspace. In this case, the top layer is my monogram. Add transfer tape over your design. Use the scraper too to burnish the transfer tape to the first layer of vinyl to make sure it has properly adhered to the transfer tape. Do not remove the paper backing liner yet.
- Expose the Triangle Marker
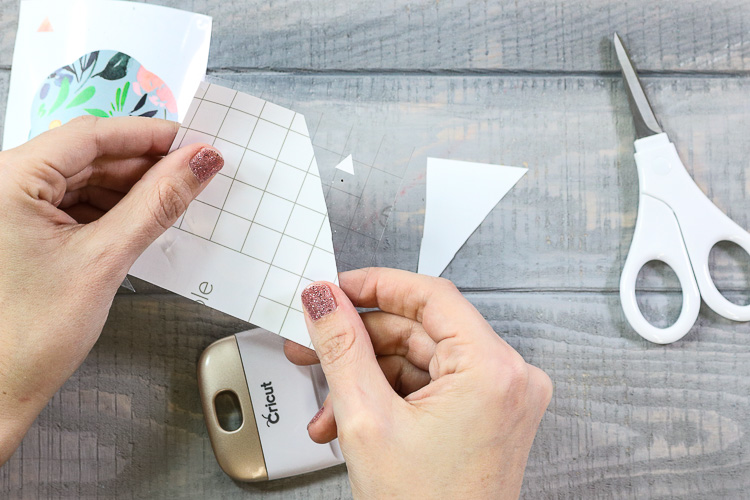
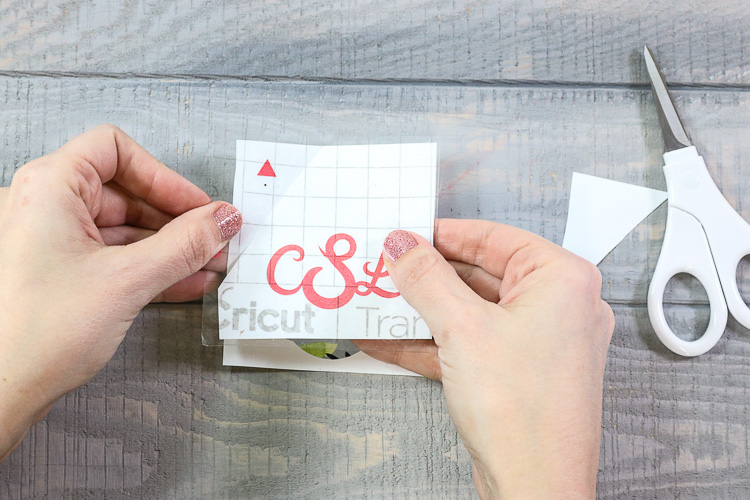
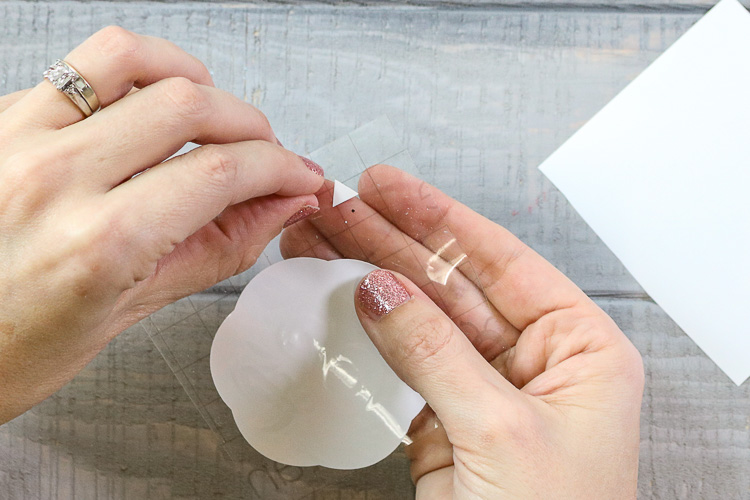
Peel back the paper backing ONLY exposing the triangle. Cut away that area of paper backing, leaving the bulk of your design still covered by the backing paper.
- Line Up the Layers
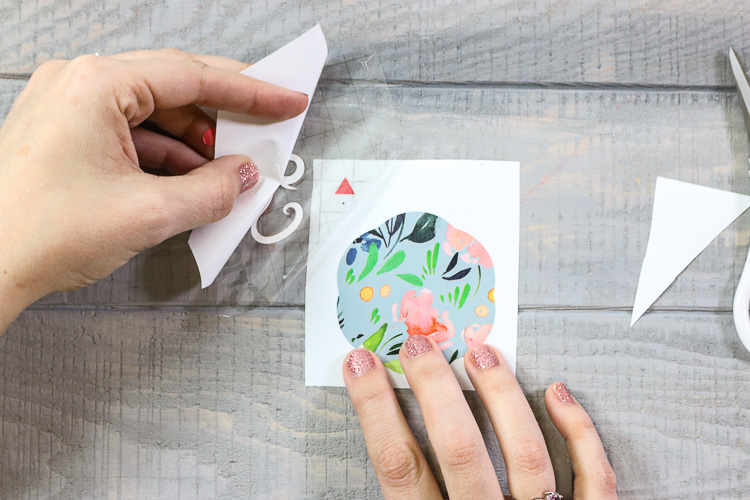
Line up the triangle of your top layer with the triangle of the layer that goes underneath (in this case our bottom layer).
Keeping the bulk of your design covered with the paper backing ensures that you don’t get premature sticking from static cling or the sticky back of your top layer vinyl!! - Adhere the layers
When you are happy with the alignment, press down firmly and use the scraper tool to
adhere the entire exposed transfer paper area to the layer below. - Remove the Top Layer of Backing Paper
Carefully fold the top layer over and remove the remaining paper backing from the top layer. Be sure to keep the triangles adhered.
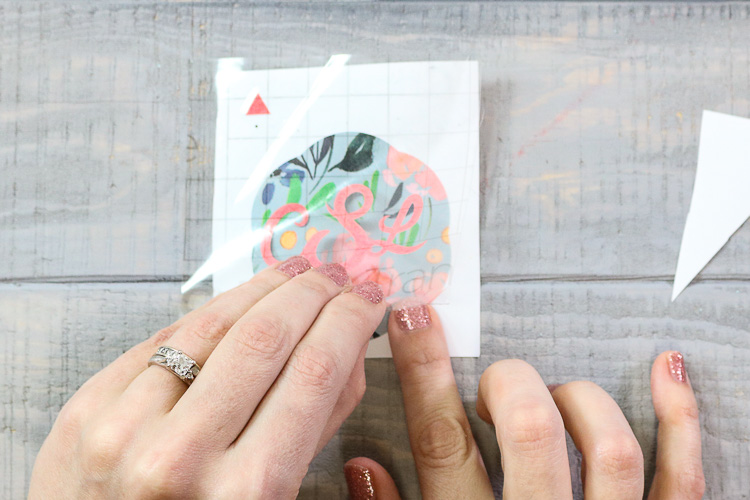
- Layer The Vinyl
Carefully return the fold to
its original position and use the scraper to firmly adhere the top layer to the bottom. Be sure to smooth out any bubbles. - Remove Complete Decal Backing Paper
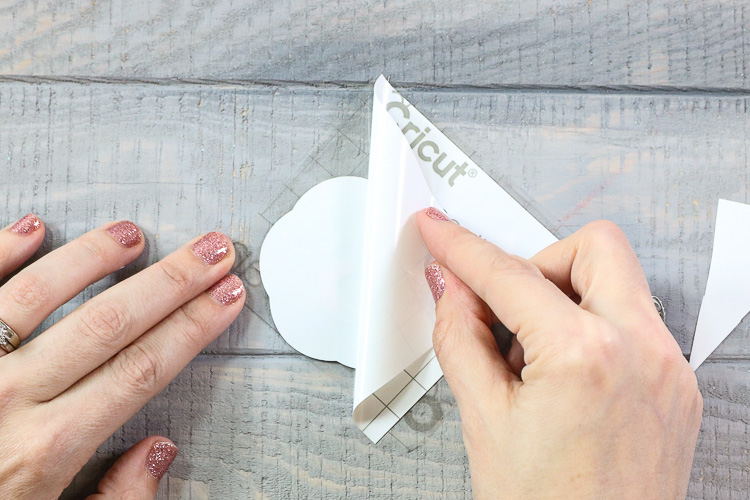
Now that your layered design is complete. remove the bottom layer of paper backing from the transfer paper.
- Remove Triangle Markers
Easily peel the triangle markers off the transfer tape
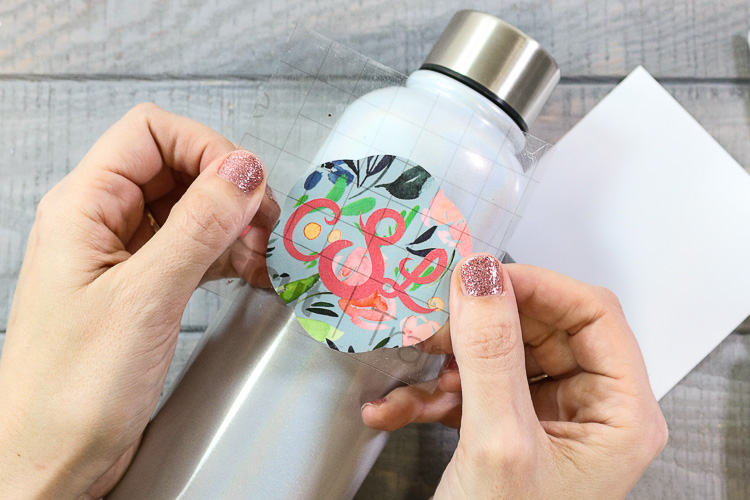
- Apply your Layered Design
Apply your layered design to your prepared base material. You can find details on how to properly prepare blanks for vinyl application here.
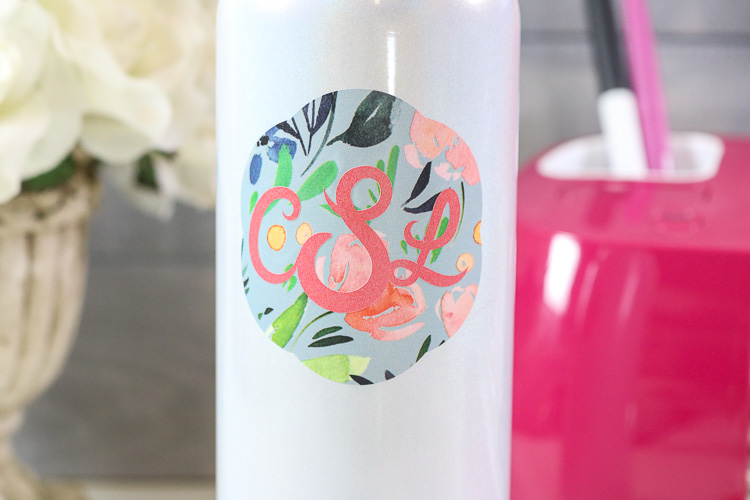
- Enjoy your Project
What Types of Vinyl Can Be Layered?
The great thing about adhesive vinyl is there are far fewer rules about layering than there are with layering HTV (heat transfer vinyl or iron-on).
- Premium Vinyl (permanent and removable) can be layered upon each other or used as a base layer.
- Glitter Vinyl or other specialty vinyl should only be used as a top layer.
Basically , if the vinyl has a smooth surface it can be layered upon. If it has a rough surface it can only be used as a top layer.
If you would like to layer glitter or specialty vinyl, you can follow my tutorial for using the Slice Tool to Layer.
Don’t Miss Out!
Get quick crafts, easy recipes and free printables & cut files straight to your inbox! You won’t want to miss a thing! Join now!
What is the Maximum number of Layers I can layer adhesive vinyl?
That is a loaded question, lol! I always decide by what blank I am putting the layered vinyl on and what it’s used for. If the project is for looks you can really layer as many layers of vinyl as you would like. If the finished product will be used frequently, washed, etc. I try to limit my layers to 3. This is from experience and not a hard rule.
Here are more layering tips here.



Comments & Reviews
Krystal Cain says
Duh, such a simple yet clever idea!
Is there an easy way to layer HTV by chance?
Cheryl Spangenberg says
Krystal, here is my link to layering HTV! https://www.thatswhatchesaid.net/how-to-layer-heat-transfer-vinyl-iron-on/
Christina says
Can you tell me what font you used? I’d like to use it on a keychain project.
Cheryl Spangenberg says
Whew, I had to go look, I couldn’t remember, lol! It is Brush Script in CDS, it is a system font!
Gina says
Thanks so much! it kills me every time I try to layer- so I just didn’t do a cut out and placed my second layer just wherever it landed:0. Im going to try your method it seems easier than others I have seen.
On a side note, I love your nails…..Color Street? Looks like my favorite color!
Cheryl Spangenberg says
Yes! I love Color Street! It’s all I use any more!! Give it a try, I hope it helps! It is the most fool-proof way I have found to layer!
Lisa says
Do you recommending slicing out the initials on the bottom layer or will vinyl on vinyl last?
Cheryl Spangenberg says
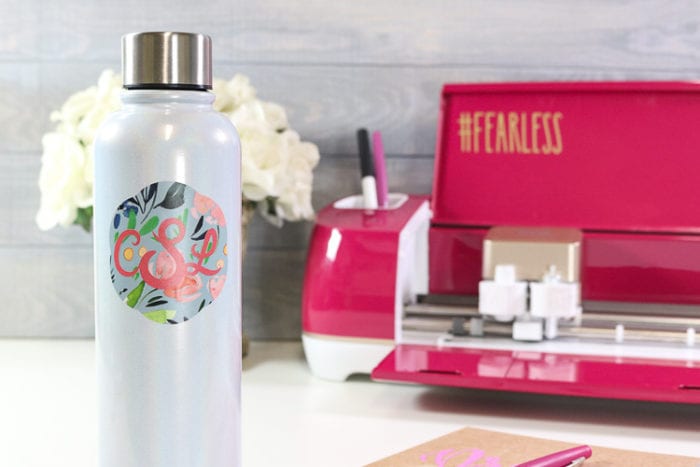
2 layers of vinyl will last! I have been using this water bottle daily since I made it and it’s holding up great and it has even had a few trips in the dishwasher!
Linda says
I realise this is an old thread but I’ve followed these instructions to the letter, yet when I go to cut it moves the triangle and pieces across the mat wherever it wants to cut, rather than where I left it. Can anyone help please?
Cheryl Spangenberg says
Hi Linda, you will need to select the layer with the triangle and click “attach”. Repeat that for as many layers as you have. That will keep everything in the place you set it on the canvas.
Lori says
This is exactly what I needed to know. Thank you for sharing a brilliant idea.
Valerie Ramos says
Can i do this with my cricut joy
Cheryl Spangenberg says
Hi Valerie, Yes you can cut vinyl with the Cricut Joy. You would layer the same way as this tutorial!
Mindy says
This is Brilliant!! Why haven’t I thought of this before…
Cheryl Spangenberg says
Glad I could help!
Renee says
Thank you so much for this tip! Being a perfectionist and being unable to layer exactly as I positioned everything in Design Space has made me very unhappy, so much that I have avoided layering stick-on vinyl. I can’t wait to try this out!
Shannon Rene says
Wow, that’s freaking genius. Thanks so much, I never would have thought of this!