Cricut Infusible Ink sheets are the new kid in town for everyone who loves to use iron-on! This post will detail How to Cut Infusible Ink Transfer Sheets and some Tips and Tricks for handling this newest crafting material!
What is Cricut Infusible Ink?
Unlike Iron-on, Cricut Infusible Ink undergoes a chemical reaction with heat and infuses into your crafting blank becoming one. No seams, layers, cracking, peeling or flaking! Only Vibrant colors and patterns and seamless design are left behind! You may also hear this process referred to as sublimation.
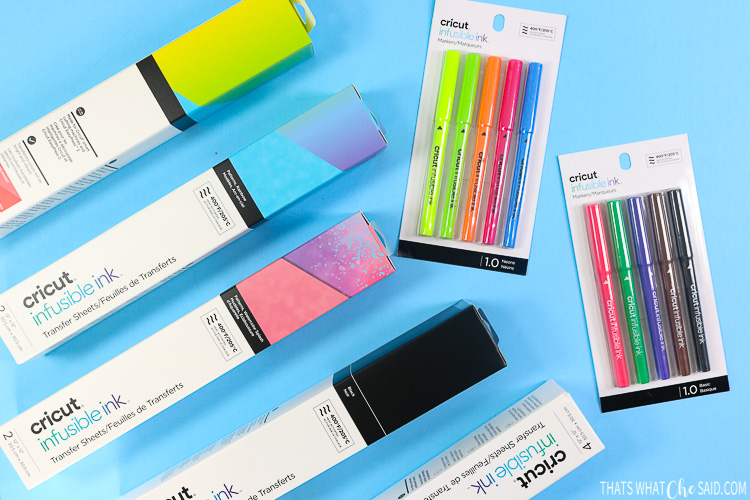
Cricut Infusible Ink consists of sheets of this special ink in solids and patterns as well as Infusible Ink Pens that can be used to create permanent projects paired with the Cricut EasyPress or other heat press.
If you are new to Infusible Ink you can check out my Getting Started with Infusible Ink post where I answer the basic questions and then some about this new product! You will be up to speed and ready to hit the ground running!

Notes about Infusible Ink:
- You must use special blanks for Infusible Ink sheets and markers. Fabric with a high polyester count, sublimation blanks which are coated in polyester and necessary.
- You may not use an iron for application. Infusible Ink requires a Cricut Easy Press 2 or Heat Press.
Today we are specifically going to be talking about the Infusible Ink Transfer sheets. I will save the markers for their own post! Let’s create a design and correctly cut and weed it, shall we?
Important Notes about Infusible Ink Transfer Sheets
- The infusible ink layer resembles that of a paper layer and then has a clear carrier sheet (similar to regular iron-on)
- The color of the infusible ink layer will appear dull and muted when you remove it from the box! Don’t worry! When you apply it the colors will transfer brilliant and vibrant!
- When handling Cricut Infusible Ink Transfer Sheets be sure that your hands are clean and dry and free form all oils and lotions. Wet or oily hands will leave impressions on the ink that will transfer to your project.
- The transfer sheets are rolled & sealed in a protective wrapper inside the paper box. Be sure to set aside the butcher paper that is included in the box. You will need this when you apply your design!

This post may contain links to Amazon Associate and other affiliates.
As an Amazon affiliate, I earn a small commission from these links at no additional cost to you.
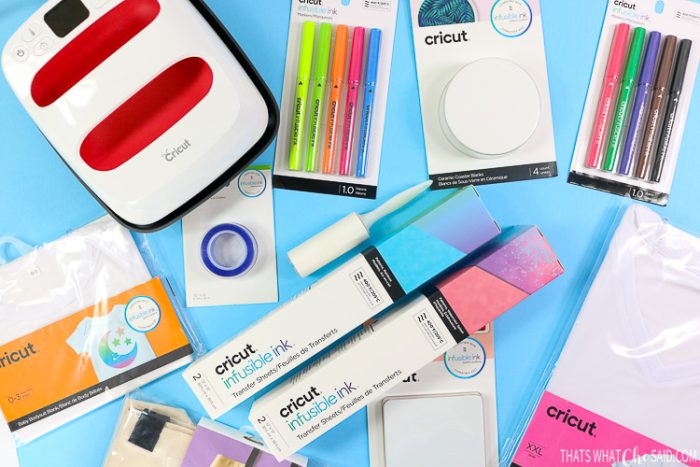
Supplies for Cutting Infusible Ink Transfer Sheets
You may find a huge selection of Cricut Infusible Ink Products and Supplies in my Amazon Store! Check it out here!
Did you know I have a whole section of Cricut Videos over on my YouTube Channel? Screencasts on how to use Design Space Features, Projects tutorials, and more! I’d love for you to hop over and like my channel!
This video above will go all the way through applying on a baby bodysuit which will be discussed in greater depth in How to Apply Cricut Infusible Ink on T-Shirts.
Don’t Miss Out!
Get new Cricut Tutorials, Product Announcements, Project Ideas, SVG Files and more straight to your inbox!
How to Correctly Cut & Weed Cricut Infusible Ink Transfer Sheets
Time needed: 10 minutes
Learn how to cut Cricut Infusible Ink Transfer Sheets and correctly weed them to apply to your next heat transfer project!
- Prepare your Design in Cricut Design Space
Choose your design in Cricut Design Space. Find a design from the Cricut Library or you may upload your own SVG. Resize to fit the blank you are applying it to.
Click Make It in the upper right corner.
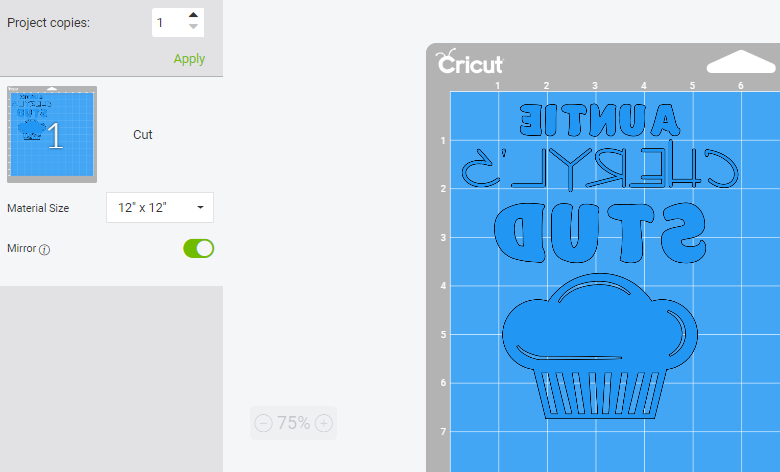
***BE SURE TO MIRROR YOUR DESIGN!***
Similar to Iron on projects, you need to MIRROR your design on the mat screen of Design Space. Be sure to mirror each mat!
Click Continue in the lower right corner. - Place Infusible Ink Transfer Sheet on Standard Grip Mat
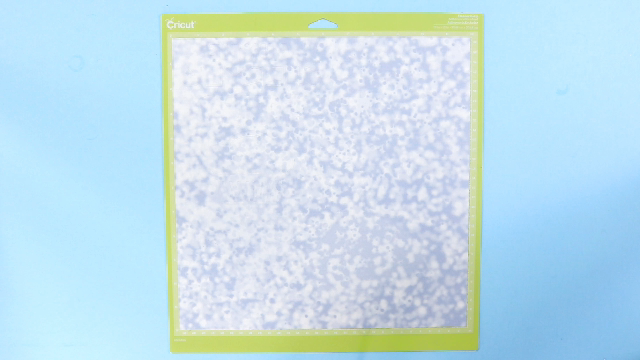
Place the transfer sheet with the liner side down. The liner side is the shiny side of the transfer sheet. Carefully smooth out the sheet and make sure it adheres to the mat.
- Connect your Machine
Choose which Cricut machine you are using from the dropdown menu in Design Space. All Cricut machines (Joy, Cricut Explore Air Family, Maker) are capable of cutting infusible ink transfer sheets!
- Enter Material Type into Design Space
If using a Cricut Maker, simply select “Browse all Materials” and choose Infusible Ink Transfer Sheet.
If using a Cricut Explore Series machine, turn your knob to custom and then select “Browse all Materials” and choose Infusible Ink Transfer Sheet.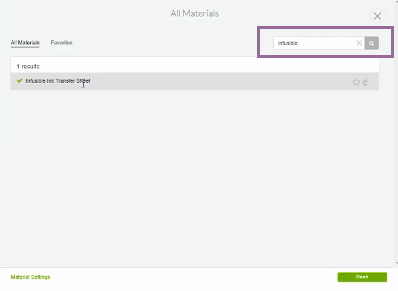
- Load the Mat
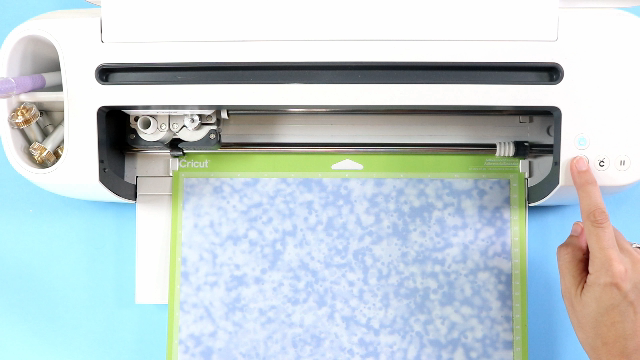
Load the mat by pressing the flashing arrow button and be sure to check that you have the fine point blade in the B slot of the machine carriage.
- Cut your Transfer Sheet
Click the flashing C go button and let the machine cut your design. Click the flashing arrow button again to unload your mat.
- Remove Transfer Sheet from Mat and Trim Excess.
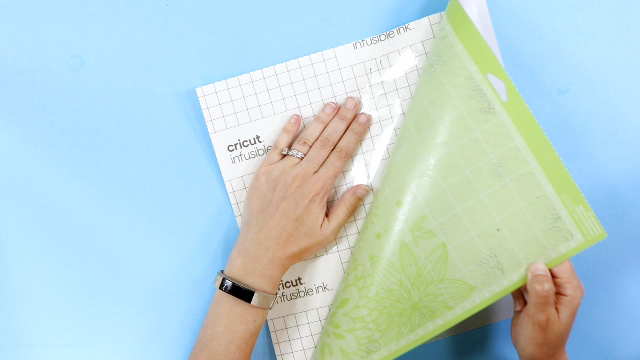
The best way to remove your sheet is to flip the mat over and peel the mat away from the design versus the design off your mat.
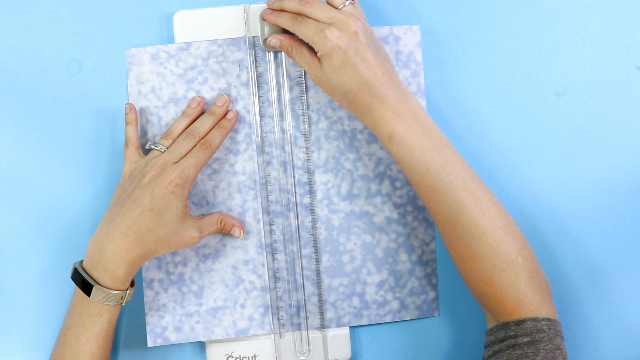
Trim any excess, unused material leaving only your design. - Carefully Roll the Design
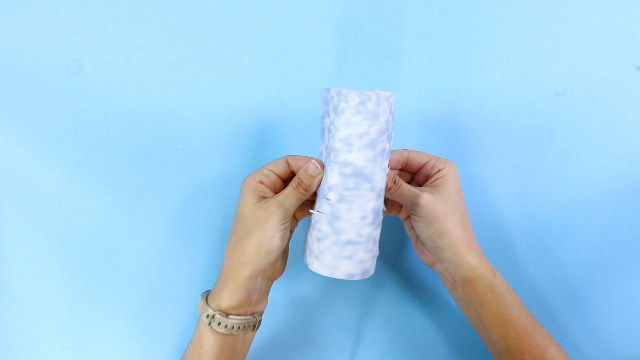
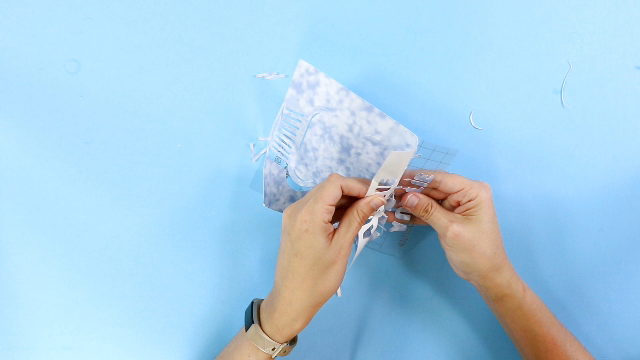
Roll the design between your hands to separate the cut lines and make them more visible and easier to weed.
**It’s OK if some of your cuts have gone through the carrier sheet.** - Weed the Excess Transfer Paper
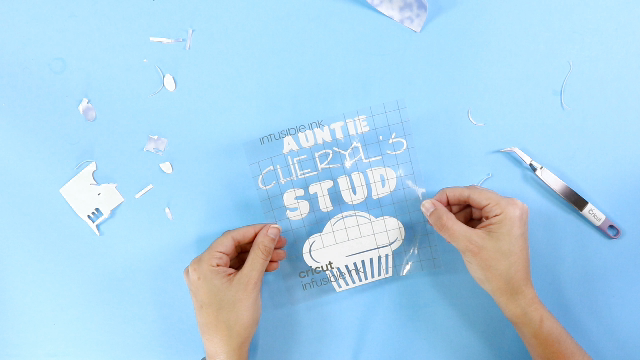
Using your fingers, weed the excess transfer paper leaving only your cut design. If needed use tweezers for small areas. DO NOT USE THE WEEDING HOOK!
When using the weeding hook, it pushes ink into the carrier sheet which will then transfer over to your finished project. - Cut & Weeding Complete!
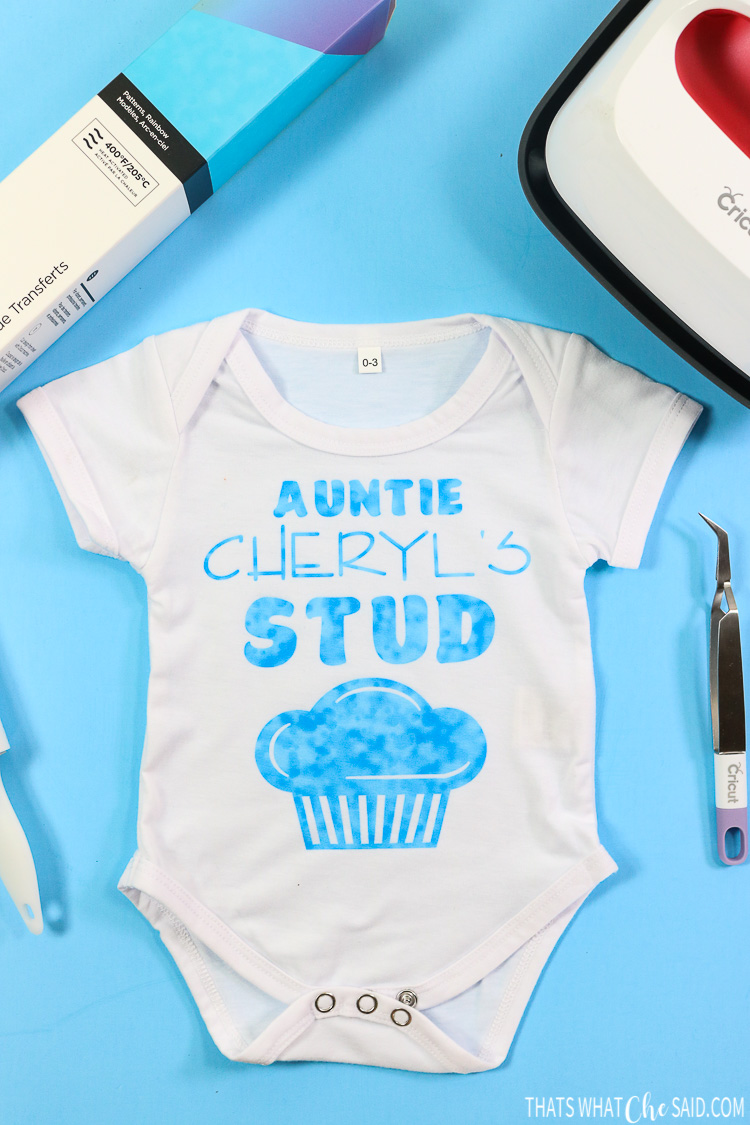
You now have a cut and weeded infusible ink transfer sheet design ready to be applied to your shirt, tote bag, coasters, Cricut Blanks, or sublimation blank. Check out my next post on how to apply Cricut Infusible Ink Transfer Sheets.
Check out this next post in the series and learn how to correctly apply infusible ink to your project!
In addition to the supplies mentioned in this post, you will need the following in order to apply infusible ink transfer sheets to your blank:
- Lint Roller or Lint-Free Cloth (depending on blank)
- Cardstock
- Butcher Paper
- Heat Press or EasyPress 2
- Cricut EasyPress mat
- Heat Resistant Tape
- Scissors or Paper Cutter
- Cricut’s Heat Guide
MORE INFUSIBLE INK PROJECTS & TUTORIALS





Comments & Reviews
VJ Mayhew says
I have a Cricut Explore Air and I have used the setting (260 pressure) for the infusible ink sheets and didn’t cut through the paper so I went back and created a second setting for the infusible ink sheets setting (360 pressure) and it still didn’t cut through paper. it’s only cutting through the top color coat, from the back it looks like it’s cut through paper but design doesn’t pop up or out. what I’m doing wrong? I still need help, I don’t want to keep wasting paper.
Cheryl Spangenberg says
VJ, it is supposed to kiss cut the Infusible Ink Paper and leave the carrier sheet (or backing) in place. Sometimes it does cut that back carrier sheet and that is OK but not needed. Is this what is happening or not? Or is not not cutting through your infusible ink paper all the way? Do you have a new blade?
Sam says
I am having the same issue, it is not cutting through so I can not get the negative from around the design. I have a new cricut, this is only my third cut. Any suggestions
Cheryl Spangenberg says
I found out that differnet colors/patterns have different thicknesses. In order to deal with this, I recommend doing a test cut in the corner of a piece until you get the right settings. A few notes: use the “More Pressure” option as well as cut twice. I am sorry this is so trial and error but I can’t really do anything about it.
Sarah says
Hey – thanks for the great tutorial! Super newbie here with a Cricut Maker. I think I am having the same issue as VJ. When I cut the infusible sheet (following all steps), it doesn’t cut all the way through the infusible layer. So when I weed it, it leaves a very thin layer of white paper on the back carrier sheet in some areas. To clarify, a few places weed just fine, showing the clear backing, but lots of areas don’t cut deep enough. Thoughts?
Cheryl Spangenberg says
This happened to me when I was using my Cricut Joy. On the Cut screen, I changed the drop-down for pressure from default to more and that solved the problem. I hope that works for you as well! Let me know if not.
Robin Mays says
My problem is the opposite. My Explore cut all the way through the paper and transfer sheet. I have a rectangle of the outline and the transfer paper with backing are stuck to the mat. I have no clue if I can salvage it or just scrap it and start over with lighter pressure.
Cheryl Spangenberg says
Hi Robin, that is super frustrating because I know Infusible Ink sheets are not cheap. Do you have any scraps that would be big enough just to cut a small circle on and test with a lighter pressure? That would be my suggestion. When I used my Joy it didn’t cut at all and I wasted a bunch and it is super frustrating.
Tara Ullo says
I am having the same issue as above. I switched my setting to “more” and it still didn’t help. My machine is brand new, I just opened it today so the blade should be fine. My design is pretty detailed. I’m wondering if my print is too small and design too intricate?
Cheryl Spangenberg says
Hi Tara, which machine are you using? There are no limitations on size and intricacy of designs (per Cricut’s website) Can you use a small piece of infusible ink as a test piece? I would start by keeping my settings on Infusible Ink and “More” pressure and try 2 cuts. You should not have to jump through all those hoops but I also know DS has been cranky lately so I have no idea if it is a temporary problem or a long-term problem, unfortunately.
Kate Merry says
I have the Air 2, so I do not have a material option on DS. I have the knob on my Cricut and can pick from “Paper”, “Vinyl”, Iron-On”, “Light Cardstock”, “Cardstock”, Bonded Fabric” and Poster Board”. Which setting do I choose for Infusible Transfer Paper?
Cheryl Spangenberg says
Hi Kate, you will turn your knob to “custom” and then the materials will show in Design Space for you to select Infusible Ink.
Gayle Ostic says
HI I am cutting perfect and the design weeds very easy. But my desing has letters (that cut beautiful) but they are popping off the transfer sheet and now I have so many pieces I will never get this flipped over correctly to press. Is there are way to get the samll weeded pieces sticking on a sheet better. Any other glue or anything?
I cannot put a pic here.
Thanks
Gayle
Cheryl Spangenberg says
Hi Gayle, I asked some smart friends and they recommended that you use a brayer to stick them back down onto the transfer sheet. They said they have had good results doing this, they were able to flip the sheet and transfer to their blank by doing this!