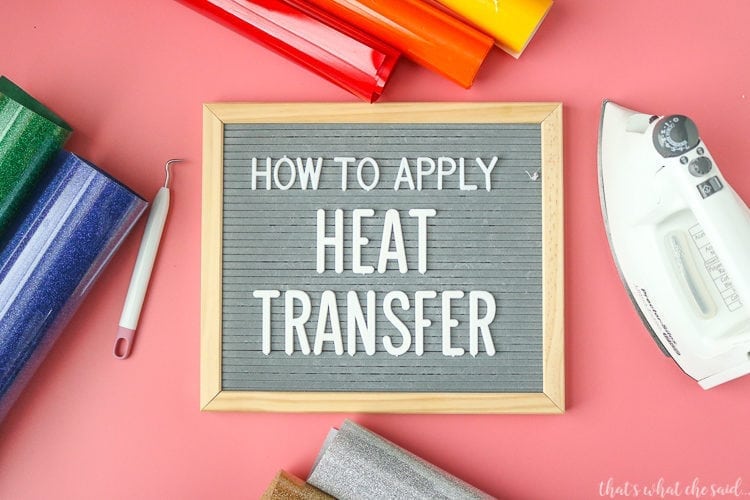
Heat transfer vinyl or commonly called iron-on vinyl is a fun and easy way to personalize fabric and more! The combination of heat and pressure is required for perfect application and I am sharing all my tips and tricks on How to Apply Iron On Vinyl for the perfect application the first time!
Iron-on Vinyl is one of my favorite crafting materials. There are so many different types of iron on and so many different base materials you can use it on (some of them are not even fabric!) This tutorial will give you flawless application tips but before we get to the application I hope you will read up on some of these building block tutorials that talk more in-depth about iron on itself and how to cut it using different machines.
Before we get to the details on How to Apply Iron-on Vinyl, I urge you to check these building block tutorials:
Jump to Information within this post
- Blanks – Types, Where to find them and How to prepare them for iron-on vinyl application
- Supplies for Iron on application
- How to Apply Iron on Vinyl
- Application with an Iron
- Application with a Cricut EasyPress
- Application with a Heat Press
All About Blanks for Iron On Vinyl
Commonly, a “blank” refers to the item that you are going to put the iron-on on. So a blank could be a t-shirt, baby onesie, tote bag, pillowcase, etc. It’s “blank” and you are going to personalize it, hence the name blank.
You can find blanks almost anywhere! Look around your home, you may not even need to purchase one, you may already have a blank t-shirt or pillowcase!
If you would like to purchase, you can find some of my favorites in my Amazon Storefront.
It’s important for things like pillowcases, shirts, pants, hoodies, jackets, and onesies that you wash the item first. Blanks that will repeatedly get washed and dried should be washed and dried BEFORE you apply your iron on vinyl. I do not recommend using fabric softener for the wash before application. You can use it after your design is placed.
Because even preshrunk clothes shrink! Heat transfer does not shrink. If you do not wash and dry first you will be left with a misshapen bumpy design on your project the first time you wash it! Also, most garments contain chemicals to make their colors appear vibrant in stores. You want this out before you apply your iron on so it sticks perfectly the first time.
How to apply iron on vinyl or heat transfer vinyl:
There are currently 3 methods of iron on vinyl application. You can apply heat transfer vinyl using a regular iron, an EasyPress™, or a heat press. I do not own a Heat Press so I cannot comment on that version at this time! I will, however, talk about using your household iron and the EasyPress™.
Note: You may find detailed instructions on applying Cricut SportFlex Iron On™ here as well as specific instructions for applying Cricut Iron-on Designs here.
Application of Iron On – Using an Iron
You can find information on cutting your heat transfer vinyl here.
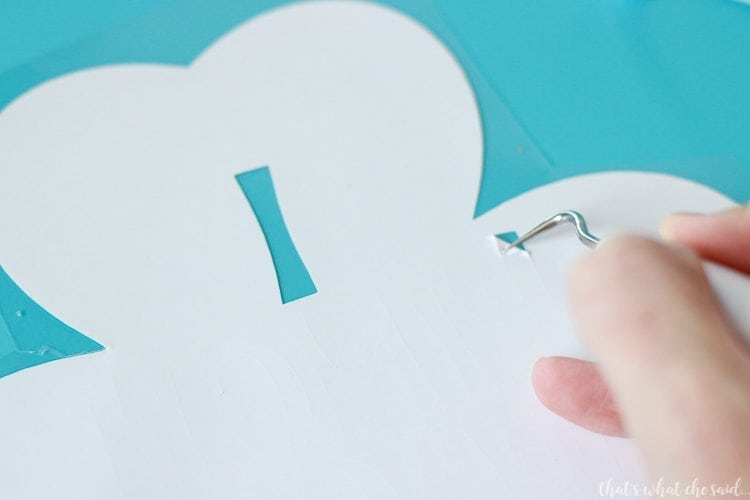
1. After cutting your heat transfer vinyl using your machine of choice you will use the weeding tool to remove any excess vinyl from your cut design. The weeding tool is often referred to as the Hook Tool.
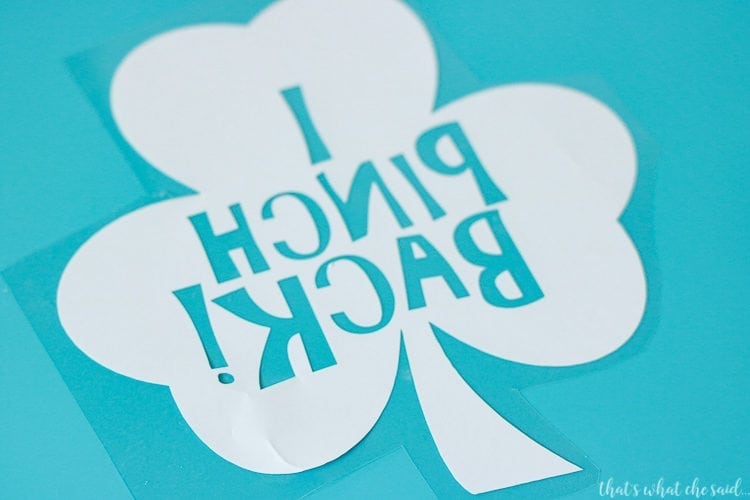
This will leave only your design left on the clear backing. (remember our design is backward because we mirrored our design) Here it is clear backing side DOWN.
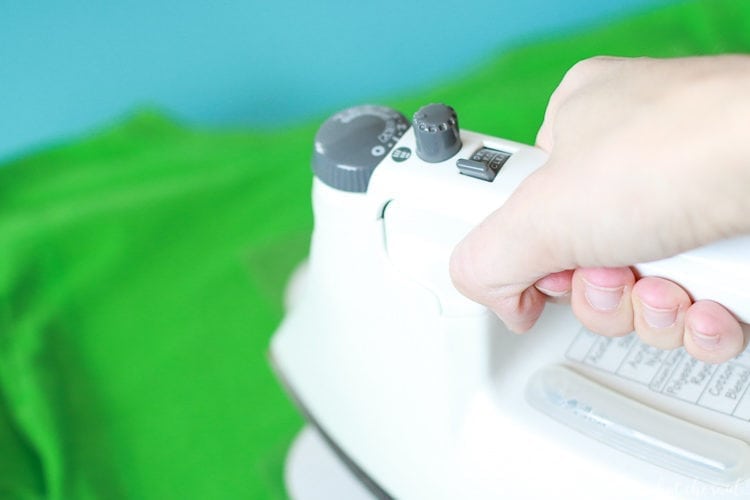
2. You will need to preheat the area of your blank that you will be applying the design. Using your iron, warm the area for about 10-15 seconds. Repeat this for the backside of the blank as well.
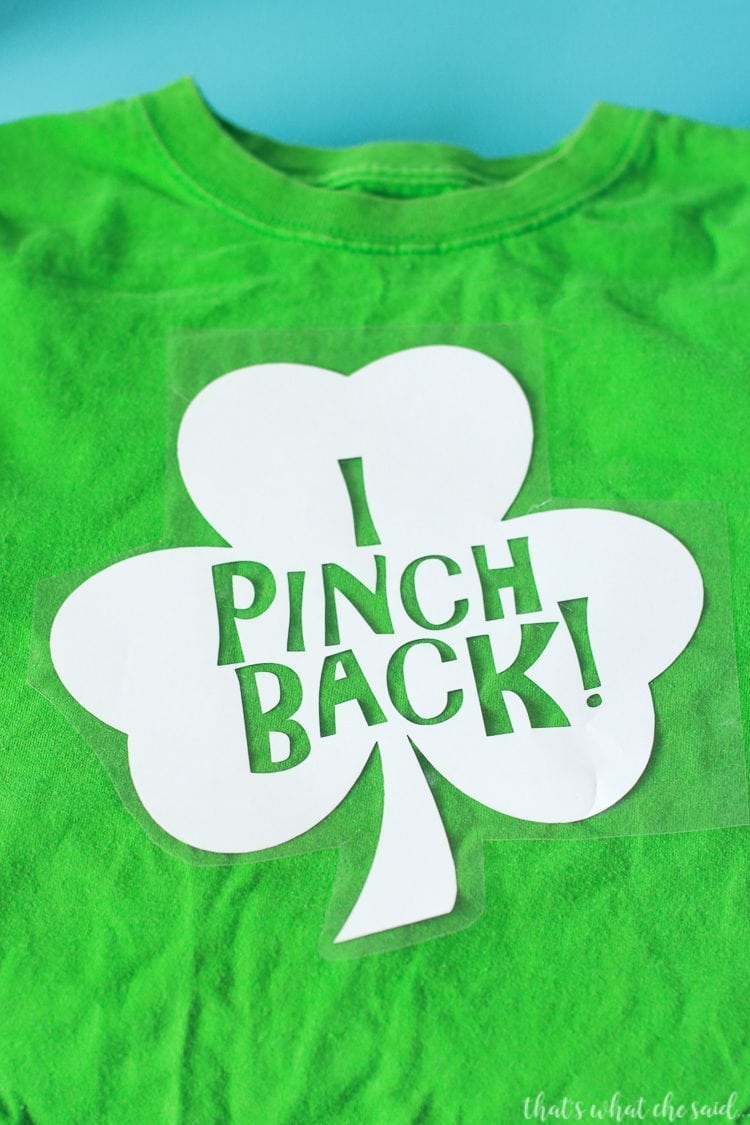
3. Place your iron on design with clear backing side UP onto your project blank where you would like it to be.
4. Cover with a thin towel and using your Iron apply CONSTANT* pressure for 10-15 seconds. If your design is larger than the area of your iron, repeat this process until your entire design is pressed down**. (This is an awesome place for an EasyPress)
*It is important to apply CONSTANT Pressure, not moving pressure. So place your iron, press down and hold. Moving your iron around will not properly adhere the heat transfer to your project but the movement can also cause the heat transfer to shift and pull in directions you don’t want it to!
8. Read the instructions on your heat transfer vinyl. It will advise if you should perform a Cool Peel or a Warm Peel. This refers to removing the plastic lining either when the material is still warm or allowing a few minutes for it to cool. Matte and solid colors are normally a warm peel. Specialty Iron On often requires you to wait 1-2 minutes before peeling the lining away (cool peel) but be sure to read the instructions on your package.
Carefully remove the clear backing from your heat transfer vinyl. Give the area a second or two to cool after you remove your iron (even for warm peel). The plastic backing can get hot! If your HTV pulls up with the clear backing, carefully replace it back on your project and press that area again.
You can find the cut file that I used in this example here.
Do I have to use an Iron to Apply Iron On Vinyl?
The iron: is the best for beginners and people who do not use iron-on often. Most everyone has an iron in their home already and if not, they are very inexpensive. A few cons using an iron is that the holes in your iron will affect how the heat transfer applies in those areas. I always have to go back and repress those areas. It’s also too small. The iron area is very small, even for baby onesies, I have to press several times for my design.
**Alternate methods of pressing your heat transfer vinyl
There are other methods to apply your iron-on or heat transfer vinyl.
If you are a more serious crafter, there are other options available to press your iron on vinyl.
- Heat Press: A heat press is a separate machine that sits on a counter or table and applies pressure and heat to set your heat transfer vinyl.
- Pros of Heat Press: There are various sizes and most are large enough to press your entire image on a shirt in one shot. If you are making little league shirts or mass producing items this machine is a huge time saver.
- Cons of Heat Press: It is large and heavy. You need to have ample room as it gets very hot. If you choose a swing arm heat press you will need free area around the machine for the arm to swing.
- Cricut’s EasyPress™: Cricut launched it’s new EasyPress™ this year. It does the same thing as a heat press in that it applies pressure and heat to set your heat transfer vinyl.
- Pros of EasyPress™: It’s small compared to a standard heat press! It can easily be tucked away in a cabinet or drawer as opposed to a heat press. It’s simple to use. Unlike an Iron, it has a smooth surface so you won’t get Iron Hole marks in your project!
- Cons of EasyPress™:
I am not sure this is even a con but it has a 9″ surface. If you need a larger area you will need to press twice (again, not a big deal when it’s easy to use and a solid surface!)UPDATE: With the launch of the EasyPress 2, there are now 3 sizes, 6×7, 9×9 and 12×10! Larger projects rejoice!
Detailed use of EasyPress can be found here.
Tips & Tricks for Applying Heat Transfer Vinyl:
- To find the center of your blank, fold in half and lightly iron the fold to create a small crease. This will give you a centerline to center your design on. You can easily press this line out later.
- PreWarm your blank before you place the heat transfer vinyl. Iron or heat press the area a few seconds before you apply the vinyl design
- After design application, press the back side of the design for 10 seconds.
Tips & Tricks for Iron on Project Care:
Commonly iron on is used for fabric projects. Not limited to fabric but this is most common. To care for your fabric projects, simply wash inside out and tumble dry on low.
Be sure check out my Silhouette Page and my Cricut Page for all things associated with these two popular cutting machines!


Leave A Reply!