Get flawless results every time with these step by step instructions on How to Apply Cricut Infusible Ink Transfer Sheets to shirts and baby bodysuits. Seamless, vibrant designs that will not peel, crack or fade are now at your fingertips!
If you missed my Getting Started with Infusible Ink post you can catch that and How to Cut Infusible Ink Transfer Sheets to catch up to our post today which is everything you need to know to correctly apply Cricut Infusible Ink Transfer Sheets to T-shirts and Baby Bodysuits.
Follow me on YouTube for more Cricut & Craft videos!
This post may contain links to Amazon Associate and other affiliates.
As an Amazon affiliate, I earn a small commission from these links at no additional cost to you.
SUPPLIES FOR APPLYING INFUSIBLE INK TRANSFER SHEET:
- Your cut design (see this post if you need detailed instructions)
- Shirt or baby bodysuit*
- Cricut EasyPress 2**
- Cricut EasyPress Mat
- White Cardstock
- Butcher Paper (comes in the transfer sheet box)
- Lint Roller for fabric blanks
- Heat resistant tape
*The higher the polyester count the more vibrant your design will appear. Cricut has a line of shirts and baby bodysuits that are tested for best results. I am using a Cricut bodysuit today!
**you will want your EasyPress size to cover your entire design in ONE PRESS. You will not want to have to press your design in multiple sections.

I am using a baby bodysuit today for my nephew but this is the exact same process with a child or adult shirt!
Here is the video, I have it queued to start right at the application section. Feel free to watch from the beginning where we cut and weed the transfer sheet as well!
If we aren’t already friends on YouTube, I’d love for you to pop over and give my channel a like! There are tons of great Cricut tutorials and screencasts as well as recipes, crafts and more! Thanks so much!
How to Apply Cricut Infusible Ink Transfer Sheet to Fabrics
Time needed: 10 minutes
Step by step tutorial on how to correctly apply Cricut Infusible Ink Transfer Sheets for optimal and vibrant results to fabrics like Shirts and baby bodysuits!
- Place White Cardstock.
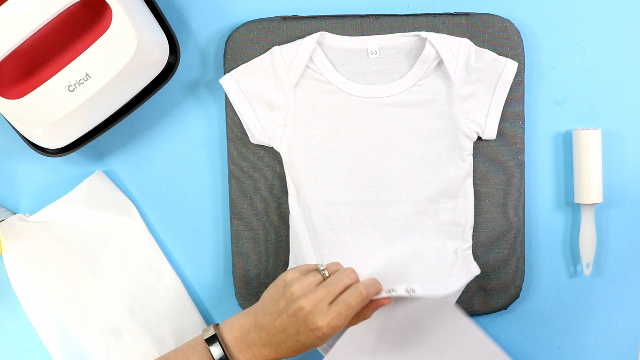
Insert the white cardstock between the layers (between front and back) of the shirt or bodysuit. For the bodysuit, cut the cardstock down to size. This will protect the back layer of your shirt from any ink transfer.
- Prepare your blank.
***This step is crucial to the overall results of Infusible Ink! Don’t skip this step!***
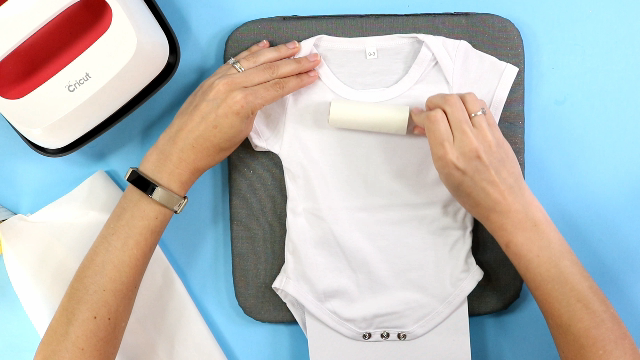
Use a lint roller to remove any lint or debris particles from your surface.
Roll up and down and then left to right. Anything left on your shirt will cause a flaw in the transfer. - Preheat Fabric Blanks
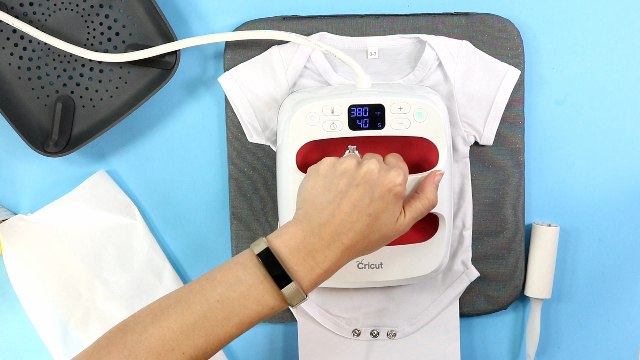
Place a piece of butcher paper larger than the EasyPress 2 plate on top of your blank.
Preheat the area according to the Interactive Heat Guide. - Let Cool
Remove the butcher paper and allow your blank to cool. Heating it removed any moisture from your shirt, but we want a cool surface to place our design otherwise it will start to transfer.
- Place Your Transfer Sheet Design
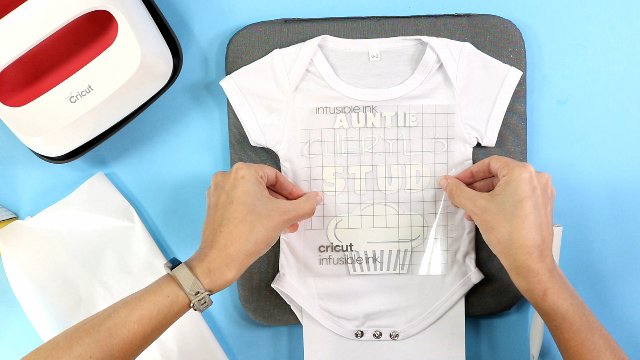
Place your cut and weeded design onto your blank with the transfer ink down and the shiny carrier side up.
The carrier sheet is sticky and should help keep your design flush against your blank. If it’s a detailed design you might need to use some heat resistant tape around the edges to keep it as snug to your blank as possible. This will yield the best results.
I like to use the hinge method (tape at the top) with my T-Shirts to help if the design does not transfer the first time, you can realign and press again. - Transfer Your Design
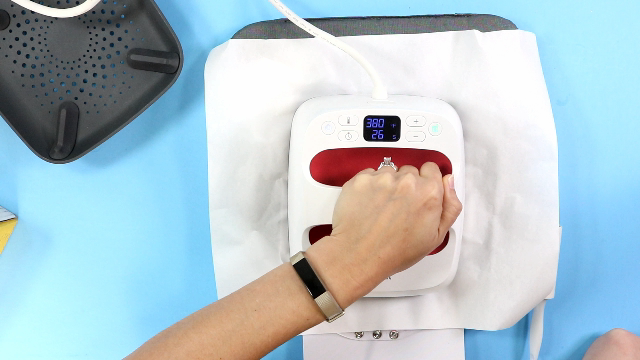
Cover your shirt and design with butcher paper.
Using the EasyPress 2 and the Interactive Heat Guide settings, press your design with light pressure.
NOTE: Be sure NOT to move the EasyPress while pressing. Keep it as still as possible. - Allow Project to Cool
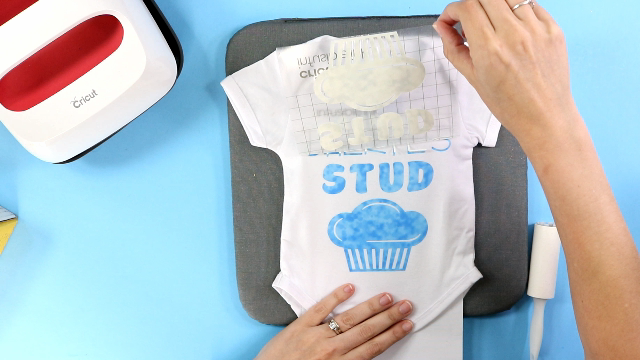
Allow your design and blank to cool. Carefully remove the butcher paper and then carefully lift the carrier sheet for the infusible ink paper. Enjoy your amazing, permanent creation!
NOTE: If any of the Infusible Ink paper sticks to the blank, remove with tweezers and NOT your fingers. This can cause fingerprints, smudging or other unpleasant results.
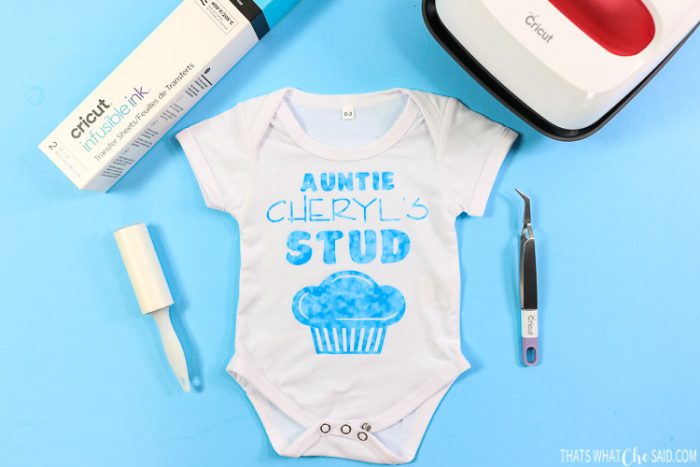
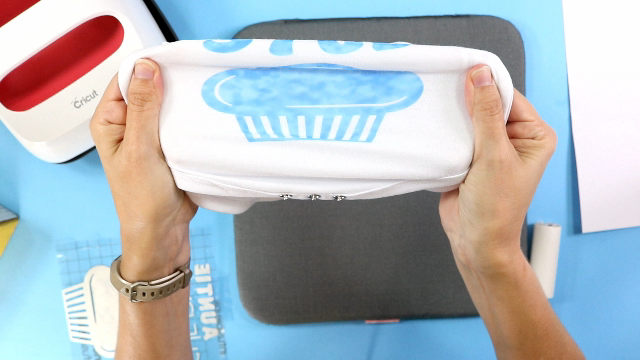
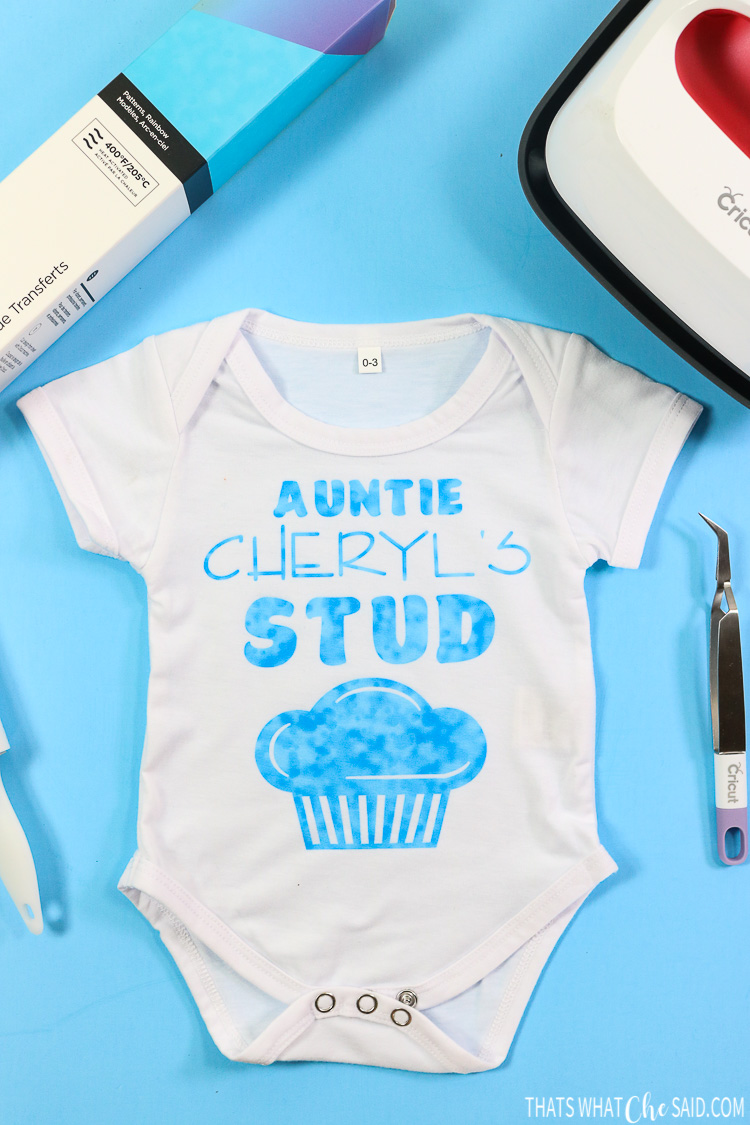
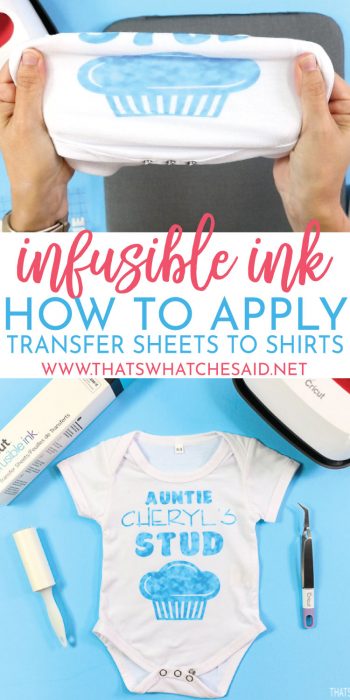
Here you can see when I stretch the baby bodysuit the ink is a part of the fabric as opposed to iron-on vinyl where it would be on top and not stretch!

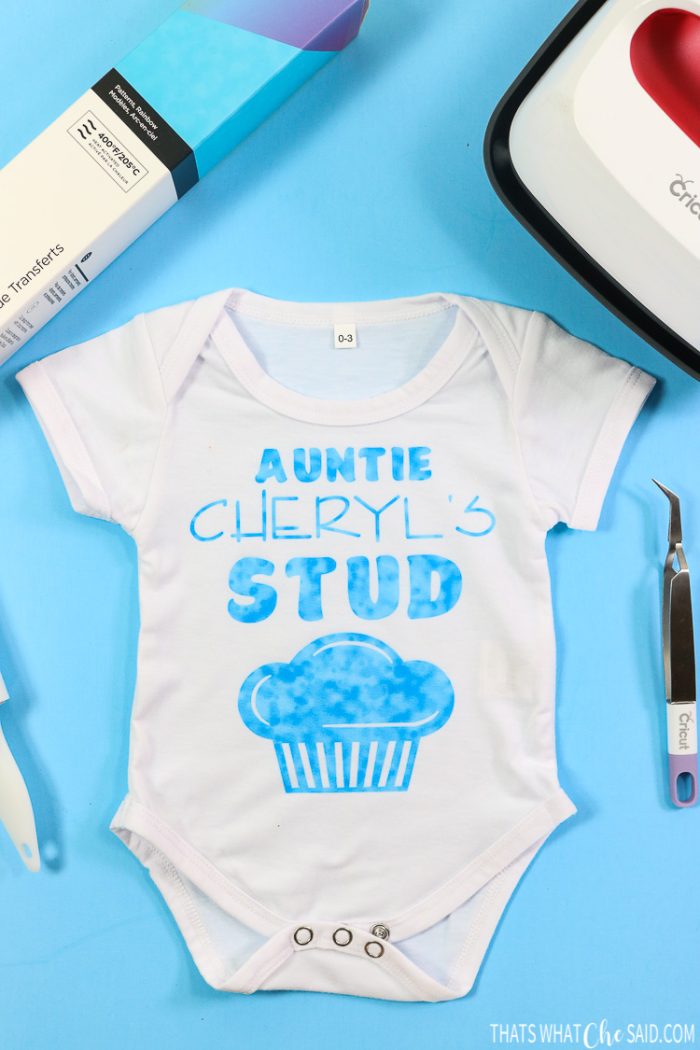
What’s also so awesome is that the pattern from the infusible ink sheet perfectly transfers to your finished project! So you are not limited to solid colors you can explore all colors and patterns of the infusible ink transfer sheets.
TIPS for Applying Infusible Ink Sheets
- For smaller blanks like baby bodysuits, cut your cardstock to fit inside the bodysuit.
- Removing lint is a MANDATORY step. Even the smallest bit of lint can affect the result.
- Best results occur when the transfer sheet is snug against your blank. Use the heat resistant tape on designs for fabrics where the carrier sheet is not keeping the design snug.
- Butcher paper must be larger than the size of your EasyPress plate. You are using HIGH heat and don’t want to ruin your blank.
- Do not reuse butcher paper. Get a clean sheet each time you press to avoid any ink that may have transferred from the previous press. (same with the white cardstock)
- Use clean dry hands to handle the transfer sheet.
- It’s best when the EasyPress plate is larger than your design to avoid multiple presses.
- Do not move the EasyPress at all when pressing. Keep it in the same position through the whole press.
- If you try to remove the carrier sheet and transfer paper after pressing and it is still warm you run the risk of unvoluntary ink transfer.
- Likewise, if you lift when warm and happen to drop it back down, you may get unwanted ghosting.
MORE BABY BODYSUIT & SHIRT PROJECTS
Don’t Miss Out!
Get new Cricut Tutorials, Product Announcements, Project Ideas, SVG Files and more straight to your inbox!












Comments & Reviews
Tanya says
Hi there,
Any idea why when I do this, the infusible ink doesn’t transfer AT ALL?
Thanks,
Cheryl Spangenberg says
Tanya, are you using a high poly count shirt?