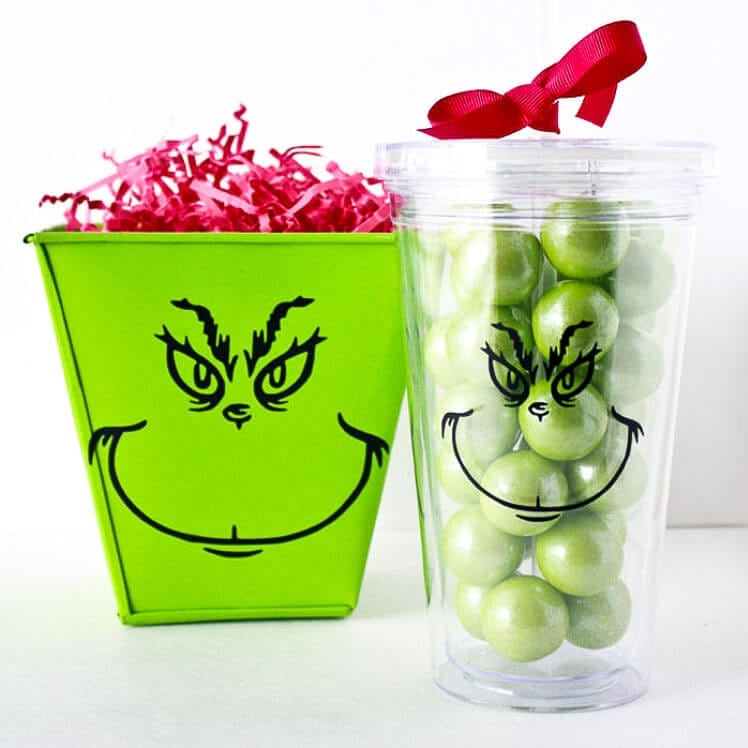
Cutting vinyl on your electronic cutting machines such as a Cricut or Silhouette is a fun and popular hobby! I am going to walk you through How to Apply Craft Vinyl for fun craft projects! You can create personalized tumblers, coffee mugs, wine glasses, signs and so much more!
Want to know everything great about vinyl? Where to get it, what kids there are, etc? Check out my Vinyl Basics – Vinyl 101 post for all the details!
How to cut Vinyl:
- You can learn how to cut vinyl on your Cricut Here.
- You can learn how to cut vinyl on your Silhouette Here. (coming soon!)
Preparing Your Blank:
The item you are using for your project is often referred to as a “blank” because it is blank and you are going to personalize it. Blanks could be wooden signs, tumblers, water bottles, plastic bins, coffee mugs, wine glasses, beer mugs, etc.
It is important to prepare your blank for the best vinyl adhesion. Skipping this step can result in vinyl peeling off your blank.
For all solid surfaces, it is required that the surface be smooth and clean. Using Alcohol wipes or rubbing alcohol + a paper towel, wipe the area you will use for your vinyl. This removes all oils and small dirt specs that might remain on your blank. Let air dry (a few seconds) and you are ready to add your vinyl.
How to Apply Craft Vinyl:
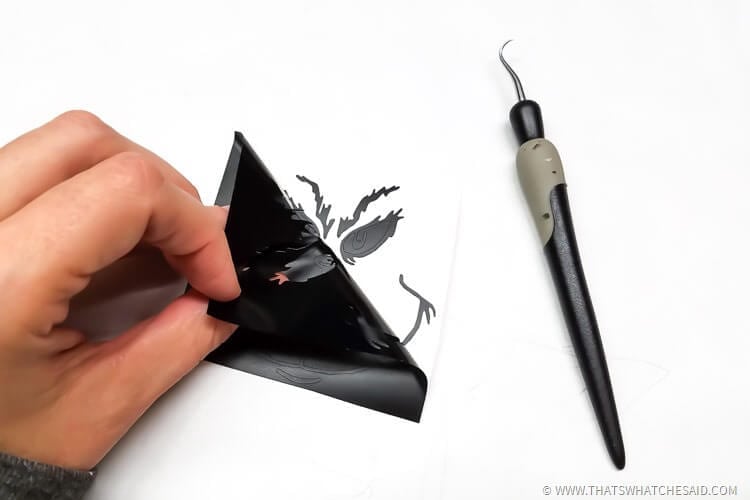
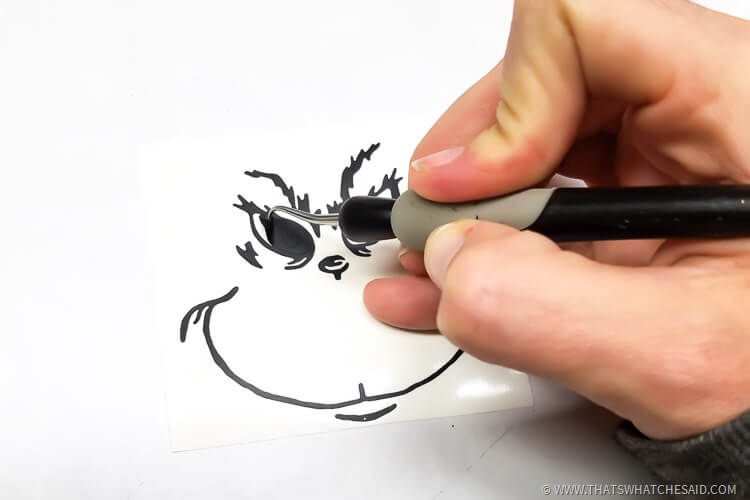
Once you cut your design on your vinyl you will need to “weed” the excess vinyl. Using the hook tool, remove the excess vinyl that is not part of your design. When you are finished you should have only your design remaining on the paper backing.
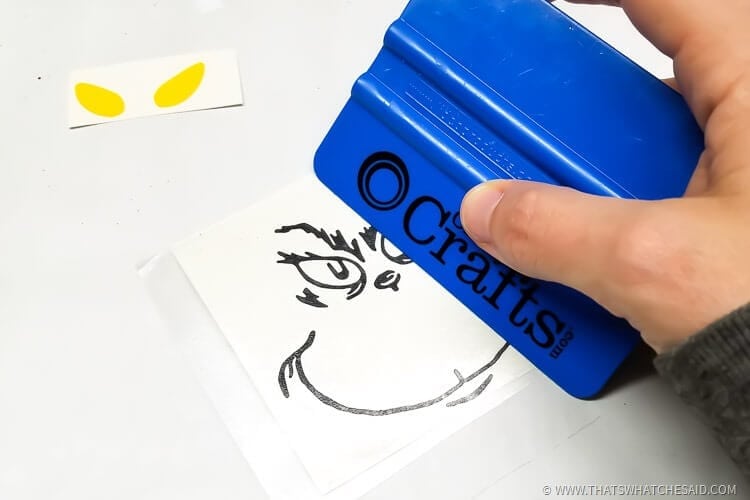
Using Scissors, cut a piece of transfer tape slightly larger than your design. Remove the paper backing of the transfer paper and smooth on top of your vinyl design using the scraper tool. This will remove all air bubbles and make sure the transfer paper has a good hold on your vinyl design.
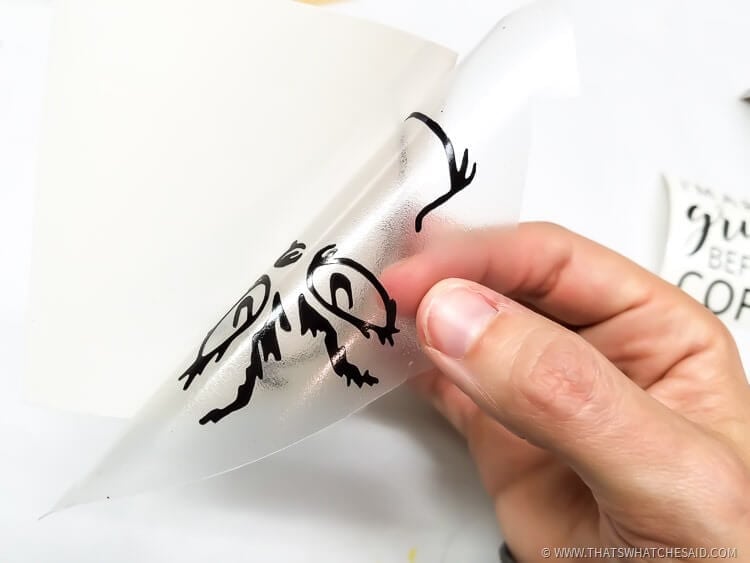
Carefully peel back the paper backing of your vinyl, leaving your vinyl design stuck to the transfer tape.
Carefully place your vinyl/transfer tape combo on your selected spot on your blank project.
Slowly smooth the transfer tape/vinyl design down onto your blank using your finger. Then using the scraper tool to press the vinyl onto your project and remove any air bubbles.
Carefully peel back the transfer tape leaving the vinyl in place on your project.
Note: If the vinyl does not stick to your project, carefully reapply the transfer tape and press down and rub over the area to get a good adhesion and try to peel back the transfer paper again.
More Cricut Tutorials and Projects
More Silhouette Tutorials and projects
More Things you may be interested in learning:
- How to use the Print then Cut Feature in Cricut Design Space
- How to upload SVG Files into Cricut Design Space
- How to make Curved Words in Silhouette Studio
- How to make a Split Letter Monogram in Silhouette Studio
PIN HOW TO APPLY VINYL


Comments & Reviews
Carole Carney says
I am new to your site and I love it! Being new to the Circuit world I was struggling with Vinyls, well today I was able to do 3 T-shirts all my questions were answered, your tut’s are very informative and easy to understand, thanks so much for sharing your knowledge.
Cheryl Spangenberg says
Carole, I am so happy to help! Thank you so much for the kind comment! I do want people to love their cutting machines and craft projects! Have a wonderful day!