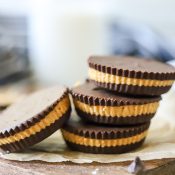
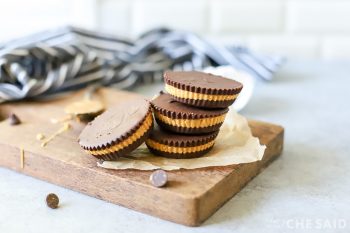
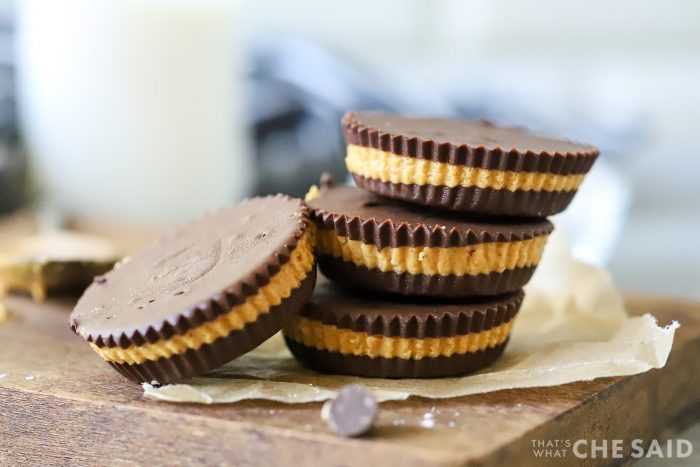
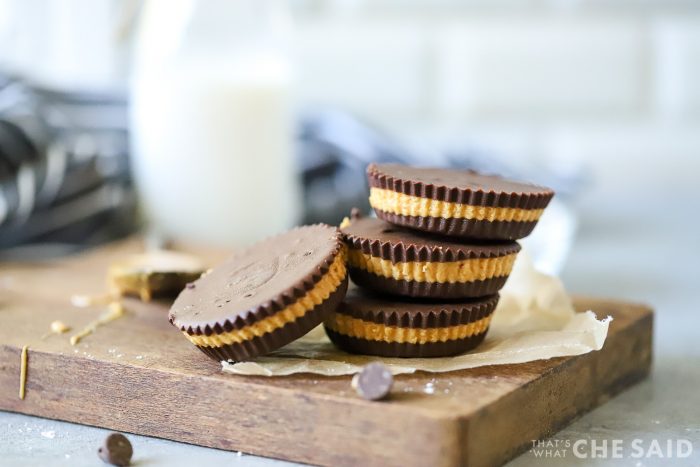
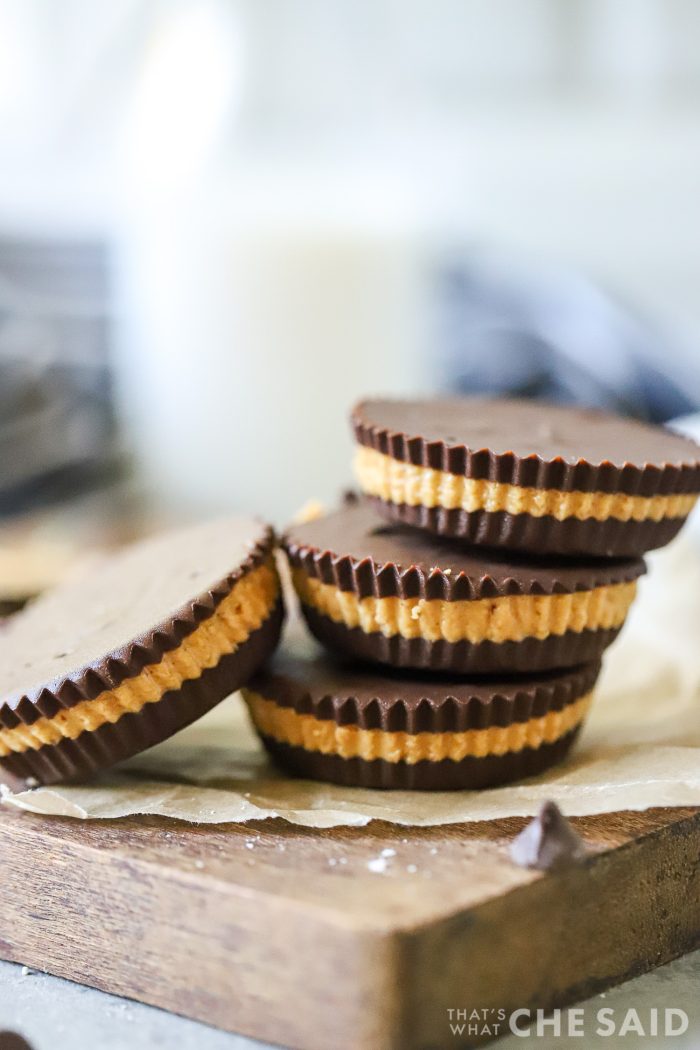
Make the contents of that beloved orange package at home with only 4 ingredients! Homemade Peanut Butter Cups are easier than you think! Creamy, slightly sweetened peanut butter nestled between 2 chocolate layers, these homemade treats are great for parties or packaged to gift!
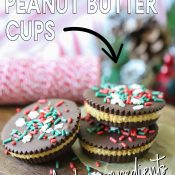
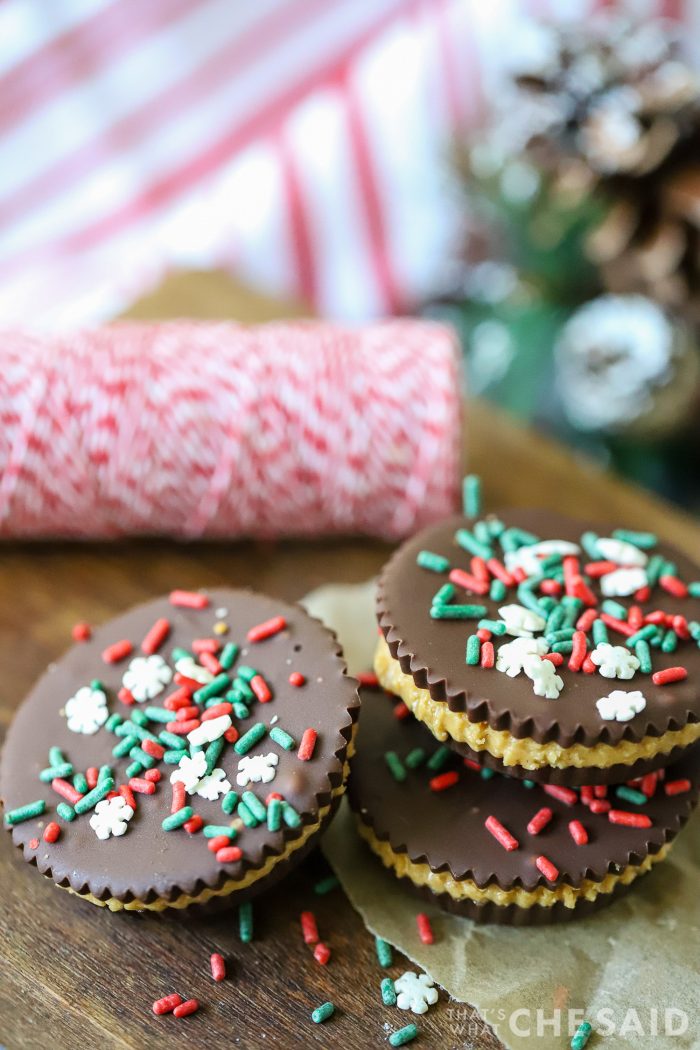
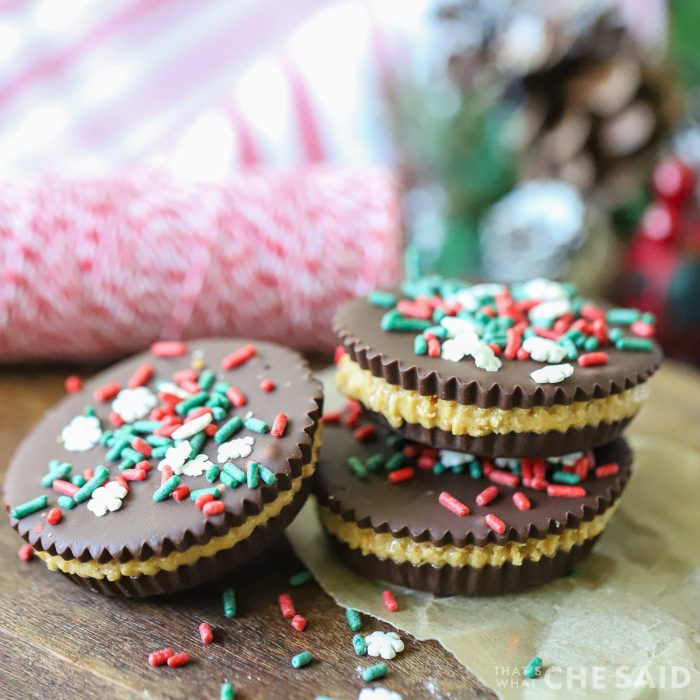
You can easily dress these guys up for any occasion by adding on some seasonal or colored sprinkles! I added some holiday ones here and then packaged these up in a cute Grinch Packaging and gift to neighbors!
You can find a collection of 3 Ingredient Recipes here that range from desserts to dips to bread and more!
Ingredients for Peanut Butter Cups:
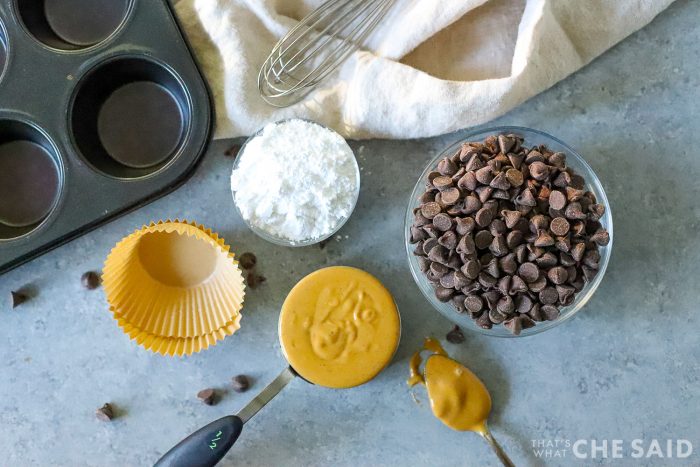
You only need 4 simple ingredients to make these delicious treats!
- Chocolate (morsels, melting wafers or cut up bar) – use good quality chocolate.
- Peanut Butter – I used creamy natural peanut butter. You could mix it up with crunchy if you are a crunchy fan!
- Powdered Sugar – just add a touch of sweetness to the peanut butter.
- Butter – I mean, butter makes everything better yes? Use the salted kind for this recipe!
Don’t Miss Out!
Get all my delicious email recipes straight to your inbox!
Needed Kitchen Items:
You don’t need any special kitchen items to make this recipe. I bet you have everything in your cabinets already!
- Cupcake or Muffin Tins – I used a 12 spot pan
- Paper Cupcake Liners – it is not important what design because you remove them after the cups are chilled.
- Mixing Bowl
- Heat-safe bowl for melting chocolate
- Spoon
- Measuring Cups
How Long do Homemade Peanut Butter Cups Store?
FREEZER – You can store these in an airtight container (plastic Tupperware or plastic freezer bag) for up to 3 months. Pull them out and eat chilled or let sit on your counter to warm up a tad.
REFRIGERATOR – These homemade peanut butter cups can store in the refrigerator for up to 2 weeks. Same as the freezer method a plastic Tupperware container or zippy bag work great for storing!
How to Make Homemade Peanut Butter Cups
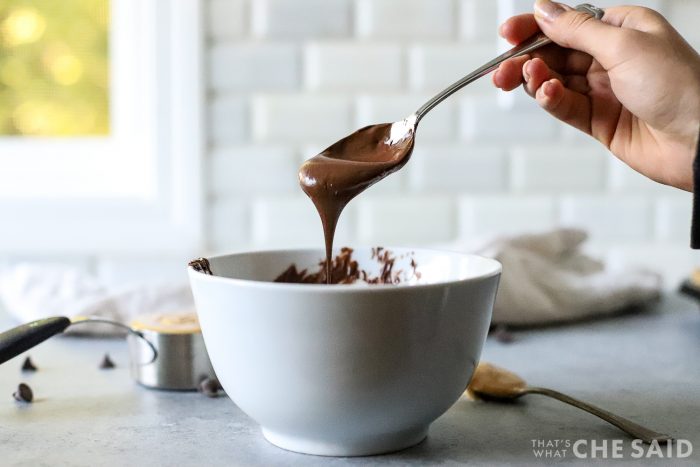
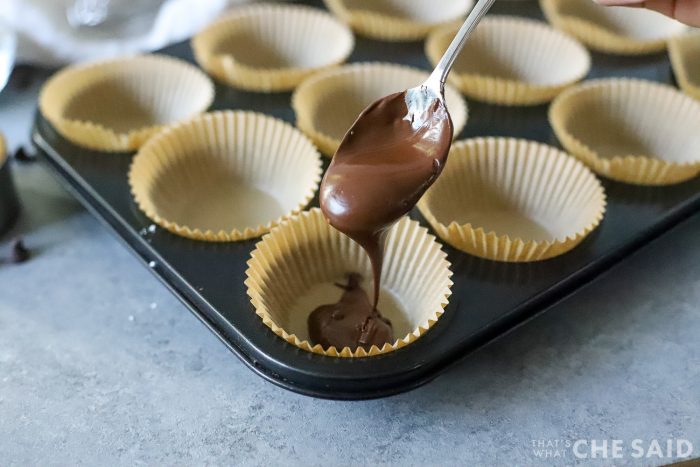
These are simple and easy to make with only 4 ingredients! Start off by melting half your chocolate in a microwave-safe bowl. It’s important to use quality chocolate as it’s a main ingredient and a strong co-star in this recipe.
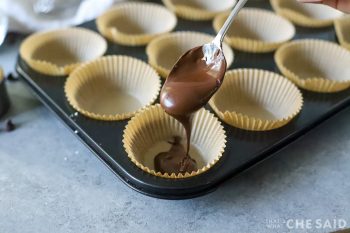
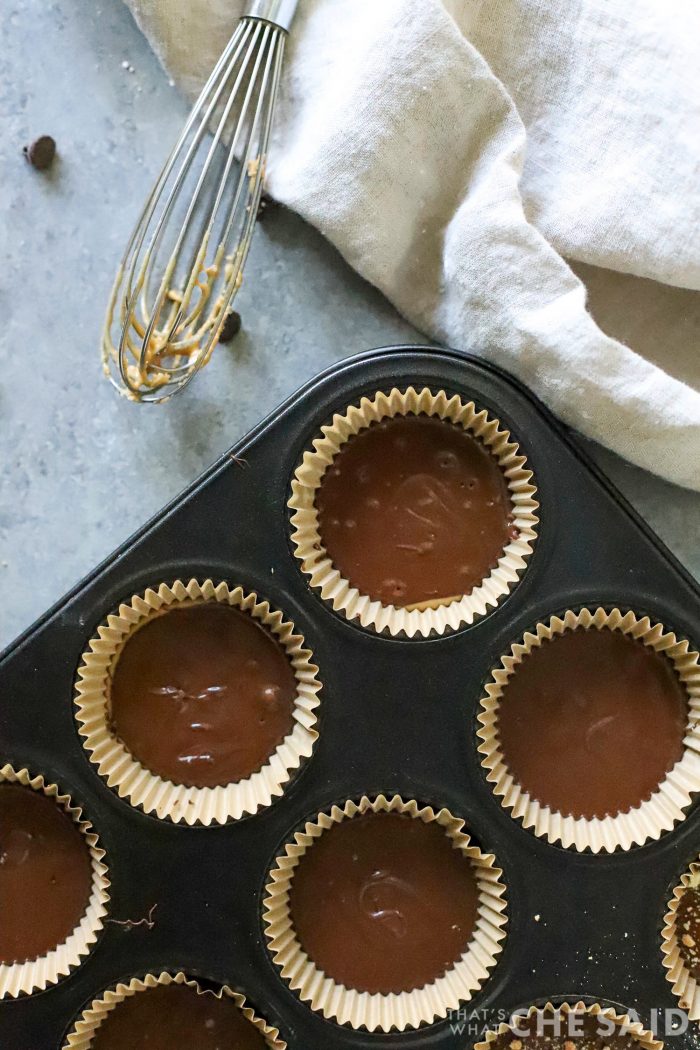
Using a spoon add equal amounts to a paper lined cupcake pan.
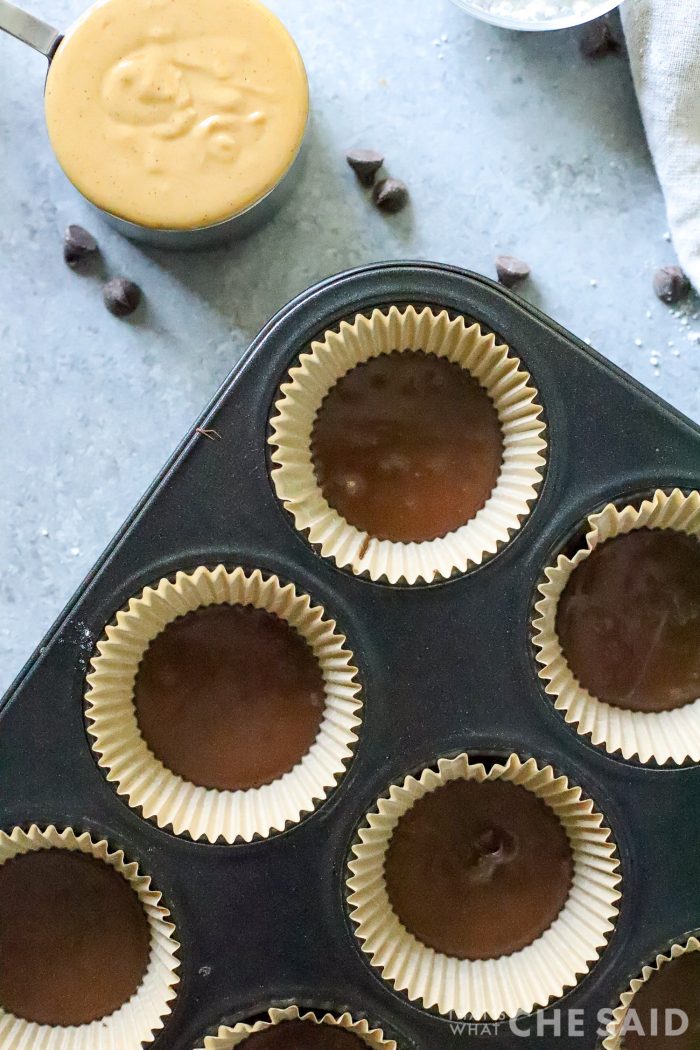
The easiest way to smooth out the bottom chocolate layer for these peanut butter cups is to tap the pan on the counter. That will level out the chocolate and also remove any air bubbles.
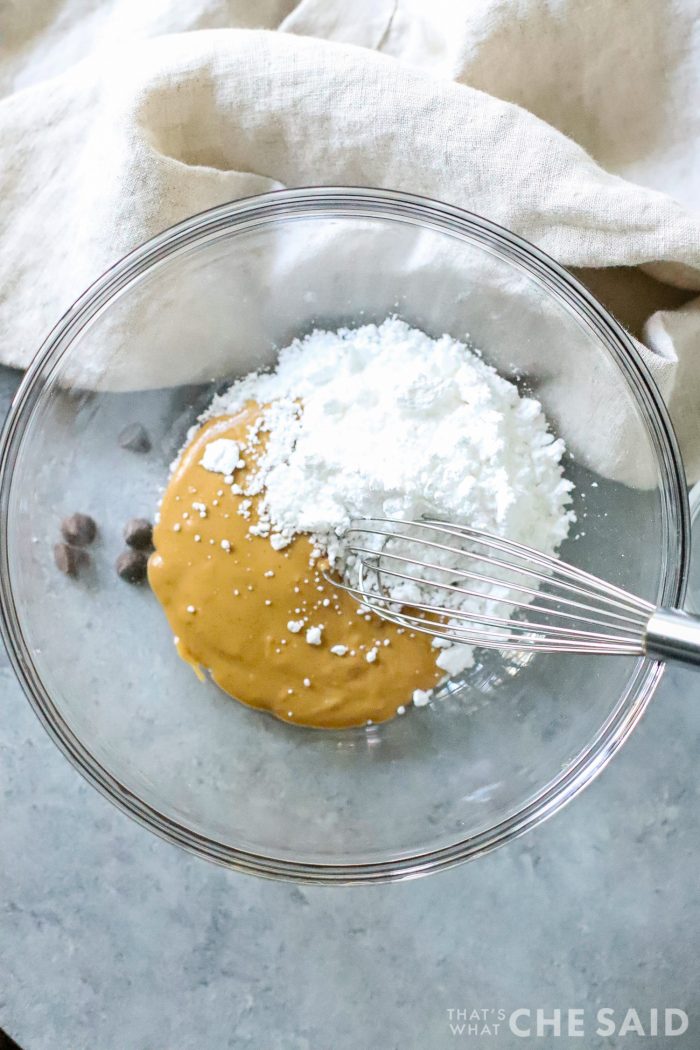
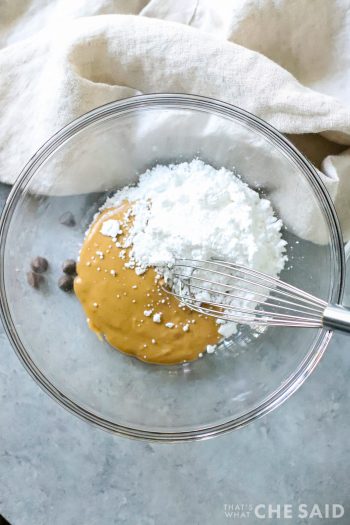
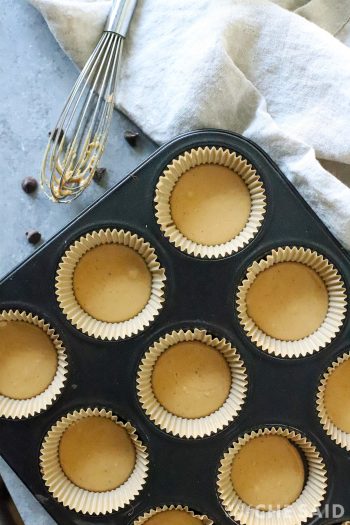
Next in a mixing bowl, combine peanut butter, powdered sugar, and butter. You can combine this using a whisk or hand mixer. It is important that the butter is softened and at room temperature (but not melted!)
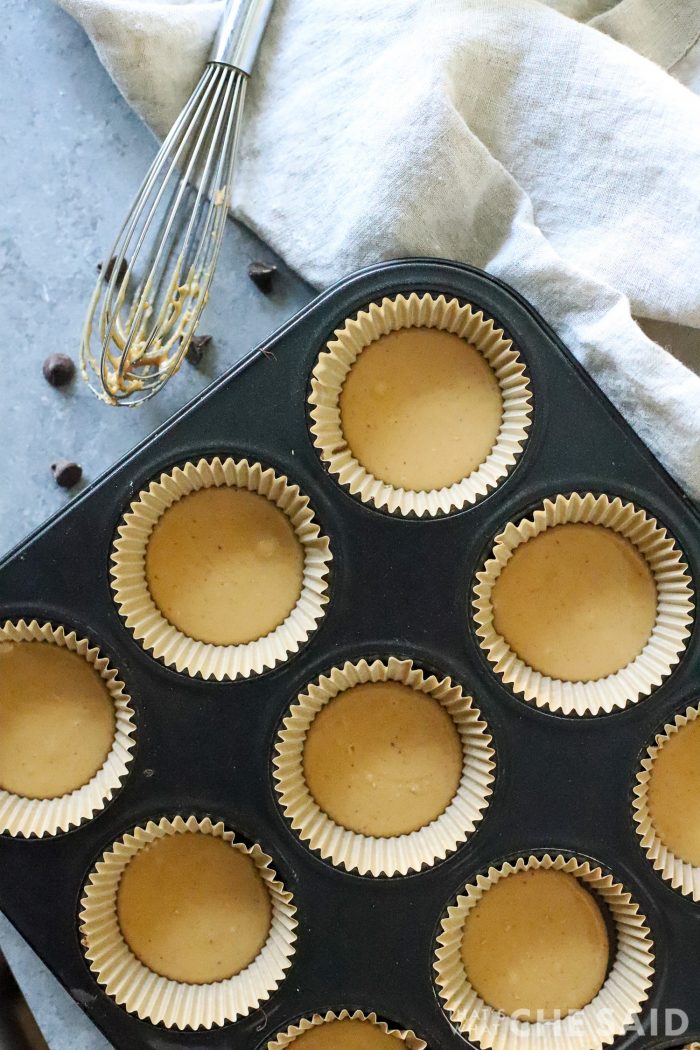
Next, add the peanut butter equally on top of the bottom chocolate layer. The easiest way to do this is to place the peanut butter mixture in a plastic bag and snip the corner from the bag and pipe the peanut butter onto the bottom chocolate layer. Tap to level out the layers. Place in freezer for 10 minutes to set.
If you don’t have a plastic bag to use for piping the peanut butter. Place the pan with chocolate layer only in the freezer for 10 minutes. This will harden that layer allowing you to spread the peanut butter with a spoon more easily.
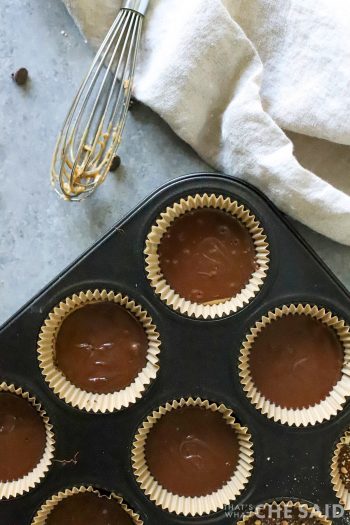
After the peanut butter layer, melt the remaining chocolate and layer on top the peanut butter with the same method as you did the first layer. Tap to level the chocolate layer.
If you want to add any sprinkles or crushed peanuts or anything on the top, now is the time to add those on while the top layer of chocolate is still wet.
Freeze 10 more minutes.
Finally, remove from the freezer and remove the paper liners. Now you can enjoy these awesome 4 ingredient homemade peanut butter cups for yourself or package them up and they make great neighbor gifts!
MORE RECIPES YOU WILL LOVE:
- 3 Ingredient Peanut Butter Cookies
- Holiday Puppy Chow Recipe
- Graduation Cap Pops – using peanut butter cups!
- S’Mores Fudge
This post may contain links to Amazon Associate and other affiliates.
As an Amazon affiliate, I earn a small commission from these links at no additional cost to you.
HOMEMADE PEANUT BUTTER CUP RECIPE
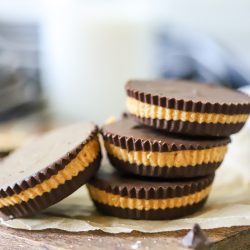
Homemade Peanut Butter Cups
Equipment
Ingredients
- 1 1/2 cups semi-sweet chocolate chips, morsels or a chopped chocolate bar
- 1/2 cup peanut butter, natural, creamy
- 2 tbsps butter, salted, room temperature
- 6 tbsps powdered sugar
Instructions
- Place 12 cupcake liners in a standard size cupcake pan.
- Melt a little over half of the chocolate in a microwave-safe dish at 30-second intervals stirring in between until mostly melted, then stir to melt all the way. You can also use a double broiler to melt the chocolate.
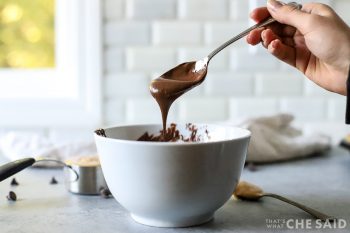
- Using a spoon or cookie scoop, put an equal amount (about 1½ teaspoons) of melted chocolate in each cupcake liner, barely filling the cup. To evenly disperse the chocolate, drop the pan on the counter a few times. Place pan in the freezer for 10 minutes to harden.
- Whip together the peanut butter, butter, and powdered sugar with a hand mixer until smooth, about 1-2 minutes.
- Place an equal amount of peanut butter mixture in each cup. Drop the pan on the counter a few times to evenly disperse the peanut butter layer over the chocolate.
- Place in the freezer for 10 minutes to harden.
- Melt the remaining chocolate and spoon about a teaspoon on top of the peanut butter mixture. Again, drop the pan on the counter to evenly disperse the chocolate.
- Place peanut butter cups back in the freezer for about 10 minutes to set.
- Remove cupcake liner from the peanut butter cup and enjoy.
Notes
● A tip for placing peanut butter mixture in the cups, place the peanut butter in a plastic bag and cut the tip, and squeeze out on the chocolate layer.
● For a little texture, sprinkle crushed graham crackers on top of the chocolate before placing them in the freezer. For a holiday spin, top with festive sprinkles.
● For a firm bite, eat peanut butter cups directly from the freezer or leave them at room temperature for a softer, creamier experience.
● Store in the freezer for 3 months or the refrigerator for about 2-3 weeks.



Comments & Reviews
Jayne says
Fantastic directions! YUMMY! Love your recipes and crafting…
Cheryl Spangenberg says
Thanks so much, Jayne!