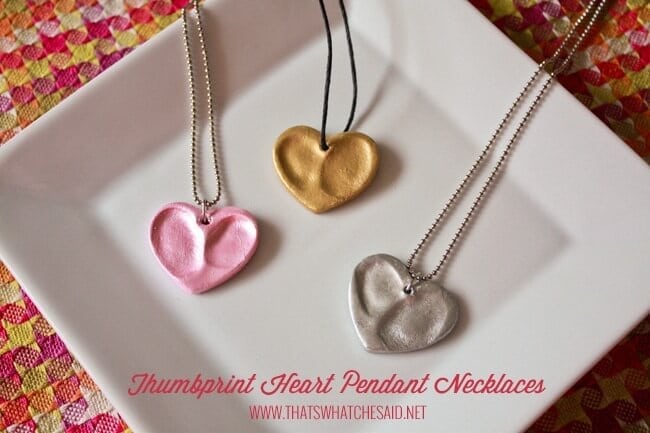
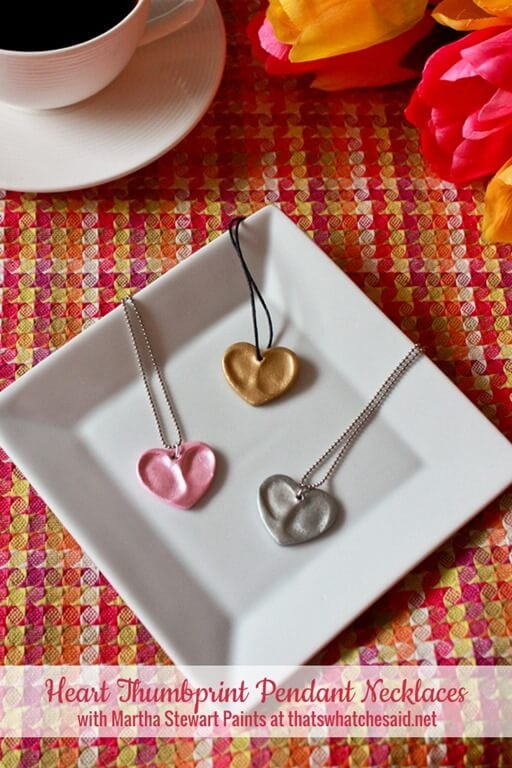
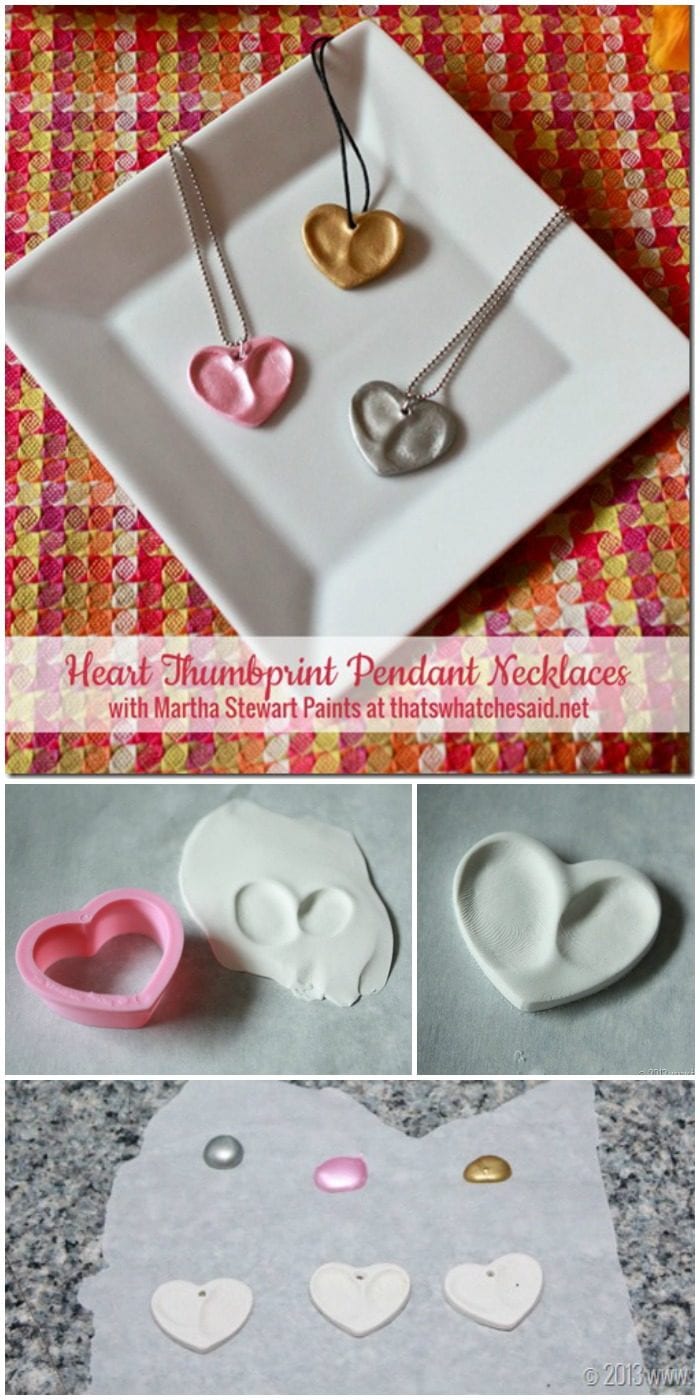
Friends, I have the perfect, heartfelt, handmade gift idea for you today! Handmade Heart Thumbprint Necklaces! Or Keychains, thumbprint jewelry options are endless, however, the gift is priceless! Crafted with polymer clay and your favorite fingerprint!
This charm can be created to wear as jewelry or it can be created and made into a key chain or simply a heart charm to keep near as memorial jewelry! I chose to create a thumbprint heart necklace.
Pin Heart Thumbprint Charm Necklace Here
Click the button above to save to your board for later!
Update: Check out this post if you are in need of a charm for three fingerprints!
Mother’s necklaces are super popular and beautiful with precious stones in sterling silver or white gold and those are amazing but even more precious are the little fingerprints that adorn these custom-design fingerprint charms!
These handmade pieces are fun and unique and perfect for all the special people in your life. They are perfect for Valentine’s Day, Mother’s Day, Birthdays, and more! I can speak from experience that this is a great gift for a mom or grandma! This is also a great idea for new parents!
Don’t Miss Out!
Get quick crafts, easy recipes and free printables & cut files straight to your inbox! You won’t want to miss a thing! Join now!
Let’s get started! For your convenience, linked below is my materials list. The only thing I can’t link for you is the actual child’s fingerprint you will use :)
This post may contain links to Amazon Associate and other affiliates.
As an Amazon affiliate, I earn a small commission from these links at no additional cost to you.
Supplies Needed For the Heart Thumbprint Necklaces:
- Oven Bake Clay
- Small rolling pin (I used my kids’ play dough one!)
- Heart Cookie Cutter
- Bobby Pin
- Martha Stewart Paints
- Martha Stewart Paint Brushes
- Necklace Chains or necklace twine
- Jump rings
- Cute kids who have cute thumbs :)
Grab all the supplies you need right here in one place on my Amazon storefront!
How to Make Heart Thumbprint Charm Necklace
Time needed: 1 hour and 30 minutes
Take a chunk of oven baked clay and turn it into a personalized piece of jewelry using a few supplies and children’s fingerprints! Below are the instructions to make a heart thumbprint necklace.
- Roll Polymer Clay
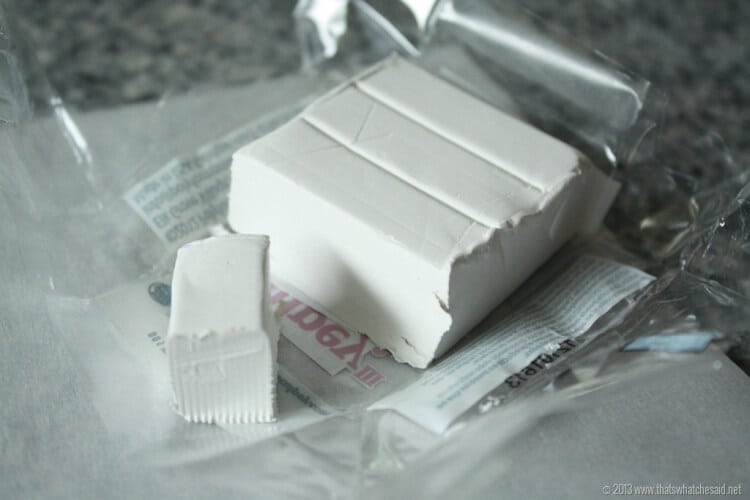
Prepare a baking sheet with parchment paper. Begin by cutting a chunk off the oven-bake clay off the block and roll it flat on the baking sheet. I used my boys’ play dough roller! It worked perfectly! You want the clay to be about 1/4″ thick.
- Add Fingerprints
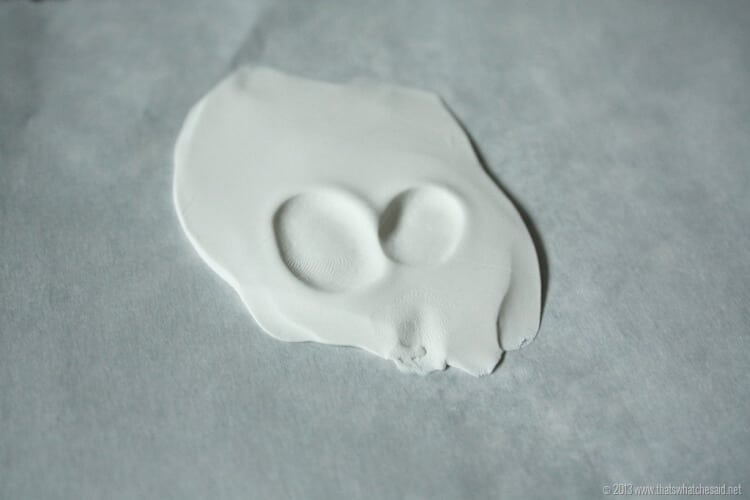
Next, I had each of the little ones come and press their thumbs into the clay in a V shape. You can use fingerprints or thumbprints. Be sure they wash their hands afterward.
- Cut Heart Charm
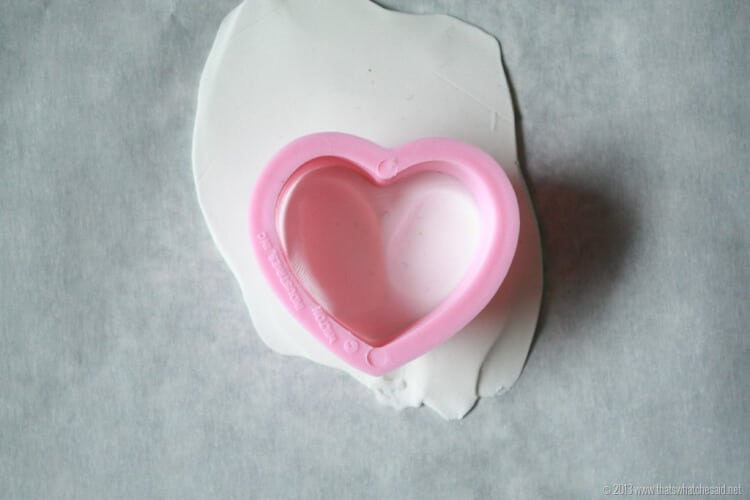
Using a small heart cookie cutter, center the cutter over the thumbprints and cut the polymer lay into a heart shape.
- Remove Excess Clay
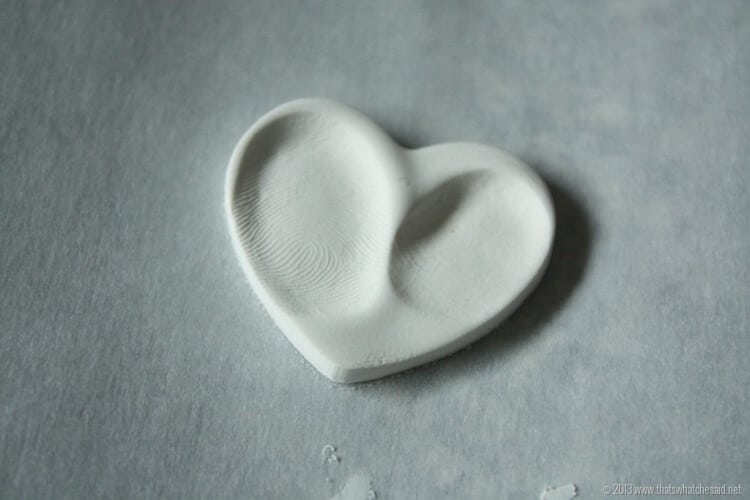
To maintain the heart shape as best you can, remove the excess clay around the cookie-cutter first and then gently remove the cookie cutter as well. You will be left with a perfect heart with fingerprints!
- Create a hole for jewelry findings.
If you are creating a charm to use for a necklace, bracelet or keychain, use a bobby pin or other small nail/pin to create a hole in the clay near the top of the pendant. A jump ring will be added to attach to the jewelry.
- Bake
Bake according to the package directions. My clay said to bake at 275 degrees F for 15 minutes per 1/4 inch. I baked for 15 minutes. Carefully remove the charms from the oven and allow them to cool.
- Paint (optional)
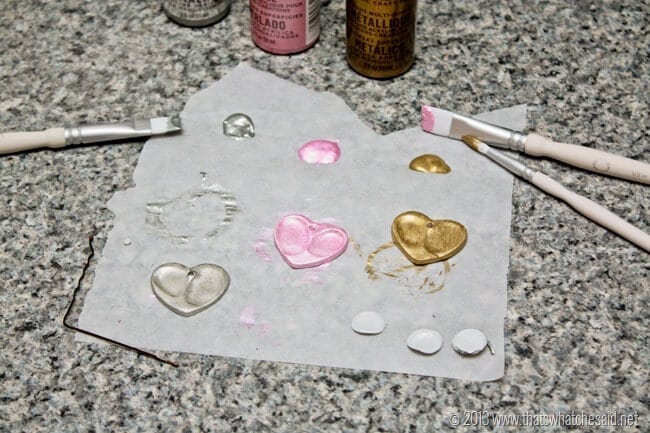
If you’d like to, you can paint the charm using acrylic paint. I made some metallic ones using the Martha Stewart Metallics line! Allow to dry.
- Add Jump Ring
When cooled or paint dried, use needle nose pliers to attach a jump ring through the hole on the heart charm. Check out this post to see the correct way to attach a jump ring.
- Attach to Jewelry Piece
After you add the jump ring you may either thread a necklace through or attach to a charm bracelet or keychain.
More Handprint and Footprint Projects!
Fingerprint Jewelry Gift Boxes
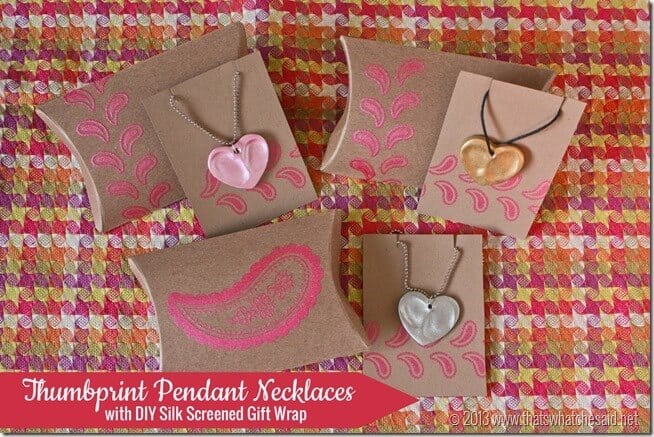
You can also create some adorable gift boxes for your newly made fingerprint pendants.
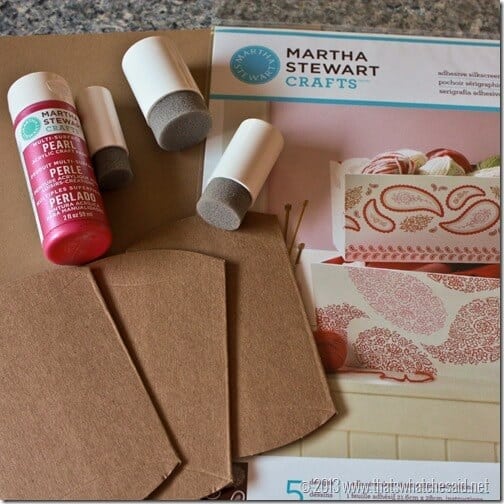
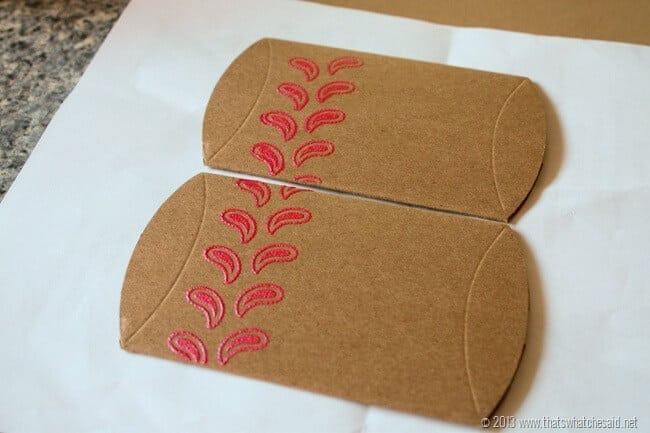
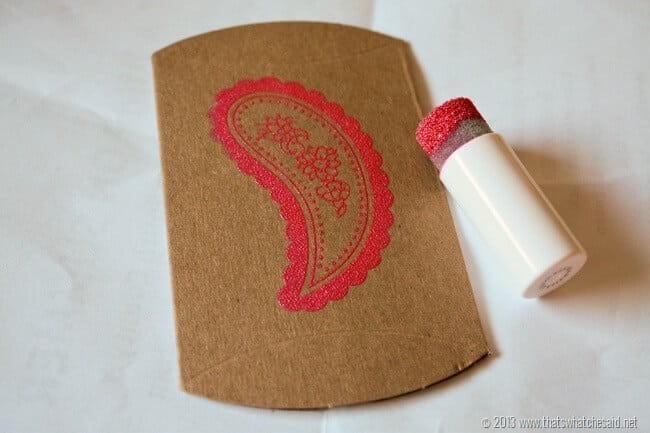
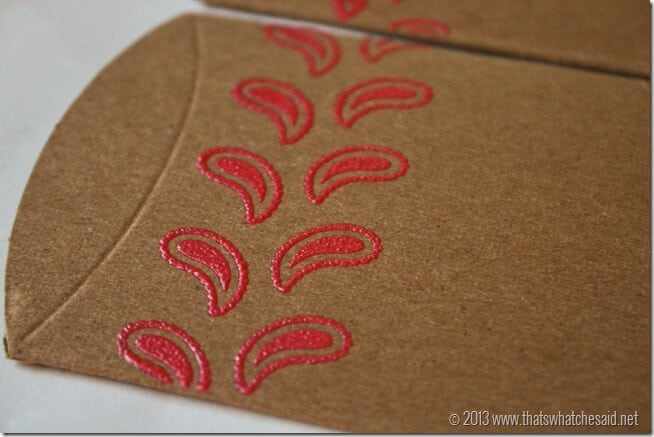
To take it to another notch, I had this cute idea to use some silk screen stencils and more of the paint to decorate some pillow boxes to put the necklaces in for gifts!
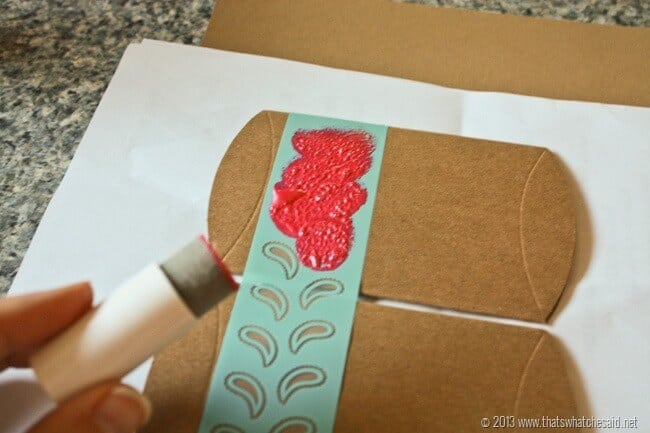
Use the Sponge applicators and dab the paint on the silkscreen and wipe across to remove the excess.
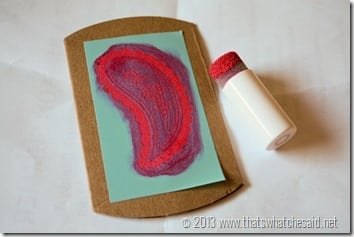
The great thing about the silkscreens is that they have a tiny mesh in the open areas that keep the paint right where you need it. Ever try to fill an open stencil and you brush on your paint and you are left with a stencil with a giant glob of paint stroked uneven paint inside? Yea me too! These silkscreens keep the open areas full of paint!
This fingerprint necklace is perfect for anyone you may have a special relationship with! It is a unique gift that can never be duplicated because it’s made from your fingerprints!
More Popular Keepsake Projects:
PIN HEART THUMBPRINT CHARM NECKLACE




Comments & Reviews
Rynae says
I love the pink colored charm but can’t find any paint called “shimmery pink” in the Pearl finish. Any thoughts? Also, do you know how big the heart cut out is? I’m going to try these with a group of little kids at a children’s shelter. They are adorable!
Alex says
Hello, I’ve been trying to make some of these, but they’re just not coming out like yours. Do you have any tips? How do you get the edges looking so nice? How do you dislodge the piece from the cutter without distorting it? How many coats of paint did you use? How thick did you roll out the clay? I know a lot of questions…any tips would help though. Thank you:)
Cheryl Spangenberg says
Hi Alex. When removing my clay I removed the excess first and kept the cookie cutter in place while I did that, then I just picked up the cookie cutter. My clay just stuck to my parchment paper that I was working on. I didn’t have to dislodge it at all from the cutter. I painted the baked clay charms until they looked coated. I think I only had to do one coat? The number of coats of paint would be up to you and would depend on the type and brand of paint you are using. The MS coats very well in my opinion. I mentioned in my directions that my charms were 1/4 inch thick. Hope that helps!
Allie says
Hey Cheryl, Im featuring your necklaces on my Valentines Gift Round Up. The post should go live sometime tonight.
~Allie http://www.craftyallieblog.com
Sarah says
Love the idea! Would look great as magnets for those with too many kids to make a necklace or with all the grand babies prints for grandparents. Thx!
Cheryl Spangenberg says
Magnets are a great idea Sarah!
sarah Hall says
Love this! I’m a children’s pastor a local church and I’m doing this with my kiddos for Mother’s day. Where did you find that cookie cutter and how big was it? I’m having a heck of a time finding cookie cutters!
Cheryl Spangenberg says
Sarah it was the smallest heart in a set of nesting heart plastic ones that I picked up like at Wal-Mart. If you have a Jo-Ann’s, Hobby Lobby or Michael’s you might try checking out the aisle where they sell the sculpey clay. They normally have small cutters there for use with the clay that might work.
Michelle says
Hi…I was wondering where you got the chains and how expensive were they? I made these as key chains before but I love the necklace idea!
Michelle
Cheryl Spangenberg says
Michelle, it was so long ago I honestly don’t remember exactly! I do know I ordered them from one of the crafty deal sites. Sorry I could not be more of help. I do know that Jo-Ann’s and Hobby Lobby both carry these types of necklaces though!
Michelle says
The problem with these instructions is that they are bare minimum. There’s nothing listed for how many inches thick the clay should be rolled out to, how large the cookie cutter is or any information on what to expect when baking the clay. Also, if it’s okay to use the original Sculpey or if it has to be Premo. I had to do so much research on Polymer clay before deciding to do this. While this is a great idea, I spent so much time researching so many things that this instruction wasn’t that helpful.
Cheryl Spangenberg says
Hi Michelle, Any oven bake clay would work fine. I mentioned that mine were 1/4 inch thick. You can make them as thick or thin as you’d like as long as you follow your clay instructions on baking times. Also you can use any size cookie cutter you’d like depending on how large or small you’d like your pendant to be. Thanks!