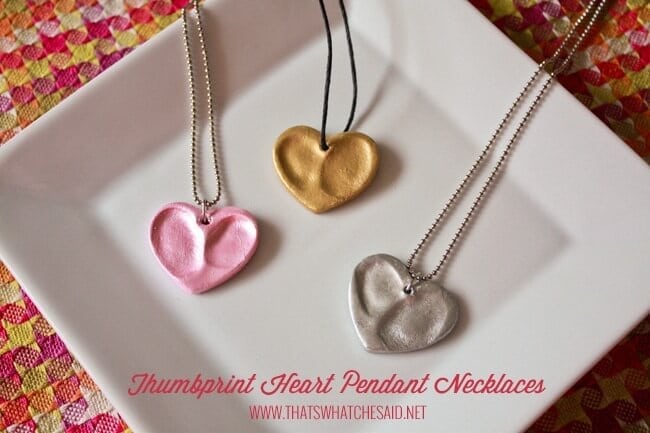
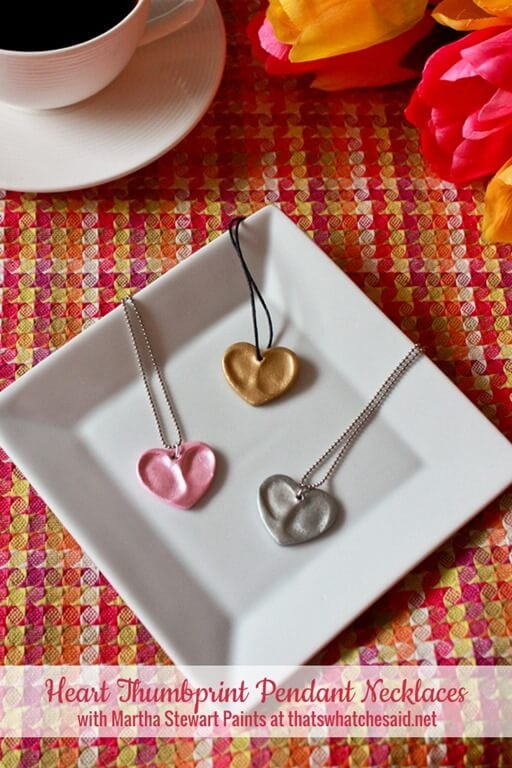
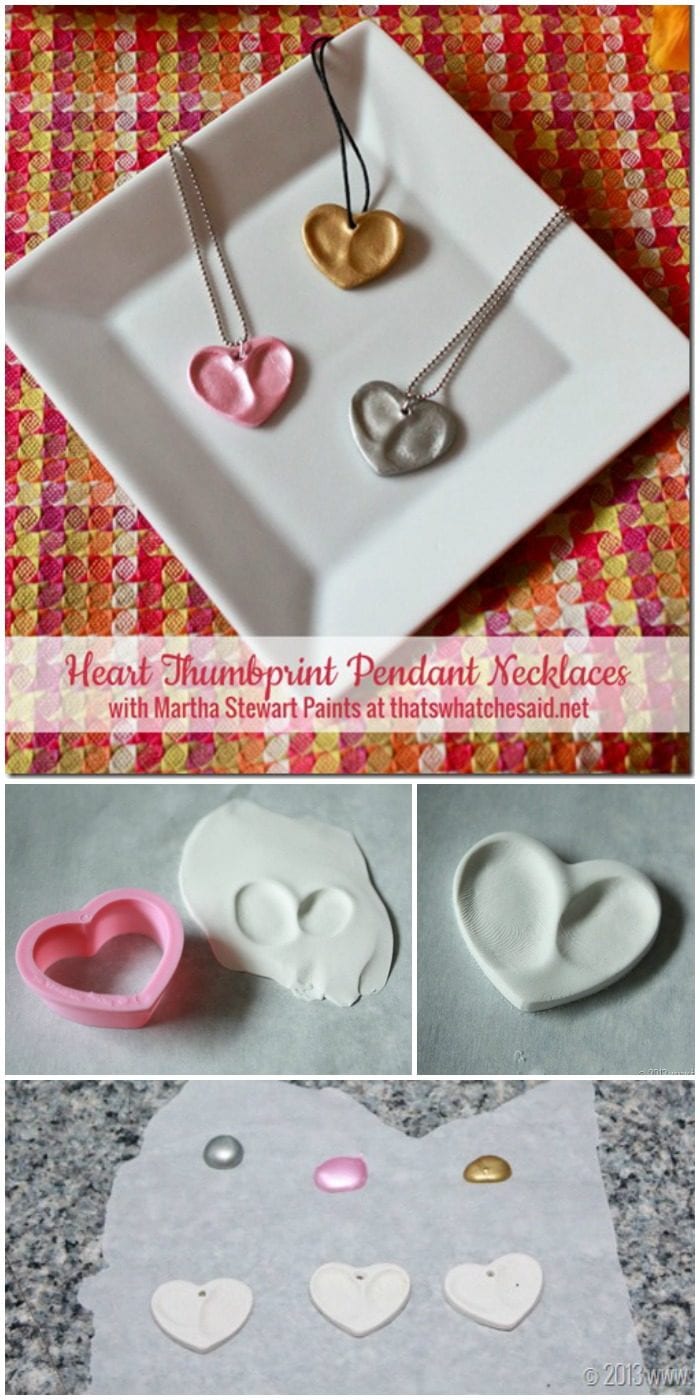
Friends, I have the perfect, heartfelt, handmade gift idea for you today! Handmade Heart Thumbprint Necklaces! Or Keychains, thumbprint jewelry options are endless, however, the gift is priceless! Crafted with polymer clay and your favorite fingerprint!
This charm can be created to wear as jewelry or it can be created and made into a key chain or simply a heart charm to keep near as memorial jewelry! I chose to create a thumbprint heart necklace.
Pin Heart Thumbprint Charm Necklace Here
Click the button above to save to your board for later!
Update: Check out this post if you are in need of a charm for three fingerprints!
Mother’s necklaces are super popular and beautiful with precious stones in sterling silver or white gold and those are amazing but even more precious are the little fingerprints that adorn these custom-design fingerprint charms!
These handmade pieces are fun and unique and perfect for all the special people in your life. They are perfect for Valentine’s Day, Mother’s Day, Birthdays, and more! I can speak from experience that this is a great gift for a mom or grandma! This is also a great idea for new parents!
Don’t Miss Out!
Get quick crafts, easy recipes and free printables & cut files straight to your inbox! You won’t want to miss a thing! Join now!
Let’s get started! For your convenience, linked below is my materials list. The only thing I can’t link for you is the actual child’s fingerprint you will use :)
This post may contain links to Amazon Associate and other affiliates.
As an Amazon affiliate, I earn a small commission from these links at no additional cost to you.
Supplies Needed For the Heart Thumbprint Necklaces:
- Oven Bake Clay
- Small rolling pin (I used my kids’ play dough one!)
- Heart Cookie Cutter
- Bobby Pin
- Martha Stewart Paints
- Martha Stewart Paint Brushes
- Necklace Chains or necklace twine
- Jump rings
- Cute kids who have cute thumbs :)
Grab all the supplies you need right here in one place on my Amazon storefront!
How to Make Heart Thumbprint Charm Necklace
Time needed: 1 hour and 30 minutes
Take a chunk of oven baked clay and turn it into a personalized piece of jewelry using a few supplies and children’s fingerprints! Below are the instructions to make a heart thumbprint necklace.
- Roll Polymer Clay
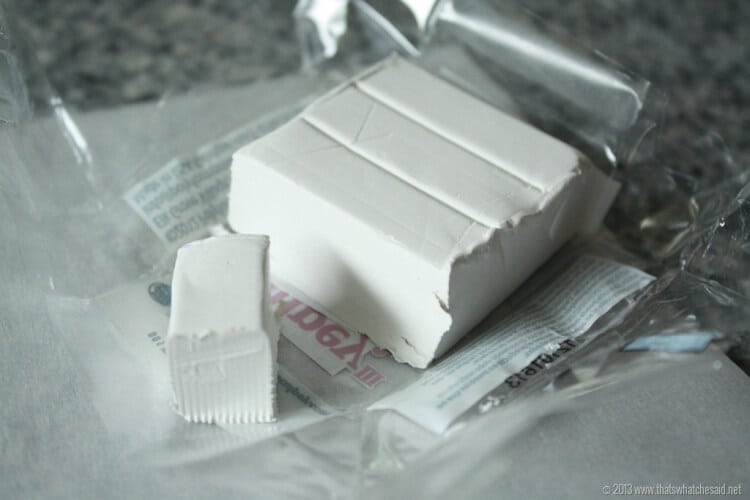
Prepare a baking sheet with parchment paper. Begin by cutting a chunk off the oven-bake clay off the block and roll it flat on the baking sheet. I used my boys’ play dough roller! It worked perfectly! You want the clay to be about 1/4″ thick.
- Add Fingerprints
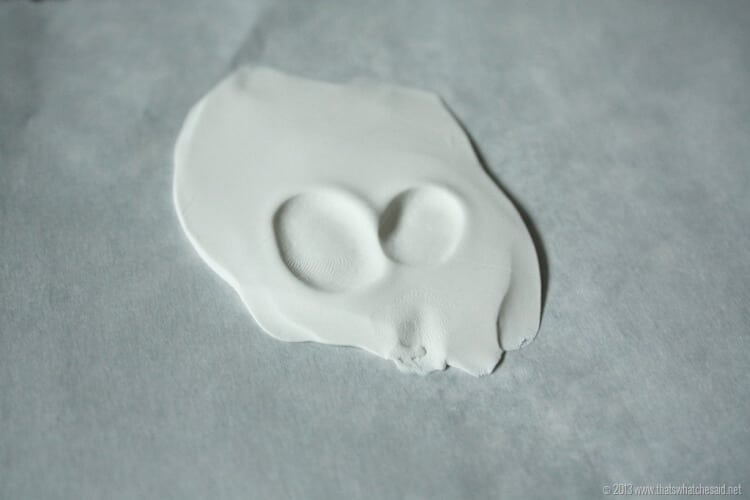
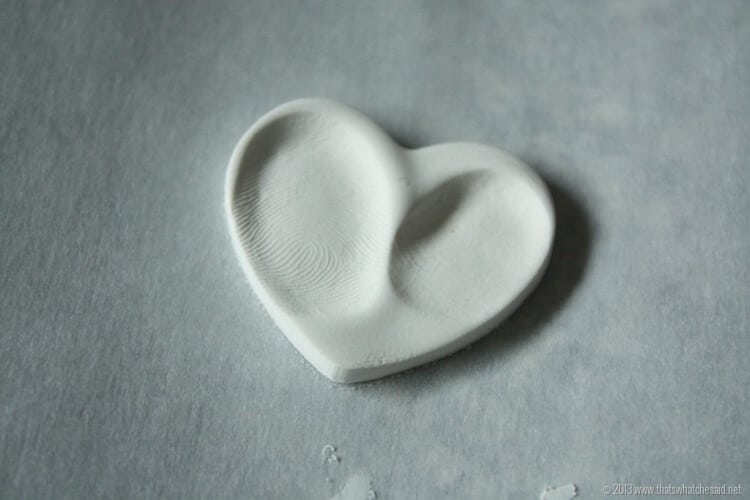
Next, I had each of the little ones come and press their thumbs into the clay in a V shape. You can use fingerprints or thumbprints. Be sure they wash their hands afterward.
- Cut Heart Charm
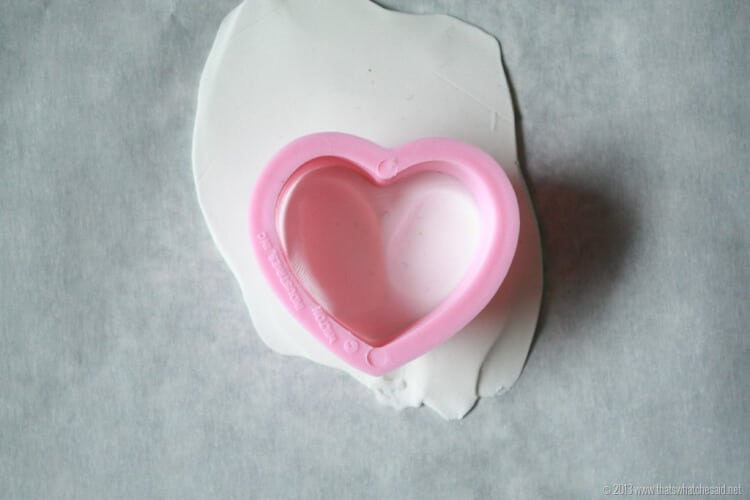
Using a small heart cookie cutter, center the cutter over the thumbprints and cut the polymer lay into a heart shape.
- Remove Excess Clay
To maintain the heart shape as best you can, remove the excess clay around the cookie-cutter first and then gently remove the cookie cutter as well. You will be left with a perfect heart with fingerprints!
- Create a hole for jewelry findings.
If you are creating a charm to use for a necklace, bracelet or keychain, use a bobby pin or other small nail/pin to create a hole in the clay near the top of the pendant. A jump ring will be added to attach to the jewelry.
- Bake
Bake according to the package directions. My clay said to bake at 275 degrees F for 15 minutes per 1/4 inch. I baked for 15 minutes. Carefully remove the charms from the oven and allow them to cool.
- Paint (optional)
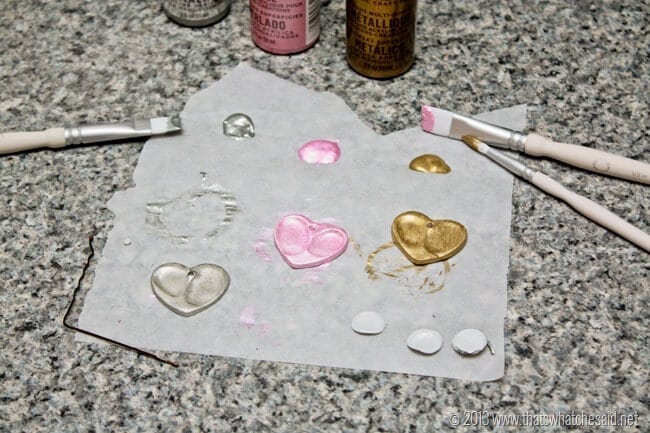
If you’d like to, you can paint the charm using acrylic paint. I made some metallic ones using the Martha Stewart Metallics line! Allow to dry.
- Add Jump Ring
When cooled or paint dried, use needle nose pliers to attach a jump ring through the hole on the heart charm. Check out this post to see the correct way to attach a jump ring.
- Attach to Jewelry Piece
After you add the jump ring you may either thread a necklace through or attach to a charm bracelet or keychain.
Fingerprint Jewelry Gift Boxes
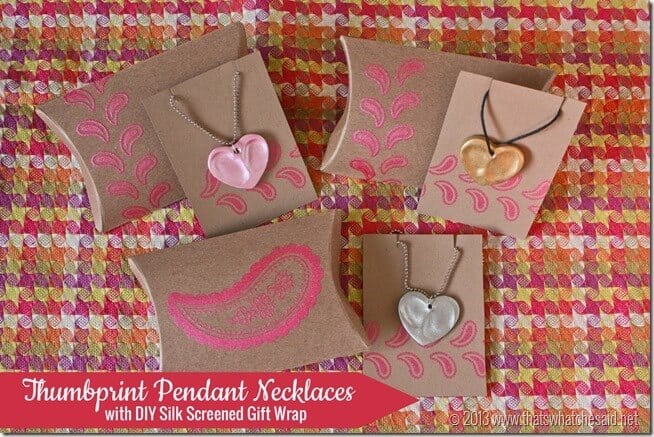
You can also create some adorable gift boxes for your newly made fingerprint pendants.
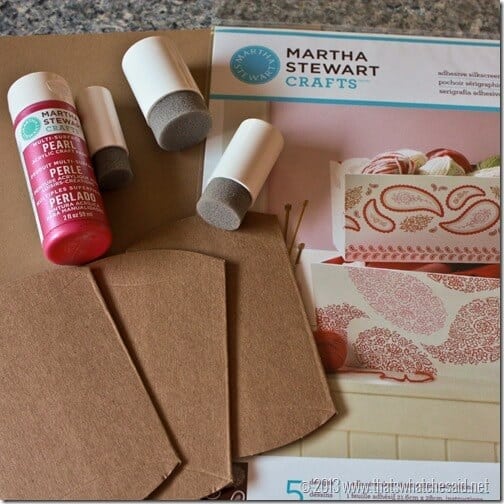
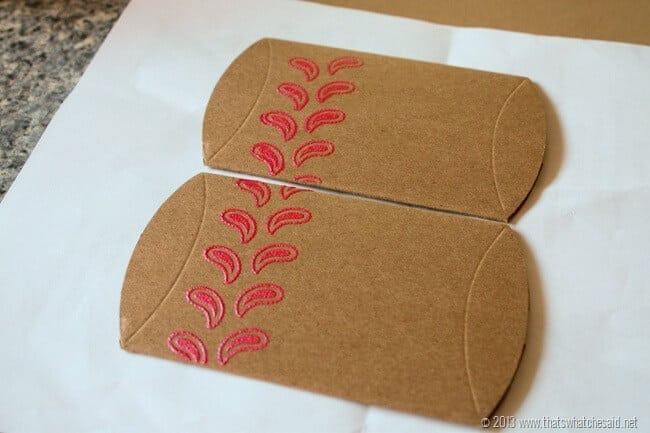
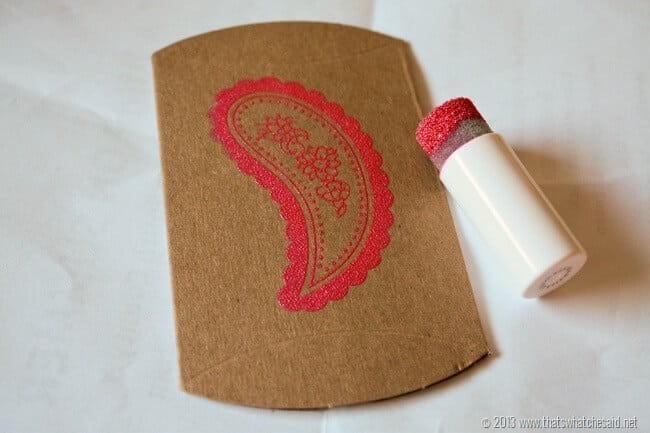
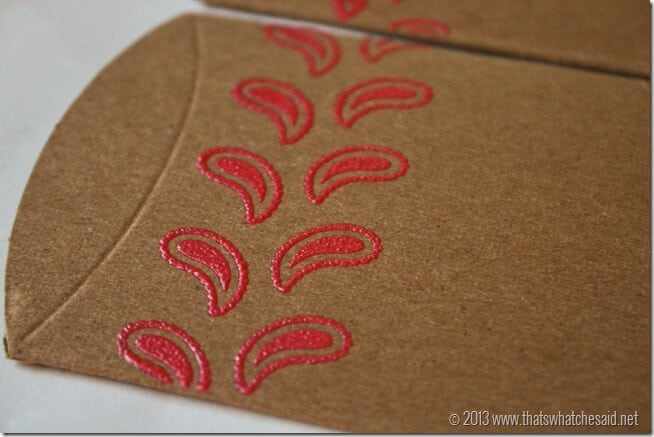
To take it to another notch, I had this cute idea to use some silk screen stencils and more of the paint to decorate some pillow boxes to put the necklaces in for gifts!
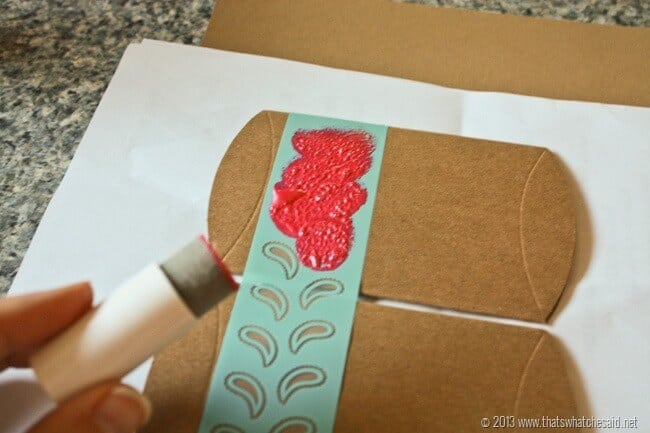
Use the Sponge applicators and dab the paint on the silkscreen and wipe across to remove the excess.
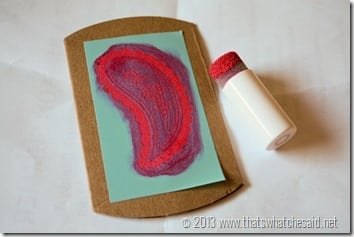
The great thing about the silkscreens is that they have a tiny mesh in the open areas that keep the paint right where you need it. Ever try to fill an open stencil and you brush on your paint and you are left with a stencil with a giant glob of paint stroked uneven paint inside? Yea me too! These silkscreens keep the open areas full of paint!
This fingerprint necklace is perfect for anyone you may have a special relationship with! It is a unique gift that can never be duplicated because it’s made from your fingerprints!
More Popular Keepsake Projects:
PIN HEART THUMBPRINT CHARM NECKLACE


Comments & Reviews
Laura @ Laura's Crafty Life says
Cute Cheryl! I love the metallic paints for these necklaces. I might have to make one of these for myself. :)
Cheryl says
It will be perfect for T & O’s little prints!!
Michelle L says
Those are just too sweet – I love the gift boxes, too. wonderful, easy gift that will make a huge hit!
Cheryl says
Thank You Michelle!
Andrea Worley says
oh goodness these are so adorable! I just love them, I can think of about a million different moms who would love this. Great job, and great tutorial!
Cheryl says
Thanks so much Andrea!
Carol says
What a genius idea and such a wonderful keepsake. I’m a groupie too. LOVE these paints.
Cheryl says
Thanks Carol! We can travel across country together when Martha tours :)
Alex says
Cheryl these are great! I remember seeing some of the silver ones on Pinterest and I thought I’ve got to get on that for next Christmas or a Grandma’s Birthday. I’m going to use baking soda dough for them. But how much do I LOVE the packaging! I am a sucker for a kraft paper decorated boxes.
Cheryl says
Thanks Alex! I am too! There is something about the brown paper bag decorated all pretty that gets me giddy!
Carrie A. says
LOVE this idea, so cute and perfect for gifts! Love the packaging, too!
Cheryl says
Thanks Carrie! Have a great day!
Kelly@ Here Comes the Sun says
These are so cute! I’ve always wondered how to make them. I will have to try it out.
Stacey says
How fun! My mother & mother in law would LOVE this. Thanks for the inspiration. Heading out to buy supplies now
Cheryl says
I was thinking the same thing! They are really easy to make too! Thanks for stopping By Stacey!
Dona says
Love and love and love! LOVE! You are sure good at hitting on things I want to make! Keep it up, girl!
Meredith @ Wait Til Your Father Gets Home says
These turned out so great Cheryl! Love your version :) I might just have to make little hearts for a bracelet this year instead of a necklace.
Carissa says
I love this! Great tutorial. Awesome project.
Kelsy says
What a cute idea! I think I will have to give this one a try!
~Kelsy
Cheryl says
Thanks Kelsy! I hope you do give it a go!
Karen - The Graphics Fairy says
I love this Cheryl!! So pretty and such a great gift idea!! The packaging is pretty awesome too!
Cheryl says
Thanks Karen! I appreciate it! :)
Crystal says
Super cute!! I love the metallic pink!! What a great gift idea!! Thanks :)
Julie says
Thanks so much for this fantastic idea….my daughter and I will be making some of these Heart Pendants this weekend for the “girls” in the family for Mother’s Day. Nana is going to Love Love Love this adorable necklace.
Cheryl says
Thanks Julie! I think all the special girls in your family will adore them. They are so easy to make and I think your daughter will enjoy it also! Thanks for stopping over!
nicolette @ momnivore's dilemma says
Such a great economical idea for teachers to make with their classes…I’m working on a new round-up of ideas for The Classroom Creative for Mother’s Day-and I will feature this later in the week. Love this, Che!
Let the countdown to Blogher begin…
You still are coming to Chicago, right?
<3
Nic
Cheryl says
Thanks Lady! And Yes, absolutely coming and absolutely going to get a running start to hug you. There is your warning :) See you in July!
Carol Mais says
Love…love this idea look forward to using the idea sometime soon.
Cheryl says
Thanks so much Carol!
Becca says
Thanks for sharing this wonderful craft! Can’t wait to get started!
Cheryl says
Thanks so much Becca!
Cheryl@ Sew Can Do says
Really cute & the metallic finish looks fab. You’ve been featured – stop by to grab a Featured On button. Thanks for sharing and linking to the Craftastic Monday party at Sew Can Do!