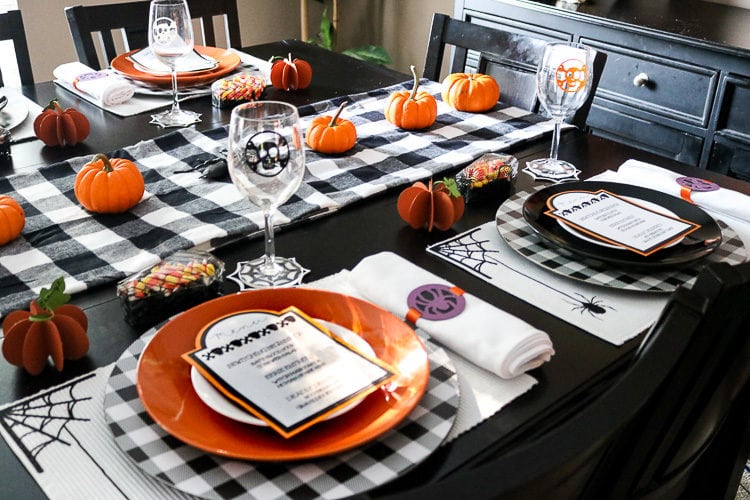
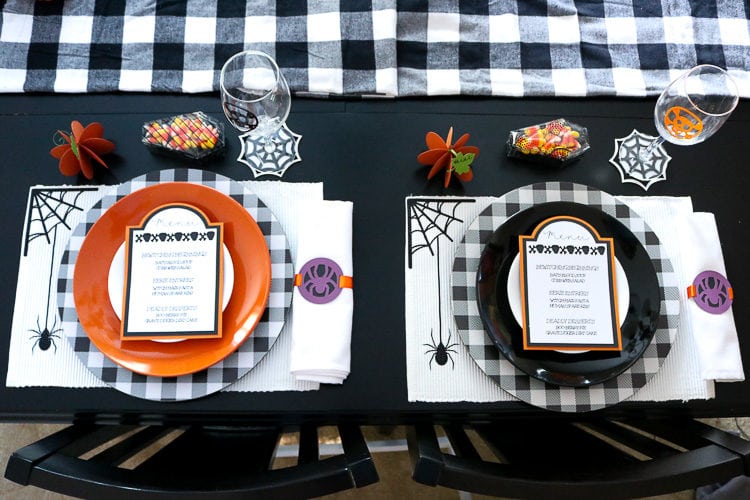
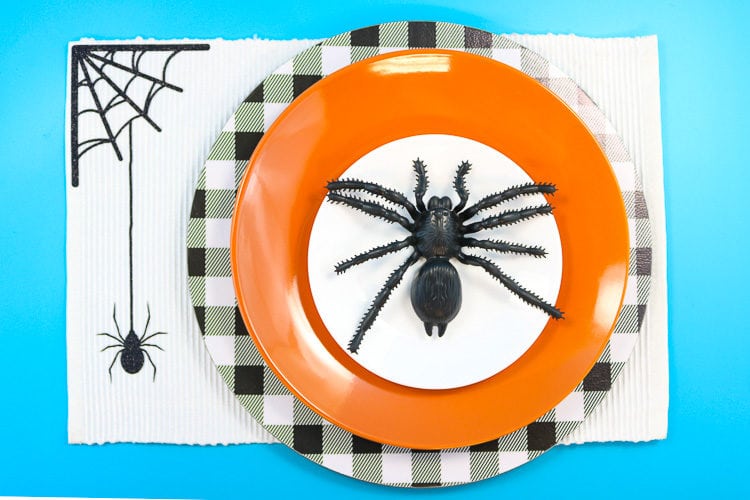
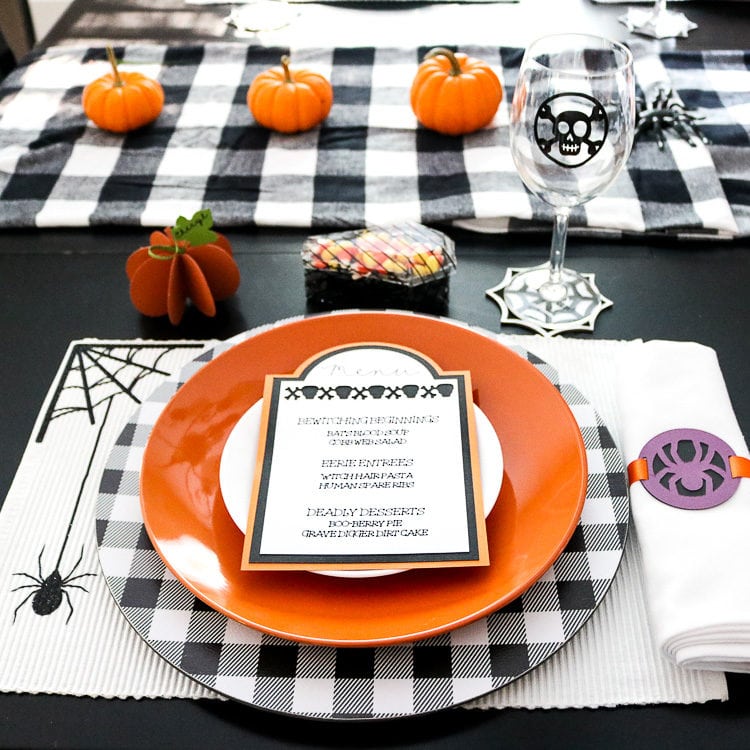
Can you believe I made this fun Halloween Tablescape using only my Cricut Maker? It’s absolutely amazing what you can do with this machine! Keep reading to find out how I created these Halloween Table Settings and how I cut acetate, iron-on, felt, window cling, kraft board, chipboard, and cardstock while using the fine tip blade, scoring wheel, knife blade, rotary blade, and Cricut pens all with the same machine! It’s amazing!
I created the placemats, napkins, napkin rings, menu card, place card, after dinner treat boxes, coasters and reusable glasses all using my Cricut Maker and the adaptive tool system! This post I am going to focus on the Placemats, menu card, coasters and treat boxes!
I will be posting separate posts on the other projects but will be sure to come back here and link them so you will know how to make everything! As always you can sign up for my emails so you never miss a project!
Halloween Tablescape Projects:
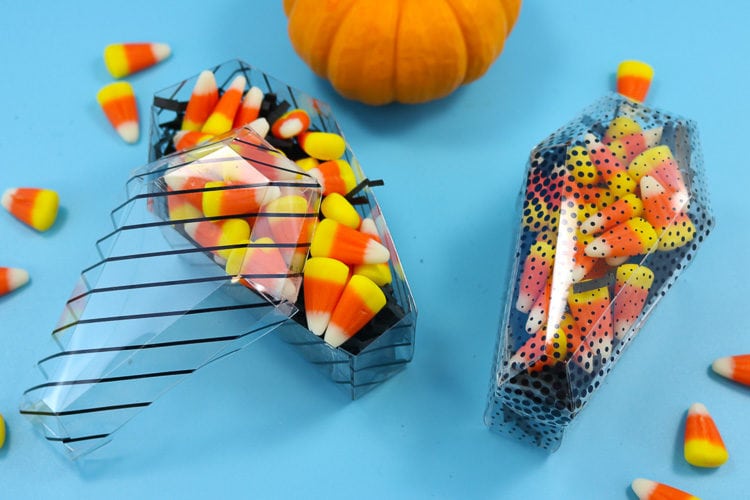
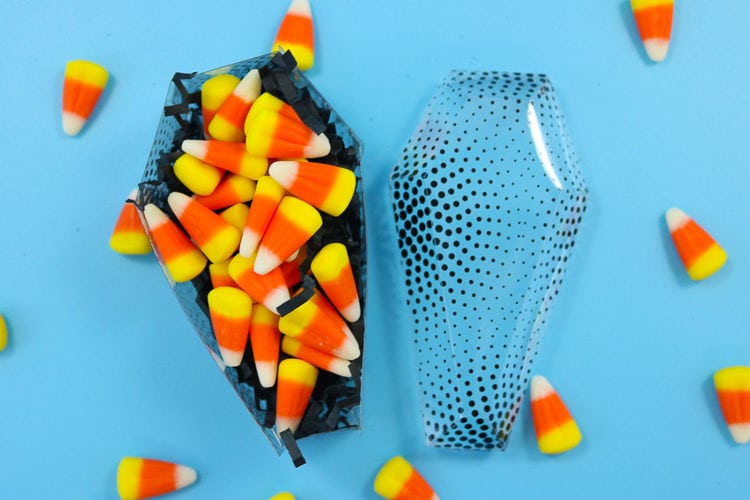
Coffin Treat Boxes
Super fun Foil Acetate treat boxes that I made with my Maker, the scoring wheel and the fine cut blade.
Supplies:
- Cricut Maker
- Standard Mat (green)
- Scoring Wheel
- Foil Acetate
- Clear Tape
- Crinkle Paper Filler
- Your favorite Halloween Candy (I used Candy Corn)
If you don’t already have Cricut Access, I highly recommend it! It’s a monthly subscription that allows you access to fonts and designs to use during your subscription period. Use as many as you need without paying for each individual design!
You can find this file by searching #M14C36B9 3D Casket or you can simply use my file here.
Resize the design to your desired dimensions. I made it so that my finished coffin would be around 4 inches long.
Remove the protective backing on the acetate. When you do this you will think I am CRAZY and that there isn’t a protective sheet, but there is! Look along all the sides and you will see that one side the sheet is cut 1/8″ less than the acetate and you can peel from there!
I promise it’s there…keep looking! {wink}
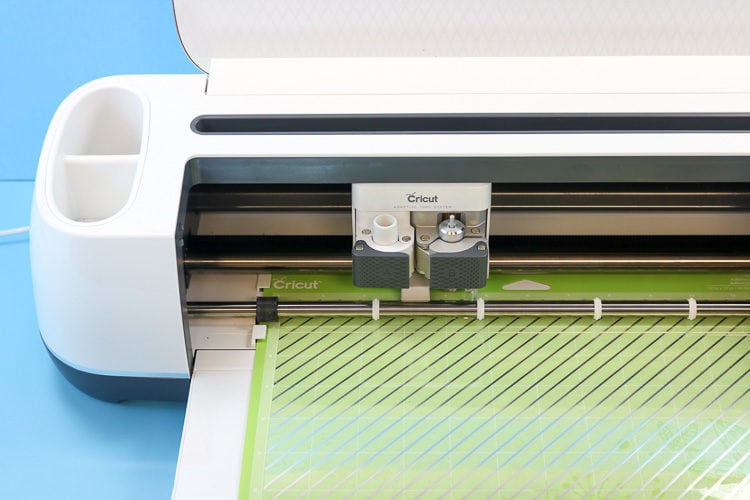
Then, place colored foil side down on a standard green mat. When scoring you need to fold into the score lines so they need to go on the back side of your material.
After consulting the recommended materials chart I chose the single scoring wheel and inserted it into Clamp B of the Maker. A great feature of the Maker is the adaptive tool system. I am able to both cut the acetate and score. The one machine with all the different tools gives you endless options with your creations!
Load the machine and click Make It!
Select Foil Acetate from the material list and it will ask you to load the scoring wheel first and then change to the fine cut blade.
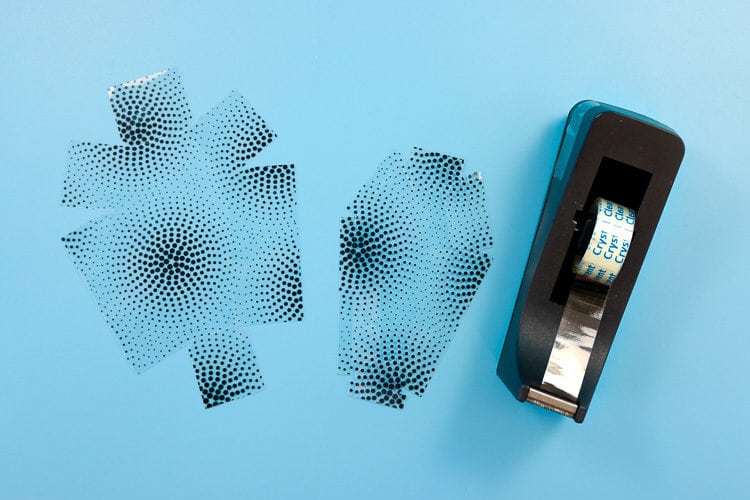
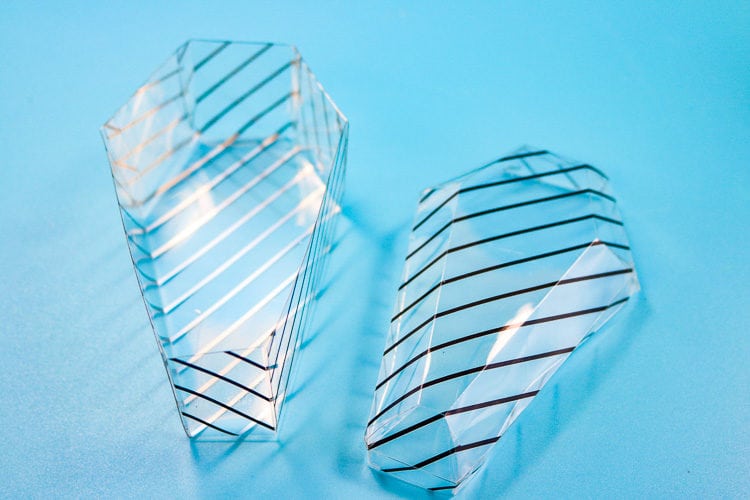
To assemble the coffin treat boxes, you will fold along the score lines and you will see where there are little tabs to overlap the long edges. It goes together easily and is very self-explanatory. I used clear tape to hold the sides together!
Fill with crinkle paper and your favorite treats!
Spider Placemats
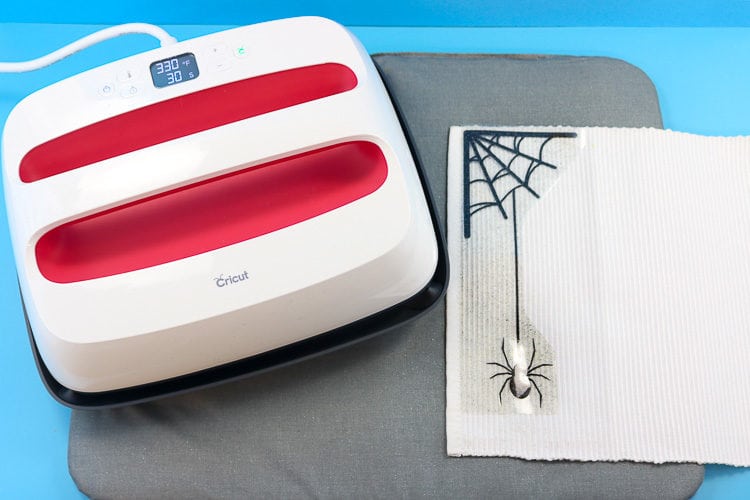
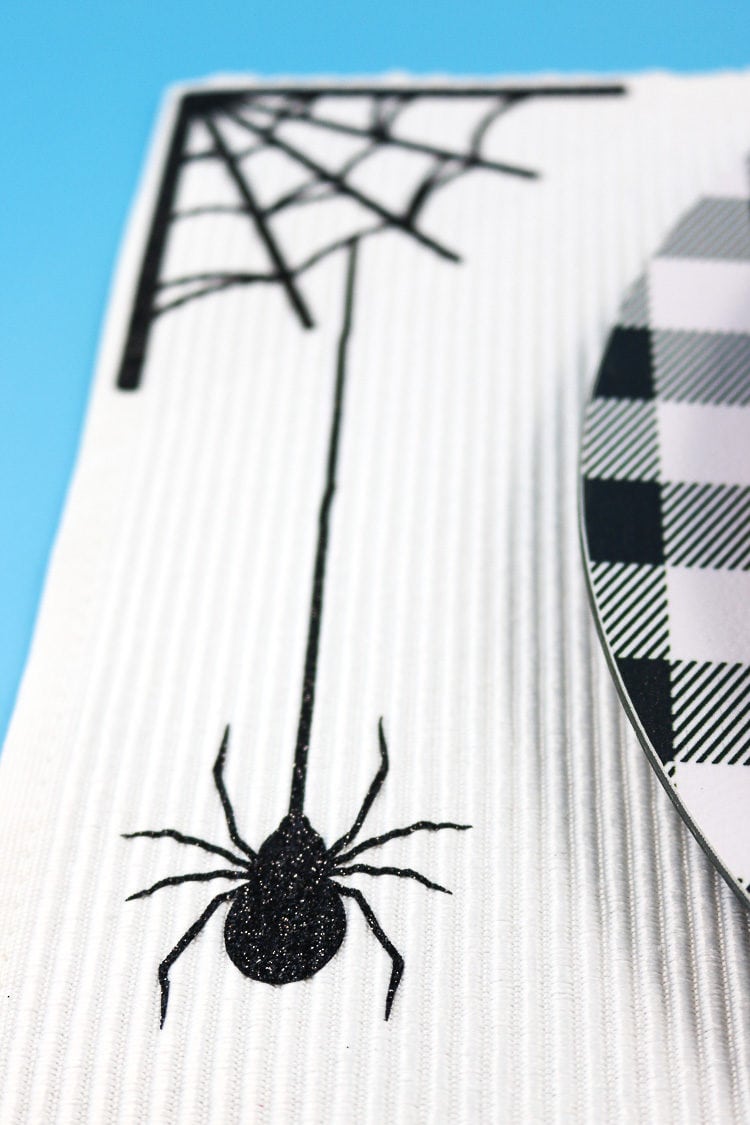
Spooky and Glittery placemats made with Cricut Maker, fine point blade, BrightPad and Cricut EasyPress 2.
Supplies:
- Cricut Maker
- Standard Mat (green)
- EasyPress 2 –I used 12×10 size
- EasyPress Mat
- Iron-on Vinyl (I used glitter!)
- Basic Tool Set
- White Placemats
You can find this project file in the Cricut Community here.
Iron on has to be one of my most favorite crafting materials! You can check out all my iron-on projects after you get your placemat game on! {wink}
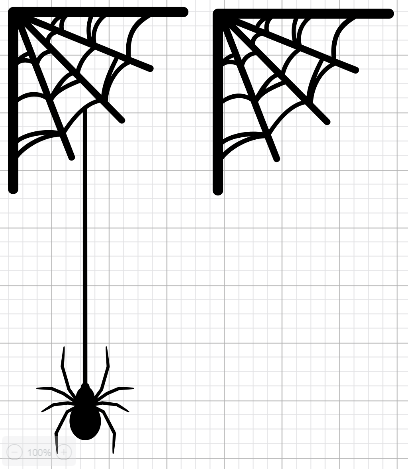
I choose a corner web image and added a slender rectangle with a spider at the end. I also made another corner web to place in the corner of the napkins!
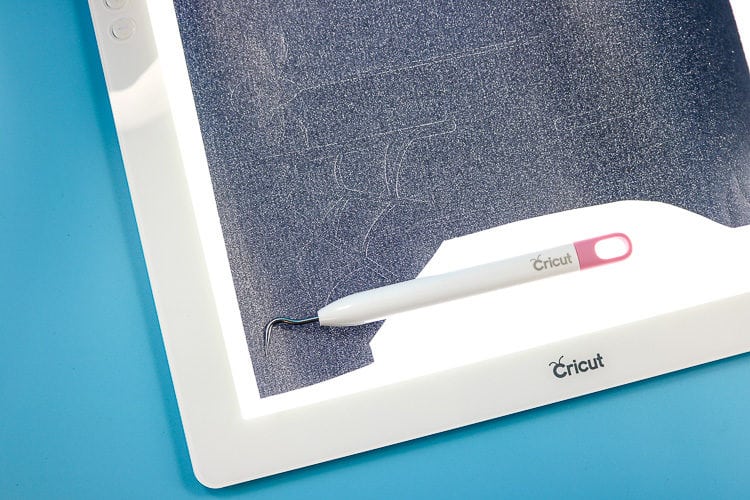
After you cut your iron-on, weed the excess material. We are using glitter vinyl here and it can be difficult to see the weed lines. Using a BrightPad really helps!
Next, I used my EasyPress 2 12×10 size for the placemats. The great thing about this larger size is that it only takes 1 press to adhere the entire design! With the smaller sizes, you used to have to press multiple times.
For the placemats, I chose to stick to the extreme left of the placemat. You don’t want your design to be covered by your plates and I specifically chose that corner web to fit into the corner of the placemat.
Find this project in Cricut Community Here
Spider Web Coasters
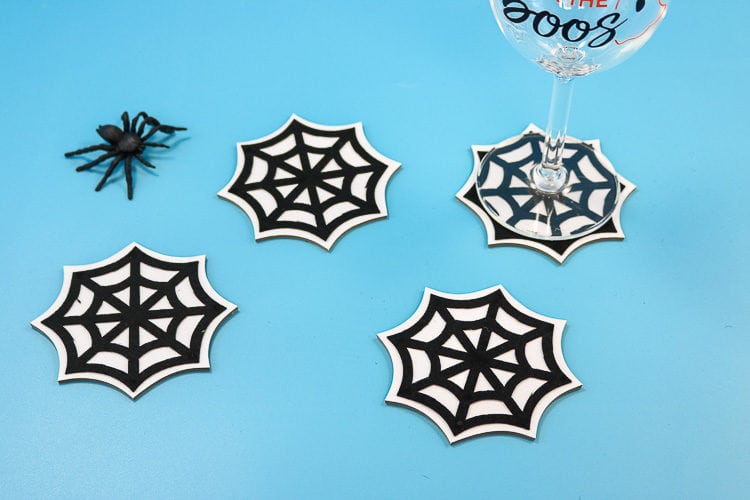
Fun coasters made with the Cricut Maker, the knife blade and the rotary cutter!
These coasters may be my favorite thing! The Cricut felt is very thin. I pondered cutting several layers and gluing them together but then had a great idea to use chipboard as the base.
I know what you are thinking though because I thought it also: “chipboard will not like perspiration from a cold glass!” So then I had an even better idea! I layered the chipboard with permanent vinyl first before I cut it, just as I did for my Seasonal Luminary. This gave me the perfect water barrier!
Supplies:
- Cricut Maker
- Rotary Blade (comes with your Maker!)
- Knife Blade
- Chipboard – heavy 2mm
- Strong Grip Mat – purple
- FabricGrip™ Mat – pink
- Felt Sampler – Carousel
- White Premium Vinyl
- Masking Tape
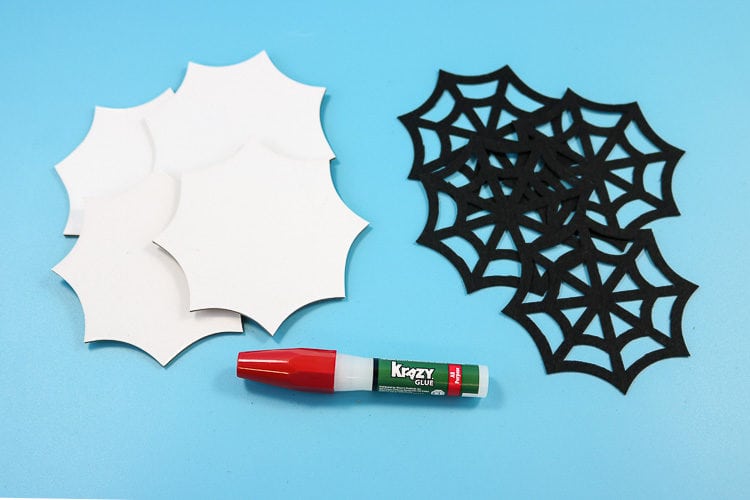
- Krazy Glue
You can find this project in the Cricut Community Here.
Knife Blade:
You can read more detailed information on the knife blade here. If this is your first time using the knife blade you will need to calibrate it. It’s very easy!
Layer a piece of permanent vinyl on a piece of chipboard. The paper trimmer helps cut your vinyl to size nicely and the extra large scraper is helpful to smooth out any air bubbles.
TIP: I find when using the knife blade, it’s best to put your good side DOWN on the mat. I get the freshest cuts that way!
Place the chipboard with the vinyl side DOWN onto your purple stronghold mat and use masking tape to tape all 4 sides.
Move your star wheels all the way to the right of your machine. This is important as to not damage your machine.
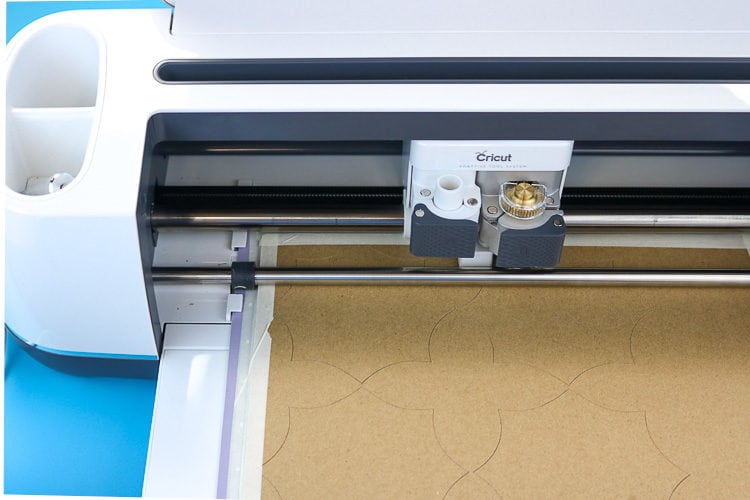
Feed your mat into your maker and carefully insert the knife blade into Clamp B.
Click Make it and follow the onscreen instructions. Select Heavy Chipboard 2mm from the materials list.
I did not need all the recommended 20 passes, mine only took 15. I would make sure to pause the cutting and start checking to see if the cuts are through around pass 12.
Carefully remove from your mat. Use the TrueControl Knife to cut anything that might be not completely cut.
Rotary Blade:
If this is your first time using the rotary blade you will need to complete the Rotary Blade Calibration. It fast and simple, don’t worry!
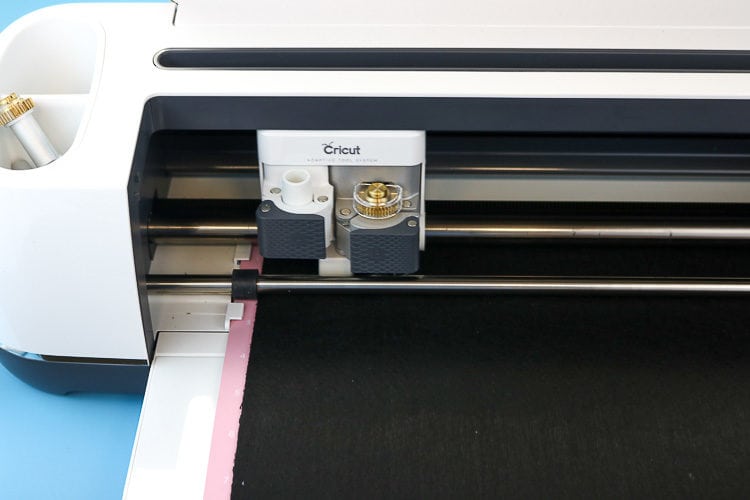
Apply your felt to the pink mat.
TIP: Cricut felt releases nicely from the fabric mat leaving minimal fuzz behind. Other felts do not. To perserve your mat, apply transfer tape, sticky side up, on your mat before applying the felt. Then you can remove the transfer tape with no fuzz left on your mat!
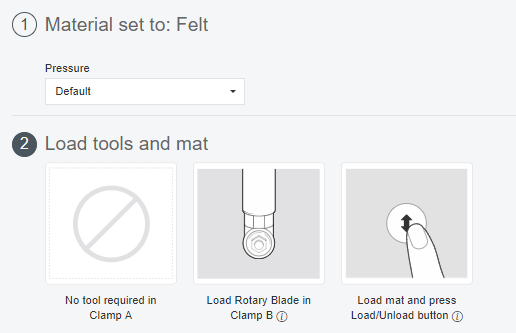
Place the rotary blade in clamp B. Click Make it and follow onscreen instructions.
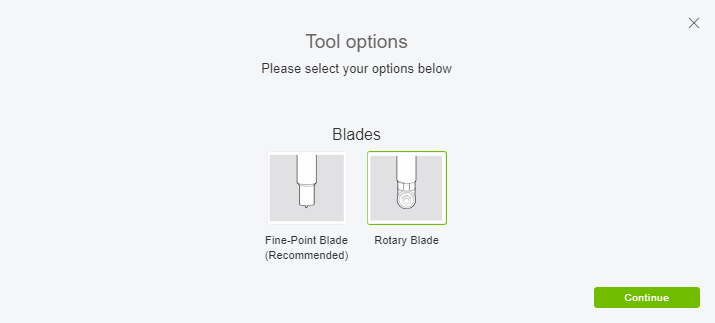
Select Felt from the materials list. It will recommend using the fine tip blade. We want to change that to the rotary blade. It will cut so much better!!
Click “Edit Tools”.
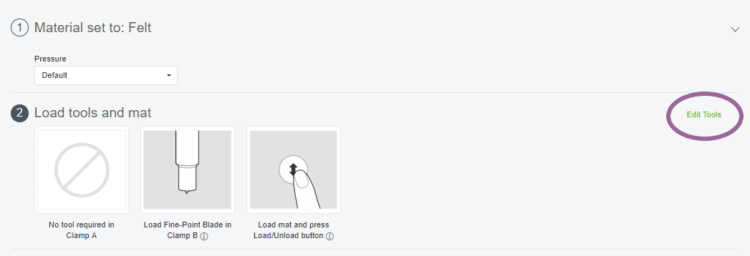
Now select the rotary blade and click continue.
Now you see we are all set for the rotary blade and you can continue to follow on screen directions and complete the project!
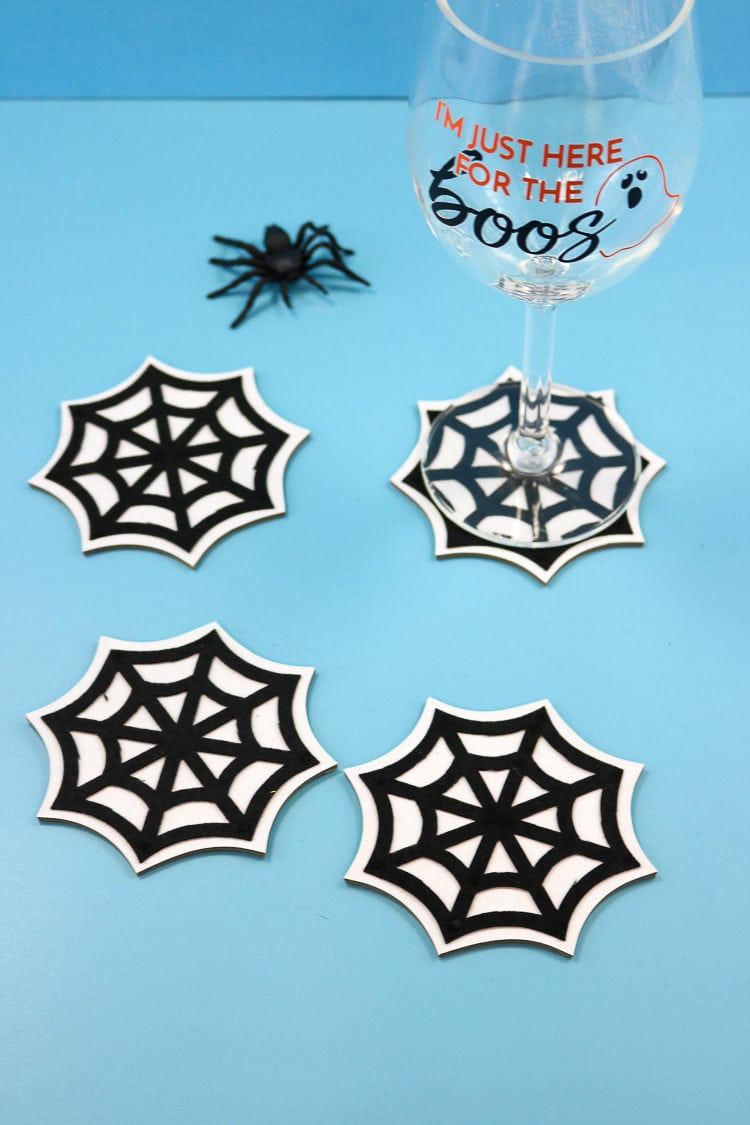
Carefully remove the webs from your mat and use a bit of Krazy Glue to adhere them to the white chipboard bases.
Now you have some darling Web Coasters!
(you can find the file for that wine glass here and you may find the project for the coasters in the Cricut Community
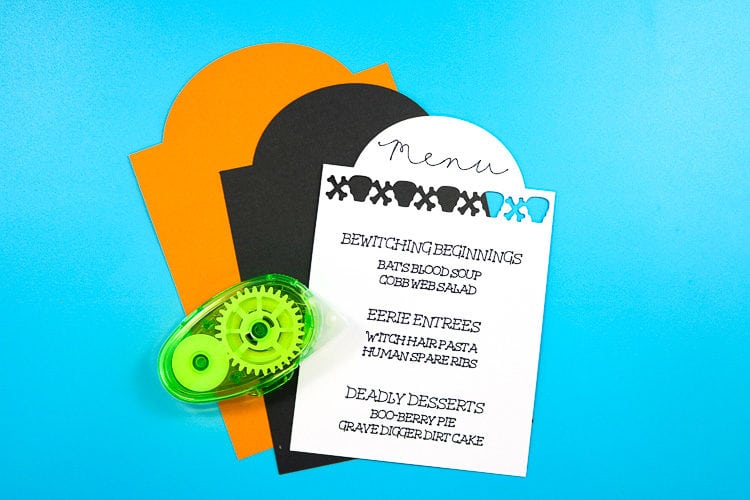
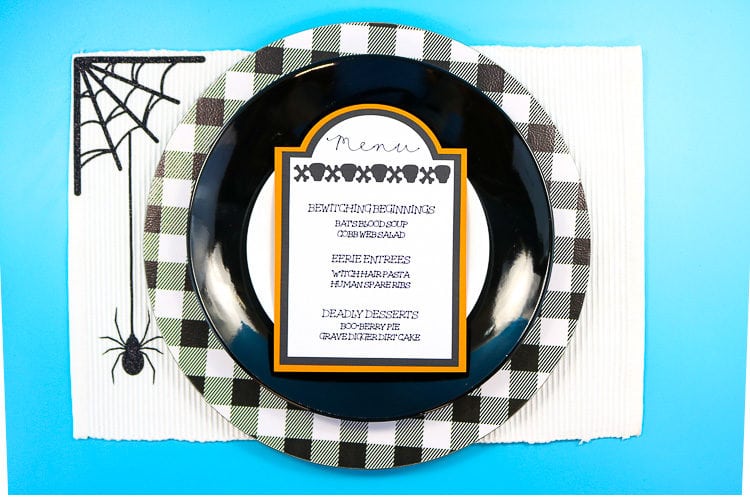
Tombstone Menu Cards:
These were made with the Cricut Maker, fine tip blade, cardstock and Cricut Pens.
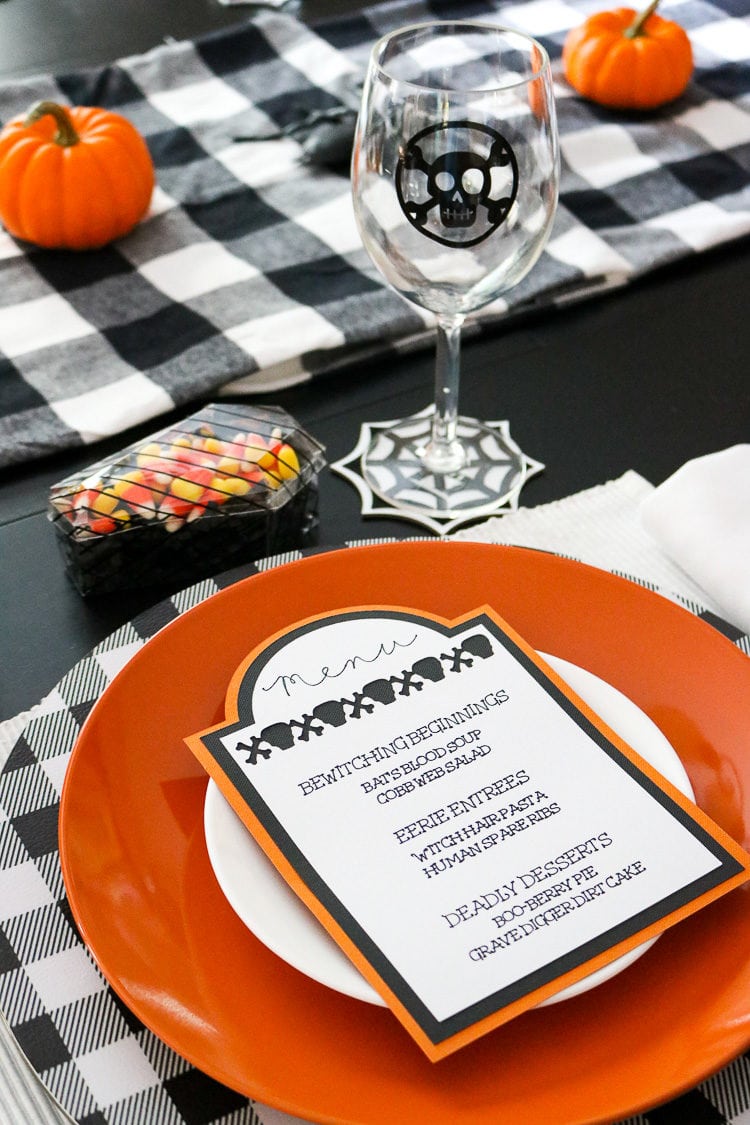
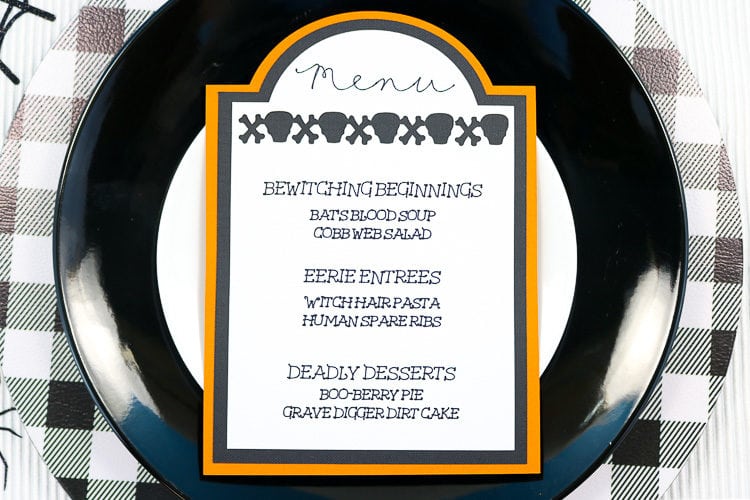
A cute way to show your guests what is on the menu with Halloween punny items and a tombstone shape with skulls and crossbones!
Supplies:
- Cricut Maker
- Cardstock – Nature Sampler
- Cardstock – White
- Black Fine Tip Cricut Pen
- Tape Runner
You can find this project in Cricut Community here. Make sure to click “Customize” so you may change the menu items!
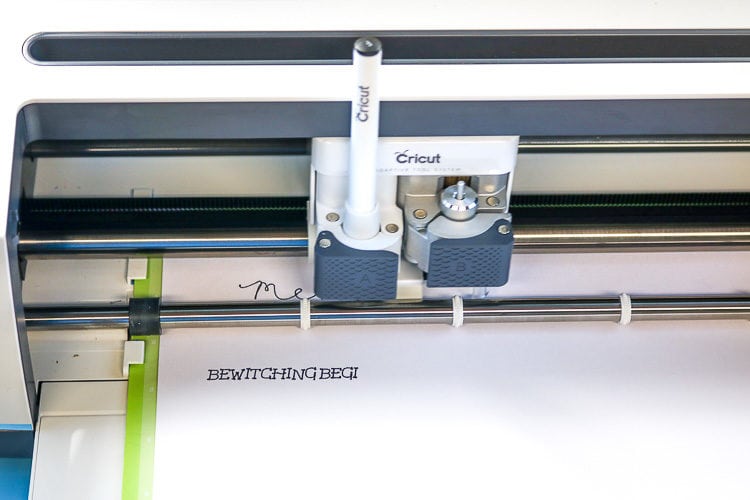
I cut these using my fine point blade and wrote on them using the Cricut Pen. You place the blade in Clamp B and the Pen in clamp A.
It will write first and then go back and cut! Finish cutting the Orange and Black layers.
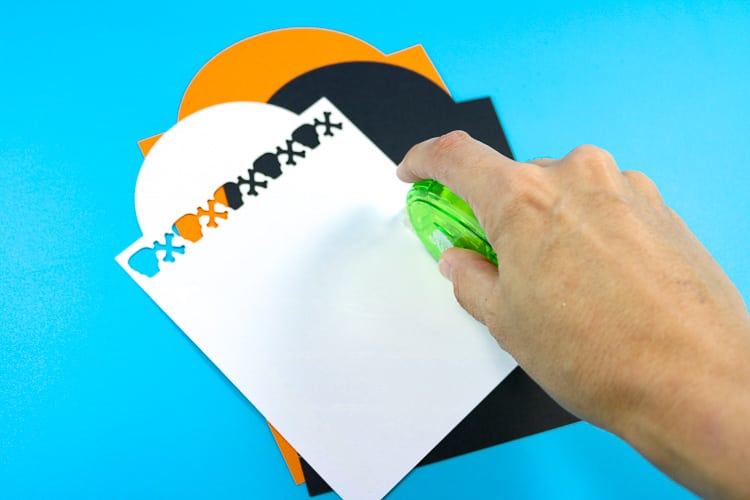
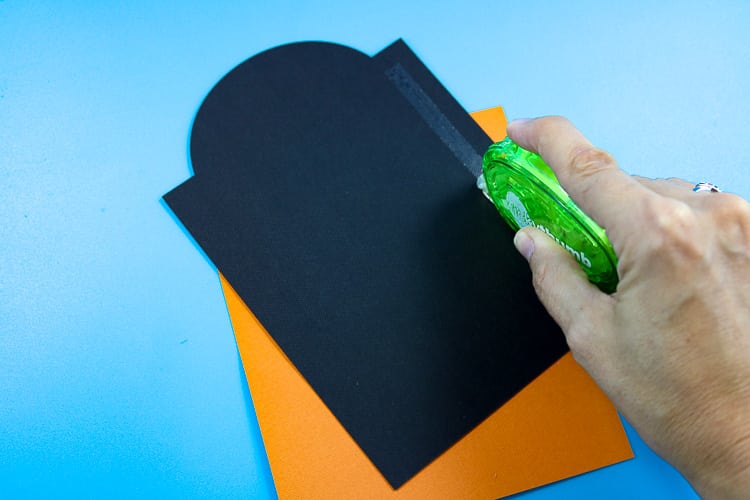
Use a tape runner to stick the three layers together.
TIP: When adhere several layers of cardstock together, tape runners are your best friend. Liquid glue will make the paper warp and bubble where the glue was (no matter how thin a line you make).
Find the project for this in the Community here.
Look forward to tutorials on my Window Cling Wine Glass Decals/Markers, Pumpkin Place Cards, Spider Web Napkins with Spider Napkin Rings!
UPDATED to add:
- You can find the Window Cling Wine Glass decal tutorial here.
- You can find the Pumpkin Place Cards here.
Just a quick recap of what this ONE Cricut Maker machine accomplished today:
Maker Tools Used:
Essentials Used:
Materials Used:
This one machine did all these things! This is a perfect example of why you need the Cricut Maker on your holiday wish list this year! You will LOVE it!
If you are looking for other aspects of this tablescape here is where I found them:
- Buffalo check chargers – I got mine at Hobby Lobby but I cannot find them online. Here they are on Amazon.
- Black Plates
- Orange Plates
- Spider Web Table Cloth
- White Appetizer Plates
- Buffalo Check Fabric table runner
So tell me, what is your favorite project here? Are you a part of the Cricut Community? Leave me your answers below!
This is a sponsored conversation written by me on behalf of Cricut. The opinions and text are all mine.


Comments & Reviews
Heidi Kundin says
This looks seriously AMAZING! I love it!
Cheryl Spangenberg says
Thanks so much Heidi!
N.L.H says
Did you make the cute little paper pumpkins too? I’ll go search for them next…
Cheryl Spangenberg says
I did! That tutorial will be coming up soon!
Tonia says
Hi. Is the coffin treat box no longer available? I have Cricut access but cannot find file. Thank you.
Cheryl Spangenberg says
Hi Tonia, I just looked and it appears it is not. Let me work on creating a file for it. If you use this link does it work for you? https://design.cricut.com/landing/project-detail/5ed5b89526f42004d4530d1b