Sorry friends, this was supposed to go out yesterday but I messed things up when I was scheduling posts! Oops! Please forgive me! Pretty Please?  Handmade Gift Idea!!! I love all the different flower headbands out there! Love them. I cannot pull all of them off but I still wish I could! Here is how you can make your own! This would be a great idea for gifts for your girlfriends or even the little ladies in your life! These are a piece of cake!
 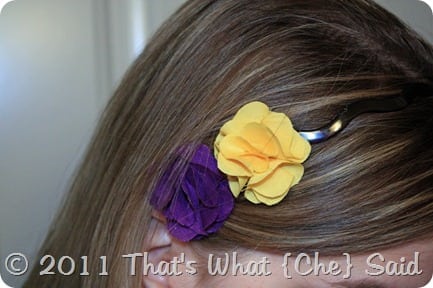 Items Needed:
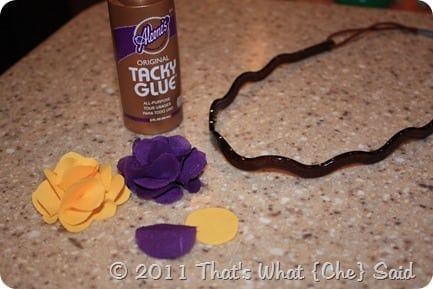
- Fabric (in your color choices) Be sure both sides of the fabric are colored.
- Tacky Glue
- Headband
- Scissors
- Scratch Paper
- Pen/pencil
Let me explain a few things first. I have flat fine hair. I cannot wear a flower headband with one larger flower. I look like Lady Gaga! If you have full, thick, volumized hair or curly hair, you are good to go with the larger version. I opted for the “kid” version with two smaller flowers. I chose purple and gold fabric in honor of our football team, the Minnesota Vikings. I can wear this with my Vikings shirts and dress it up a bit and add some girly flair! You can use your favorite team’s colors or your favorite color (s). Start out by sketching a flower on a piece of scrap paper, and cut out. The size of your paper flower cut out will determine the size of your fabric flower. Next either trace on your fabric and cut out (fold fabric to cut several shapes at once). For a small flower you will need 5 flower cut outs. For a larger flower you will need 9 shapes. 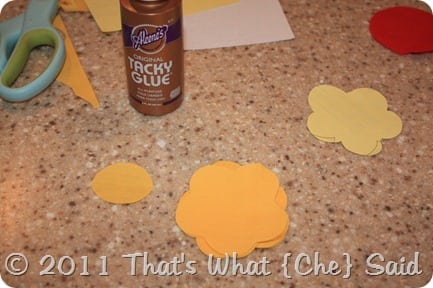 Also cut out a small circle of your fabric. This will be used as the base to build your flower. Next we will assemble the petals. Start by folding a cut out in half.
 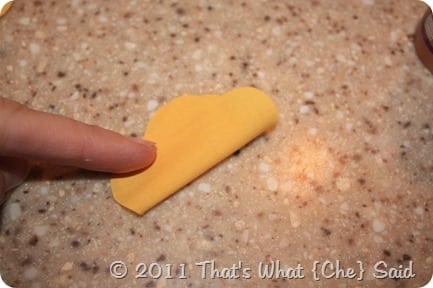 Put a dab of tacky glue in the center of the fold.
 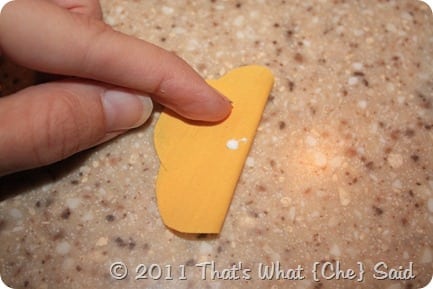 Fold in half again, pressing down the corner with the glue dot.
 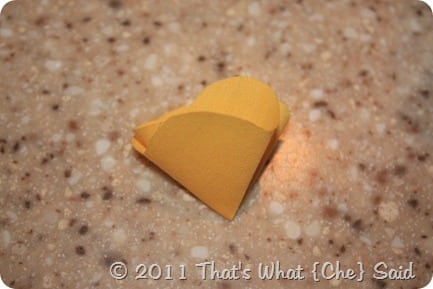 Here is your petal. Repeat for remaining cut outs.
 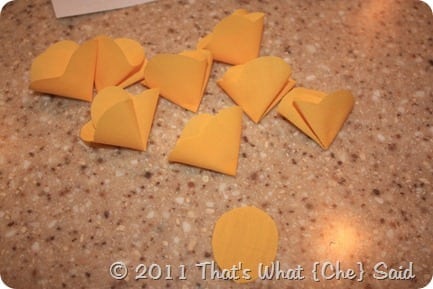 Taking that circle of fabric you cut, start by gluing one of the petals on a quarter of the circle.
 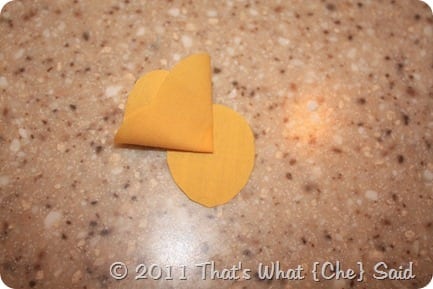 Repeat for the remaining 3 quadrants. Apparently I didn’t take a picture of the 4th quadrant! (you get the idea)
  For a large flower, repeat this step with the next 4 petals but place the second row 90 degrees off of the first so the 2nd layer covers up the cracks in the first layer. For the last petal, either the 5th for the small flower or the 9th for the large flower, cut the pointed tip off of the petal and clue in the center of the first or second layer of petals to complete your flower.
 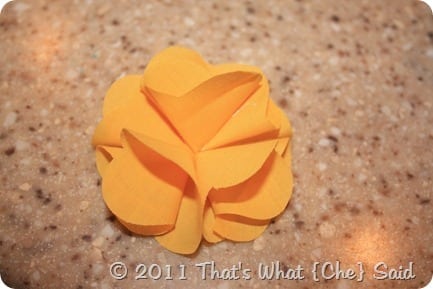 Repeat for your second flower (in my case the purple one!) Next cut two more circles out of your fabrics and get your headband. You can use any headband you like. I found these at Dollar Tree that do not give me headaches.
  Next you will sandwich your headband between the back of your finished flower and the fabric circle with glue.
 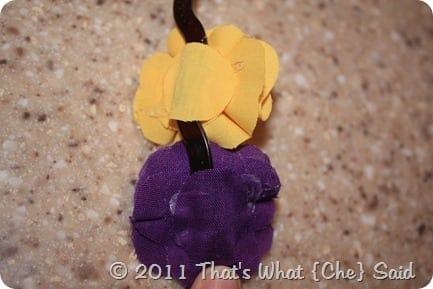 And there you have it! There are a lot of steps but they are SO easy! And the options are endless! Just be sure to use fabric that is colored on BOTH sides. I got this great polka dot fabric but the back side was white and my flower didn’t quite turn out the way I had planned
 ![]()
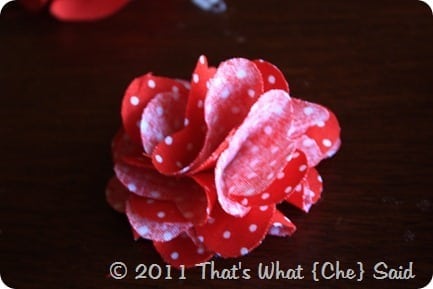 You can make these for your favorite sports teams, school colors, favorite colors, matching colors…you get the picture!
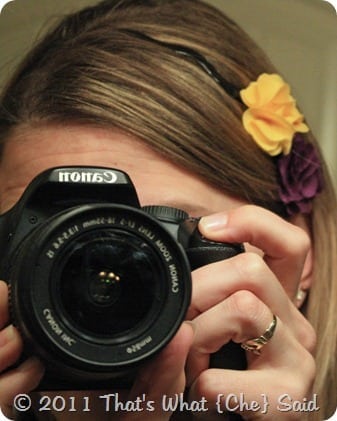
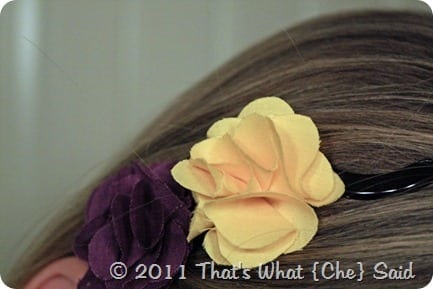
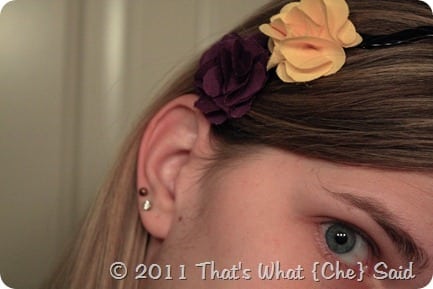 Don’t forget to enter my giveaway for a Personalized Nest Egg Pendant and to link up your projects to my Holiday Happenings Link Party!
![]()


Comments & Reviews
Maureen says
Cheryl,
You are the best. Do you rent yourself out as a consultant? I wish you could come to my mess and help me change things.
Maureen
Cheryl says
Ha! Maureen you crack me up! I’d love to come visit! We’d have a blast!
Dianna says
Hello, I just wanted to say that I love your blog..so many great ideas! Do you have any other tutorials on making any kind of flowers for hair pieces? Feel free to swing by my blog sometime, I am definitely following yours now! :) Thanks for the great ideas!
Kelley says
This is too cute. Love the tutorial too :)
amy says
That’s so cute!! I love the look of the two smaller flowers…I look like a dork with one big one too! It just doesn’t work with straight hair! Thanks for sharing and linking up!
Justine says
Love the headband! I have made some of these flowers before but way bigger. I think the small ones have a softer look but still make a statement. TFS!