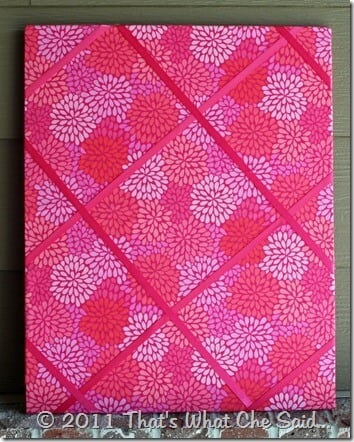
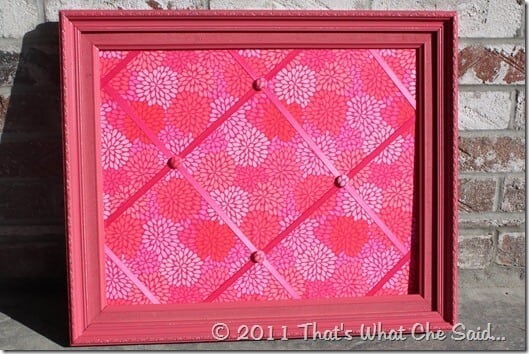
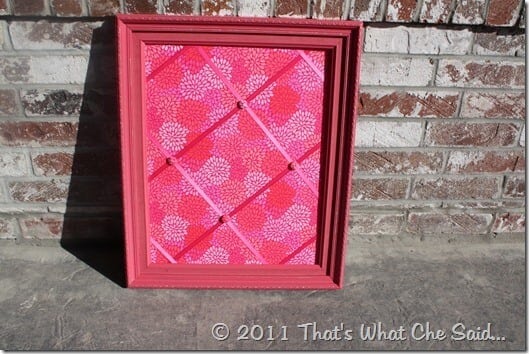
Looking for a great project to tackle? How about this awesome DIY bulletin board?? Beautiful, Customized, and Organizational!
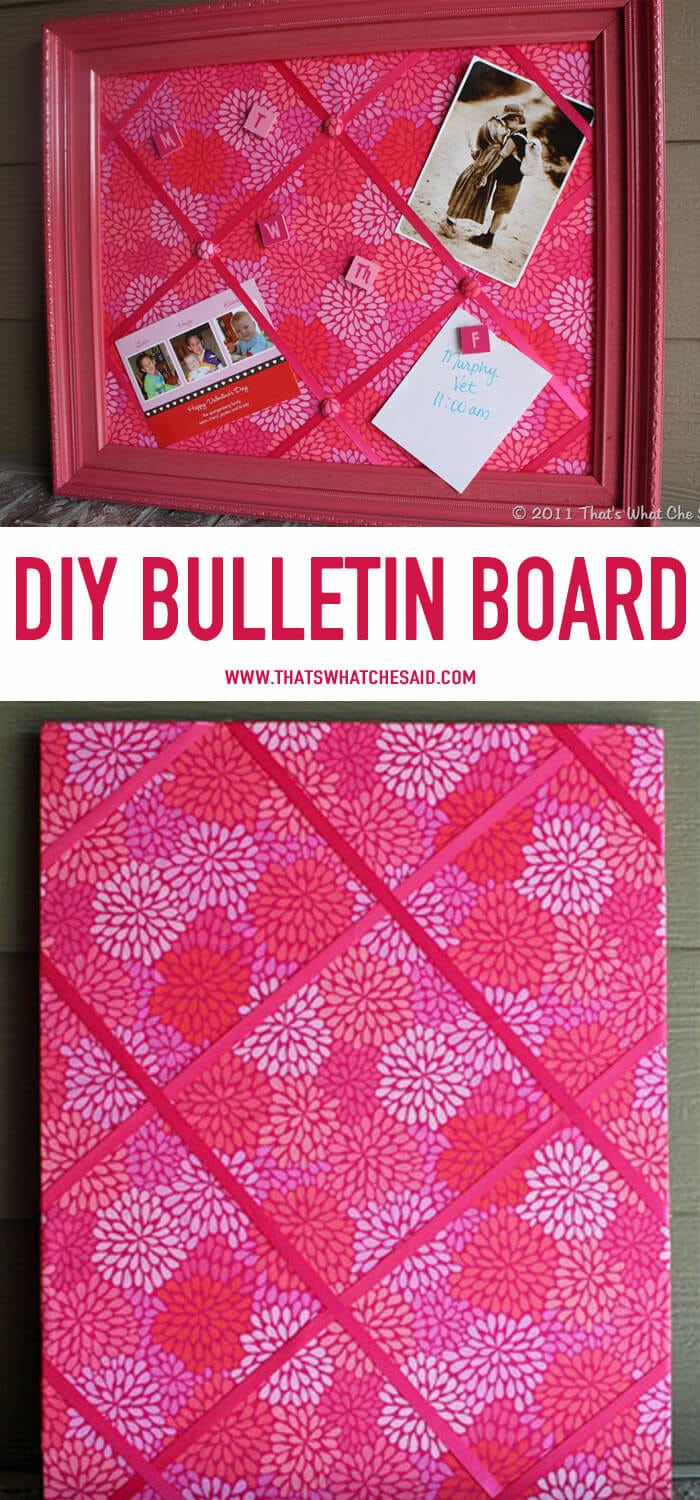
Hands down, this has to be one of my favorite projects so far! It came to life from my mind to reality so nicely and better than I expected! I love when things like that work out! This board can be used as a bulletin board with pins, or as a photo display board using the ribbons…or both! I love the versatility!
Items Needed:
- Old Frame
- Spray paint
- Foam boards (2)
- Spray adhesive
- Fabric
- Ribbon
- Hot glue gun/glue sticks
- Fabric buttons forms kit
- Tapestry needle
- Embroidery floss
- Stapler/staples
- Scissors
Start off by giving your frame a good couple coats of spray paint! Paint it pretty! I chose to use Krylon’s Dual Action Paint and Primer in Watermelon!

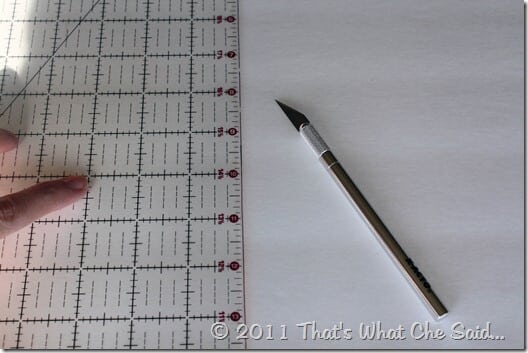
Next cut your two sheets of foam board down to size, using an Xacto knife and a straight edge. I used a 2-pack of Elmer’s foam Boards and they worked great! (If you are doing a smaller frame, you might be able to use utilize one foam board and cut it into two.) Be sure to measure the inside of your frame. Mine was slightly larger than 16 x 20 so I cut my foam inserts exactly to 16 x 20. You need to allow for fabric and ribbon to wrap around the foam board.
Using your spray adhesive, spray one side of the foam board and stack the second on top. this will prevent them from slipping and/or separating once in your frame! It’s important to use two layers because one layer is not thick enough for a thumbtack.
Next cut your fabric to size. Add 4 inches to your frame measurements to leave 2 inches overhang on each edge. Since my frame is 16 x 20, I cut my fabric 20 x 24. Be sure to press out any wrinkles or folds in your fabric. The wrinkles don’t stretch out later and they will yell at your every time you see your finished board “Wish you would have taken the time to iron me out…don’t cha?”
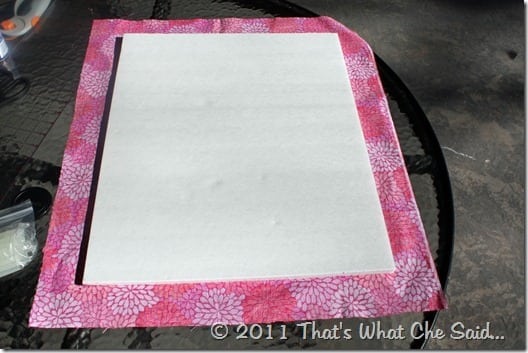
Lay your fabric wrong side up on your work surface. Spray your foam board stack with spray adhesive again and center on the wrong side of your fabric.
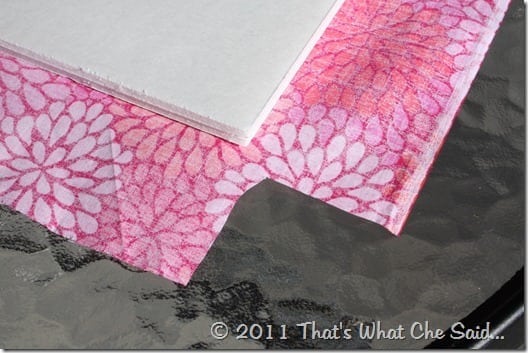
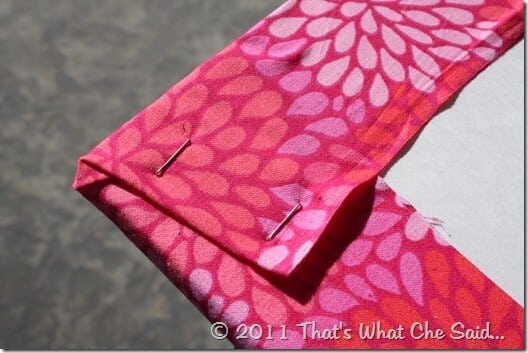
Cut the corners out of your fabric to make it easier to wrap the fabric.
Working with one edge at a time, spray a line of spray adhesive on the side of your foam board facing up, and then wrap the fabric up over the back of the foam board pressing firmly against the adhesive you just sprayed. Use staples as extra security. Repeat for all remaining sides.
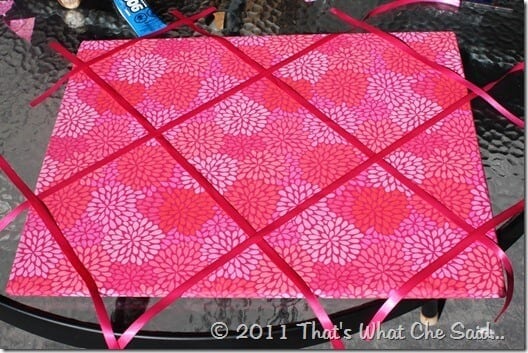
Turn your fabric wrapped foam board right side up and then cut strips of ribbon and lay out on your board. You can play around with your placement here.
Using hot glue, tack the ribbons in place on the back of the foam board, being sure to pull tight, secure with more hot glue and I also added staples as back up!
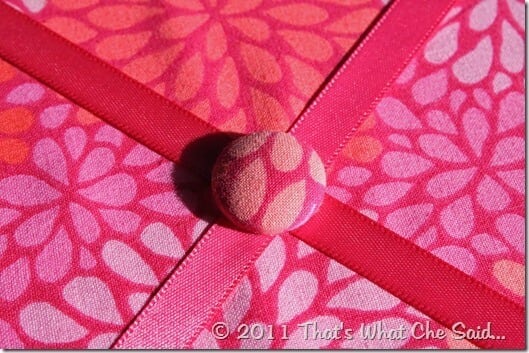
Where the ribbons cross each other in the center of the board, we are going to add a few fabric covered buttons! These will not only add some strength to the ribbons but also add some decorative appeal! To start we need to cover the buttons with fabric!
How to Make Fabric Buttons:
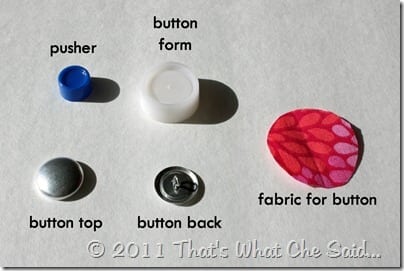
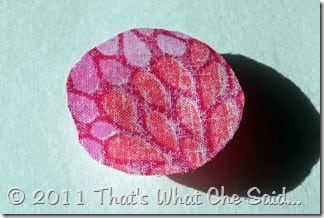
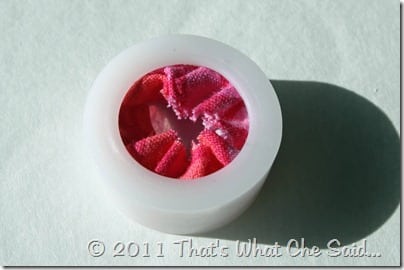
1. A fabric button kit comes with the button top, the button back, a form, a pusher and there is a pattern for the circle you will need to cut on the cardboard of the packaging. Cut this out and then cut out the circle from your fabric.
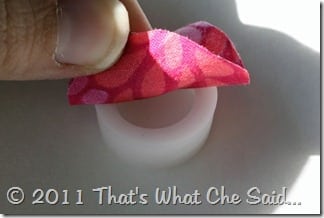
2. Start by centering your fabric on top of the mold, wrong side up.
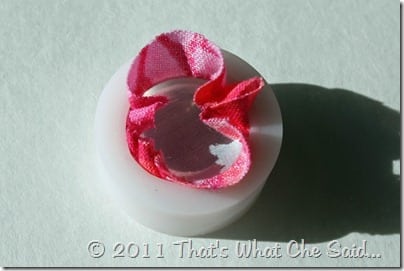
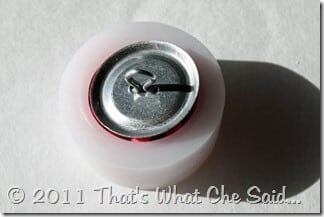
3. Next push the button top down into the mold.
4. Fold the fabric into the button top.
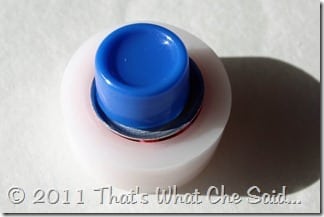
5. Place the button back on the form, using the pusher to snap the button back into the button top, securing your fabric in place.
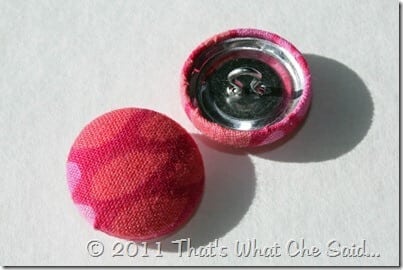
6. Remove from the mold and you have a pretty fabric covered button!
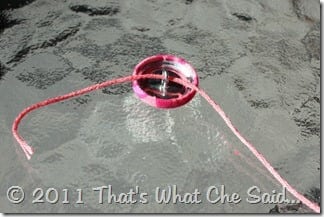
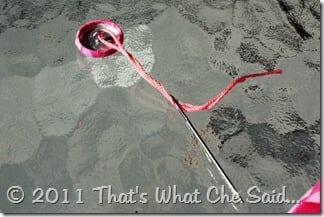
Now we are going to take our pretty buttons and put them on the board! I used embroidery floss and a tapestry needle to do this. String your floss through the button and then thread on to the needle, threading BOTH ends of the floss.
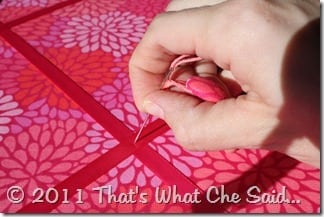
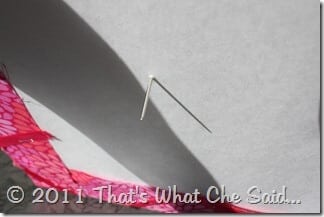
Center you needle where the ribbons cross and push the pin through the foam boards.
I pulled it tight and secured the threads using a dab of hot glue and scotch tape. You are left with a cute button on the front!
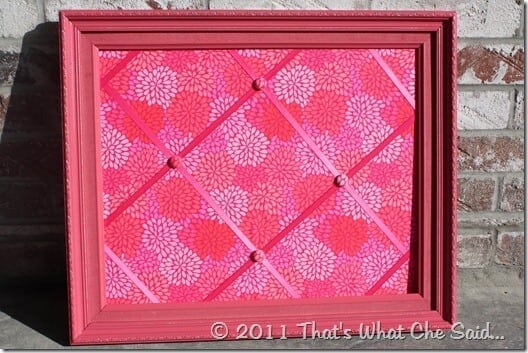
Repeat for the (4) center ribbon intersections. Then using hot glue, I secured the completed bulletin board into the frame!
I am making this vibrant pink board for my sister for her college apartment. You certainly can tone down the color pop to adjust to your home décor! I plan to make one for our new kitchen in our new house! Keep the kids school papers and invites right in view!
Pin important papers or notes anywhere on the board and display photographs by slipping them under the ribbons! The ribbons keep your precious photos safe from pin holes! The super light weight of this board lends itself well to apartment and dorm room walls! Add some command photo frame Velcro tabs or small hooks and you are good to go!
You can find my post on the days of the week scrabble tiles tacks right HERE!
There are many steps to this board however they go by really fast! I did this entire project in less than an hour of naptime. Are you going to make your own board??? Snap a picture of it and share on my Facebook Wall! I’d LOVE to see it!


Comments & Reviews
imklvr says
Oooooh, girlfriend!! I’m gonna be doin’ this one! Thanks!!
Anna@DirectionsNotIncluded says
Love it. I love the fabric covered buttons!
Tanya says
Thank you very much for a wonderful tutorial. I have been wanting to make one for my working area. This is just simply BEAUTIFUL!
Jessica@VintageMauve.com says
Love it! Looks so easy, maybe even I could do it! :-)
Hope you’ll link up to my new link party.
Mauvin’ Monday Link Party
Cheers,
Jessica, your newest Linky Follower
Danielle - craftplaylove.com says
I can’t wait to find me one of those ‘fabric button kits’
thanks for sharing – very cool :)
ChiWei says
Gonna go grab me some button kits right now! Love them!
Erin @ How to Nest for Less says
man Cheryl, this is ADORABLE!! I’m gonna have to give this a whirl for my kitchen :) Thanks for linking up, too!
Alison says
I love your tutorial for fabric buttons–so cute! I grew up with a bulletin board of my own in m room… I need to make one of these for Little Man! Thanks for sharing at oopsey daisy!
Justine says
Stopping by from the Weekend Wrap UP Party!!! http://queenofsavings.com
Connie says
Hi Cheryl: I’m Connie @ http://hotflashncraftn.blogspot.com/. I am your newest LF friend. Stop by and be my friend too.
Love the board!
Cheryl says
Hi Connie! I am following back! Thanks for visiting! Your bear placemat is ADORABLE!
amy says
Ooooh, I love this!! Great colors and fabric choices! Thanks so much for entering One Crafty Contest; good luck!
Shannon says
Super cute! Question: how did you glue the ribbons? on the back of the board? Thanks!
Cheryl Spangenberg says
Yes on the back of the board, I tacked with hot glue and then used staples to reinforce!
pam says
What were the dimensions of the board? Also, how much ribbon was required for this project?
Cheryl Spangenberg says
Pam it was a 16×20 frame and I am not sure exactly how much ribbon but I didn’t use the whole roll of it, I had leftovers.