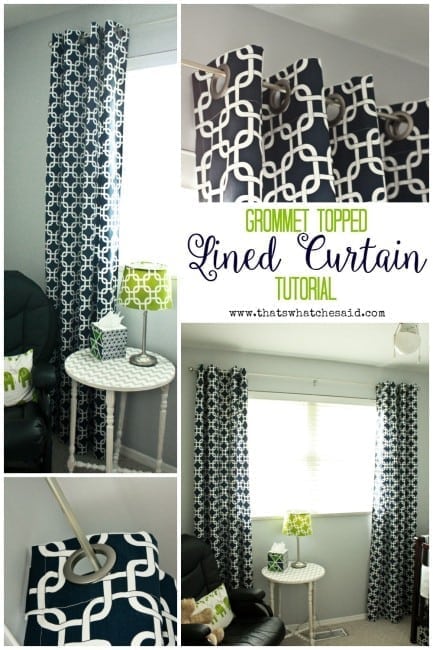
Does anyone else have the problem that when you are specifically looking for a fabric pattern or a certain type of curtain you can never find it…however if you don’t need any at all, you happen to stumble upon like 20 that you LOOOOOOVVVVEEE?!? Seriously…my dog is named Murphy (as in Murphy’s Law) for a reason! Happens to me all the time! Thanks to Online Fabric Store and this perfect fabric they sent me, I bit the bullet and I made my own DIY Lined Grommet Top Curtain Panels for Spangenbaby’s room instead of searching and searching for store bought ones!
These really were not hard at all however I do have a lot of steps listed below only because I am crazy about explaining things. So don’t get overwhelmed. The most advanced skill you must have is to sew a straight line! Seriously…they are really easy!
Supplies Needed:
- Fabric of your choice*
- Sewing Machine
- Thread
- Scissors
- Measuring Tape
- Grommet Top Kits
- Pins
- Fabric for lining**
- Iron
- Ironing Board
*I made floor to ceiling curtains. So my yardage may differ from yours. I recommend measuring how long you want to make your curtains and then adding about 12-16 inches in length. I used home décor fabric so it comes 54” wide and I left it as is.
**I did not buy expensive curtain liner fabric. I dug out the couple of twin white sheets I had on hand from my Toga Party Days in college and used those! :)
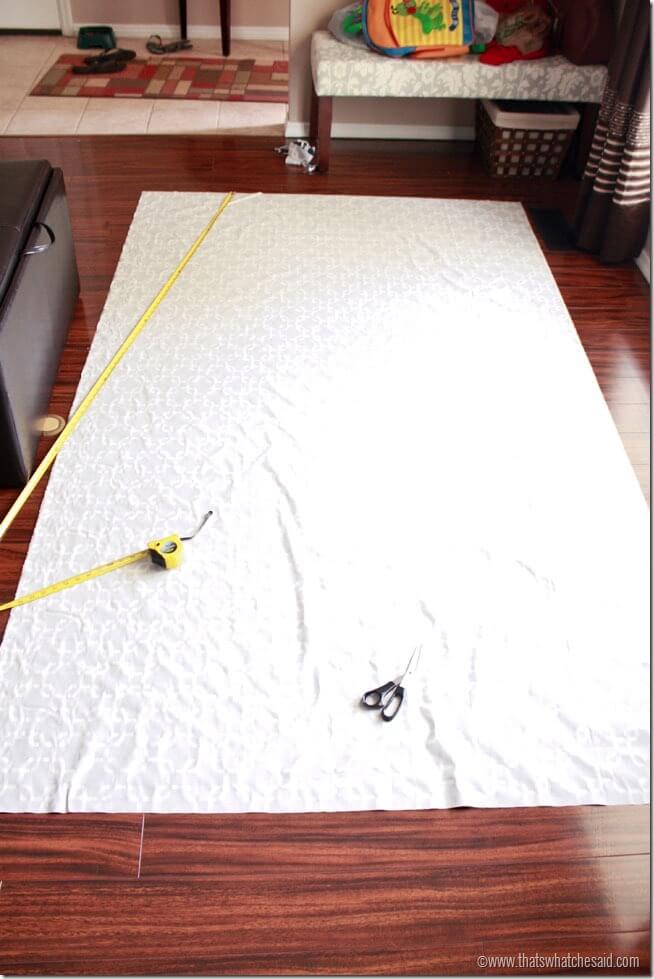
1. Start by measuring your windows, deciding on a curtain size and cutting your fabric to length. I had to square up my fabric before starting. I wanted my pattern to match straight across when the curtains were drawn closed.
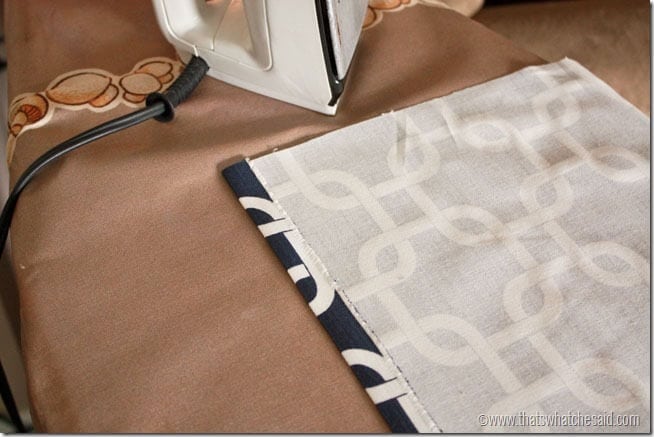
2. I ironed the wrong side of my fabric. You have to do this. If you don’t you will see the wrinkles every time you walk into your room and look at the beautiful creations you just made. So do it…it sucks but it’s worth it! (heads up: you have to iron your lining fabric also!) Iron the wrong side so you don’t have to worry about ruining your good side!
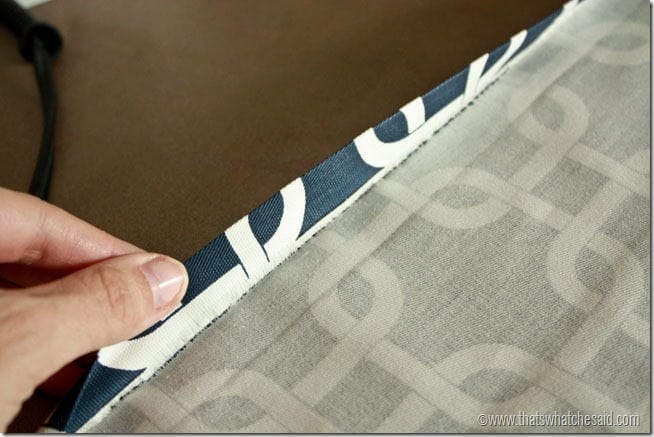
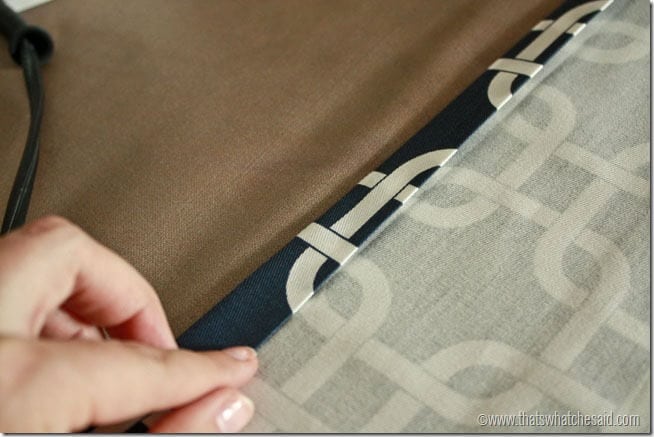
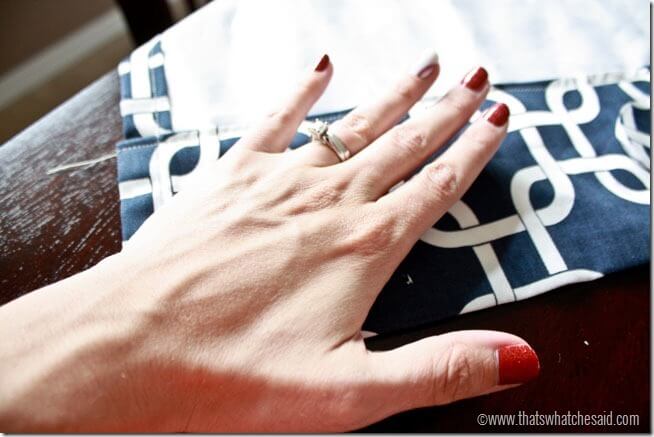
3. I pressed a half inch hem, folded over and pressed another half inch hem. Repeat for both of your curtain sides.
.
4. For the top hem, I pressed a half inch hem, folded over and pressed a 4 inch hem at the top. This will be where your grommets are attached. Make sure your final hem is long enough to fit your grommets.
5. For my sheets, I cut off the side and bottom hems.
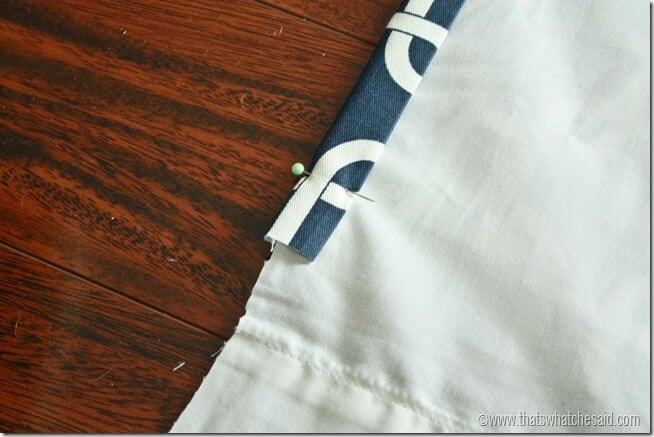
6. Lay down your pressed panels right side down and lay the sheet so that the edges of the sheet fit under your pressed hem. Pin in place. There will be excess at the bottom and that is just fine. We will trim that later.
7. Sew a straight hem along both sides of your curtain panels as well as the lower hem on the top section where the grommets go.
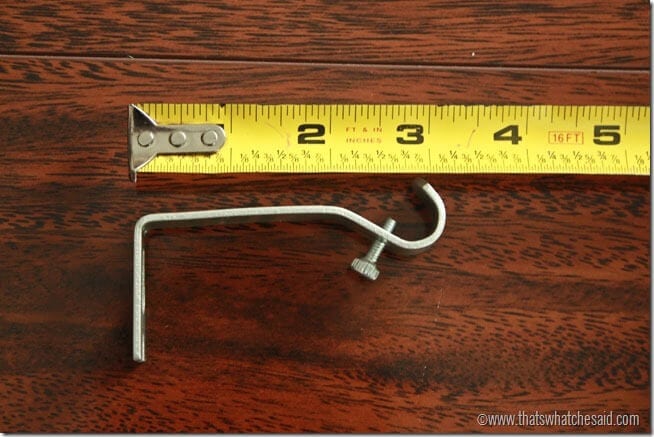
8. In preparation for your grommets, we are going to measure the curtain rod hanger length. You want to know how far your curtain rod will protrude off the wall. Measure from the end to the center of the curved curtain rod holder. Write this number down.
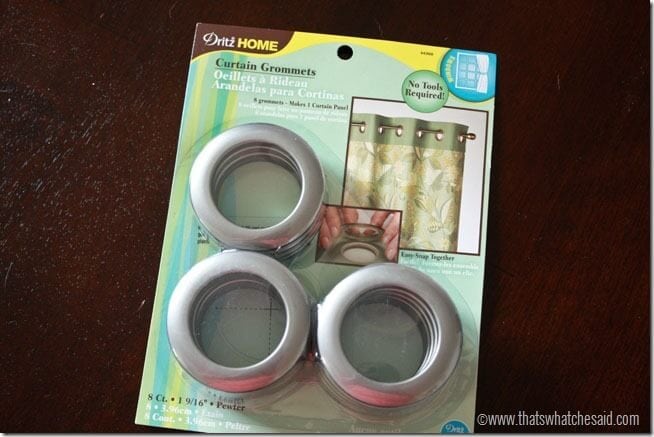
9. Now we are going to install our grommets. I bought a pack of these Grommets from Jo-Ann Fabric and Crafts using my coupon.
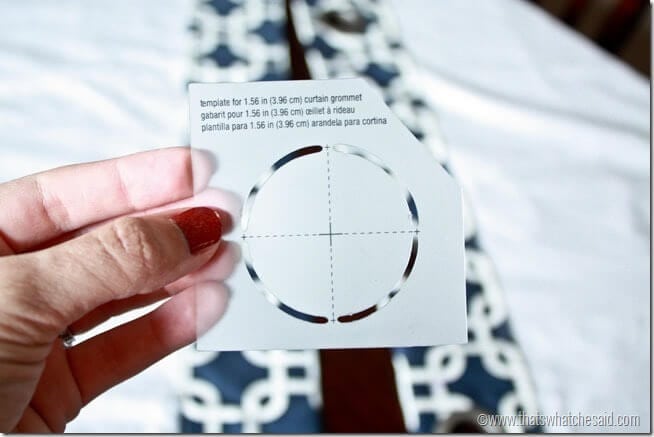
Inside the package, there is a template to mark and cut your circles.
You will need to figure out spacing. You don’t want your curtains to fold more than the area you have in between the wall and the curtain rod or they will be all bunchy. I measured the SAME DISTANCE as I recorded above from both edges. (Measure from the end of the fabric to the CENTER of the template). I marked those spots with a pen and the template.
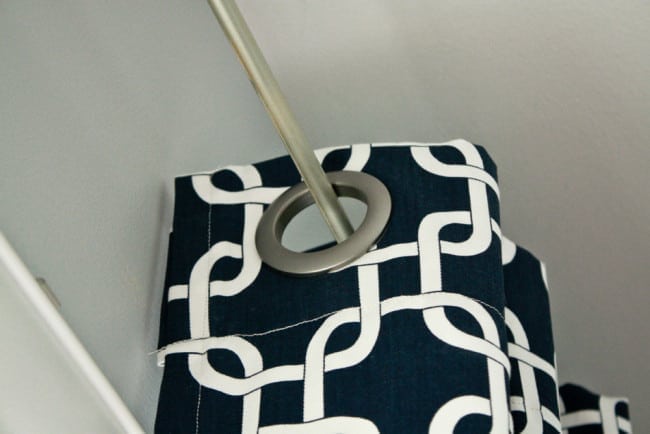
Then I spaced out all my other grommets to have DOUBLE the distance of my measurement above in between them. This allows for the curtains to pleat while pushed open.
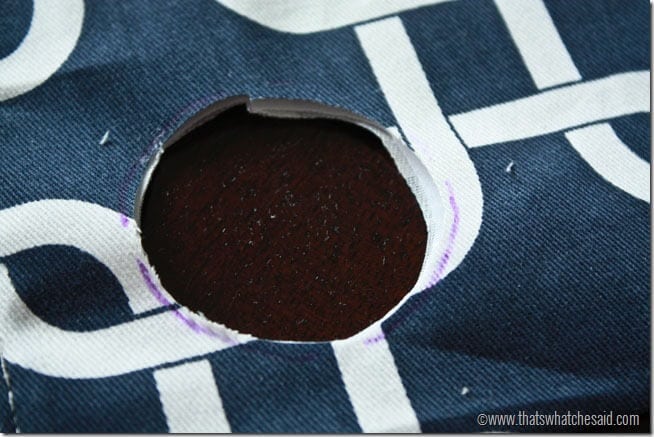
10. To insert the grommets you will cut out the center of the circles you marked. I found it helpful to cut just inside the lines.
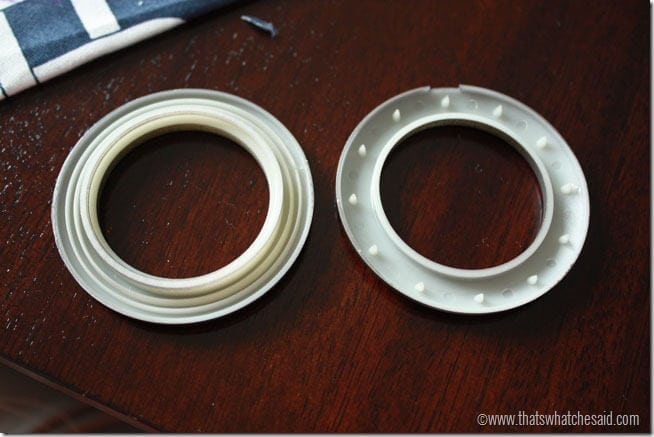
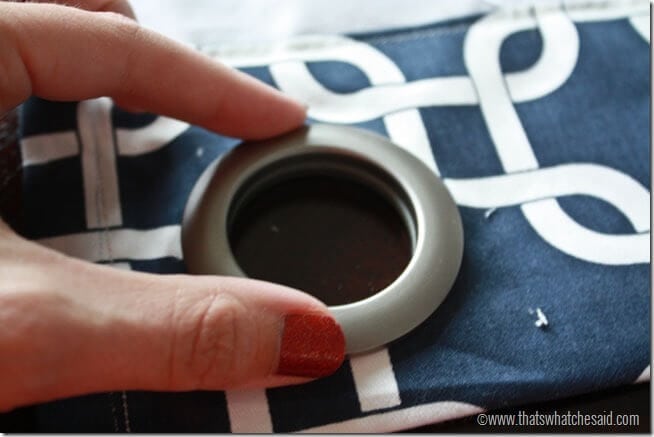
Then find a grommet pair. One with grooves, one with teeth.
Place the grooved side down on the table, place your curtain, right side DOWN on top of the grommet.
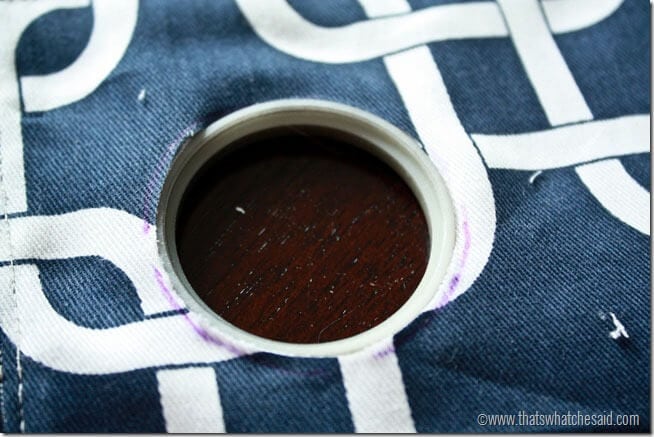
Place the other half of the grommet on top and press down firmly. It will snap right into place.
Repeat for all your grommet holes! They really are easy to install!
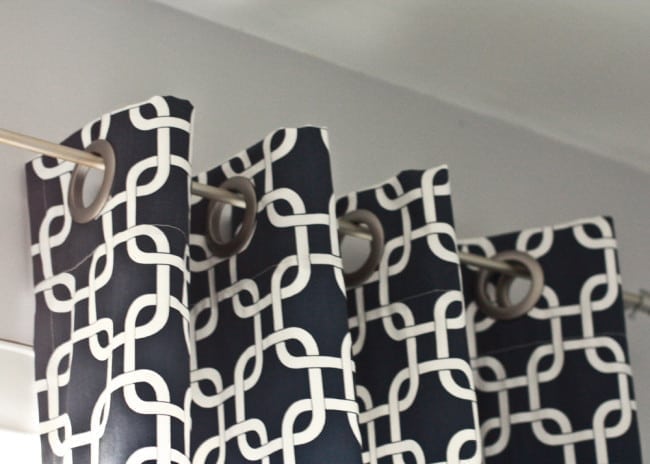
11. Now we are going to hang our curtains. Go ahead…pat yourself on the back…they look gorgeous and you are ALMOST DONE!!!
Once they are hung up, I measured the length and pinned the bottom hem into place. I took them down and stitched the hem. You could hand sew them in place, however it was super fast to just take them down and use the sewing machine!
Now you have yourself a beautiful, custom curtain panel. And mine is PERFECT for little man’s new room!
So the next time you are looking for that PERFECT fabric I highly recommend pulling up this tutorial and heading over to Online Fabric Store and browsing their incredible selection of fabrics. I honestly could sit and look through them all for hours. It also makes me want to make pillows, more curtains and more! Be sure to sign up for my emails so you don’t miss when I share how I made a custom adjustable crib skirt, accent pillows and a fabric covered lamp shade with some of the other awesome prints I chose for Small Dude’s room!



Comments & Reviews
Crystal says
Beautiful!! I love the curtains!! Awesome job!!
Cheryl Spangenberg says
Thank you so much Crystal!
Susan says
THis is very helpful. I’m having trouble deciding about cutting to match the pattern of my IKAT fabric. Craftsy tutorial has me flummoxed. My windows are similar to yours, so I also used one long rod. So, to make each individual panel did you just divide that width in half. Half the distance between ends of rod for each panel? Your grommet instructions are perfect!
Cheryl Spangenberg says
Hi Susan! Thanks so much for the kind words! I actually wanted my panels to have some depth to them, even when pulled closed, so I used the entire width of my fabric which was 54″. So each panel on each side is 54″ wide. To match the patterns. I just made sure that I ordered enough so that I had equal complete pattern runs. So after I made my first panel, I laid it out next to my remaining fabric and I had to trim some of the fabric off the top in order to line the patterns back up appropriately. Does that make sense? Even though patterns look continuous, there is a start and finish to them. So just make sure you buy enough complete pattern runs (depending on where the fabric was cut prior)
Jessica says
Hi Cheryl what is the width of your window? It looks similar to mine and I like the way yours look.
Cheryl Spangenberg says
Hi Jessica! My window is just shy of 59″ (58 and 3/4-ish) And I used two full 54″ panels. They work great because you lose some width as they weave back and forth along the curtain rod!
Monica Chi says
Hello! I am making curtains tomorrow based on this great tutorial. Question: What was your bottom hem measurement? Was it 4 inches as well? I am assuming that is correct based on the overall curtain length. Please let me know. Thanks so much! Your curtains are absolutely beautiful!
Cheryl Spangenberg says
Thanks Monica!! Yes the bottom hem was 4 inches. Same as the top! It can really be whatever you want it to be. I like a more solid bottom hem…seems to keep them pleated nicer! :)
Monica Chi says
Thank you soooo much for answering!!
Denise says
Just curious if you pre washed your fabric. I’m using outdoor fabric.
Cheryl Spangenberg says
Denise, I did not prewash my fabric. Probably not a bad idea, I was just very pregnant and lazy, lol!
Lee says
Nice job, very clear instructions, beautiful curtains, thank you