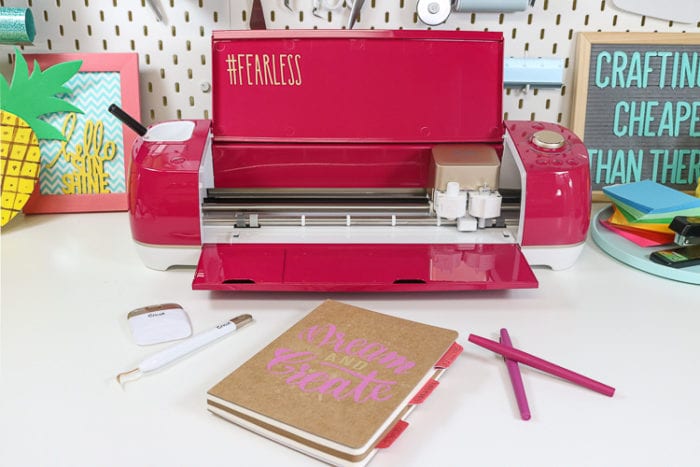
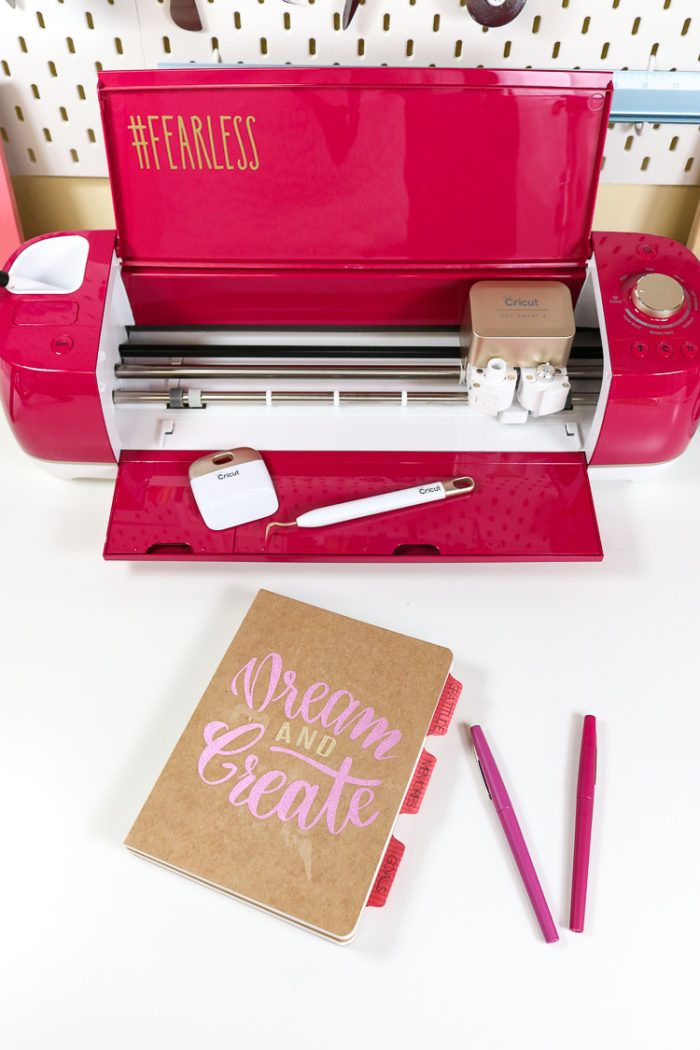
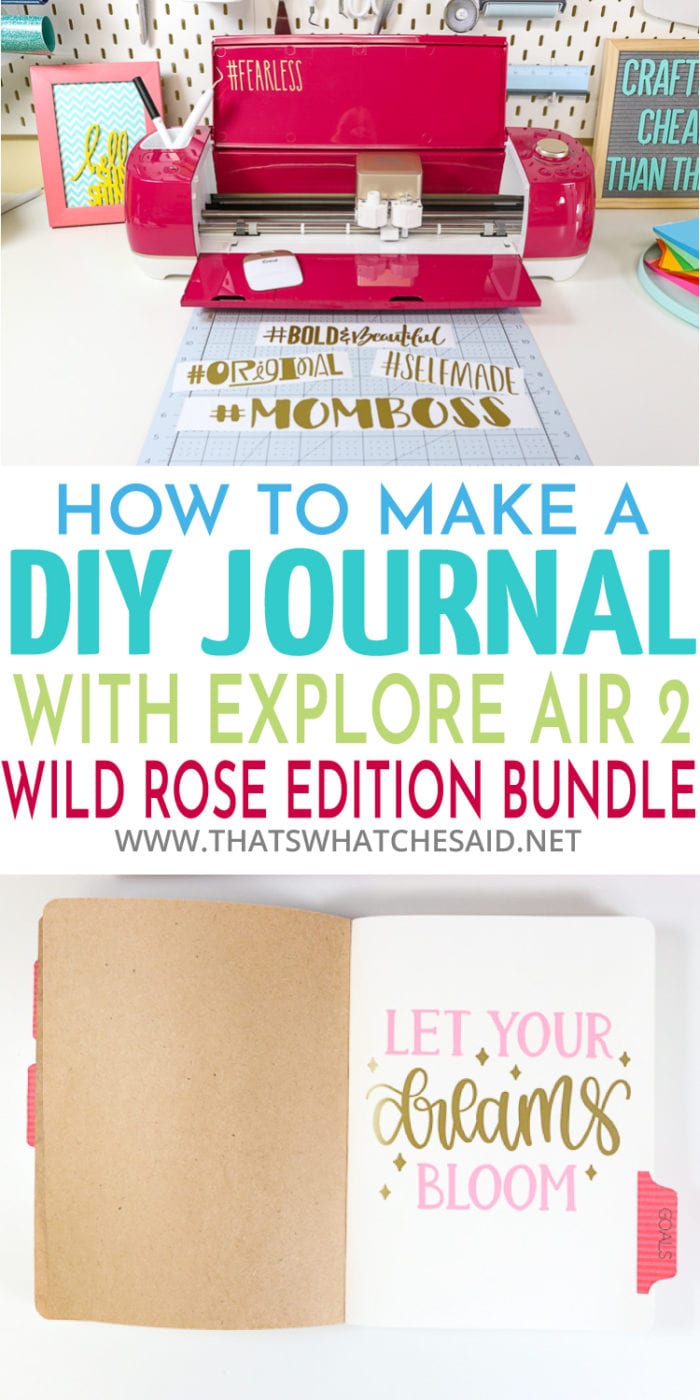
If you ever wanted to make a DIY Journal that was perfect for your specific needs and customized to your personal favorites, I am showing you how! The new Cricut® Explore Air™ 2, Wild Rose Edition exclusively found at JOANN will help make this project a breeze! We will cut vinyl and paper and use the Cricut pen and Scoring Stylus!
I have tried almost every planner and journal out there and I love things from each one. I often wish I could just marry them all and make them have a baby that has everything I am looking for! The thought of making my own seemed daunting but not anymore!
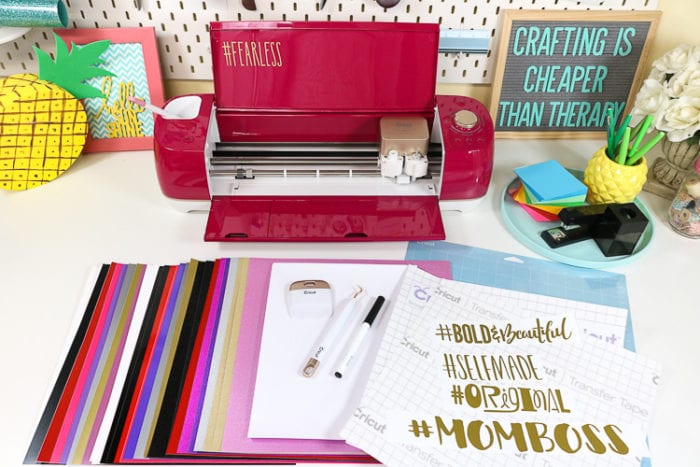
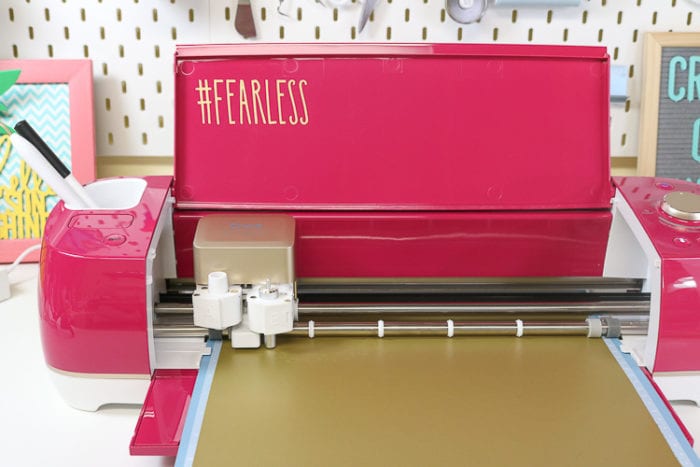
The Cricut Explore Air 2 in this beautiful Wild Rose color is exclusive to JOANN stores and is their biggest bundle to date! Besides the basics of the machine, LightGrip mat, Cricut Pen, power and USB cords, instructions and starter project, this bundle includes:
- 10 sheets of Premium Removeable Vinyl
- 10 sheets of Premium Permanent Vinyl
- 10 sheets of Shimmer Removable Vinyl <–this is dreamy!
- 10 sheets of Printable Vinyl <– Hello, Print then Cut!
- Transfer Tape
- Strong Grip Transfer Tape
- Beautiful Gold Weeding Tool and Scraper
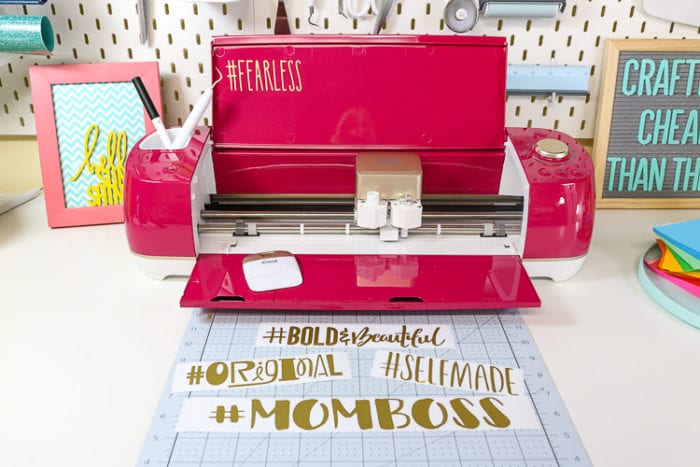
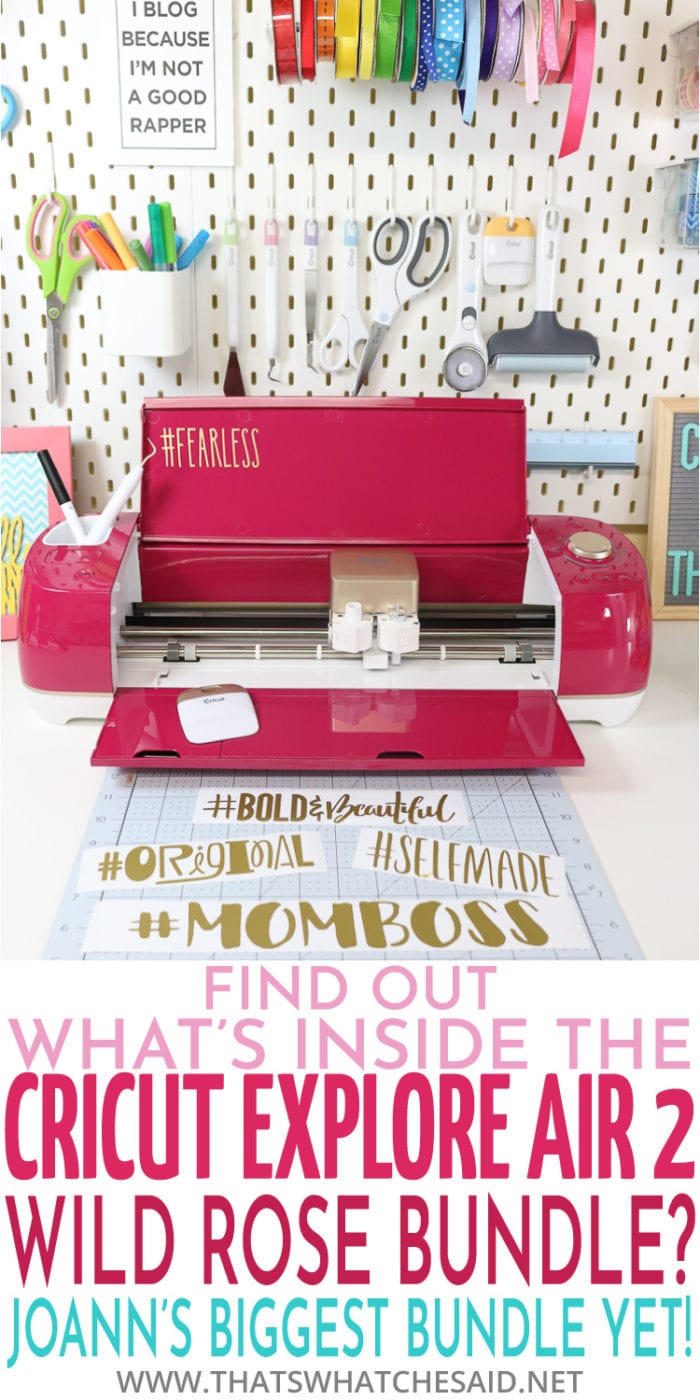
- 5 Empowerment Hashtag Designs to adorn your beautiful new machine
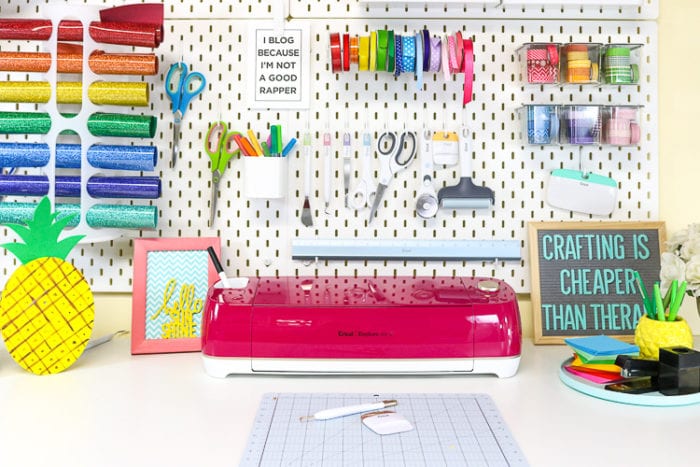
You guys, the color of this guy is beautiful. Beautiful just like every person using it! We are creators, we are innovators, we step outside the box and this machine is outside the box for sure!
They provide 5 gold hashtags so you can add it to your machine and feel empowered every time you create! There are more hashtags you can find for free in Cricut Design Space.
Features of Cricut Explore Air 2:
- Cuts over 100 materials ranging from cardstock to vinyl and iron on to specialty materials like glitter paper, cork and bonded fabric.
- Dual carriage allows for drawing with the Cricut Pens and cutting or scoring with the Scoring stylus and cutting in one seamless pass.
- You can use the Cricut Explore Air 2 with your laptop, tablet, and phone! Easy to design projects from anywhere and with Cricut Access you can be inspired by thousands of images and hundreds of fonts perfect for your project.
- Ability to use Ready to Make Projects or design from scratch.
- You can Upload your own SVGs and artwork easily to make your vision a reality on cards, home decor, shirts and more!
Let’s get making!
DIY JOURNAL SUPPLIES:
- Cricut Explore Air 2 Wild Rose Machine
- Cricut Weeding Tool and Scraper
- LightGrip Mat
- Cricut Vinyl (pick your favorites from the bundle!)
- Transfer Tape (you will need the strong grip if using the shimmer vinyl)
- Cricut Pen
All the supplies above are right in the box of the Wild Rose Bundle! The only additional supplies you will need are:
- Blank Journal (you can purchase one or make one with these instructions)
- Scoring Stylus (optional for inside pocket)
- Natalie Malan Deluxe Paper Pack in Nature Walk (optional for tabs and pocket)
- Tape Runner or Tacky Glue (optional for tabs and pocket)
How to Make a DIY Journal:
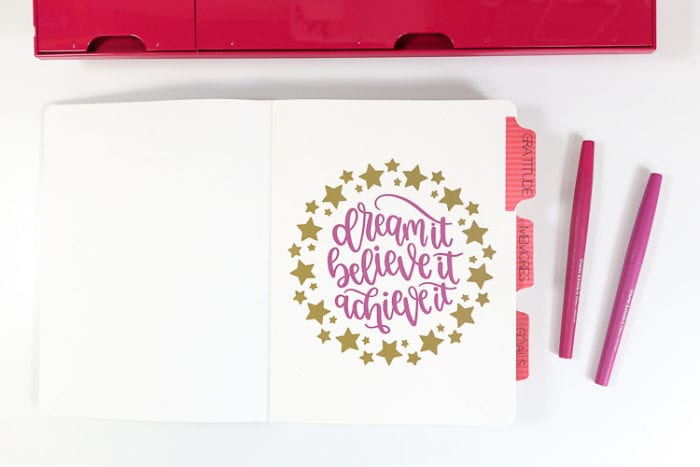
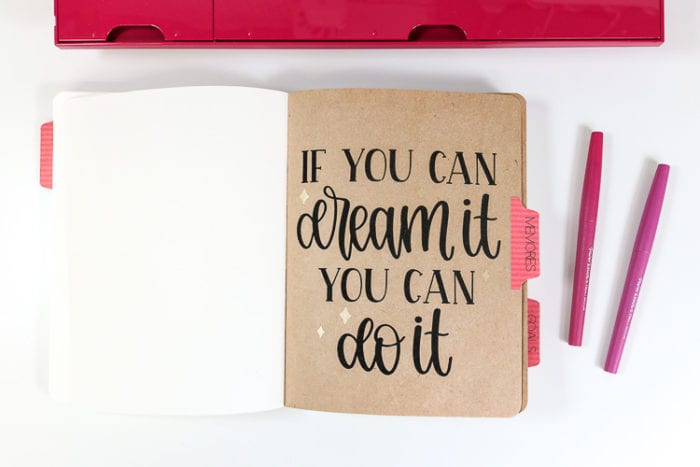
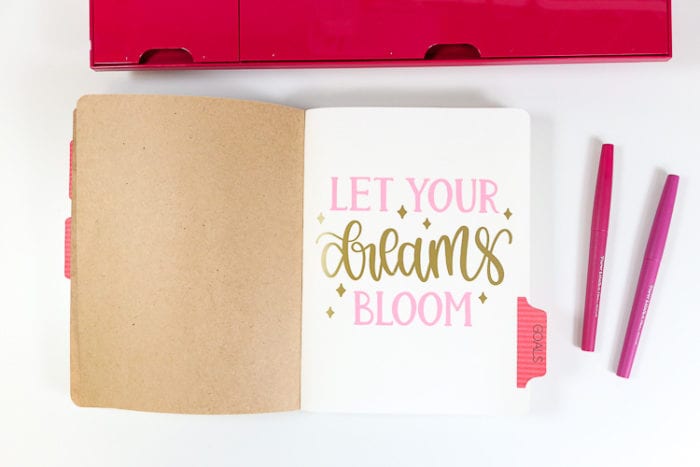
I want to divide my journal into three sections with tabs so I chose a design for the cover and the cover page of each of those three sections. I chose quotes that inspired me to dream big from Cricut Access.
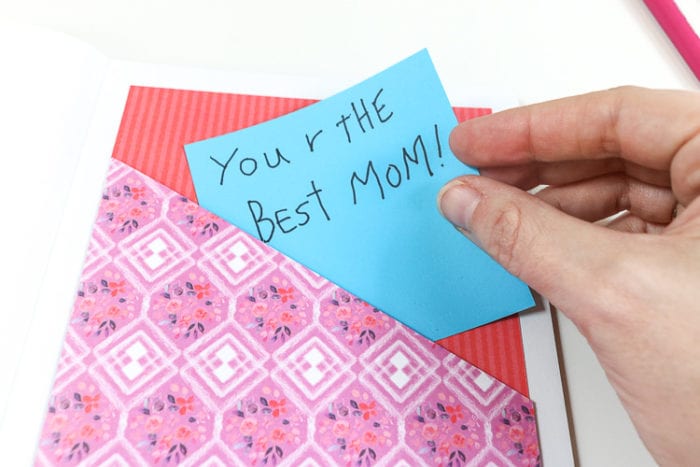
I also wanted to add the paper tabs to get to the sections easily and a small pocket for the back cover to add ticket stubs, love notes from my kids, etc.
Let’s start with cutting the vinyl to apply to the front cover.
You may find and use my file for this project here in the Cricut Community! Give it a heart if you love it!
- Open up the file in Cricut Design Space and size the design to fit your journal.
- Click Make It in the upper right-hand corner.
- Click Continue on the Mat Screen.
- Connect your Explore Air 2 machine at the top of the page.
- Turn the dial on your Cricut Explore Air 2 to Vinyl or select Custom and then choose the material you are using
- Press the arrow button to load your mat. Press the flashing Cricut C to begin to cut.
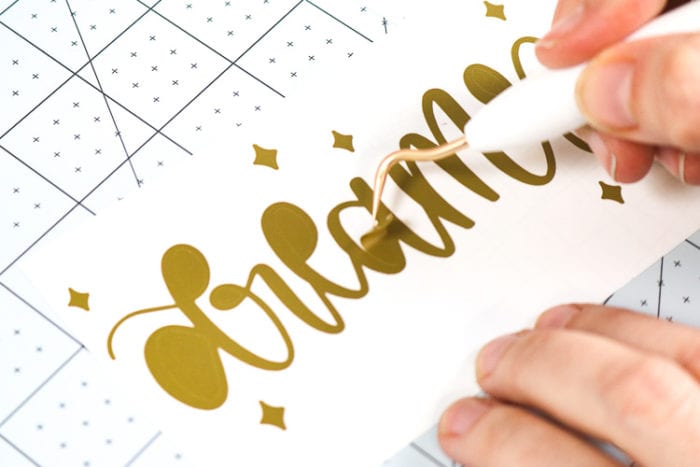
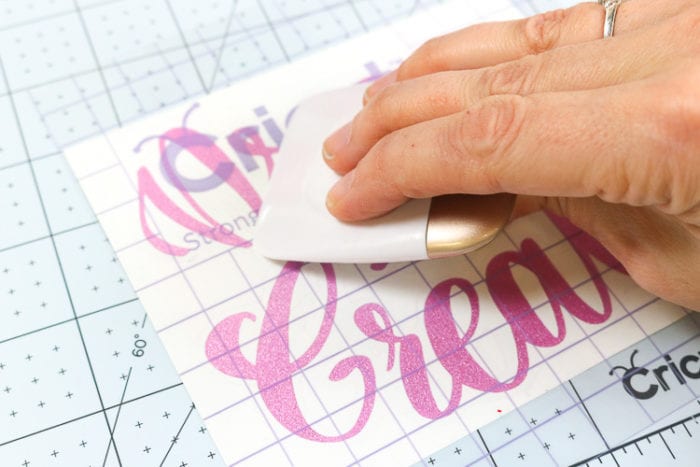
Weed the excess vinyl from your design with the provided gold weeding tool and place transfer tape on top. Smooth out any bubbles in the transfer tape with the scraper.
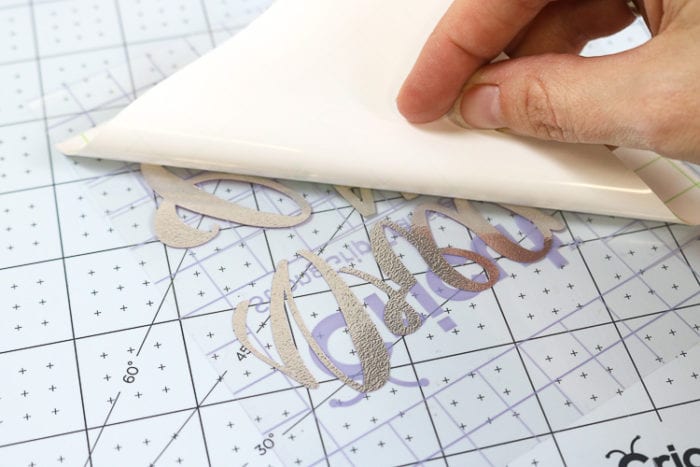
Remove the paper backing from the vinyl (leaving the vinyl attached to the transfer tape).
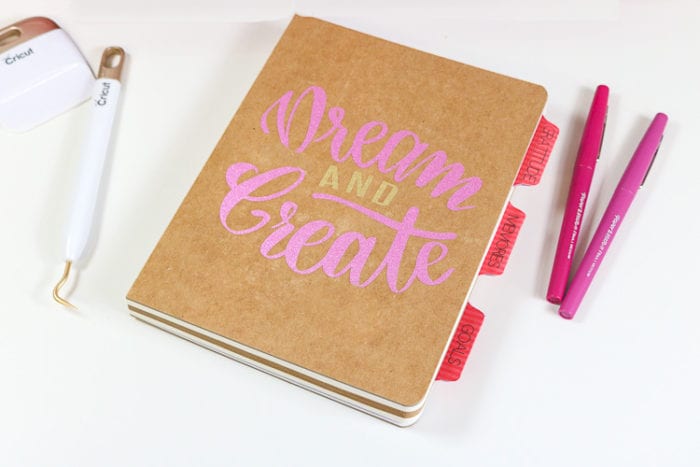
Apply to the notebook smoothing with the scraper. Carefully peel back the transfer tape to reveal your finished cover design!
Repeat this for the remaining section covers!
These were brief instructions, if you are not very familiar with Adhesive Vinyl I urge you to check out these in-depth photo tutorials:
- Vinyl Basics 101
- How to Cut Vinyl on a Cricut
- How to Correctly Apply Craft Vinyl
- Tips for Layering Adhesive Vinyl
How to Use the Cricut Pen and Scoring Stylus:
For the tabs and pockets, I am going to utilize the Cricut Pens to write my section titles and the Cricut Stylus tool to create crisp folds for the pocket for the back cover of my journal. Let’s get started!
You may open the file for the tabs and the pocket folder here in the Cricut Community!
- Open the file in Design Space and size to your journal. The file provided is sized for a 5×7 journal.
- Click the Text tool and write your section title for one of the tabs. Adjust font and size and as preferred and select the Cricut Pen you plan to use. It helps to choose a writing font from the Cricut Library.
- Layer the text on top of one of the tabs. Select both tabs and click Attach. This will tell the Cricut to draw the text in the exact spot on the tab.
- Repeat for remaining tabs.
(Find an in-depth tutorial on using the Cricut Pens here)
Next, we will click Make It in the upper right-hand corner.
Click Continue on the Mat screen.
Connect your machine at the top of the page and turn your dial to Paper or choose Custom and select your specific material.
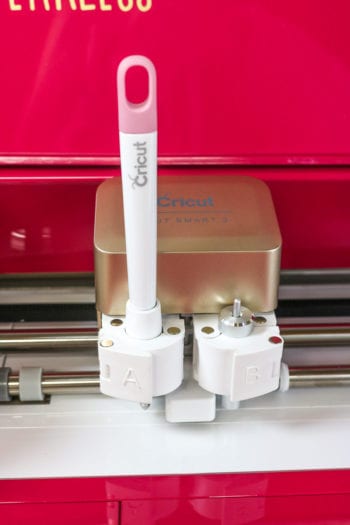
Insert the Scoring Stylus into chamber A of the carriage.
Press the arrow button to load the mat and press the flashing Cricut C to begin scoring the paper.
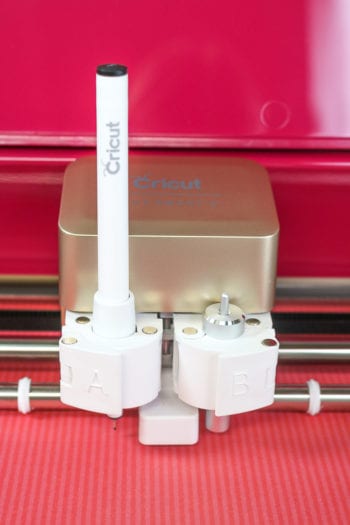
Next, remove the scoring stylus and replace with the Cricut Pen.
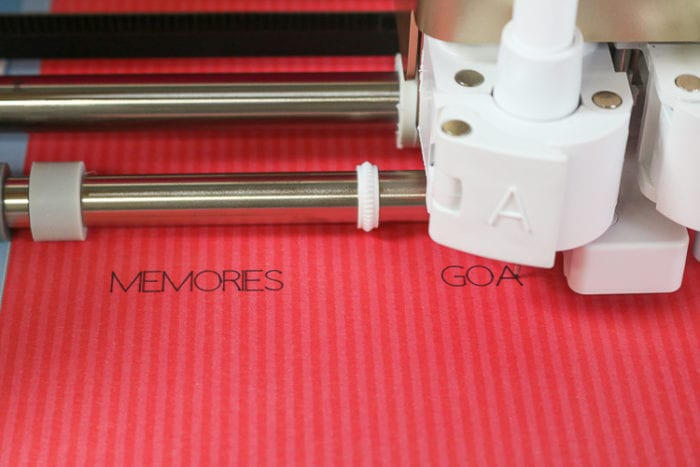
Press the Cricut C once more and your machine will write your section labels and then proceed to cut the pocket and the tabs.
Remove from the mat. Fold the tabs in half and glue to your section covers. Fold and glue the pocket and secure to the back cover.
You have now created your own DIY journal using the new Cricut® Explore Air™ 2, Wild Rose Edition. We have utilized the bundle vinyl as well as the Cricut Pen and separate scoring stylus!
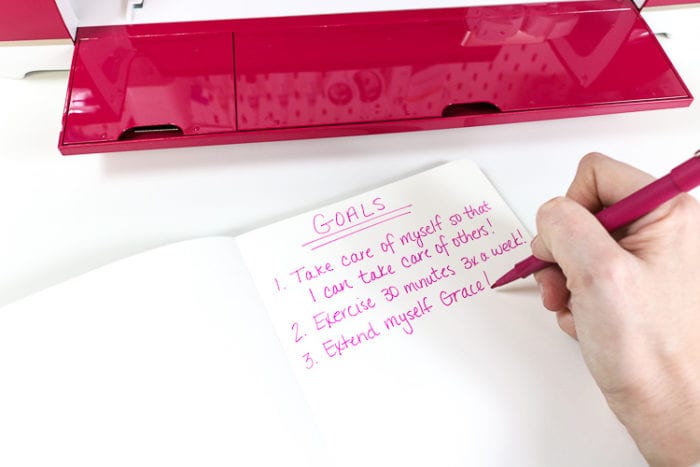
I find that when I put things to paper I am more likely to follow through with them. Use this journal however you need to feel empowered and take life by storm!
Can you believe we did all these things with the Cricut Explore Air 2 and basically only needed a few extra supplies besides what came in the awesome Wild Rose bundle? So awesome, right? Now is the time to head to JOANN and get your own bundle!
My Tip: You can order the Cricut Explore Air 2 Wild Rose Bundle online and it ships free! OR you can order online and select FREE Store Pick up and they have it ready for you when you get there! You can add the scoring stylus and the Natalie Malan paper pack as well!
Don’t Miss Out!
Get new Cricut Tutorials, Product Announcements, Project Ideas, SVG Files and more straight to your inbox!
More Cricut Projects:







Leave A Reply!