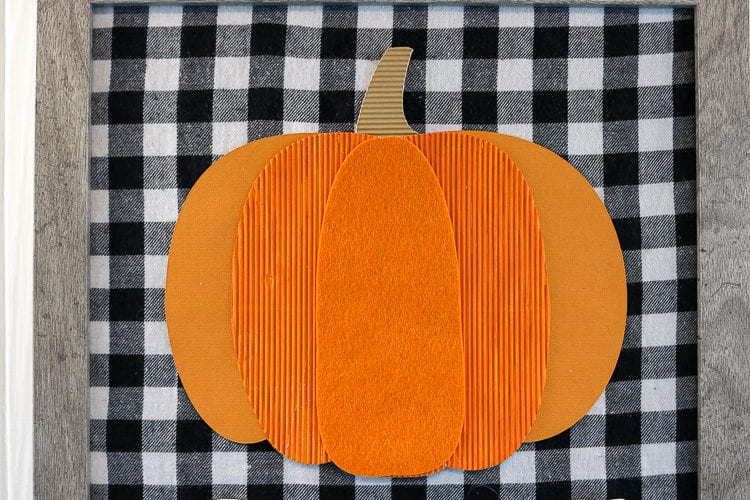
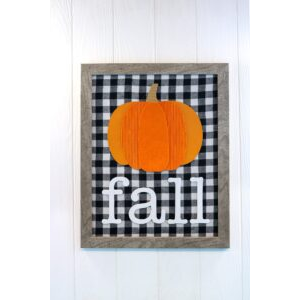
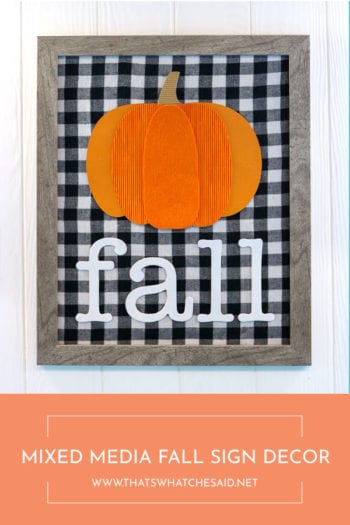
I paired a buffalo check fabric background with chipboard letters and added a pumpkin layered with cardstock, corrugated cardboard and felt! This easy mixed media sign will be your new favorite piece of fall decor!
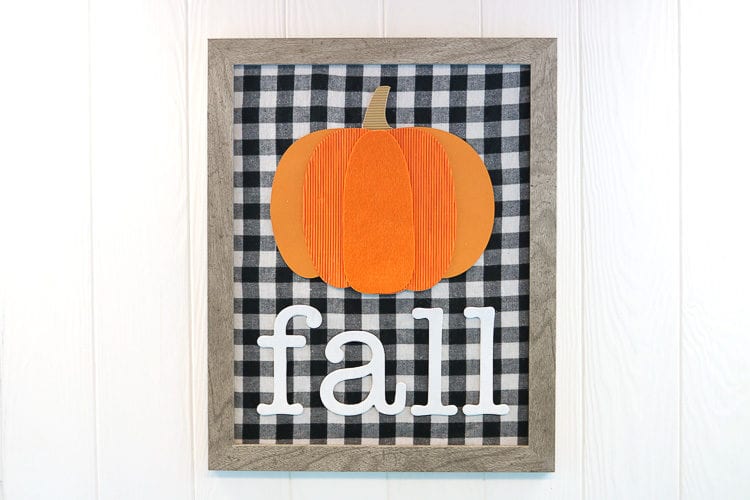
I love fall home decor. There is something about the warm colors that makes me all warm and fuzzy inside! I am also mad about Buffalo plaid. If you have been here a while you know I always jump on trends way after they have surfaced! I embraced chevron WAY after it was cool :)
I used these buffalo check chargers in my Halloween table and plan to carry them through to fall so when I saw this fabric, I had to have it. I wanted the sign to have a bit of dimension so that is where the corrugated cardboard, chipboard and felt came into play!
Supplies for Fall Decor:
- Cricut Maker
- Rotary Cutter*
- Blue Mat* and Pink Fabric Mat
- 11 x 14 Frame
- 4″ Chipboard Letters
- Buffalo Check Fabric or bandana
- White & Orange Paint
- Paintbrushes
- Orange Felt
- Corrugated Cardboard Sampler
- Orange Cardstock (from Nature Sampler)
- Hot Glue & Glue Stick
- Masking Tape
*The blue mat and the rotary cutter are included with your Maker machine.
You can also cut the letters from chipboard using your Maker and the knife blade, however, I didn’t find a typewriter style font with smooth lines. I was set on using the typewriter style font.
Cutting Pumpkin for Fall Decor:
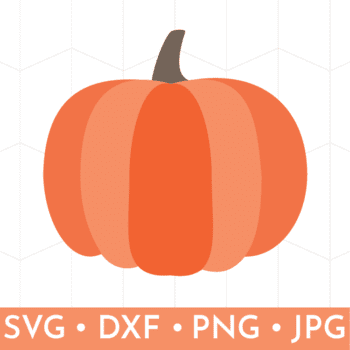
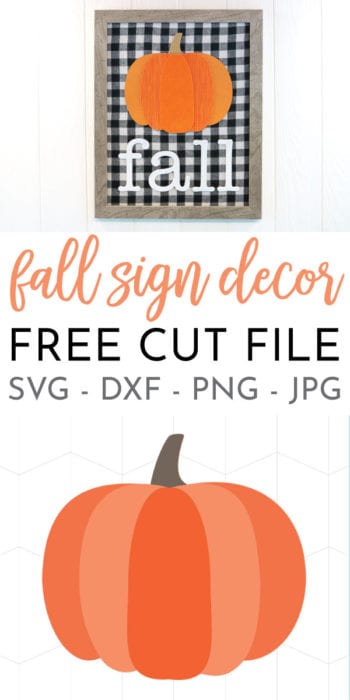
Grab my pumpkin file below and upload it to Cricut Design Space.
Next, you will resize for your frame. I sized mine at 8 inches wide. Click Make it in the upper right corner and connect your machine on the next screen.
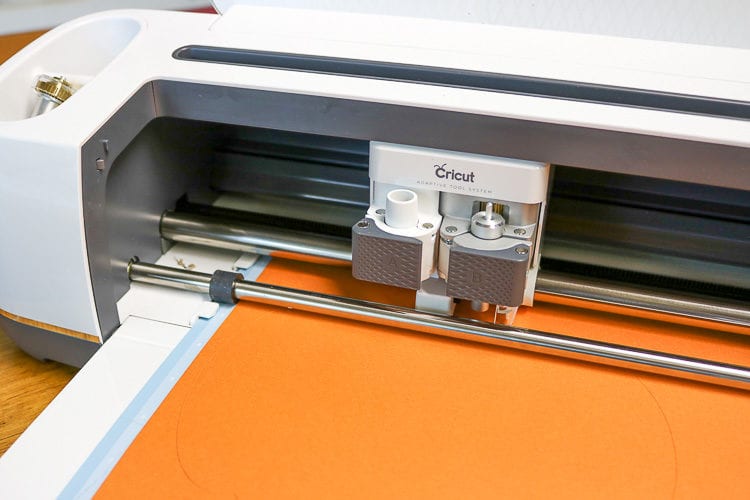
The whole pumpkin layer is cut in cardstock.
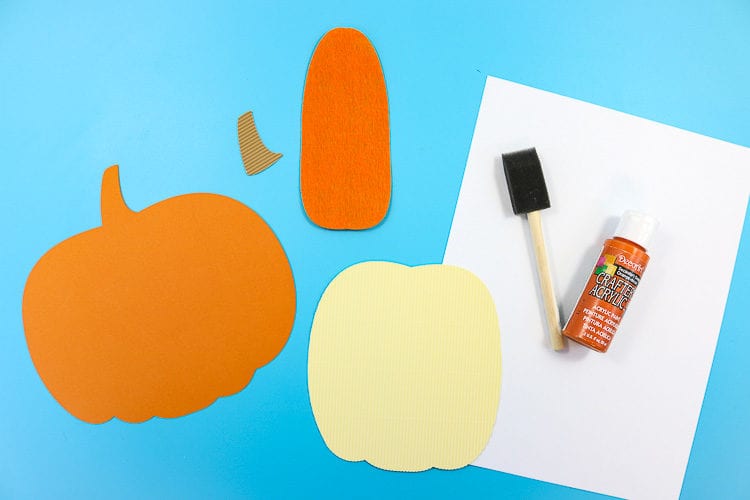
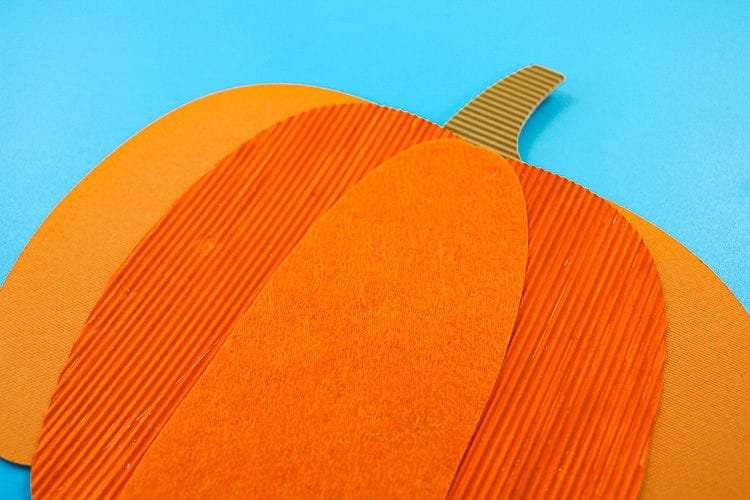
The middle layer I cut in off-white corrugated cardboard. I made the grain of the corrugation vertical. The stem is cut from brown corrugated cardboard from the same sampler collection as the off-white. This time I made the grain of the corrugation horizontal to add visual interest.
The front and the smallest piece of the pumpkin is cut from felt and the rotary wheel. Cricut Design Space will suggest the fine point tip to cut this but I am telling you to use the rotary wheel. You can find more information on cutting felt here.
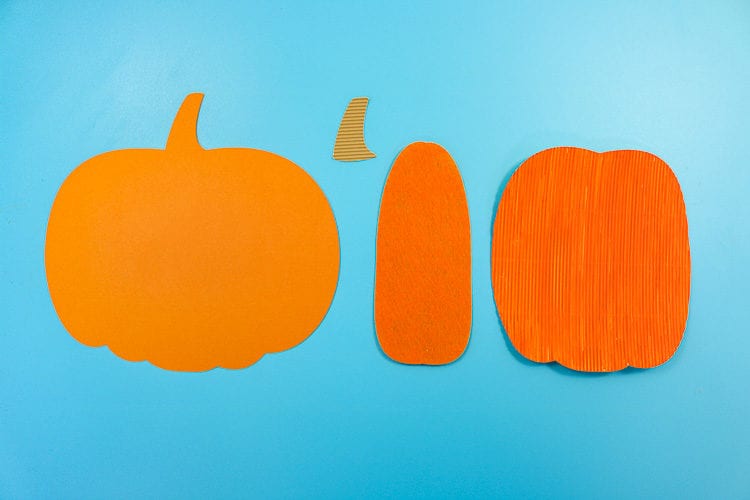
Once you have the pumpkin pieces cut, we will need to address the eyesore that is that off-white pumpkin piece! I just painted the corrugated cardboard with orange paint and a foam brush.
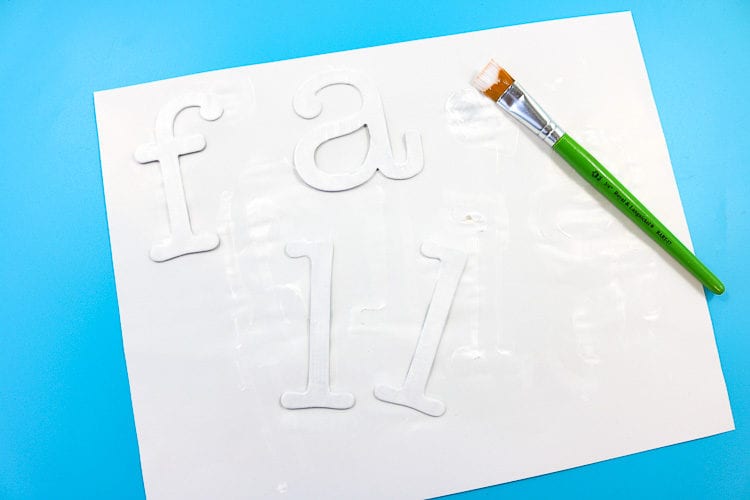
While painting that I also painted the chipboard letters white. I was going to leave them the chipboard color to correspond with the grey frame I am using but decided to paint them white to make them pop!
DIY Fall Decor Assembly:
The middle piece of the pumpkin may curl slightly after the paint dries. This is ok because we are going to use hot glue to assemble. It not only gives the layers a bit of dimension but it firmly will hold that curled piece of cardboard!
Disassemble the frame and remove the glass, mat and paper insert. We will not use those 3 pieces.
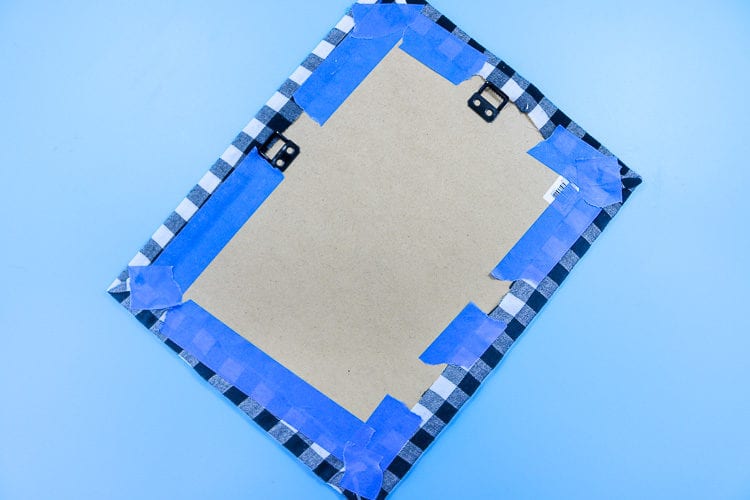
Take the backboard piece and lay it on top of your fabric and get the pattern as straight as you can. I gut 1 inch around the backboard piece. I used some masking tape to secure it around the board.
Place the backboard with the fabric back in your frame and secure all the frame nails to hold it in place.
Turn it over and use hot glue to adhere the pumpkin and the fall letters.
Hang and enjoy! I am really loving the different textures of the pumpkin.
DOWNLOAD PUMPKIN SVG HERE
Downloading is easy! If you are a current member of my email community you may simply click “Download Here” and enter in the Freebie Password or your first name and email address again.
If you are new, welcome! Click “Download Here” and please enter your first name and email address! I will send you an email when I share new posts and when new flash freebies are available. Once confirmed, new members will be sent a password to access my entire freebie library!
This download is for personal use only!
You may also want to check out my other Thanksgiving decorations and Fall Wreaths



Leave A Reply!