This post is brought to you by 3M DIY. All opinions and project details are 100% my own! I am so excited to work with a company that makes safety so easy for DIYers as myself, and creates products that help make my projects seamless.
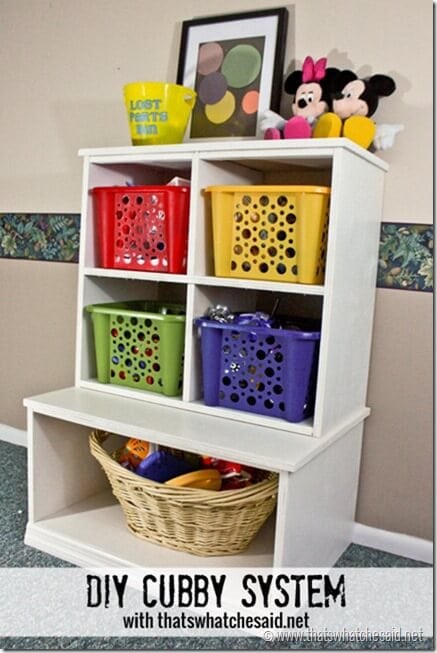
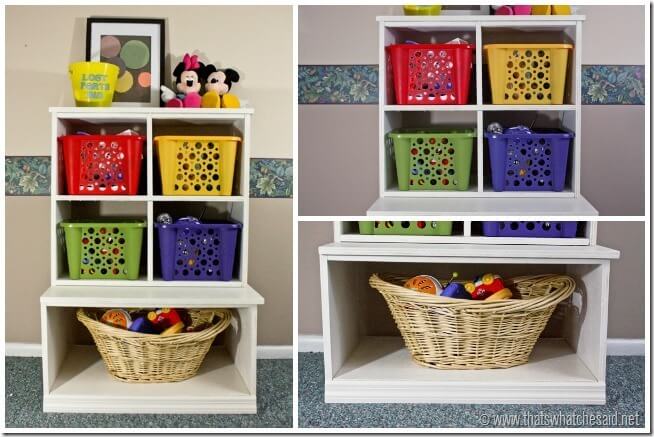
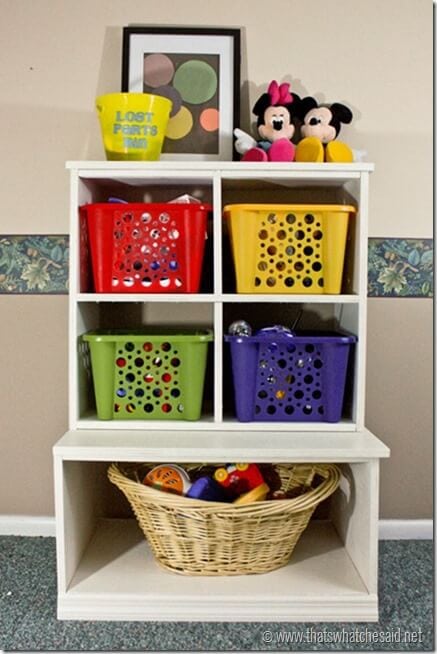
I built this totally awesome DIY cubby system using my most favorite Alaskan friend, Ana White’s, amazing plans.
I made both the base and the cubby hutch from Ana’s plans! I’d love for you to see what I used along the way to stay safe and make my project run smoother! I have added the changes I made in order to get both pieces of the cubby system out of ONE sheet of wood! Here’s the changes:
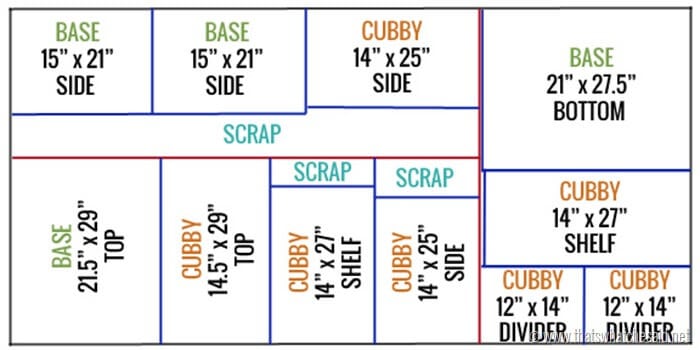
Cubby Sides: Shave off half an inch and make your measurements 25” x 14” vs. 25.5” x 14”
Cubby Shelves: Shave off half an inch and make your measurements 27” x 14” vs. 27.5” x 14”
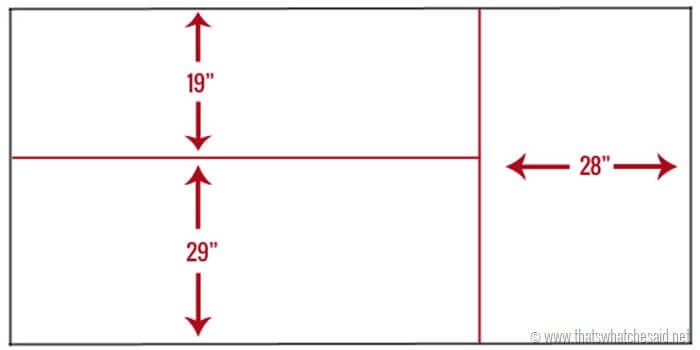
I headed to The Home Depot and had a 4’ x 8” sheet of wood cut for me so it would fit in my car. Here is how I had them cut it:
Here’s how I fit all the pieces on my board. (I actually cut each piece out of graph paper and then played “let’s make this fit” for about 20 minutes before finding a simple way to do it! This image below is NOT to scale…it just used for demonstrative purposes!
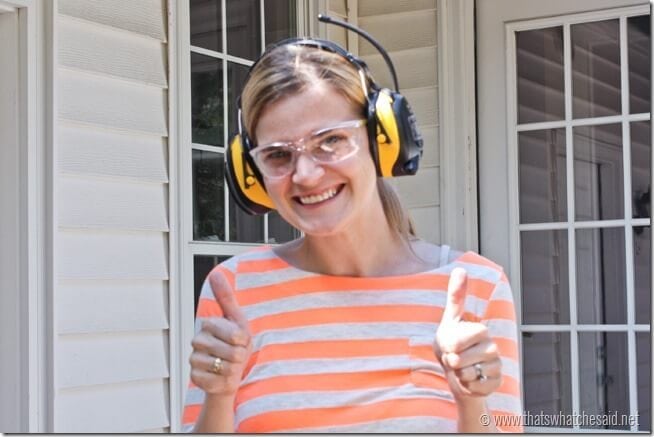
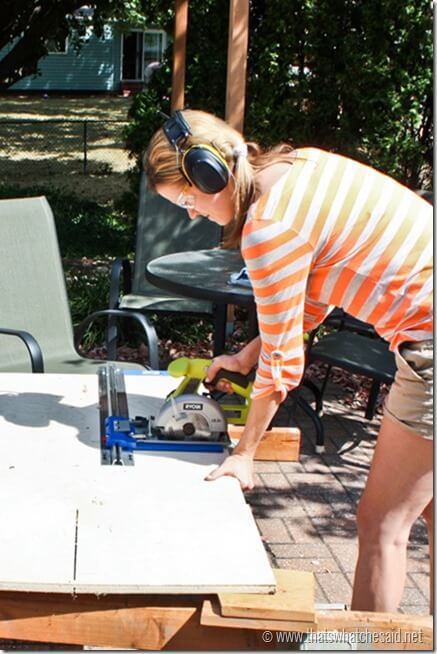
When I got home with my 3 wood pieces. , I prepared to get started! 3M DIY sent me a huge box of goodies and included were some of these great 3M Tekk Protection products! I put on these fabulous Headphones! They are the Digital WorkTunes™ Hearing Protector and the Holmes Workwear™ Safety Eyewear with Cord Control Management and was ready to cut my boards down to size!
Did you know: These Headphones play radio in there!? Sure do they also can play songs directly from your iPod! Talk about awesome. I had plenty of cuts to make, so listening to tunes was awesome. Did you also know: I pull off these safety glasses better than Mike Holmes :) Just saying!
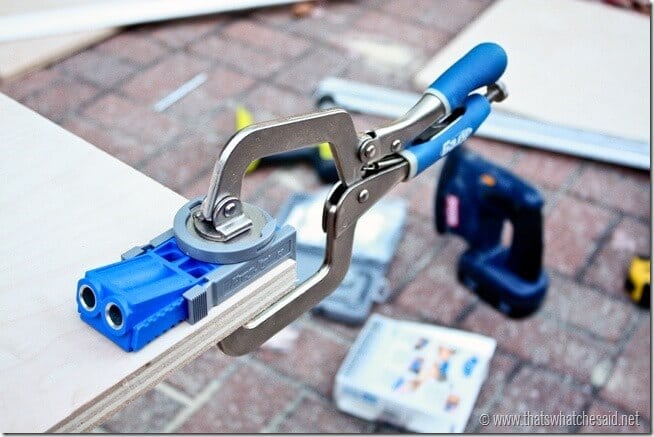
I used my Kreg Rip Cut and my Ryobi Circular Saw to get all my boards cut down to the appropriate size! Once that was done, I was ready to build. I started off with the base of the Cubby System. I drilled some pocket holes into the underside of the BOTTOM of my base.
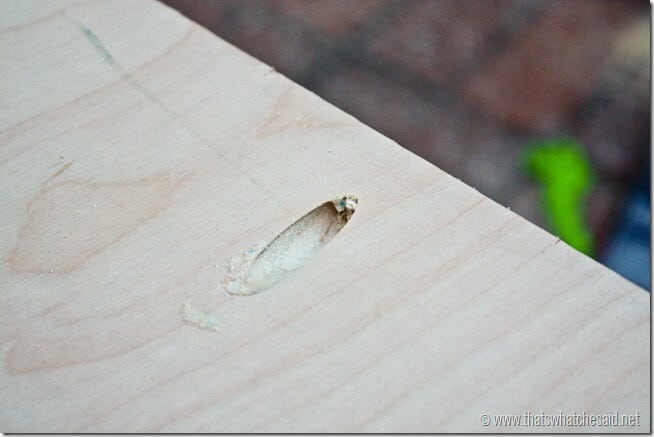
Once you drill in there you are left with this pocket hole. It hides your screw and secures the boards together so strong that my 2 monsters can’t separate :)
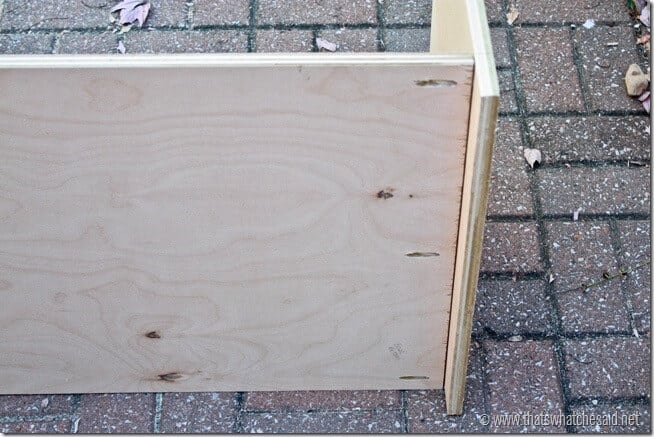
I drilled a pocket hole about every 6-8 inches on both sides! Next I followed Ana’s directions and built the base.
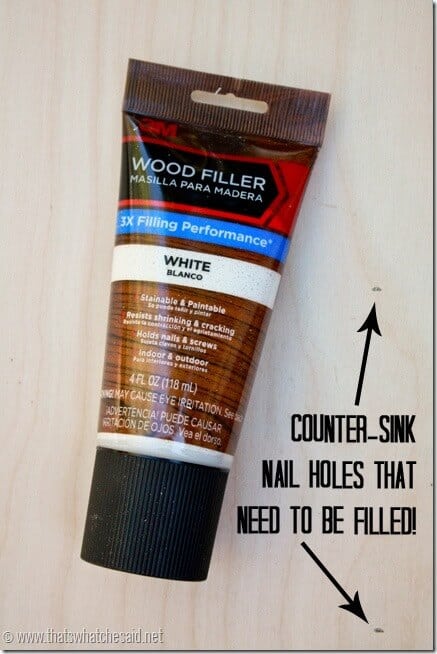
Next I completed the cubby hutch. I used my Ryobi Air Strike to nail the tops down on both pieces. The Air Strike is fabulous in that it countersinks the nail heads. You don’t want nail heads sticking up but you also don’t want holes in your surface. So next I filled all those holes with this 3M Wood Filler .
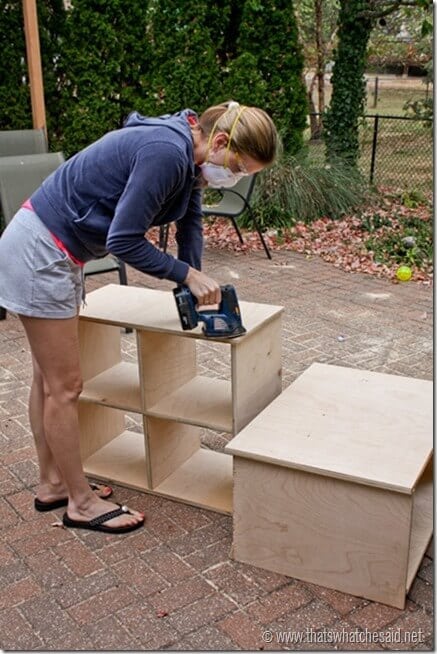
After the filler dried, I cracked out my sander and sanded over the areas I filled as well as all edges and corners and surfaces! Make sure to wear your Paint Sanding Valved Respirator from the 3M Tekk Protection as well as your safety glasses. You certainly don’t want to breath in all that fine dust and you certainly don’t want any in your eyes!
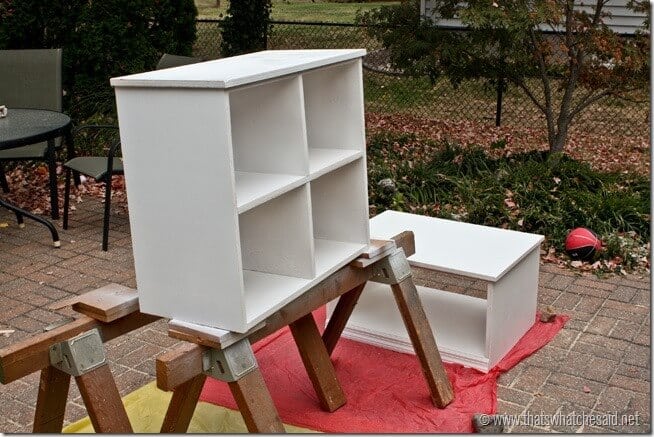
Once sanded, it’s time to paint! Yay painting! Check back tomorrow for my full post on how I painted these bad boys! So easy peasy and I used my dust mask and safety glasses to get it done safely!
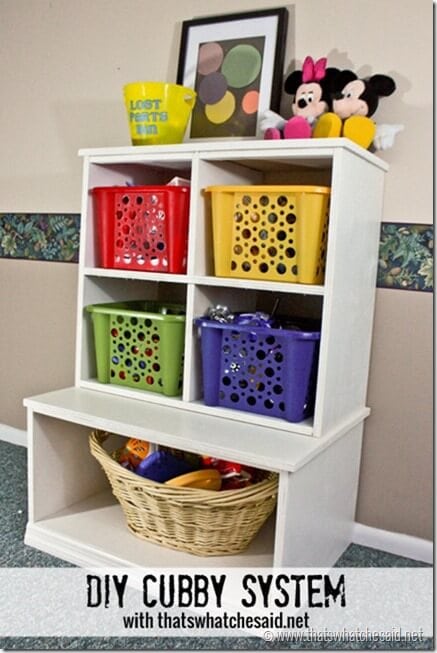
Once dry I was able to stack them and add baskets and toys…all in their organized place! Now I have 3 more sets of these to finish! I hope you will sign up for my post emails to see how they will look when they are one complete HUGE! unit!
Did you like this DIY post? You might also enjoy my DIY Pergola Project or some DIY Cornhole Game Plans for a fun backyard game!! Heading to a Tailgate? Don’t forget your DIY Ultimate Tailgating Caddy! It houses everything you need for pre-game festivities!


Comments & Reviews
Bonnie @ Uncommon Designs says
Well aren’t you the cutest in your safety gear! Love this project and it turned out fabulous !
Cheryl Spangenberg says
Aww…Thanks! Safety First :)
Jacque says
You look so much better in your saftey mask then I do! I love the cubbies, great work!
Cheryl Spangenberg says
I’ll have to send you a picture of the little guy in it :) He’s the master of the mask! {wink} Thanks Jacque!
Maryann @ Domestically Speaking says
What a cool storage unit!
Cheryl Spangenberg says
Thanks Maryann!
nest of posies says
you did an amazing job! we need to get more organized around here too! that wood filler looks like it worked great.
Cheryl Spangenberg says
Thank you thank you lady! I am sure you totally understand ALL THE TOYS! :)
Jessica @ Mom 4 Real says
Holy moly! They are awesome!!!! I may just have to build my own!!!
Cheryl Spangenberg says
Thanks Love! I think MK needs some in her room :)
Michele @ The Scrap Shoppe says
Wowza, Cheryl, that cubby system looks amazing! And those headphones look fabulous. I could use a pair of those!
Cheryl Spangenberg says
Thanks Michele! They are great!
Mary Beth @ Cupcakes and Crinoline says
What a great project. I love the way it turned out. I just used a Kreg Jig for the first time yesterday on a small project and absolutely loved how easy it was to use and how the project turned out. I need to get some more 3M products…I’m on a building frenzy lately. Pinning!
Kelly says
YAY for DIY! Turned out great… and perfect for organizing those cute boys of yours toys!! xo
Amanda @ Serenity Now says
Wow, great job! I love using the cubby system for organizing kids’ stuff. :)
Cheryl Spangenberg says
Thanks Amanda!
Missy says
My husband would say you’re not being safe if you’re wearing sandals ;) He always gives me a hard time about wearing sandals when I’m doing stuff like that :) (But I also tease him about wearing work boots in the middle of summer, so I guess we’re even.) You’re cubbies look great! Thanks for sharing!
I found your post through the Block Party Link-up.
Cheryl Spangenberg says
Ha! I promise I wore closed toed shoes cutting and building. Only flip flops when I was sanding! Safety first :) Thanks for stopping over!!
Kayla @ Home Coming blog says
Great job! Don’t forget to link up to The DIY’ers. http://homecomingmn.blogspot.com/2013/09/the-diyers-30.html