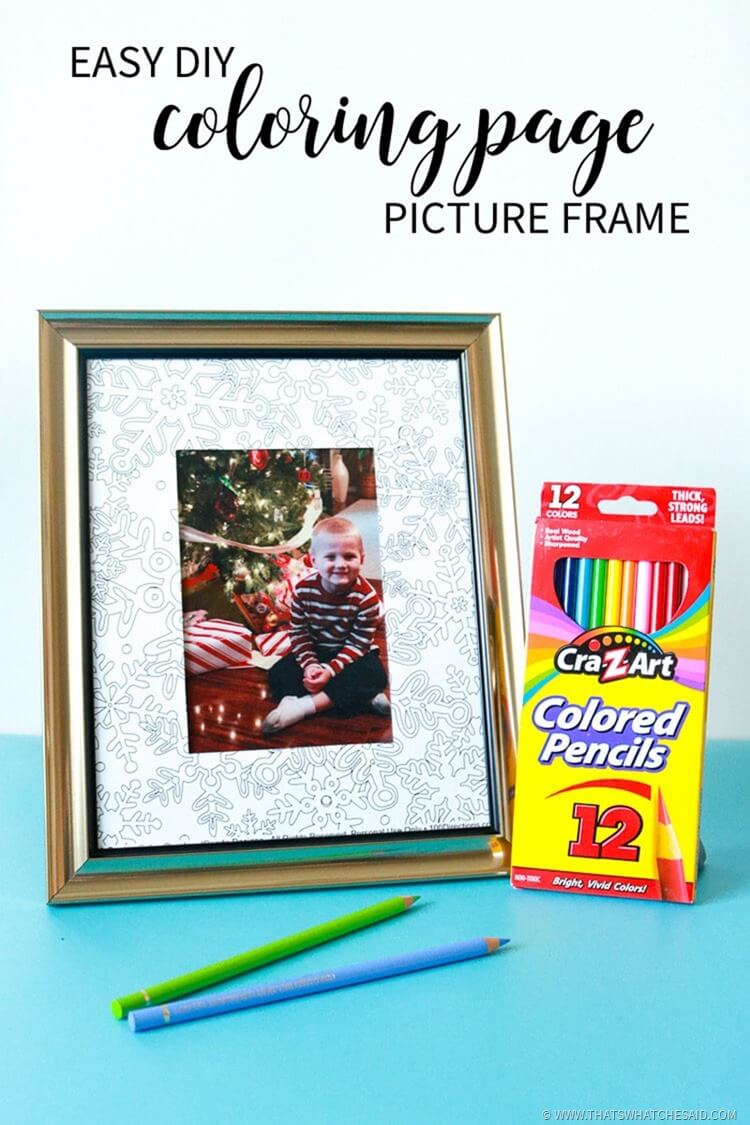
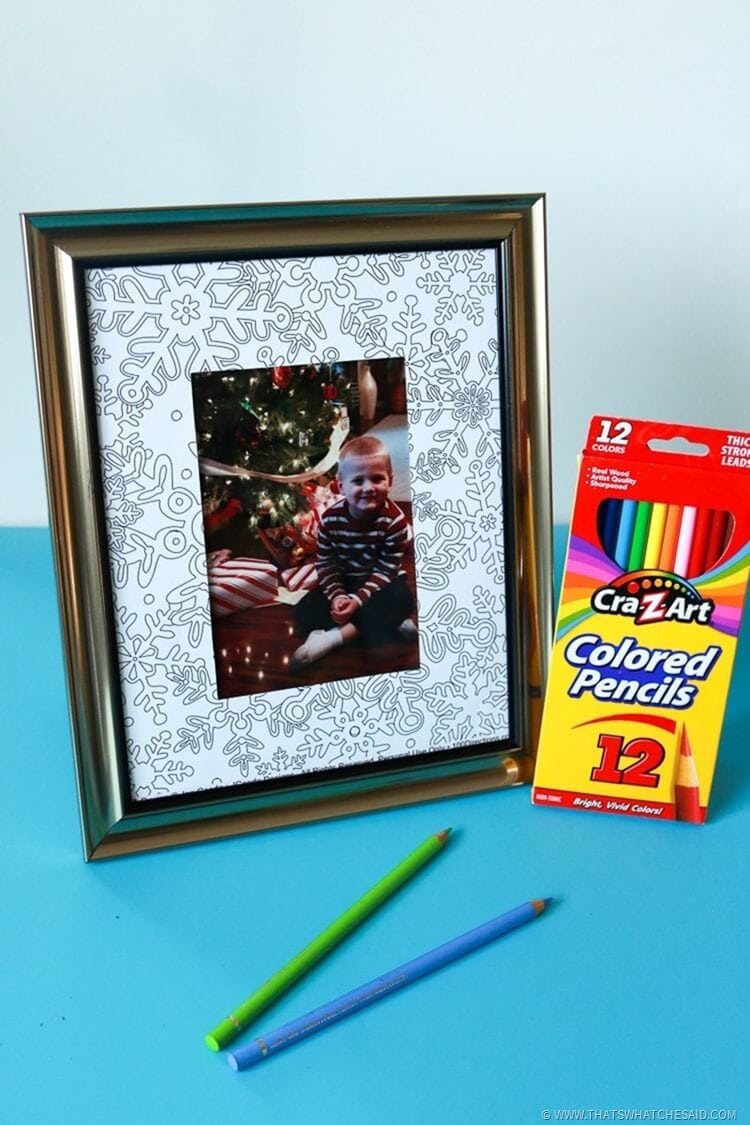
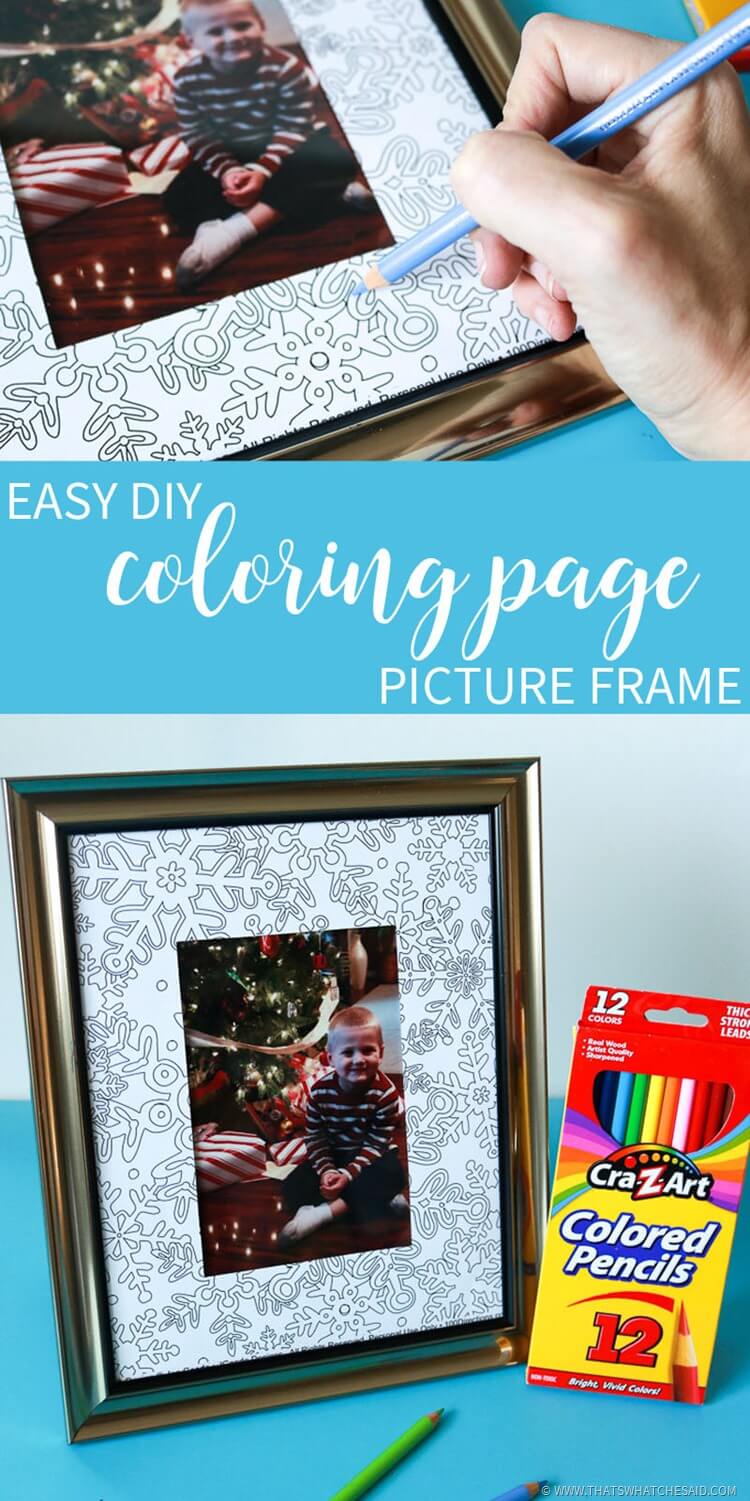
If you are looking for a great handmade gift idea for that creative soul in your life how about this super easy DIY coloring page frame!? So easy to make, personalize it with a favorite photo of you and your recipient and attach some colored pencils for the perfect interactive gift idea! Great idea on what to do with coloring pages you already colored too!
It seems we always need a gift idea for someone that is personal, doesn’t cost too much and is fun! This DIY coloring page frame is just that! Whether you gift it for your recipient to color or you use an already complete coloring page, this will be sure to be a hit with your recipient!
My sweet friend Jen from 100 Directions made this coloring sheet! I know, she is so talented! You can hop over to her site to download your own copy! She also has an entire bound coloring book + craft ideas book published too! I am gifting these like crazy this year!
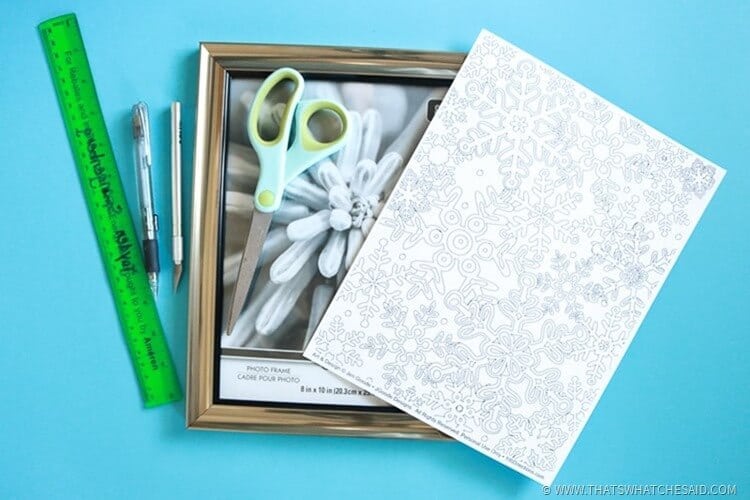
Supplies for DIY Coloring Page Frame:
- Coloring Page
- White card stock
- Scissors
- Xacto Knife
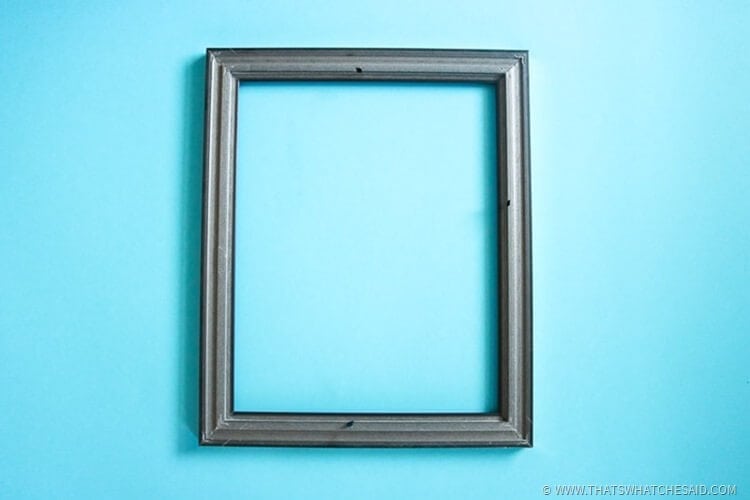
- 8×10 Frame
- Ruler
- Pencil
- Colored Pencils
There are 2 ways to utilize this idea. 1. Make a frame for someone to color themselves. 2. Use a coloring page you have already colored and turn it into a rocking matte for a framed picture!
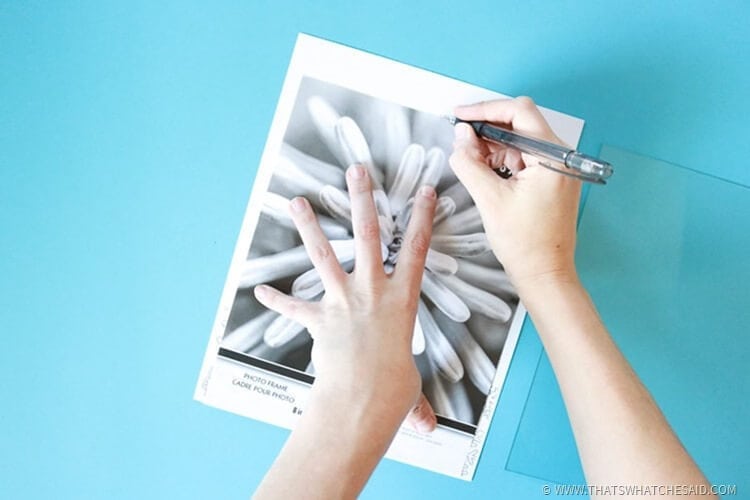
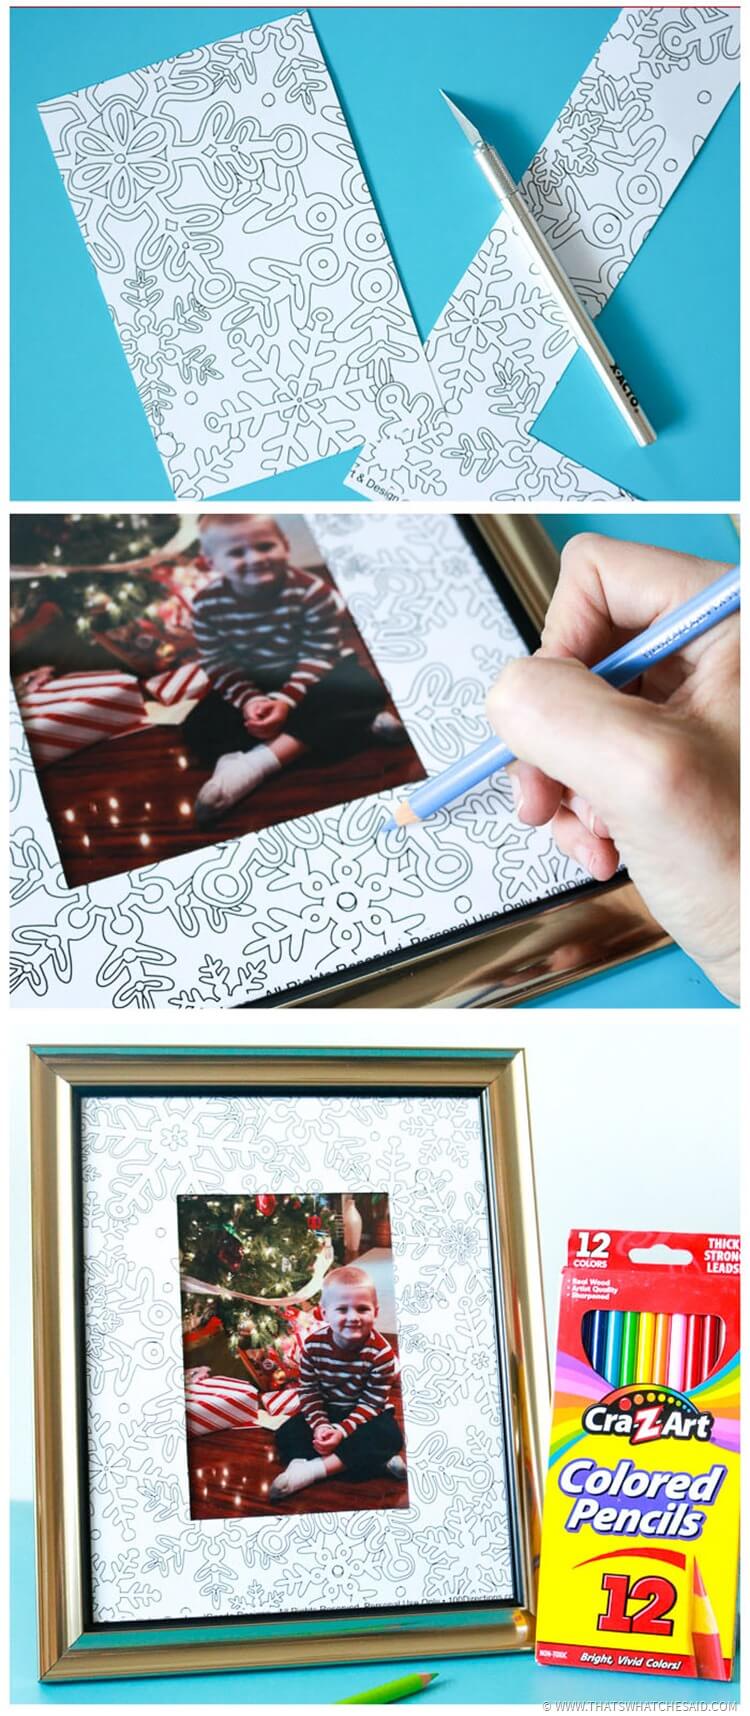
If making a frame to gift, you will need to print Jen’s awesome coloring page out on bright white card stock. Next I am going to use the fake photo from my photo frame as a guide to cut the 8.5×11 paper down to 8×10 to fit my frame.
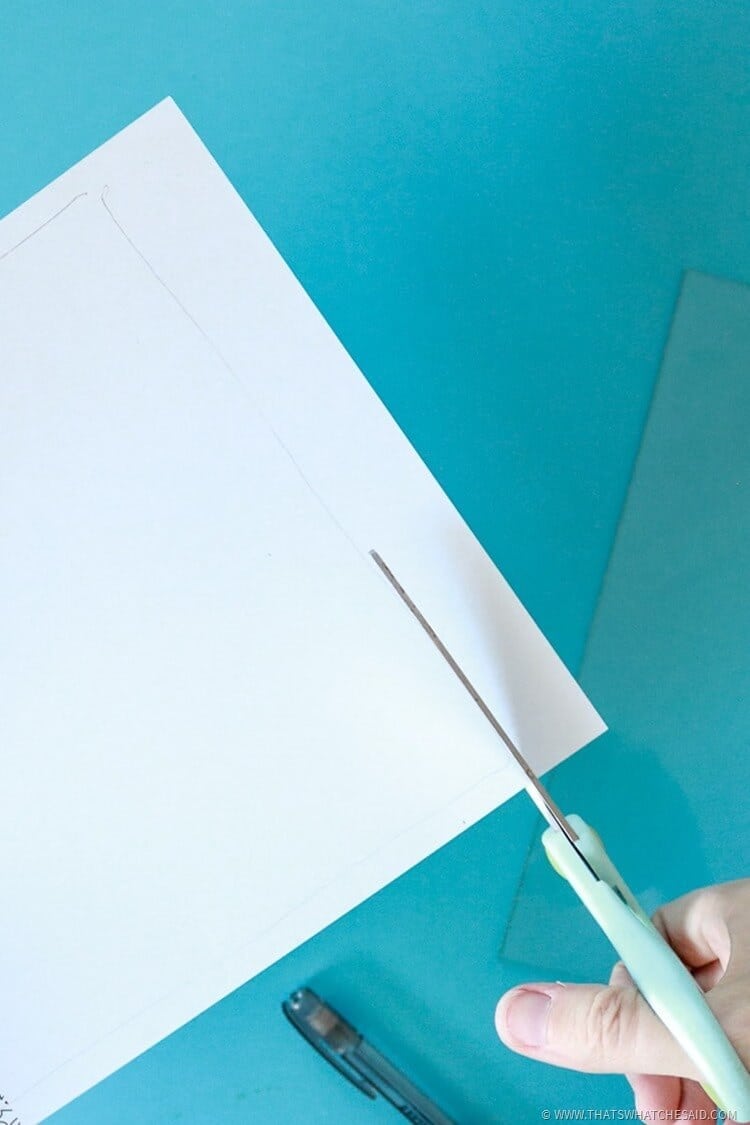
Cut that down to size.
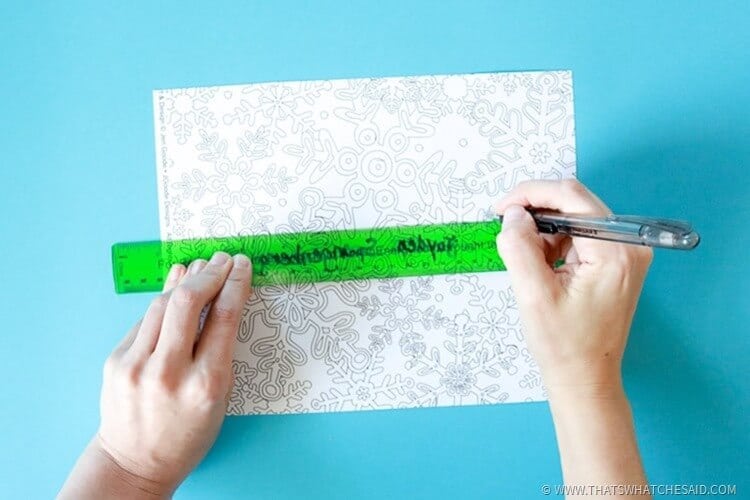
Then I am going to use my ruler to create a rectangle in the center of the coloring page that will fit my photo. I am going to make a 4×6” opening so that there is lots of coloring page showing to color!
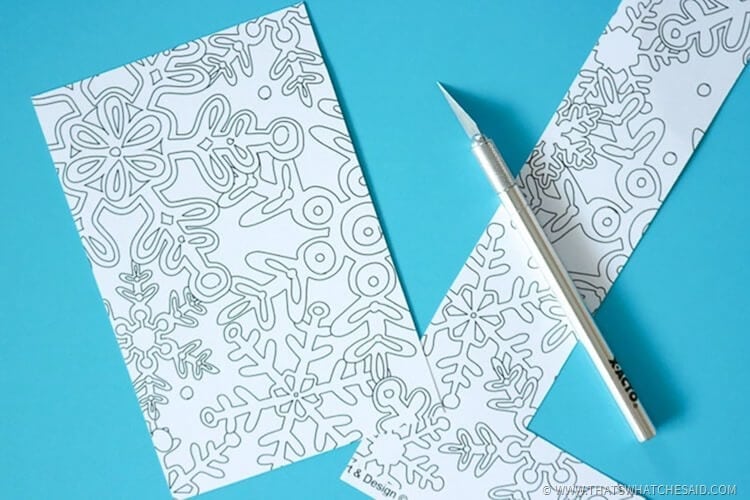
I use an Xacto knife and my ruler to cut along the lines I just drew for my photo opening. you can use scissors however I didn’t want to bend my coloring page at all so the Xacto knife worked great!
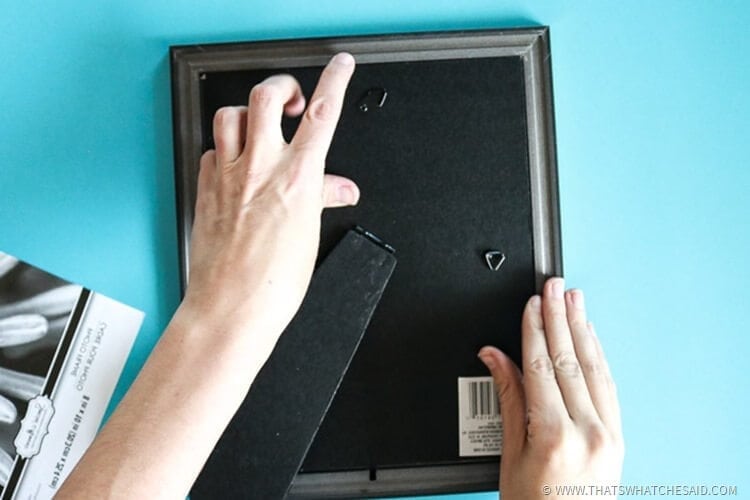
Next remove the glass and backing from your frame.
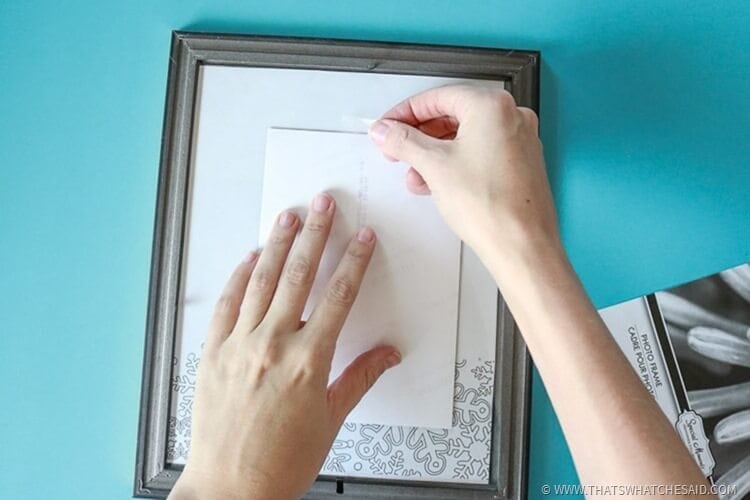
Insert your coloring page into your frame and replace the glass behind the coloring page! Center your photo in the opening and use a bit of tape if needed to keep the photo in place. Return the backing of the frame.
So you will have your frame, coloring page, glass, photo, frame backing in that order.
If you are using a blank coloring page, add in some colored pencils to the frame and wrap in a bag. These Santa Sacks would work perfectly!
If you are need something to do with completed coloring pages, then simply use your completed one in place of the blank and here you can either put the glass like normal or behind! Up to you!
Happy coloring and gift giving!
[cgview id=214 name=crafts tags=gifts size=225×275 lightbox=0 num=4]




Leave A Reply!