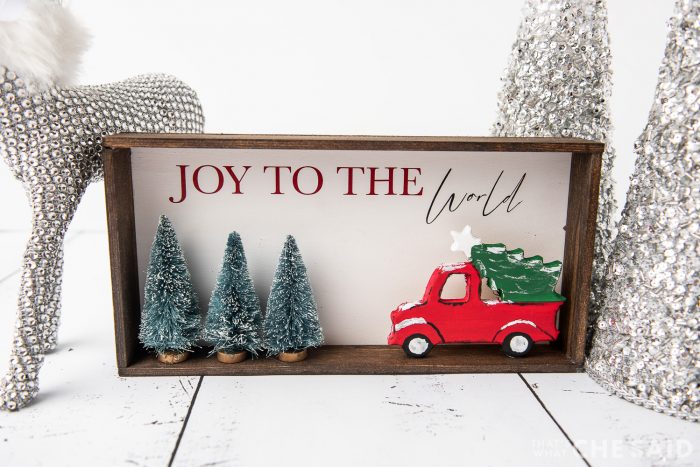
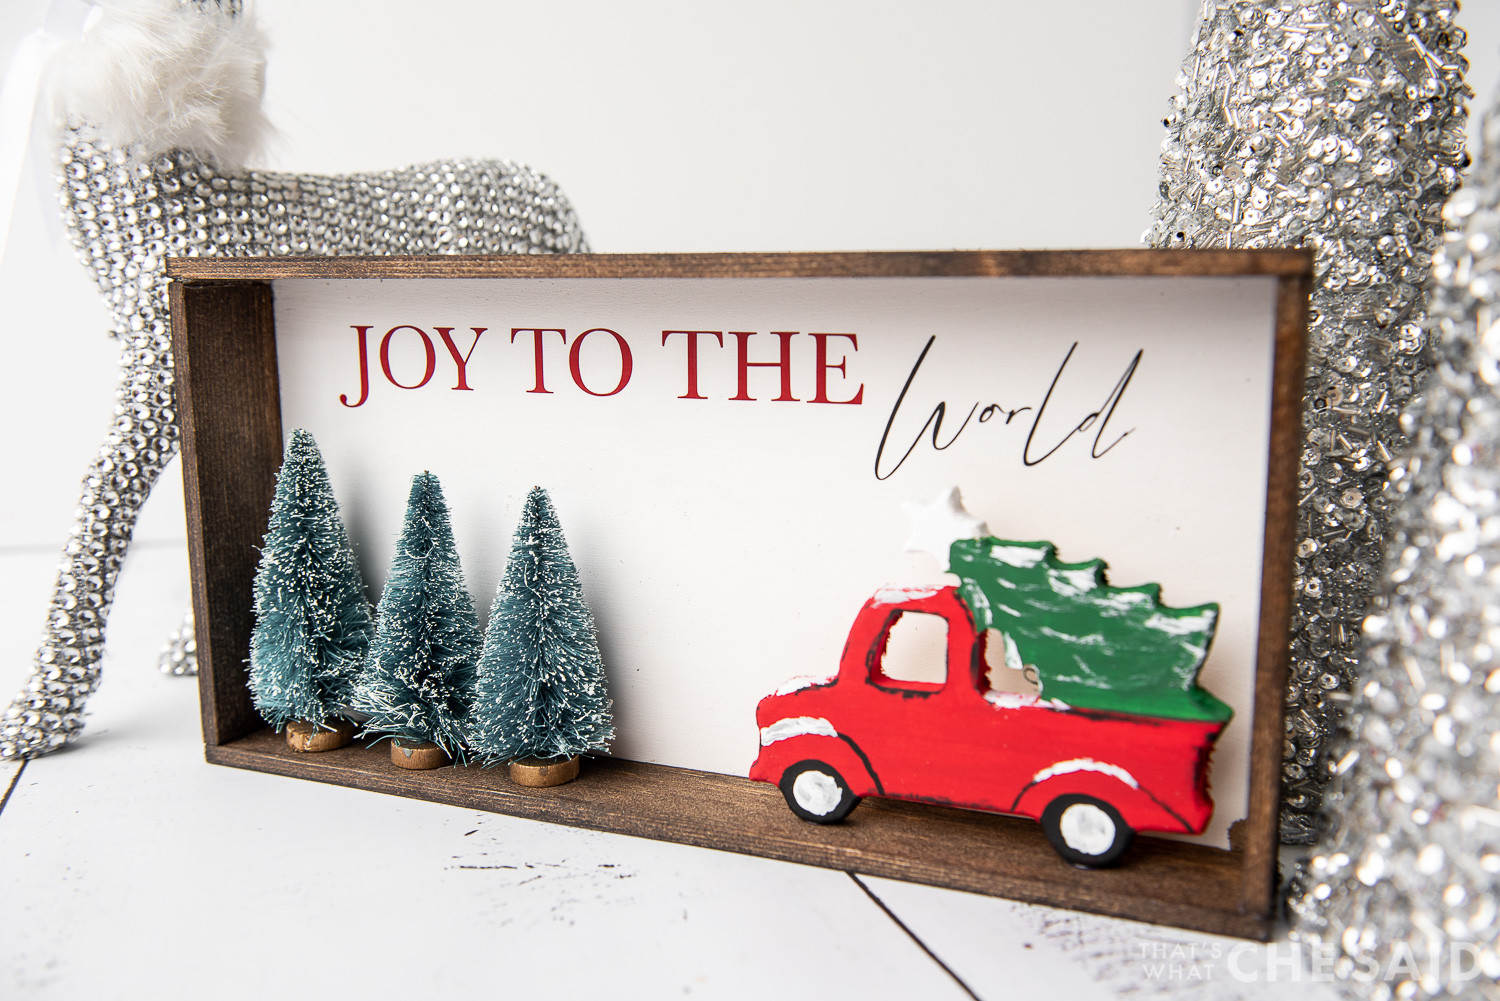
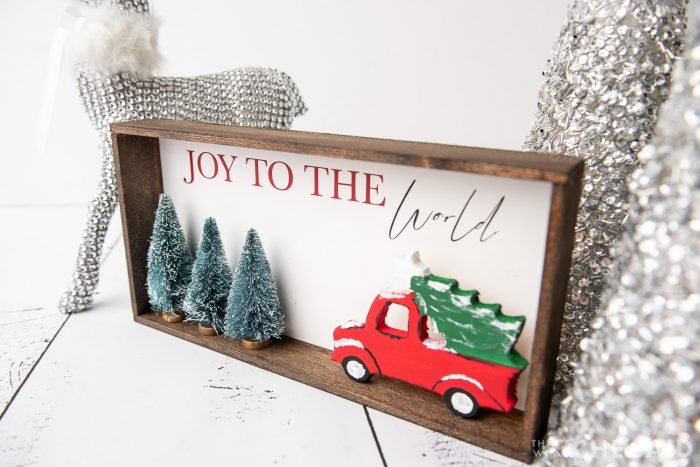
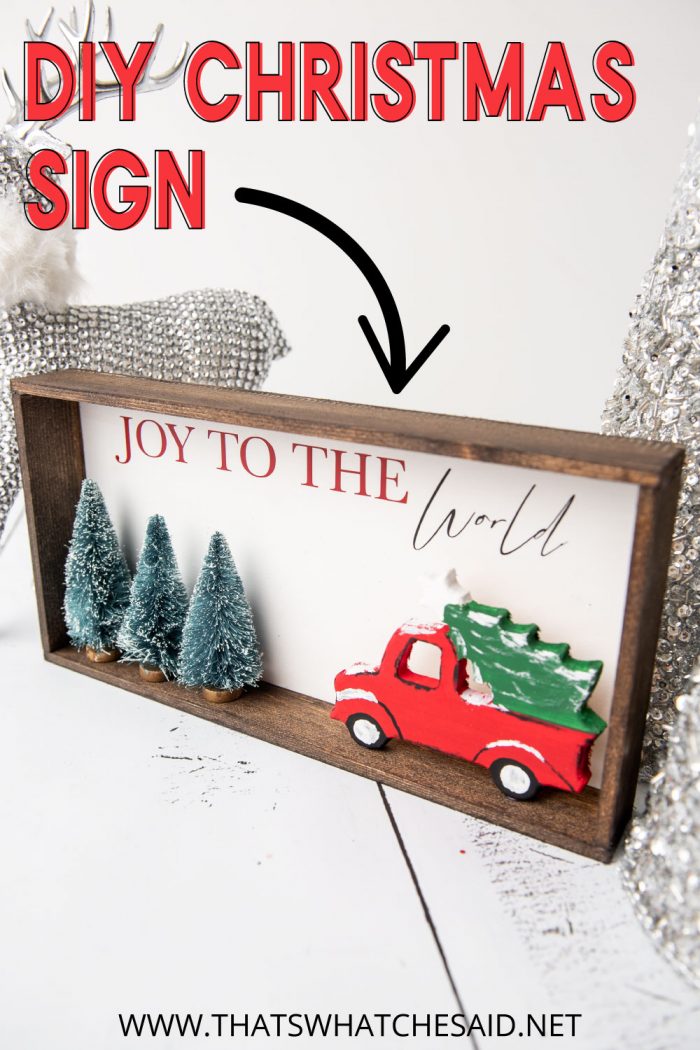
Have you ever wanted to create a cute 3D sign but you can’t find the right blank sign size? How about you make DIY one yourself! It’s easier than you think! This DIY Christmas Decor is perfect for mantels, the wall or as a gift!
Creating this sign yourself also allows you to keep the frame width a bit deeper than most signs so you can add cute ornaments and bottle brushes to create more of a shadow box type sign!
You can add whatever details you want to this sign to make it your own! I loved this little wooden ornament and bottle brush trees but you could add deer, ornaments, or more!
This post may contain links to Amazon Associate and other affiliates.
As an Amazon affiliate, I earn a small commission from these links at no additional cost to you.
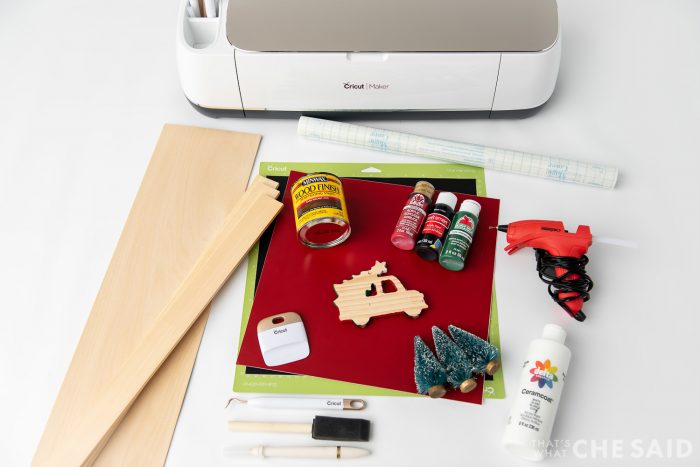
Christmas Decor Supplies
- Craft Wood Stick – 3/8″x 1 1/2″ sticks trimmed to (2) 12″ and (2) 5 1/2″
- Craft Wood Sheet – 3/8″ x 6″ sheet trimmed to 12″
- Utility Knife or Craft Knife
- Acrylic Paint – Red, White, Black, and Green
- Stain – I used Dark Walnut 2716
- Paint brushes and sponge brushes
- Hot Glue Gun & Glue Sticks
- Cricut or another cutting machine
- Weeding Hook
- Scraper Tool
- 2 Colors of Adhesive Vinyl – I used Red and Black
- Transfer Tape
- 3″ Bottle Brush Christmas Trees
- Wooden Truck Ornament
You can be completely flexible with what you put inside of this! I picked up this wooden ornament at Michael’s but I also know the Dollar Store has some super cute already painted ones! Use what you can find!
Don’t Miss Out!
Get quick crafts, easy recipes and free printables & cut files straight to your inbox! You won’t want to miss a thing! Join now!
How to Make a Christmas Sign
Time needed: 45 minutes
Make a shadow box like DIY Christmas Sign with some craft supplies and vinyl lettering!
- Cut Wood to Size
Using a craft knife, carefully cut the craft wood strips to size.
Wood Measurements
(2) ⅜” x 1 ½” x 12” (Sides)
(2) ⅜” x 1 ½” x 5 ½” (Sides)
(1) ⅜” x 6” x 12” (Face) - Paint the Backing
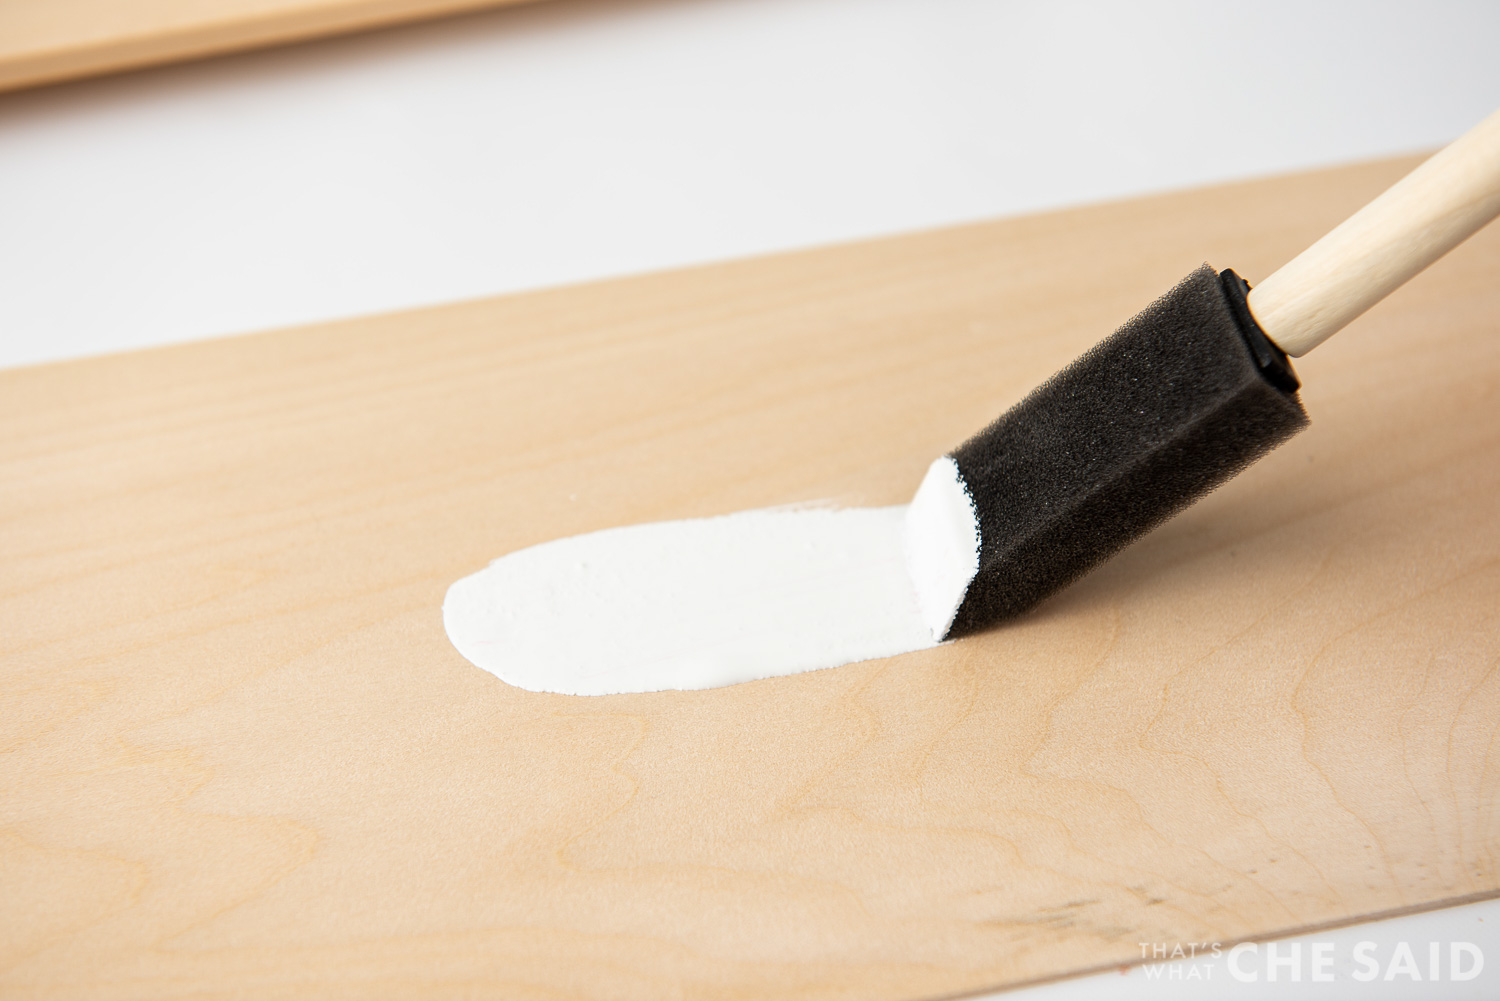
Using acrylic paint and a foam brush, paint the backing piece white and set aside to dry.
- Stain the Frame
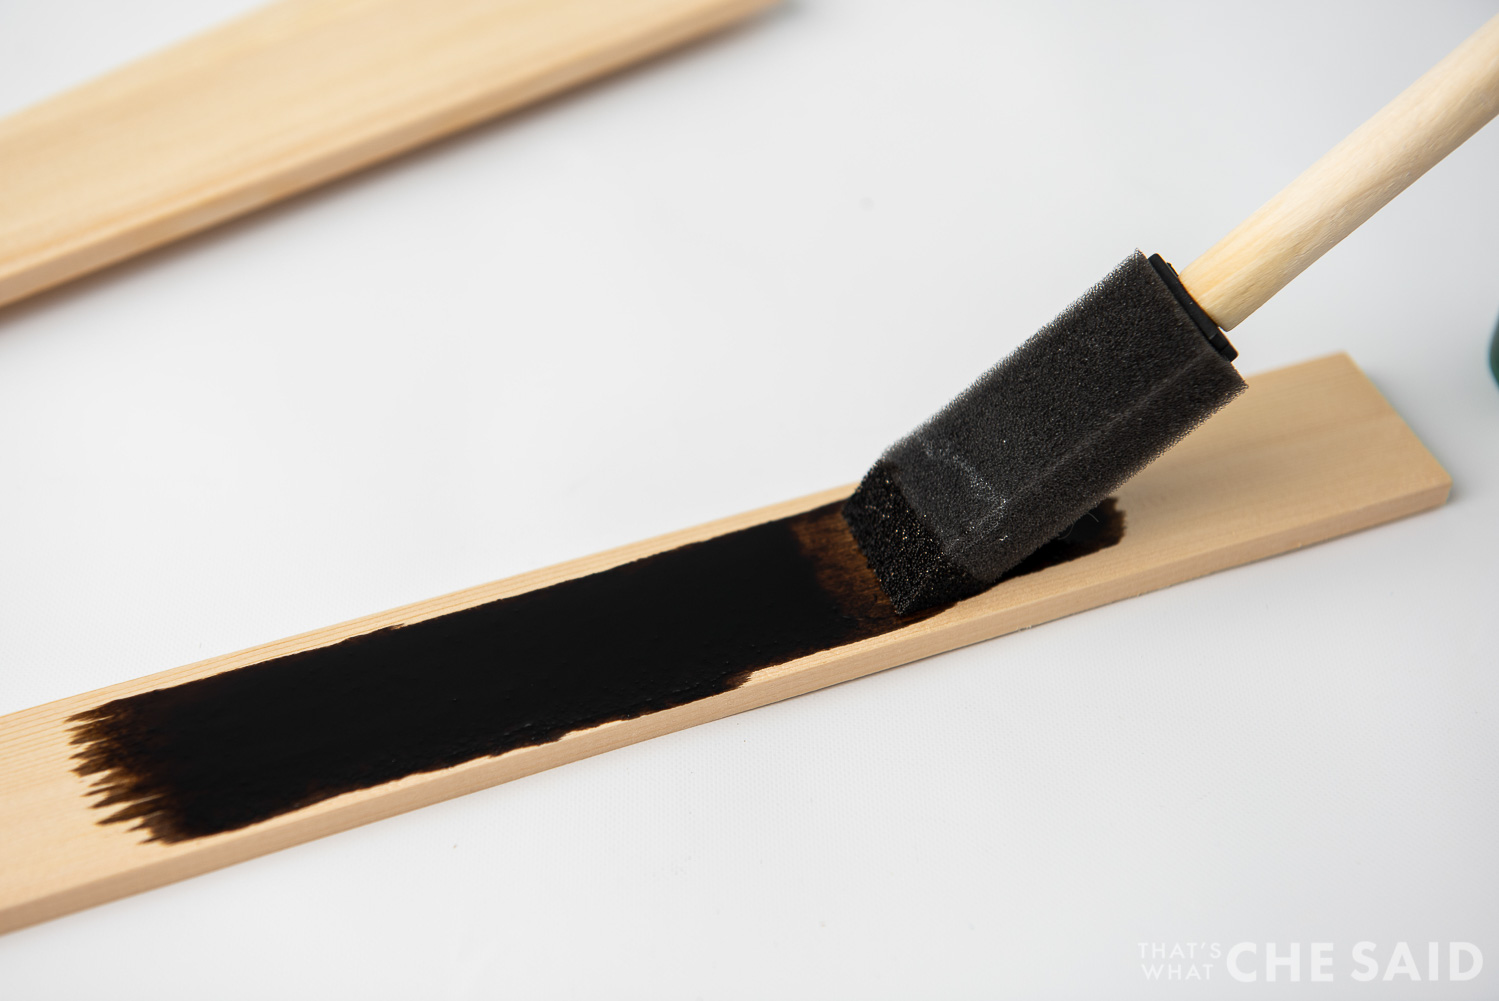
Using the stain and a foam brush, stain the frame pieces (front and back) and let dry. You may need to rub off excess stain with a rag or paper towel.
- Paint the Truck Ornament
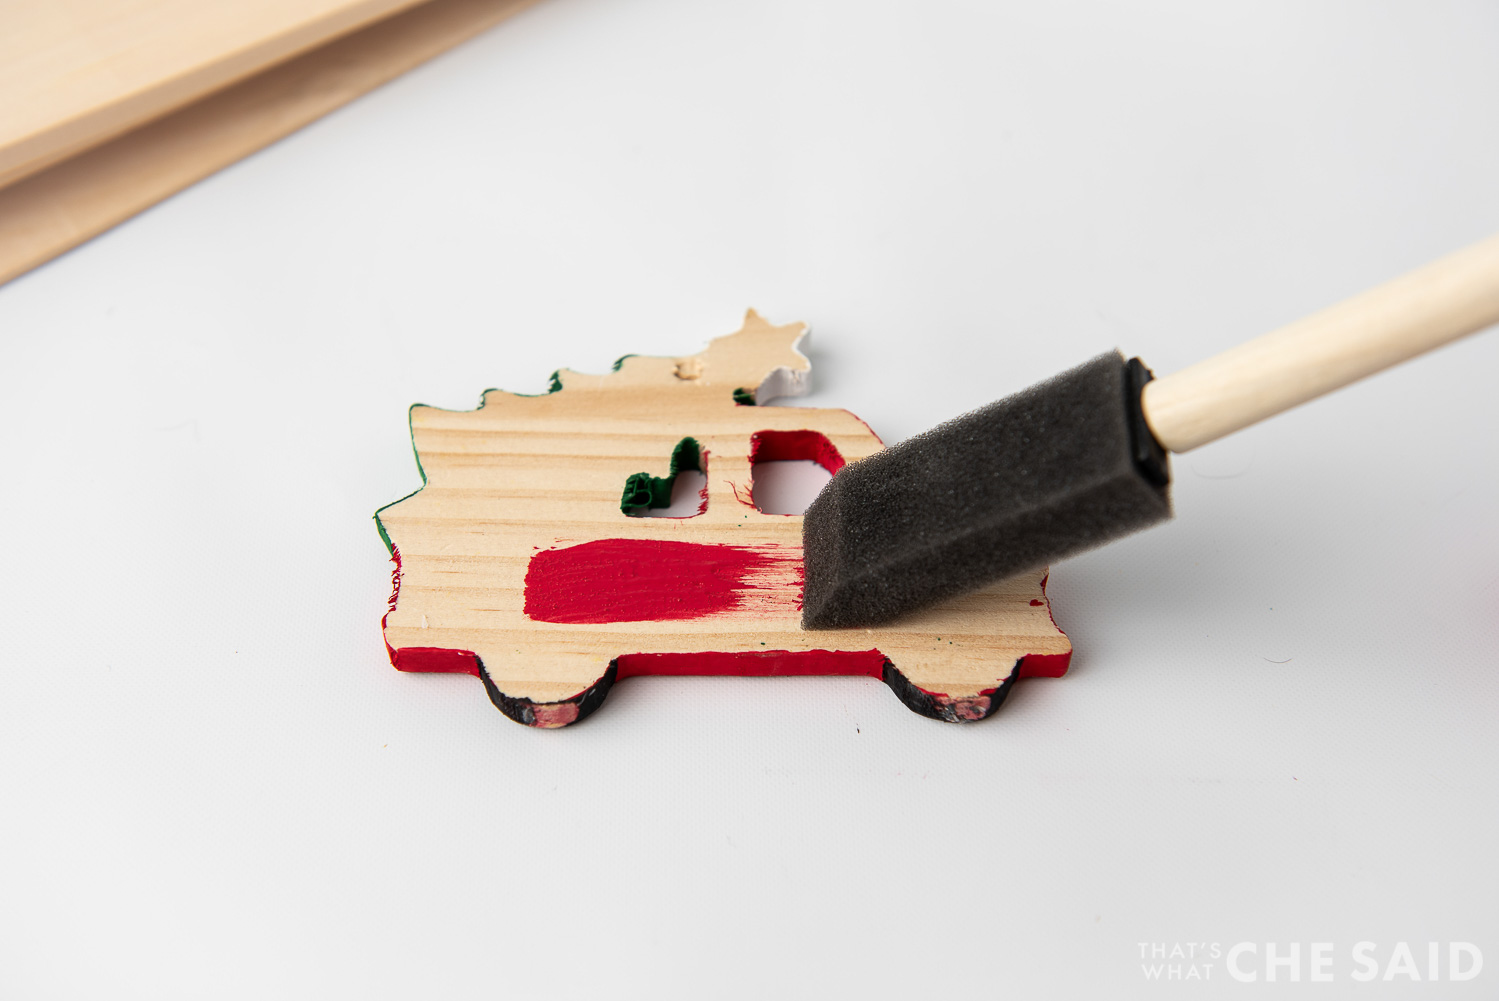
If using a plain wooden ornament, paint the truck red, tree green, tires black and add snow details using white. If you are using a pre-painted ornament, skip this step!
- Build the Frame
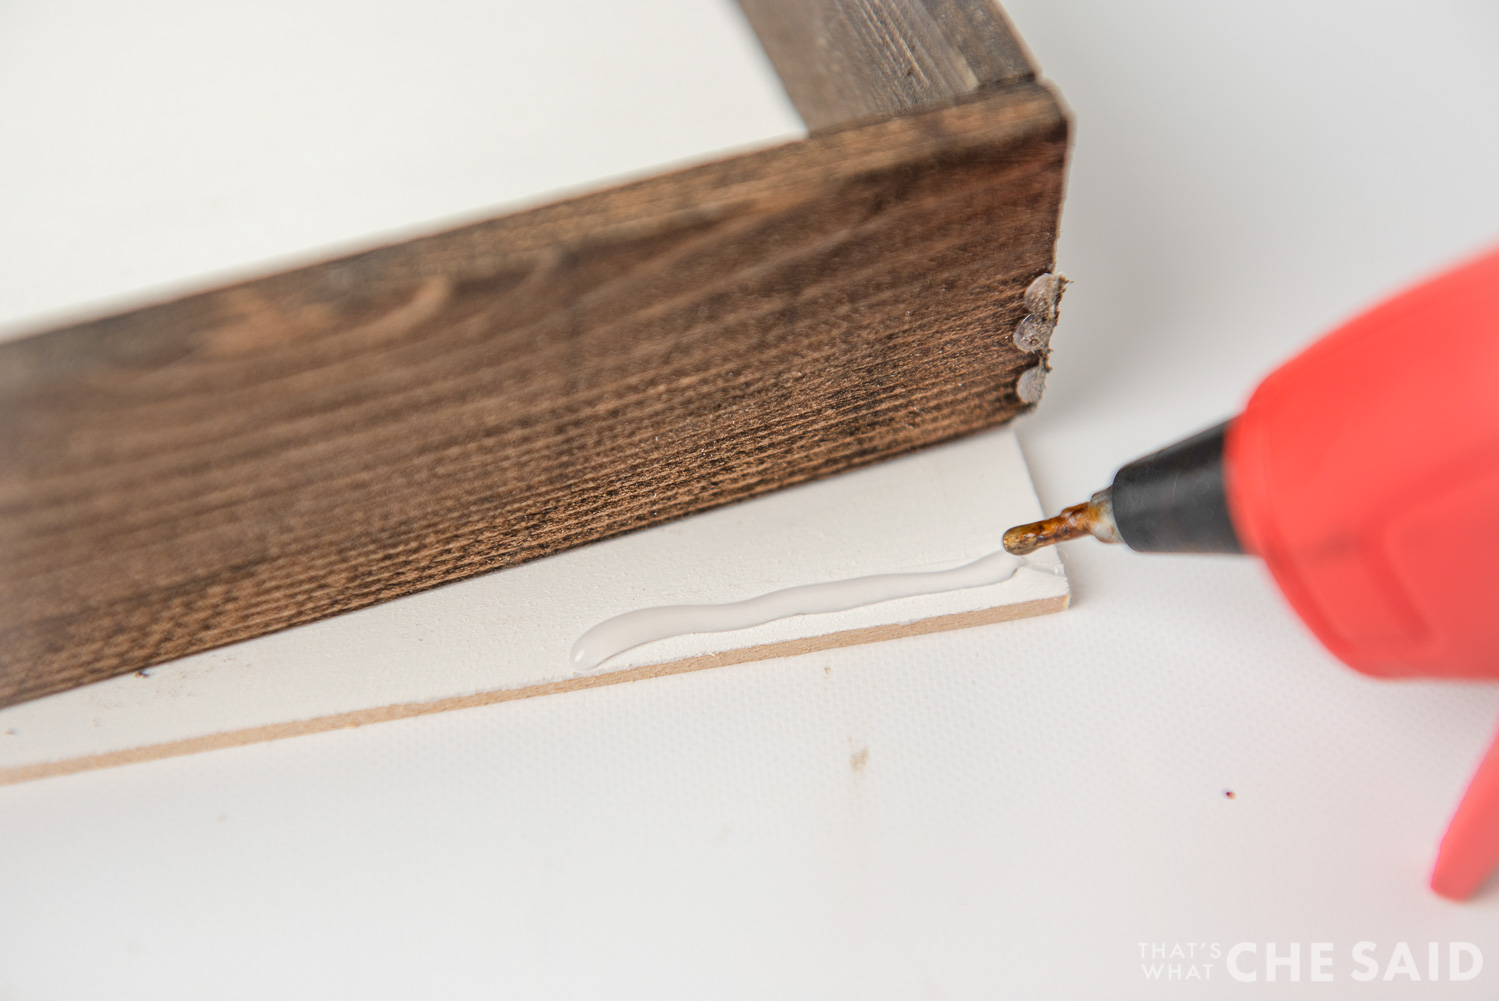
Using Hot glue, assemble the frame into a rectangle.
- Glue on the Backing
Using hot glue, attach the white backing to the frame you made in step 5.
- Upload the SVG to Your Design Software
I used Cricut Design Space. You can find detailed tutorials on uploading SVG files:
– How to Upload an SVG to Cricut Design Space
– How to Upload an SVG to Silhouette Studio - Cut the Vinyl Design
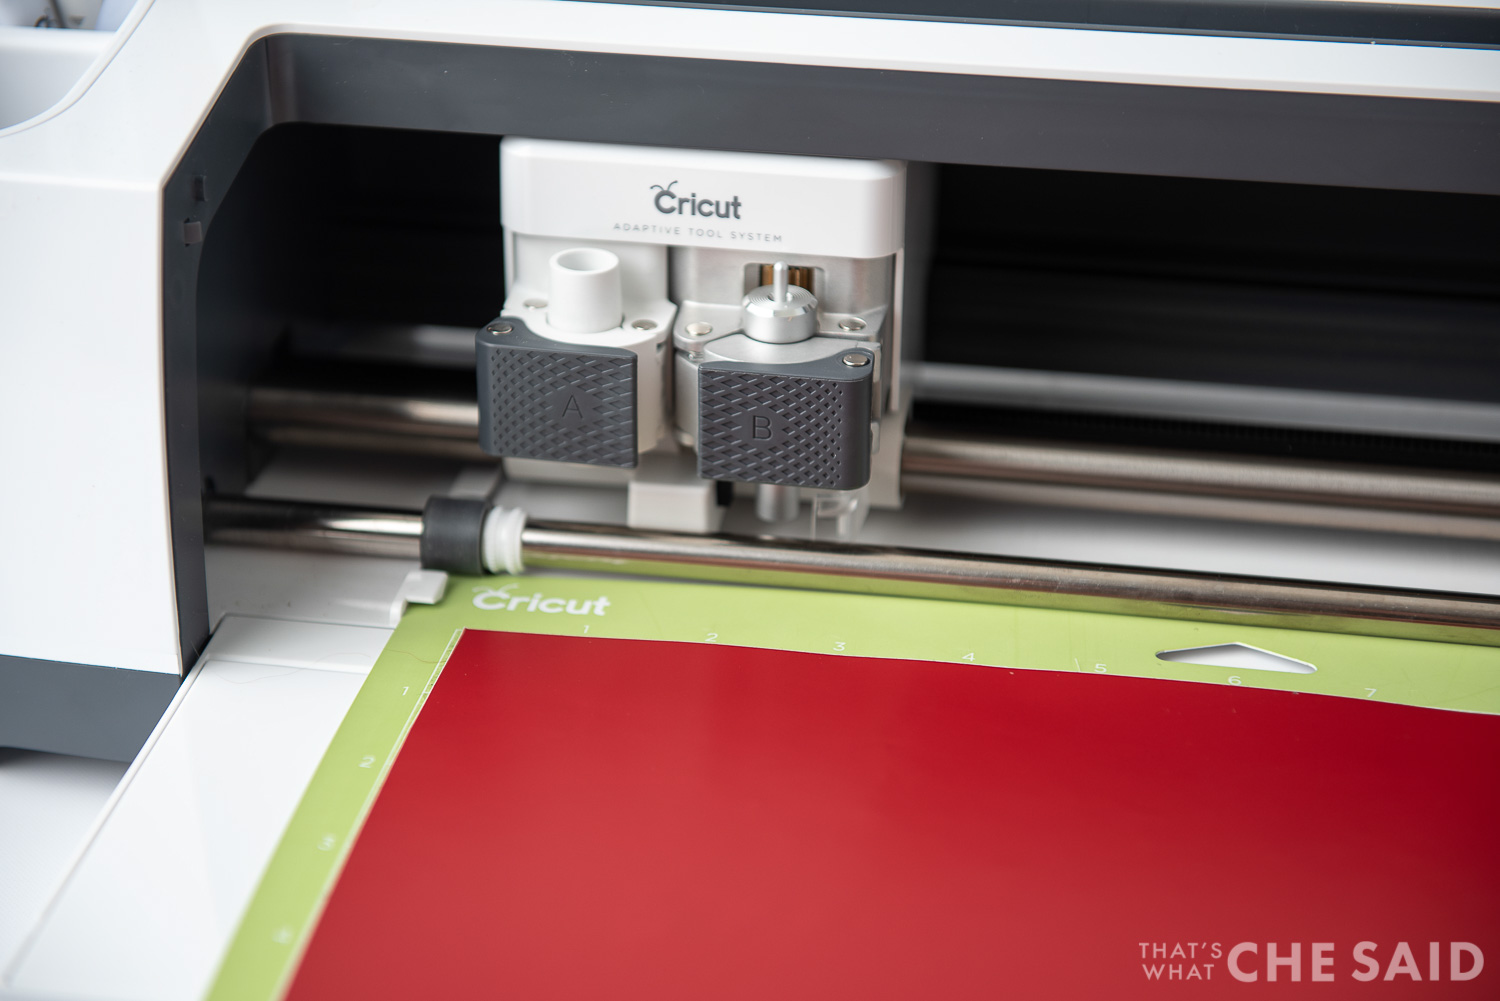
Resize the design if needed. Click Make it in the Upper Right Corner and proceed to Mat Screen, click continue, and select material and cut project.
You can find detailed instructions on how to cut vinyl here. - Weed the Design
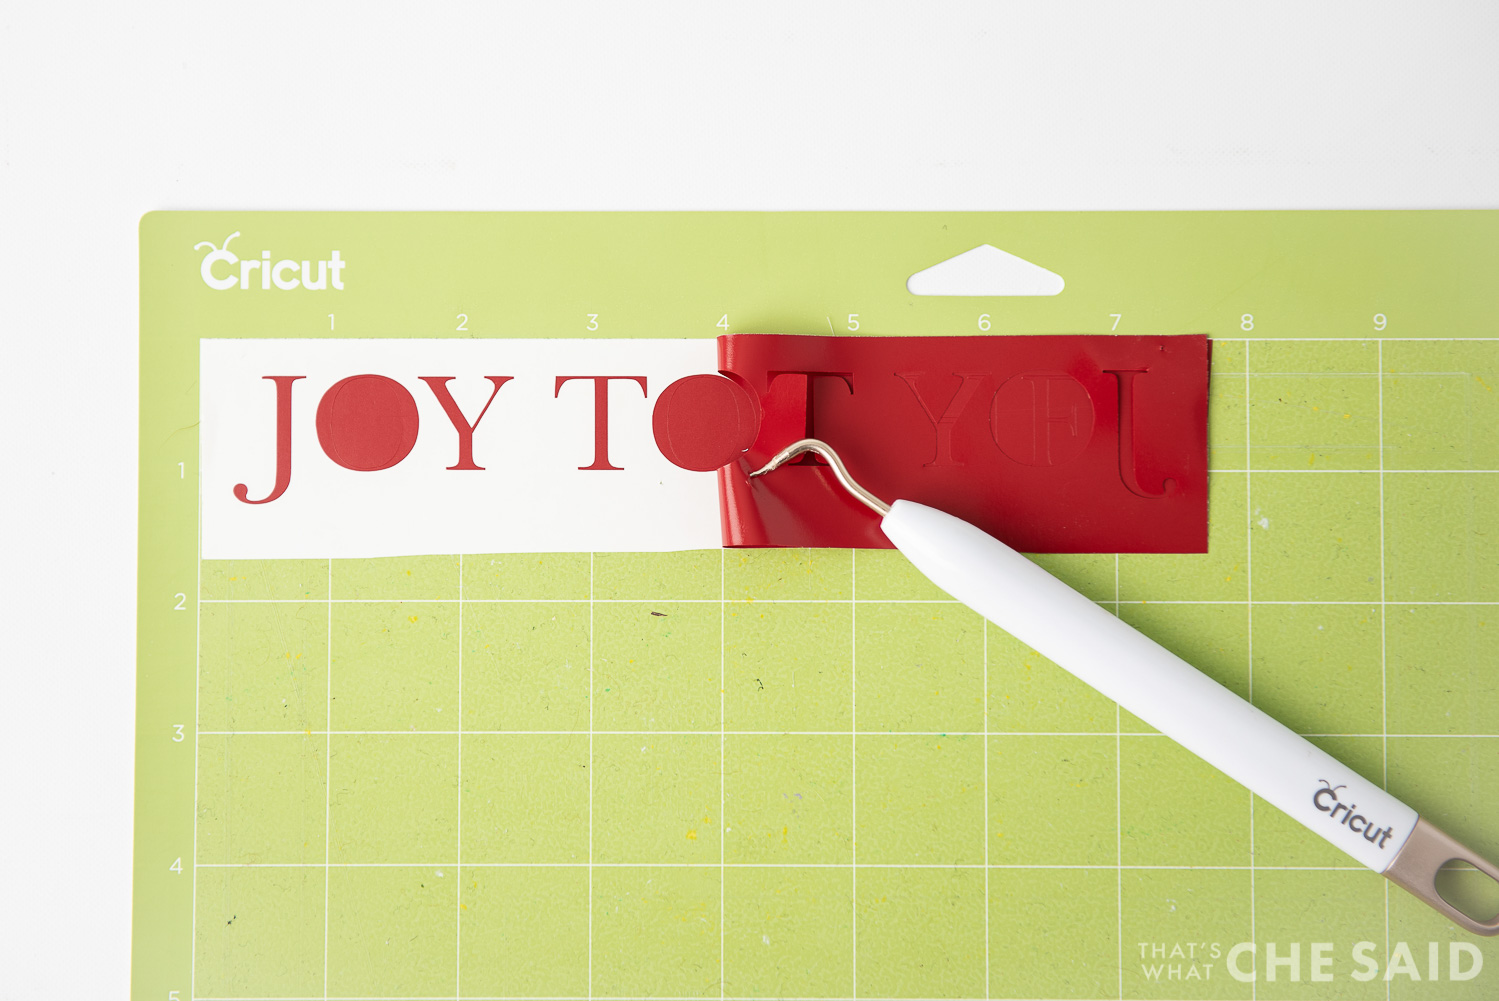
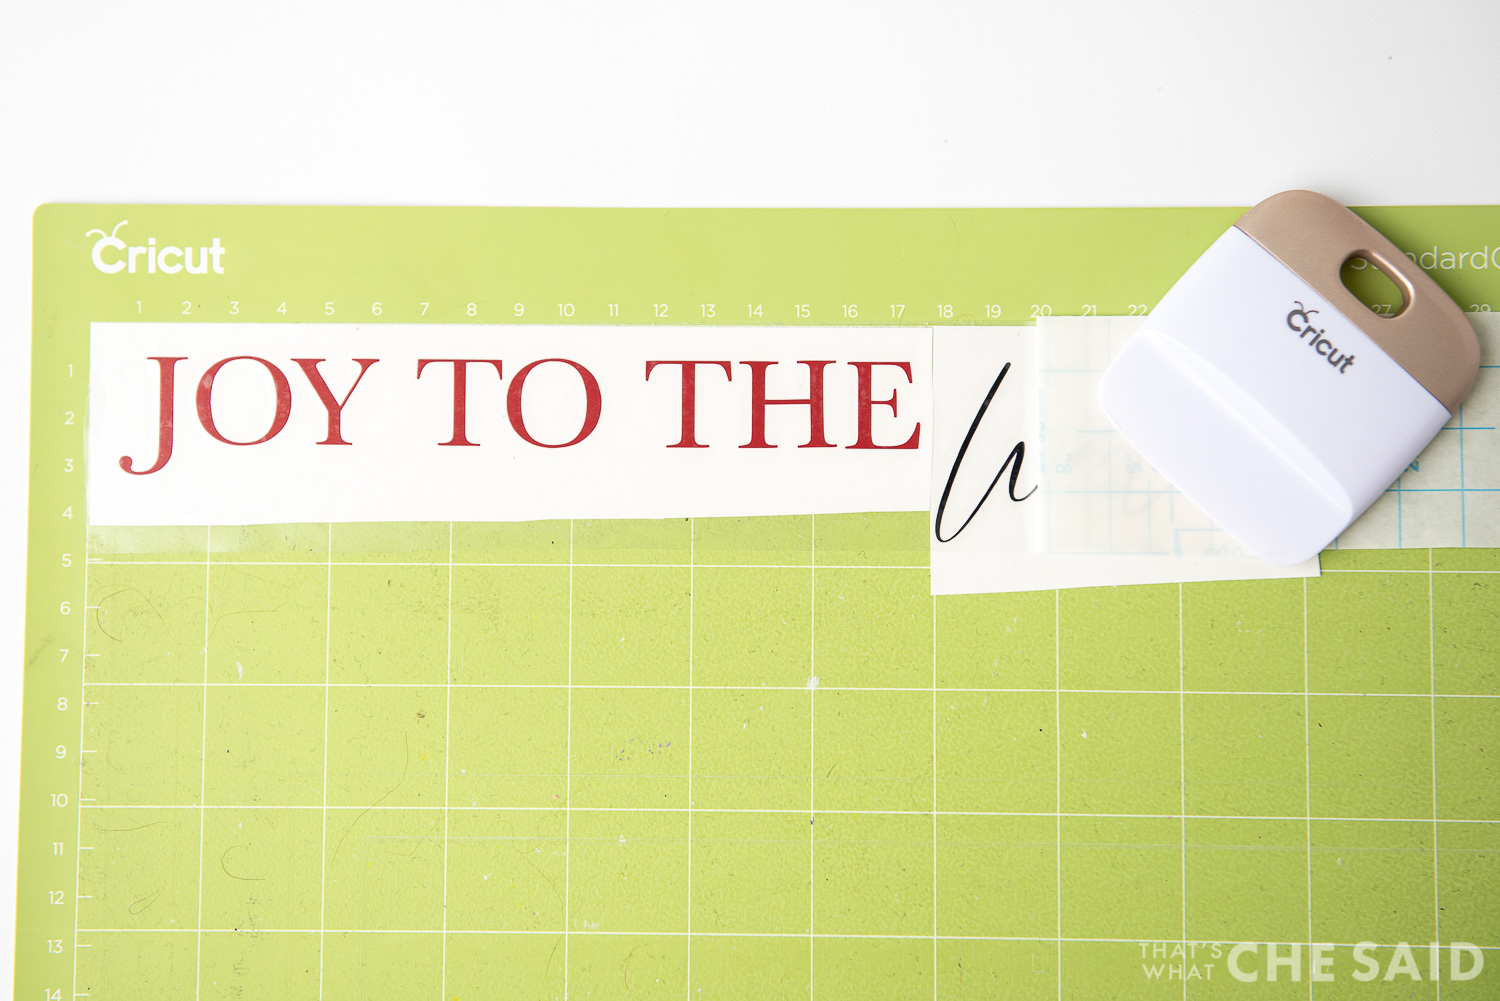
Using a weeding hook remove the excess vinyl from the designs.
- Transfer to the Sign
Apply Transfer tape and apply the vinyl to your sign. You can find detailed instructions on applying craft vinyl here.
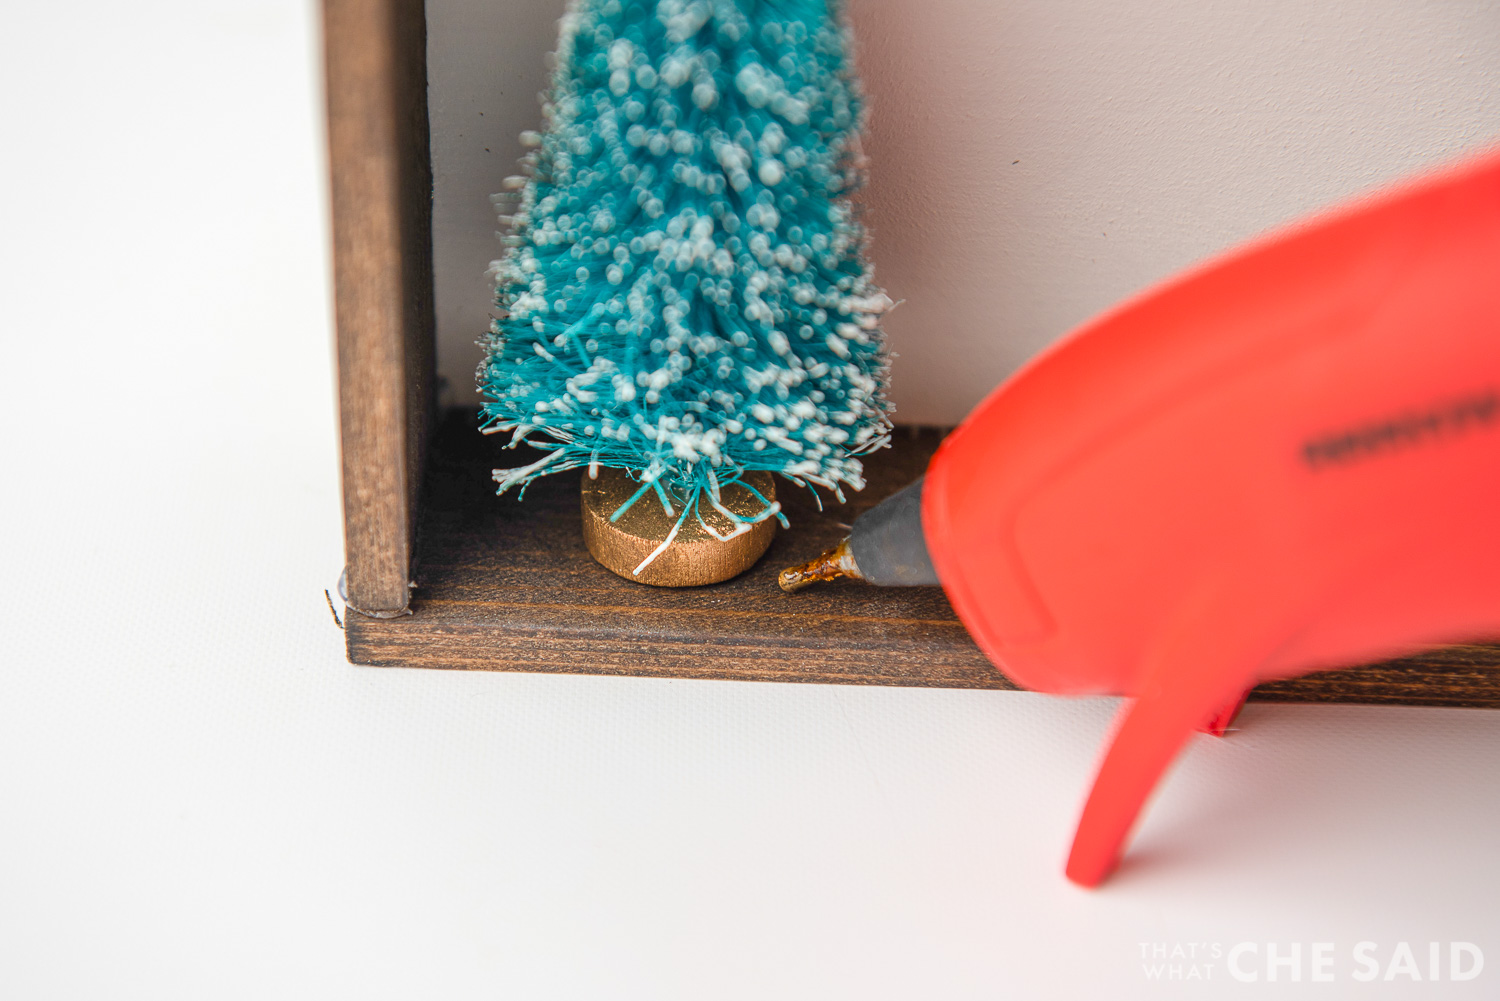
- Glue on the Trees
Using Hot Glue, add the trees.
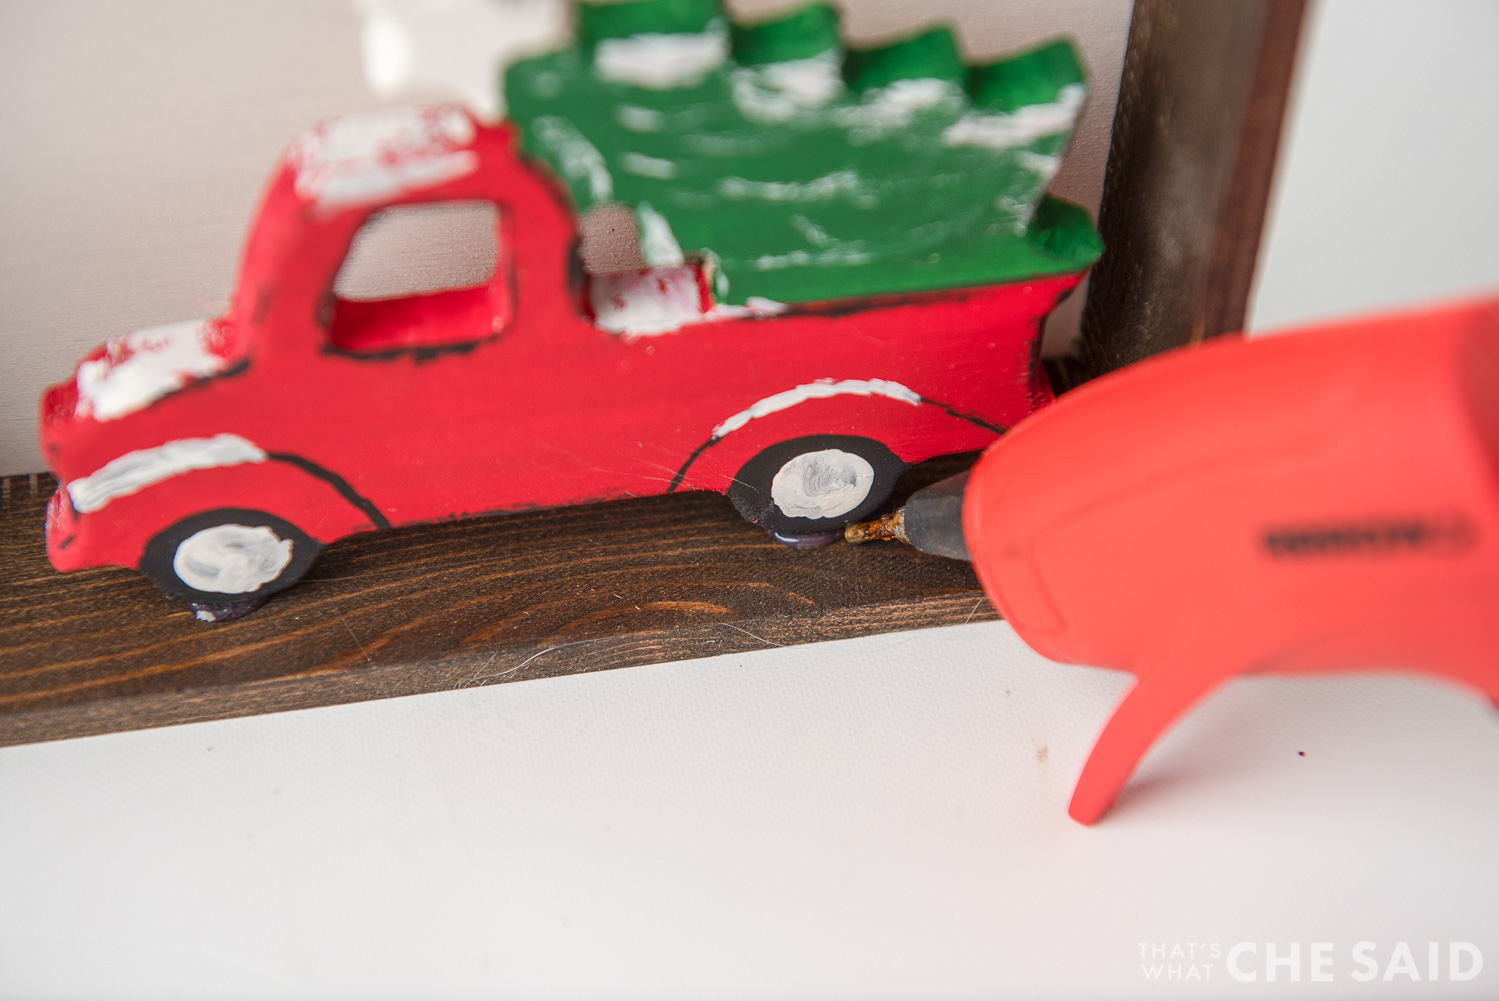
- Add the Truck
Using Hot glue add the truck to the frame.
- Optional – Add Hanger
If you are not setting this on a mantel, shelf or table and want to hang it on the wall you can simply hot glue a piece of ribbon, a pop can tab or a small piece of wire.
- Enjoy your DIY Christmas Sign
DOWNLOAD CHRISTMAS SIGN SVG HERE
Getting the freebie is easy! First, enter your name and email below and join my email list community (AND gain access to my freebie library)!! After that, click the download button and the freebie will begin automatically.
I use box.com to deliver my freebies safely! There is no need to sign up for a box.com account!
Please see this FAQ post + Video on how to download my freebies.
This download is for personal use only!
MORE CHRISTMAS PROJECTS YOU WILL LOVE:










Leave A Reply!