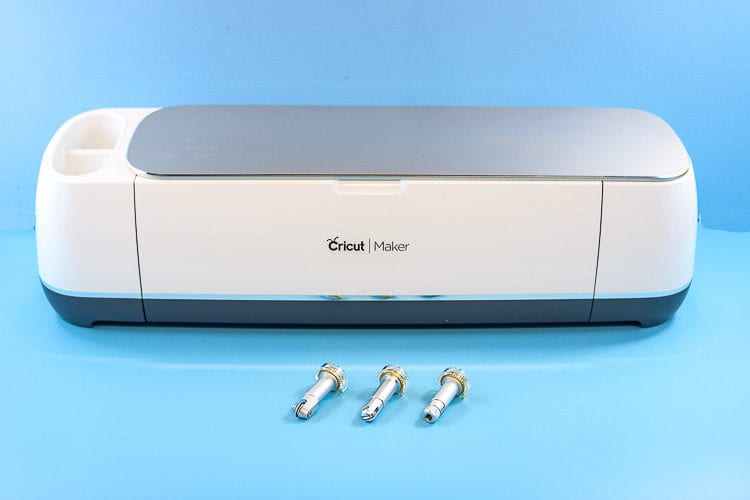
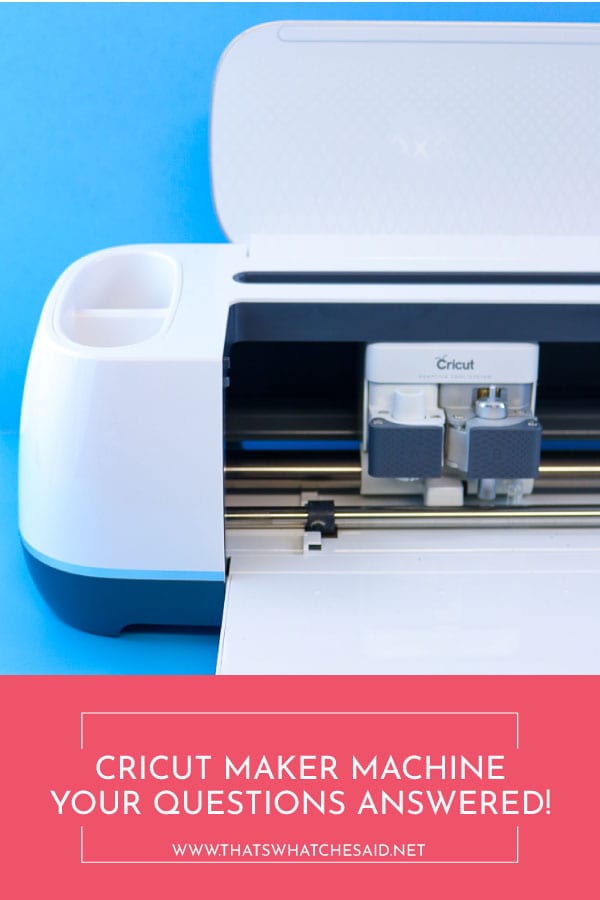
Cricut Maker is the newest Cricut machine to hit the crafting world and whether you are looking to upgrade from a previous Cricut machine or purchase for the first time I am sharing everything you should know! All your questions are answered! I am also sharing some of the awesome tools and projects you can make with this ultimate smart cutting machine. From vinyl decals to t-shirts to wooden accents and felt projects.
The Cricut Maker is one of my absolute favorite crafting tools. I know it also is an investment, so if you are on the fence or curious about whether it is right for you, I am answering all your questions and sharing a fun craft below.
Cricut Maker FAQ’s:
What is the Cricut Maker?
The Cricut Maker is an electronic cutting machine that is a tier above its siblings the Explore and Explore Air series. It is the most versatile electronic cutting machine. It can cut the most delicate of fabrics, then move onto paper, vinyl, iron-on, chipboard, leather, and basswood (and more!)
You can switch from card making to sewing to cutting leather jewelry with the help of the adaptive tool system. Switch out the fine point blade for a rotary cutter, scoring wheel, or knife blade.
You are able to utilize the double clamp carriage to write with the Cricut Pens and cut in one pass.
How is the Cricut Maker Different from other Cricut Machines?
As mentioned above the Cricut Maker has an adaptive tool system that the other machines do not have. You are easily able to switch the fine point blade for a rotary cutter, scoring wheel or knife blade simply by unlatching the clamp, inserting the tool and reclamping in place.
The Maker has more tools, can cut more materials and gives you more possibilities.
The Maker delivers professional results and uses unique cutting technology that controls the direction of the blade and the cut pressure to match your material. And with 10X more cutting power, you can take on more materials than ever
Will I Use the Machine Enough to Justify the Price?
My answer is yes. If you like to make your children or grandchildren custom t-shirts, or make birthday cards for your friends and family or sew up adorable clutches for your favorite pair of sunnies or create easy and fun holiday decor for your home, you will use the machine enough to justify the price.
For example, I have 3 boys. If I wanted to purchase them each a shirt for the holidays with an adorable saying on it, I would spend anywhere from $15-20 per shirt. So Let’s go in the middle and say a total of $50 for easy math purposes. (That doesn’t even include shipping) Now, assume I want to make them each a shirt each month. That is now at least $600 I would have spent on shirts!
I am confident that I can even add in the purchase of materials and still be below that $600!
With the versatility and ease of this machine, you will definitely use it!
Why Should I buy the Maker over a Cricut Explore Air 2?
My answer for this is based on experience. At first, I really thought that I was going to just make shirts for my kids and label everything in my house with vinyl, lol. Then I ventured into cards for my family and friends. Then I wanted to be able to make leather teardrop earrings and then I wanted to make 3D projects using chipboard and wood. Then I wanted to cut easy patterns with my machine and sew them without having to line everything in backing first.
It all started with t-shirts for my kids! The Maker is so awesome that it keeps your creative juices flowing and I am so happy that I had the maker and was able to keep moving forward in my creativity and had the ability and means to do so by owning the Maker and just adding in the adaptive tools.
What Materials Can the Cricut Maker Cut?
I feel for this question the list would be shorter if I told you what it couldn’t cut, lol! Here we go, I will give it a go!! (there are over 100!!)
- Vellum
- Poster Board
- Mat Board
- Metal
- Aluminum Foil
- Canvas
- Cereal Boxes
- Chalkboard Vinyl
- Sticker Paper
- Tattoo Paper
- Magnet Paper
- Corrugated Cardboard
You can find the complete list here.
What Design Software does the Cricut Maker Use?
You will use Cricut Design Space to communicate with your Maker machine. Cricut Design Space is free and you can download it here. You can also find out more about Cricut Design Space here.
Will I be able to Learn Cricut Design Space to Create Projects?
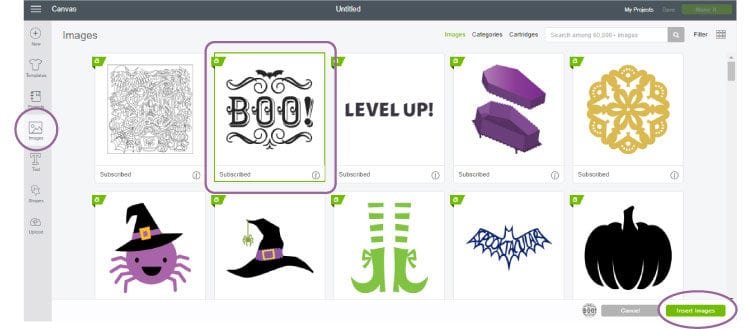
Yes! Cricut Design Space has a whole selection of premade images that you can use. Simply click the image icon in the left panel, select your design and insert the image. You can pay as you go or join Cricut Access (subscription service) and use as freely as you are subscribed!
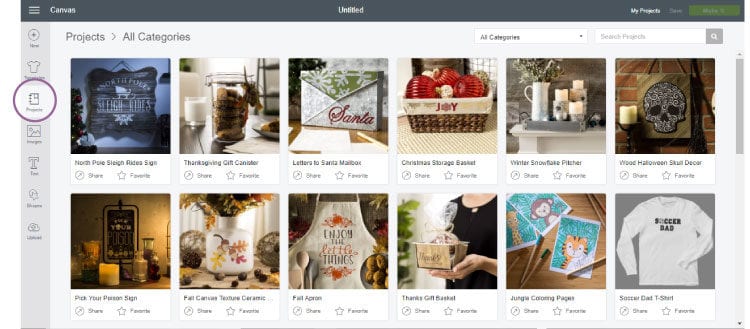
There is also the Projects icon that will show you finished projects that you can make that will include all the design elements you need! Click the projects icon, select your project and click Make It, to follow the normal onscreen instructions to complete your project. These include scrapbook pages, sewing patterns, iron on projects, vinyl proejcts and more.
There is also a blank canvas with many design elements for those of you who want to design your own or simply use text! You can find all of my Design Space tutorials here.
Can I use my cartridges from previous Cricut machines?
Yes!
You won’t actually insert the cartridge itself into the machine as you have done in the past but you will link your cartridge to Cricut Design Space and be able to access the images on the cartridge to use with the Maker machine!
Note: You may only link cartridges through a computer. The iOS and Android apps will not allow you to link.
You can find detailed instruction on how to link your cartridges here.
Can I upload and use my own Images?
Yes!
As a matter of fact, I have detailed instructions on How to Upload files to Cricut Design Space here!
You can find all my free svg files here.
What Additional Tools will I need to create with the Maker?
I think that totally depends on what you are doing with your machine. I always recommend the basic or essential toolkits as I feel that is standard for any crafter. A weeding tool, scraper, tweezers and spatula are must-haves. These are popular for all Cricut machines.
The rotary cutter comes with your machine so you do not need to purchase that separately in order to cut fabric with your machine. YAY!
If you are looking to do paper crafting then the scoring wheel combo will be very helpful and if you are looking to cut thicker materials such as wood, metal, leather or chipboard then you will want the knife blade. If you enjoy engraving you can use the engraving tip.
These are all under $50 each and are not needed to get started with your machine but simply add-on tools to make your machine work harder for you! You can check out my Cricut Deals page where I will often share when these are on sale!
You can also find my favorite Cricut Supplies here but these are simply favorites, not necessities!
What DIY Projects can I make with my Maker?
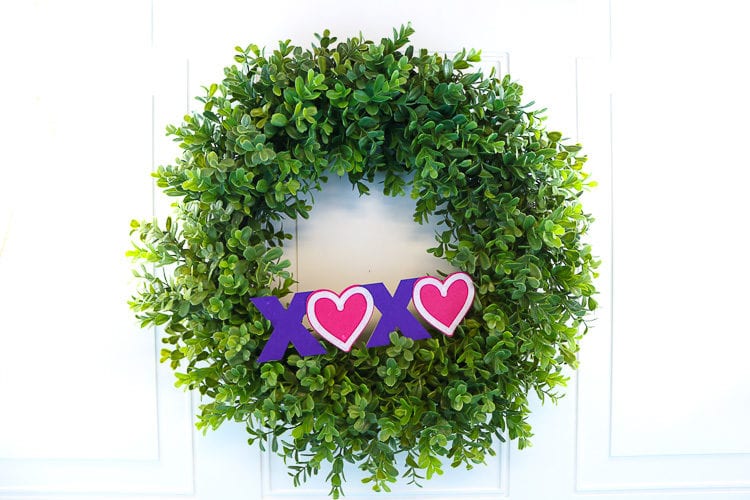
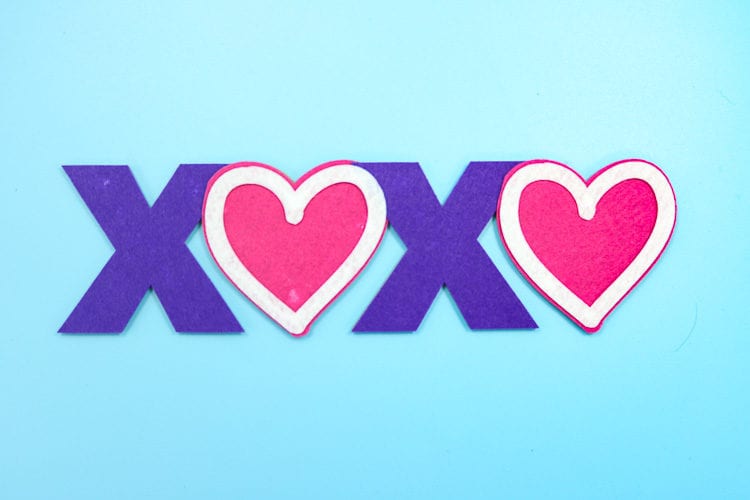
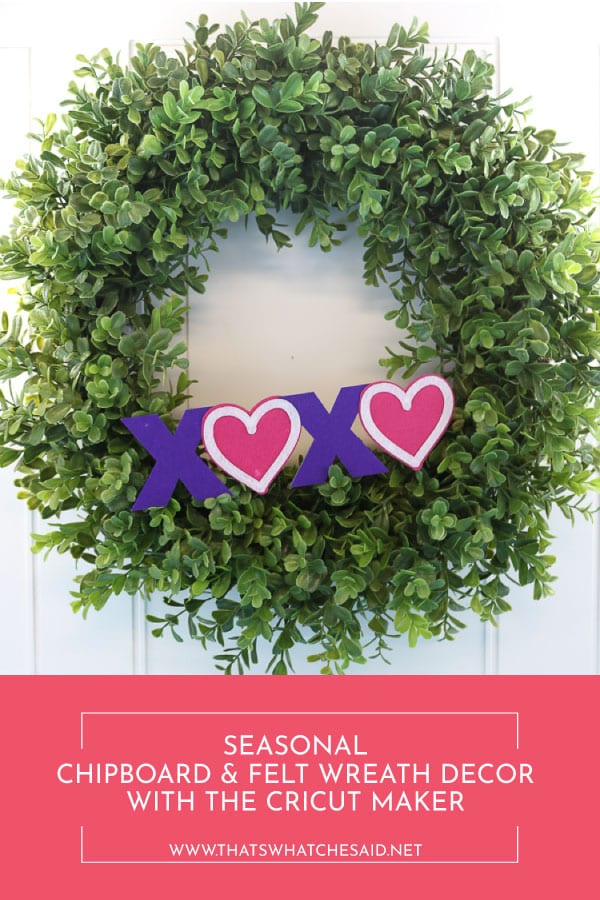
I am so glad you asked! I urge you to check out all my Cricut Projects here, however, today we are going to make chipboard words to adorn a boxwood wreath! We can make several that we can change out as the seasons change! Fun right? Let’s get started!
Custom Chipboard Wreath Sign Supplies:
- Cricut Maker (Cricut | Amazon}
- Strong HOld Mat (purple) {Cricut | Amazon}
- Fabric Mat (pink) {Cricut | Amazon}
- Knife Blade {Cricut | Amazon}
- Rotary Cutter (included with Maker)
- Felt Sampler Carousel {Cricut | Amazon}
- Heavy Chipboard 2.0mm Cricut | Amazon}
Cutting Chipboard with the Knife Blade and Cricut Maker:
Preparing your Mat:
If I intend to use vinyl or heat transfer with chipboard, I apply this FIRST to the chipboard and cut together. You can read more about how to prepare your chipboard with Vinyl here and with Iron on here.
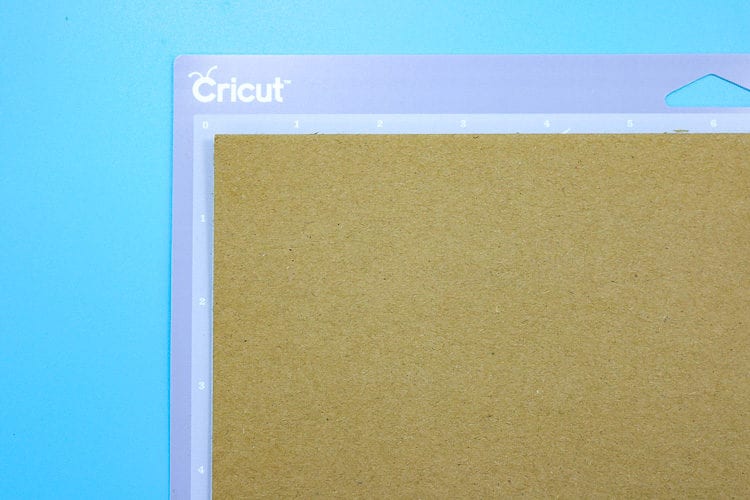
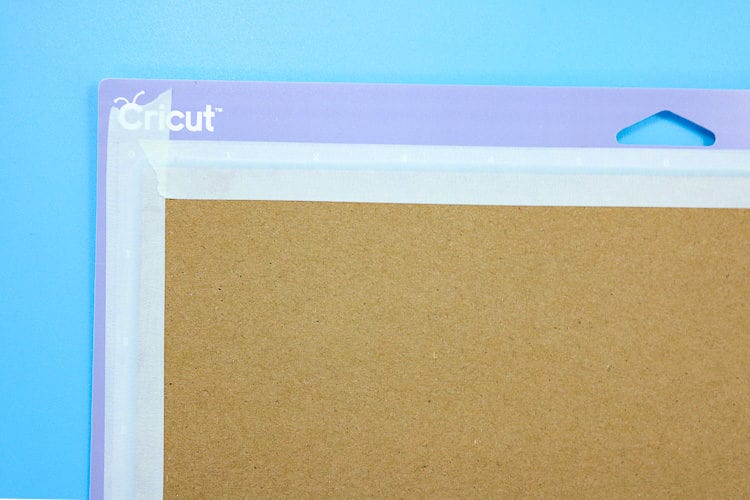
- Place your chipboard on a StrongHold Mat (purple)
- Using masking tape, secure all 4 sides to the mat
Preparing your Maker Machine:
Inserting the Knife Blade:
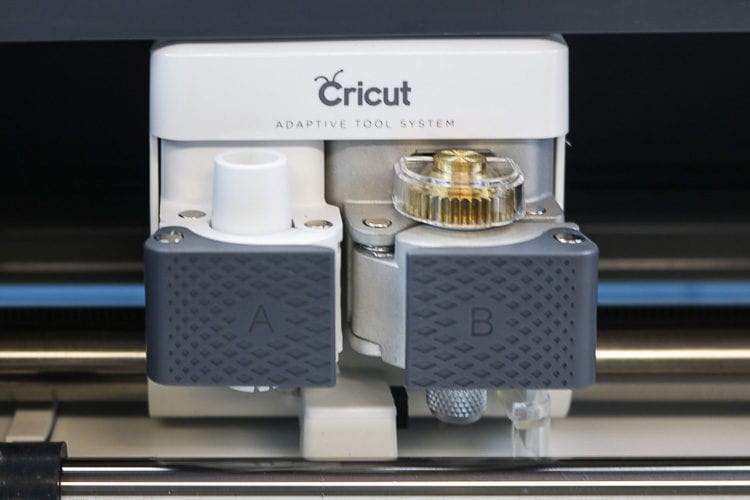
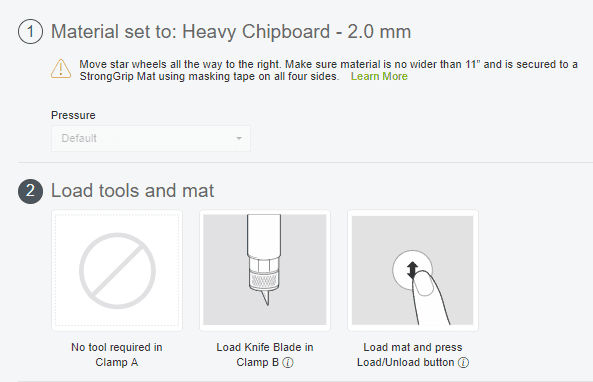
- Open Clamp B and remove fine point blade
- Insert Knife Blade into Clamp B
- Latch Clamp securely
Moving the Star Wheels:
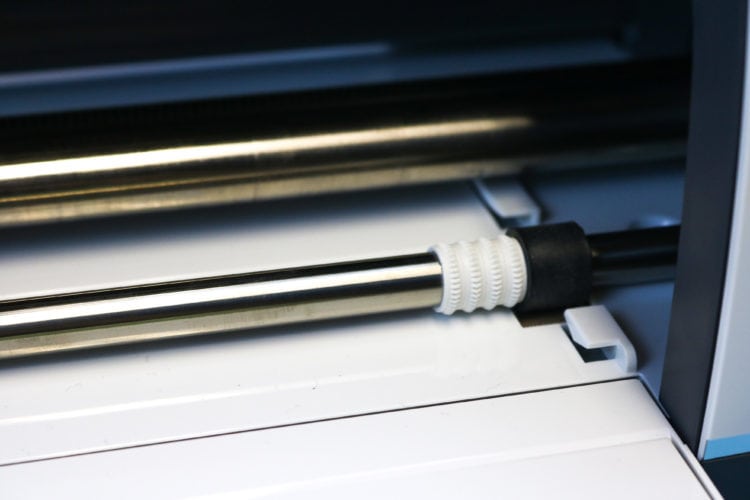
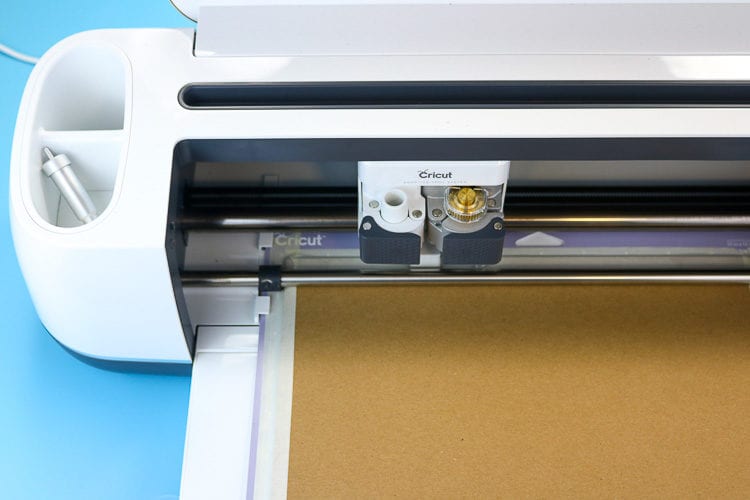
When using thick materials it is very important to move your white star wheels all the way over to the right side of your machine. If you forget this step, not only will your mat not be able to slide back and forth in your machine but you can also damage your machine.
- No tools required, simply slide the star wheels to the right. You might need to use a bit of muscle the first time!
Cutting Chipboard:
- You may find my project here. Click Customize if you wish to change anything or Make It if you want to make as is!
- If this is your first time using the knife blade you will need to calibrate it. It’s VERY quick and easy and you can find directions here.
- Select your Material by choosing “Browse Materials” Search for Heavy Chipboard and select.

- You will notice Design Space recommends the knife blade.
- Load the mat
- Click Make it.
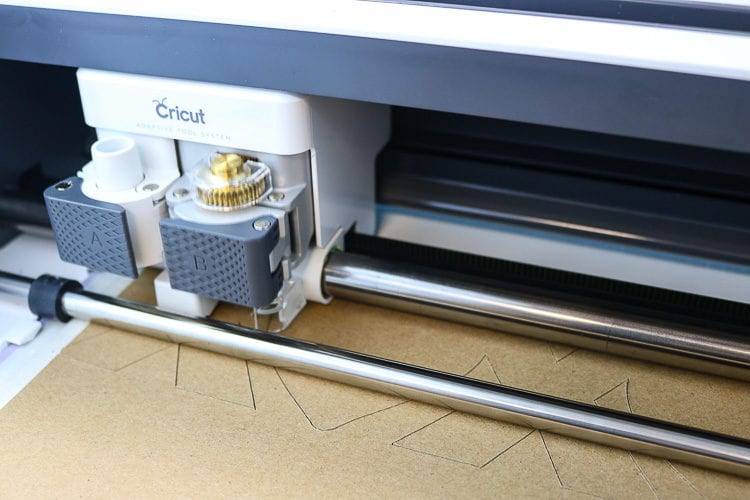
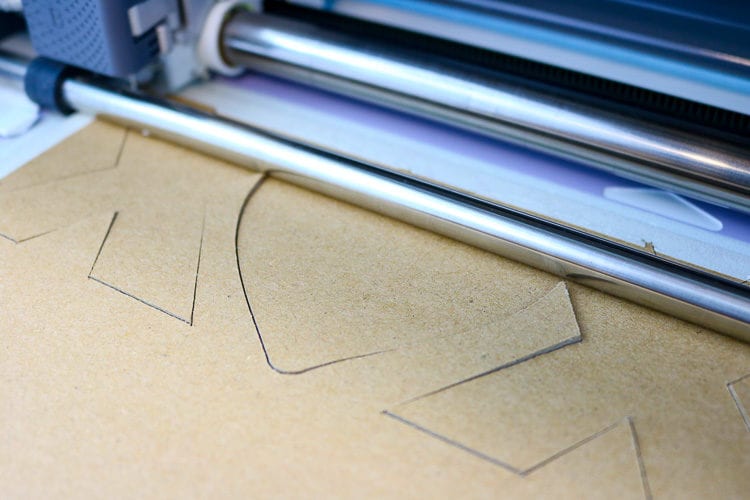
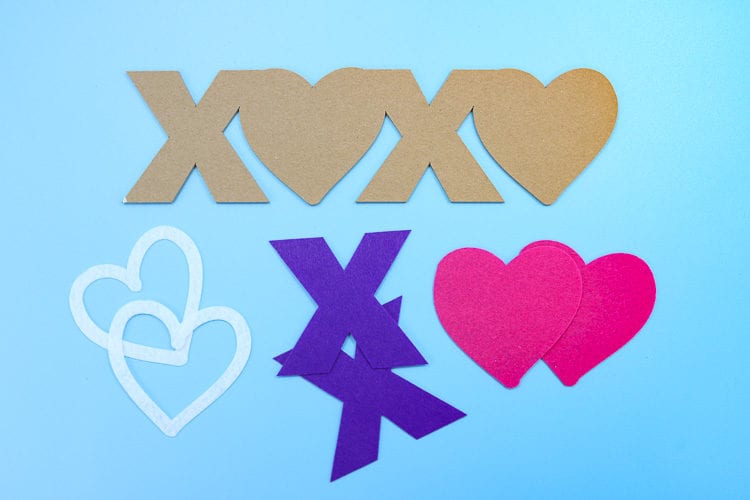
- You will want to start checking your chipboard after 12 passes or so. To do this simply hit the pause button on your machine and WITHOUT removing your mat, gently bend it to see if the design is free. If not, resume cutting. If it is you may remove your mat.You can see here where the chipboard is raising up showing that is cut all the way through.
Cutting Felt:
- Place the felt on the pink Fabric Mat.
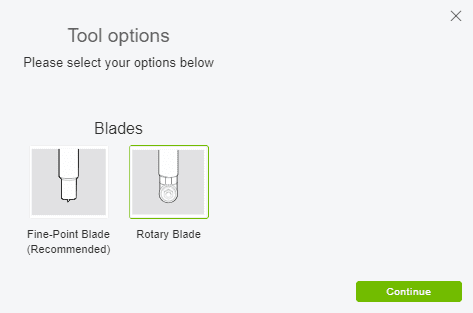
- As above, select “Felt” from the Material list. It will recommend you use the fine tip blade, however I really, really recommend using the rotary tool for the best cuts!
- To change this, we will select “edit tools”

- Then you will select the rotary blade and click continue.
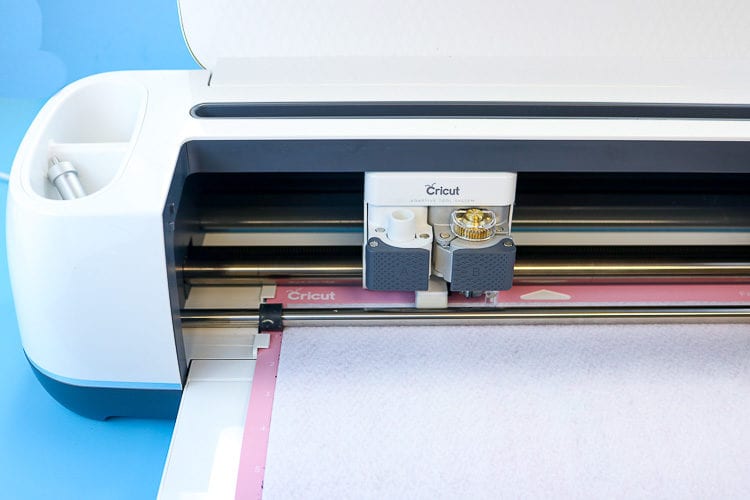
- Insert the rotary blade the same as the knife blade by releasing the clamp, switching out the tool and clasping the clamp back tight.
- Load the Mat
- Click the Cricut C to begin cutting!
Assembly:
- Use some glue to assemble the layers together


Comments & Reviews
Angela Carson says
It is useful machine in making crafts and cutting the different shapes you likes for your home decoration.
Ginny Villa says
Hello!
Love your stuff….I have purchased and use a lot! Get your emails.
I have a question about writing on the Cricut….can you help? Why does the Cricut outline letters instead of writing thick letters? Can this be adjusted? I thought using a thicker pen would help. I have been searching the web for this answer.
Thank you!
Ginny
Cheryl Spangenberg says
Ginny you may want to check out this post here on using the Cricut Pens. https://www.thatswhatchesaid.net/how-to-use-cricut-pens/ If you do not want an outline, you will need to use specific “writing” fonts. They are single line fonts for the pens. Otherwise, the machine reads the font as an object and essentially traces it. That post I linked above discusses this in detail and gives examples! Thanks so much for being here!
naadia chaudhry says
Hi Hi! Thank you. i found your post very helpful.
my one question is, Can you cut Vinyl without a mat on the maker, like you can on the Air 2?
my friend has the Air 2 and was able to cut Vinyl without a mat for a larger design. i couldn’t figure out how to do it on the Maker.
any input would be greatly appreciated.
thank you.
Cheryl Spangenberg says
Not to my knowledge (and I consulted a few other Cricut bloggers) The Explore has an extra set of wheels and the maximum design space area is 11.5″ width by 23.5″ length. It would be your best bet to slice and cut the design in parts and piece back together.
Bobbie Lockett says
I am TOTALLY in LOVE with what the C Maker has done for my work/life ! Right now, I am TOTALLY frustrated because my Maker
is not cooperating: THE WHEELS THAT MOVE TO BRING THE MAT INTO CUTTING POSITION ARE NOT MOVING; yet the blade acts like it is CUTTING (while the MAT is not in place >>>MAT NOT MOVING IN !!! )
Please HELP me !!!
Cheryl Spangenberg says
Hi Bobbie, that is frustrating. I would recommend making sure your machine has the latest update and if that doesn’t help, definitely need to reach out to Cricut Customer Care.