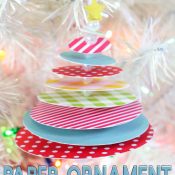
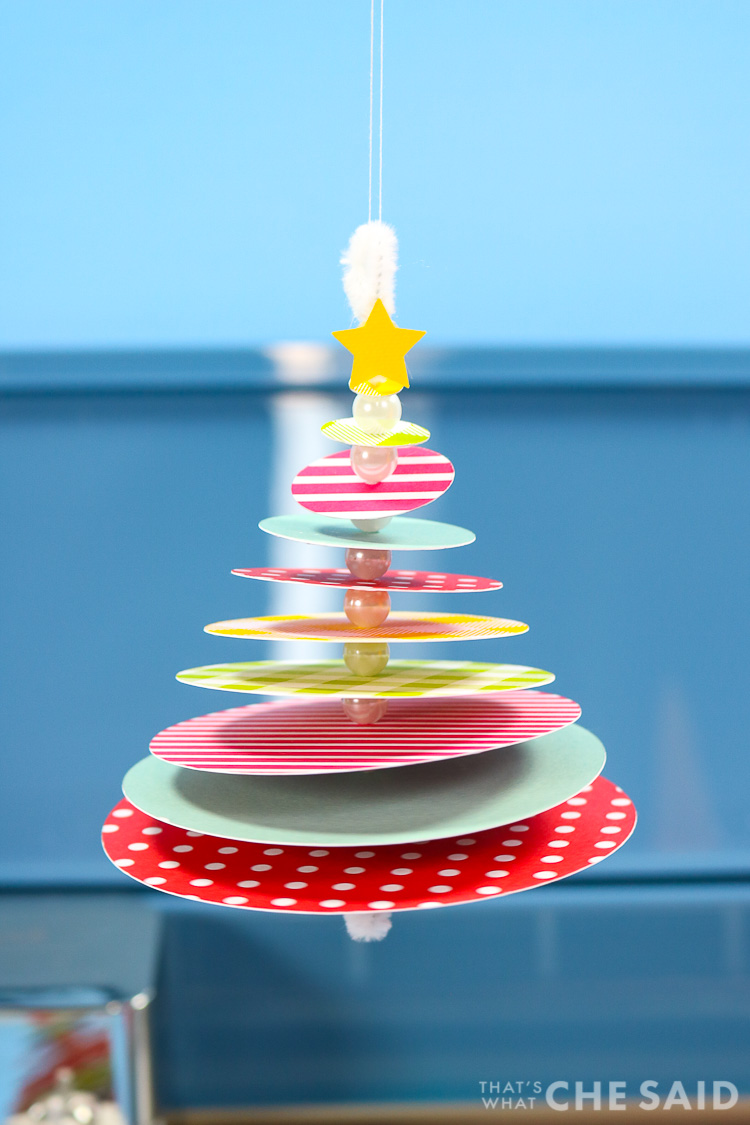
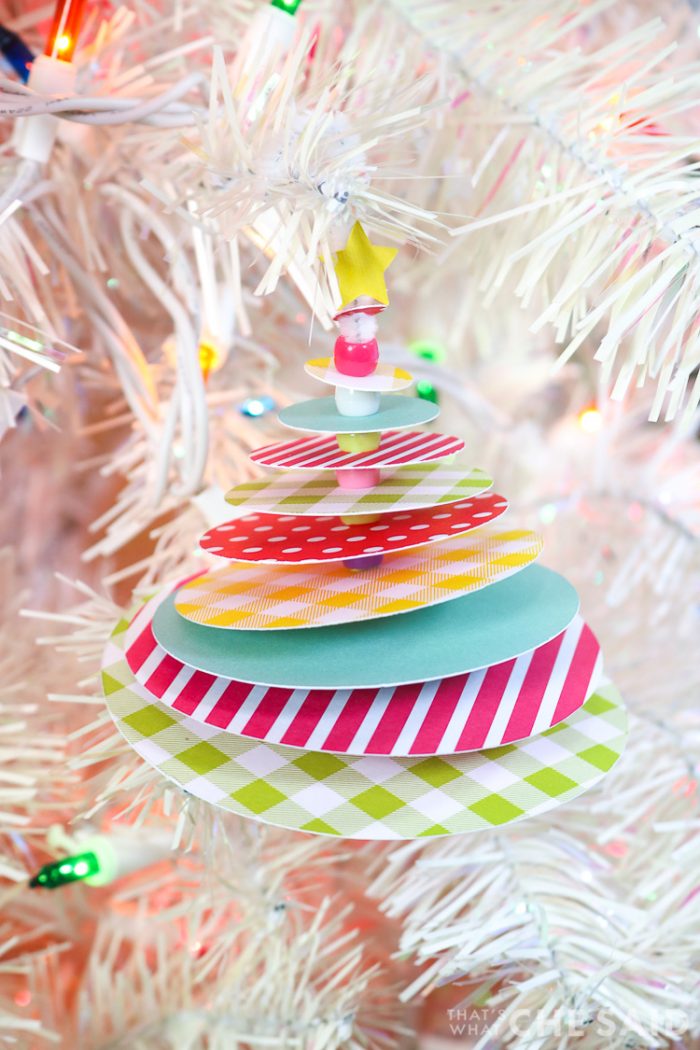
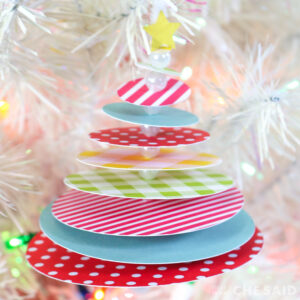
These super easy stacking Christmas Tree Paper Ornaments are perfect for all ages but make a great kids Christmas craft! This easy Christmas craft idea will not only keep the kids busy but they can then gift these ornaments to loved ones or adorn your Christmas tree at home! You can make these with just a few supplies and with or without a cutting machine. Mix up the colors to your favorites!
I am always looking for cute ornaments my kids can make for handmade gifts! These are so easy and fun and would be great as a gift topper or the gift itself! Handmade with love!
Don’t Miss Out!
Get quick crafts, easy recipes and free printables & cut files straight to your inbox! You won’t want to miss a thing! Join now!
This post may contain links to Amazon Associate and other affiliates.
As an Amazon affiliate, I earn a small commission from these links at no additional cost to you.
Paper Ornament Supplies:
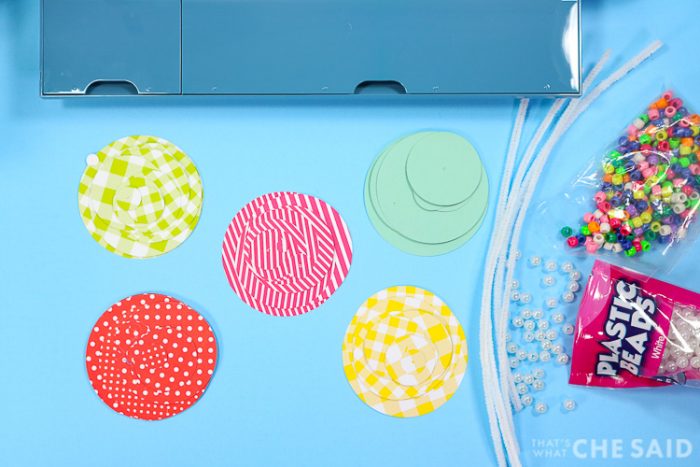
- Paper Pad *double-sided paper works best and a tad on the thicker side. Scrapbook paper is too flimsy!
- Pony Craft Beads
- Pipe Cleaners
- Pencil
- Scissors
- (Optional) Cricut or Silhouette cutting machine.
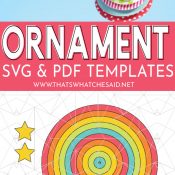
I have provided both the SVG files and the printable/traceable files for you to use. Print the template and cut by hand or upload the SVG and let your Cricut or Silhouette do the heavy lifting, er cutting!
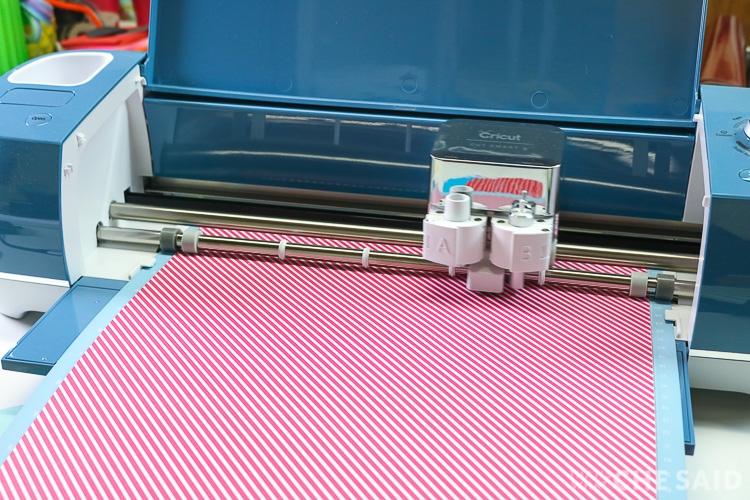
I cut mine on my Explore Air 2. You can also cut these by hand, no problem!
How to Make a Christmas Tree Paper Ornament
Time needed: 15 minutes
- Upload the SVG into your software.
You may find a detailed tutorial here:
– How to Upload SVG Files to Cricut Design Space
– How to Upload SVG Files in Silhouette Studio - Resize if Needed
The files and printables should be sized appropriately but if you need to resize, do that now.
- Cut the Cardstock
Using Scissors or your Cutting Machine, cut the paper circles. You can cut all the same color circles for monochromatic ornaments, or you can repeat this cut step with multiple colors of paper and mix and match during assembly!
- Build the Tree
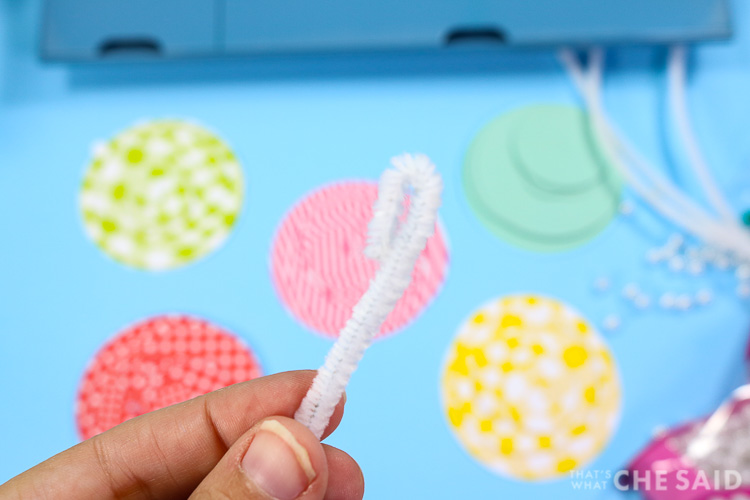
-Take a pipe cleaner and fold over one end about half an inch to form a small loop.
- Start Building the Ornament
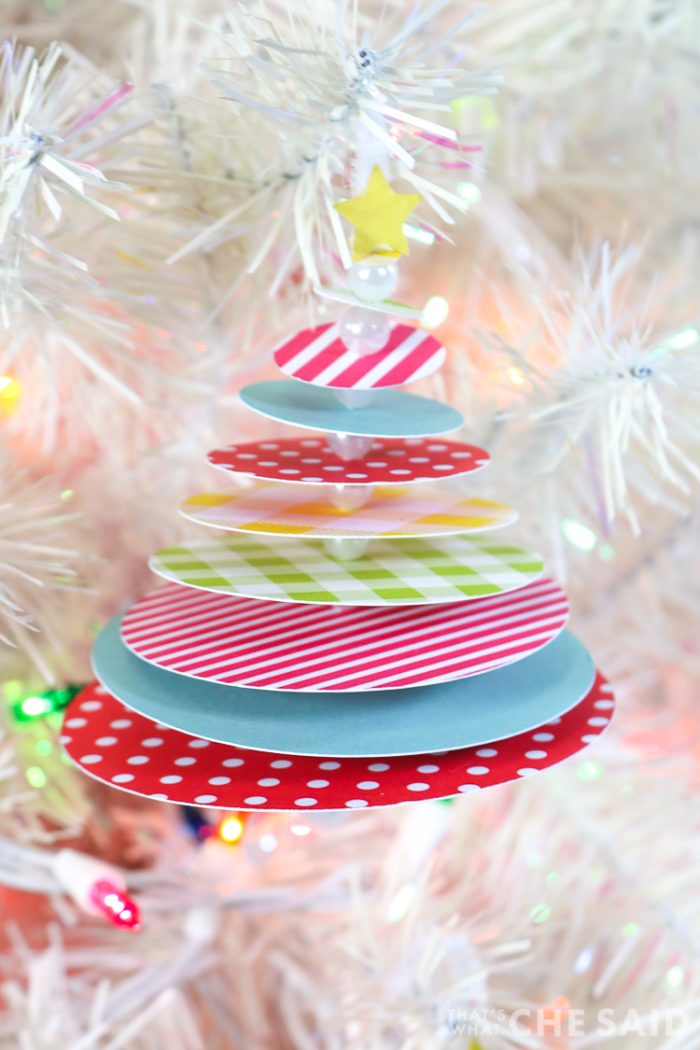
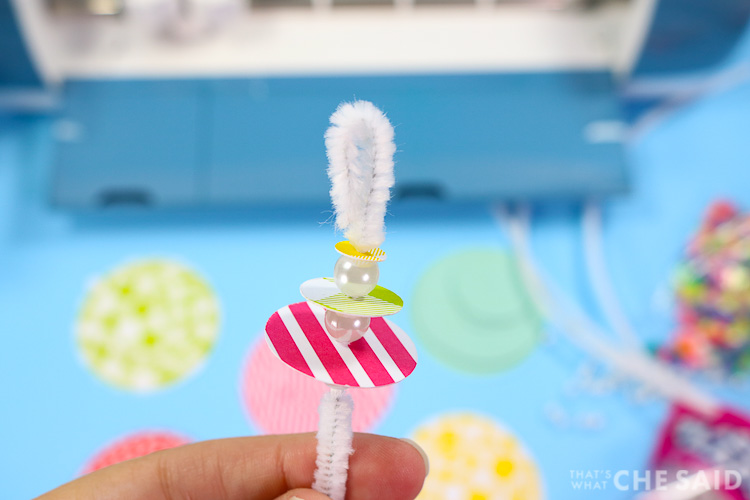
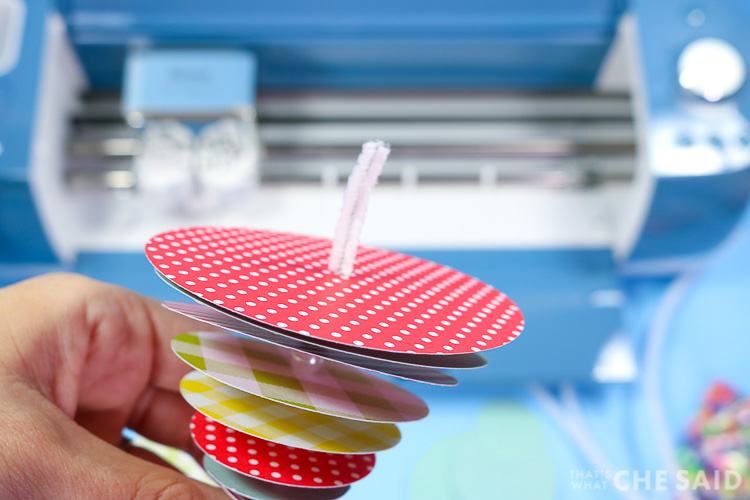
Add a bead, then the smallest circle, another bead, the next larger size circle, a bead and so forth until you reach the largest paper circle and end with a bead.
- Complete the Felt Ornament
Trim the bottom of the pipe cleaner leaving about 1 inch. Loop that back over like the top to secure.
- Add Star
Add the Star to the top and hang. You can hang from the pipe cleaner loop or add an additional ribbon for hanging.
I used two types of beads. Pearl beads in the image above and colored pony beads in the picture below! Feel free to use what you have on hand or mix and match!
TIPS FOR PAPER TREE ORNAMENTS
- If making these as a group, it helps to pre-cut the cardstock circles.
- Mix and match colors or use all the same color for the tree! Be creative!
- You can also use these along with a long ribbon as garland for your mantel!
MORE ORNAMENTS YOU WILL LOVE:
ORNAMENTS GREAT TO MAKE WITH GROUPS
Download Paper Tree Ornament SVG & Print Templates Here
Getting the freebie is easy! First, enter your name and email below and join my email list community (AND gain access to my freebie library)!! After that, click the download button and the freebie will begin automatically.
I use box.com to deliver my freebies safely! There is no need to sign up for a box.com account!
Please see this FAQ post + Video on how to download my freebies.
This download is for personal use only!








Comments & Reviews
Penny Thomas says
This project is absolutely adorable! I cut out white circles and then embossed them with different elegant designs and strung them on a pretty sparkly silver chenille pipe cleaner with white Czech glass beads. I attached a silver glitter star at the top and it is gorgeous! Thank you for sharing this project. I LOVE IT!
Cheryl Spangenberg says
That sounds beautiful, Penny!