Create a fun and interactive magnetic Christmas Tree Advent Calendar using basic shapes within Cricut Design Space and some simple craft supplies! This tree advent calendar looks amazing to start, during, and after completion with dual-sided ornaments!
This is easily customizable to your holiday decor colors! The number side of the ornaments are similar in color to the tree so they blend in nicely.
Welcome to the 25 Days of Christmas Series here at That’s What Che Said!
I am your host and we will have a great holiday season together making, baking, eating, and drinking!
We have tons of Cricut and Silhouette projects as well as cookie recipes and decor ideas coming up and I hope you will join me. Add your email to my 25 days of Christmas list to be notified first for all new freebies and projects!
Video Tutorial
Keep reading if you would like the photo tutorial and also to grab the free SVG file to use yourself.
Follow me on YouTube for more Cricut & Craft videos!
How to use this Tree Advent Calendar
The ornaments are magnetic and double-sided. You will start with all the number sides of the ornaments facing out! They are all green and coordinate with the green tree, the yellow star ornament is the same size as the yellow star on the magnetic board.
Next, you will turn over an ornament each day, displaying the colorful ornament side! As Christmas approaches, your tree will turn from green to fully decorated! This is so much fun!
You can either start from 25 and move down to one for days left or the easier method (less brain power for this tired mom) is to turn the #1 over on December 1st, #2 on December 2nd, etc. etc. No counting back or losing your place, just turn over the ornament with the matching date.
Magnetic Christmas Tree Advent Calendar
Click the button above to save to your board for later!
This post may contain Amazon Associate and other affiliate links. As an Amazon affiliate, I earn a small commission from these links at no additional cost to you.
Supplies for Magnetic Advent Calendar
*This tutorial is displayed using a Cricut cutting machine and Cricut Design Space. It can absolutely be made with a Silhouette Cameo and Silhouette Studio.
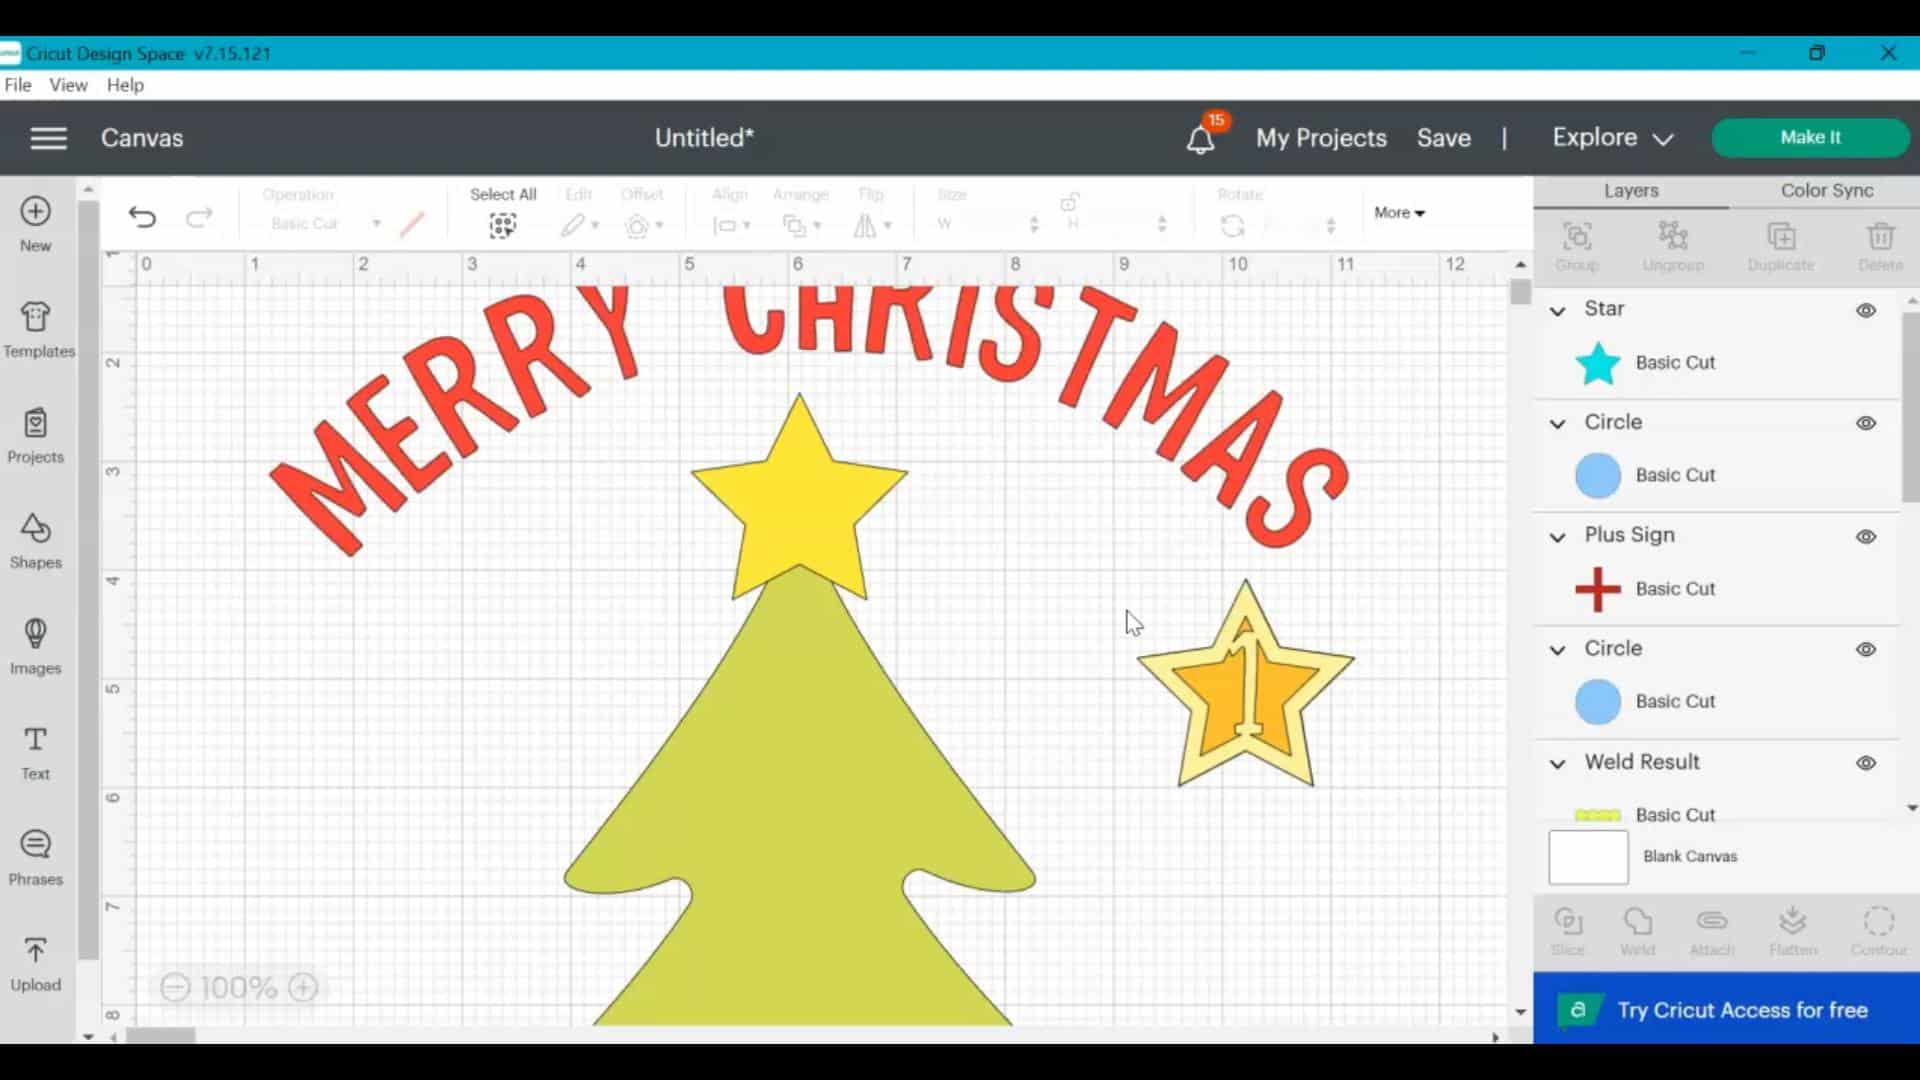
The video goes into how I used basic shapes in Cricut Design Space to make the ornaments. We use the duplicate, slice, weld, and attach tools. To save you time this Holiday season since I assume you are as busy as I am, I am going to provide the SVG for this design below so you can plug and play instead of having to recreate what I did yourself.
If you would like to learn about these features, please see the video!
How to Make a Christmas Tree Advent Calendar
Time needed: 1 hour
Turn a magnetic board into a Christmas Tree Advent Calendar with some vinyl, cardstock, and magnets! Such a fun activity to count down to the big day!
- Upload the SVG to your design software
– How to Upload SVG files into Cricut Design Space
– How to Upload SVG files into Silhouette Studio - Cut design
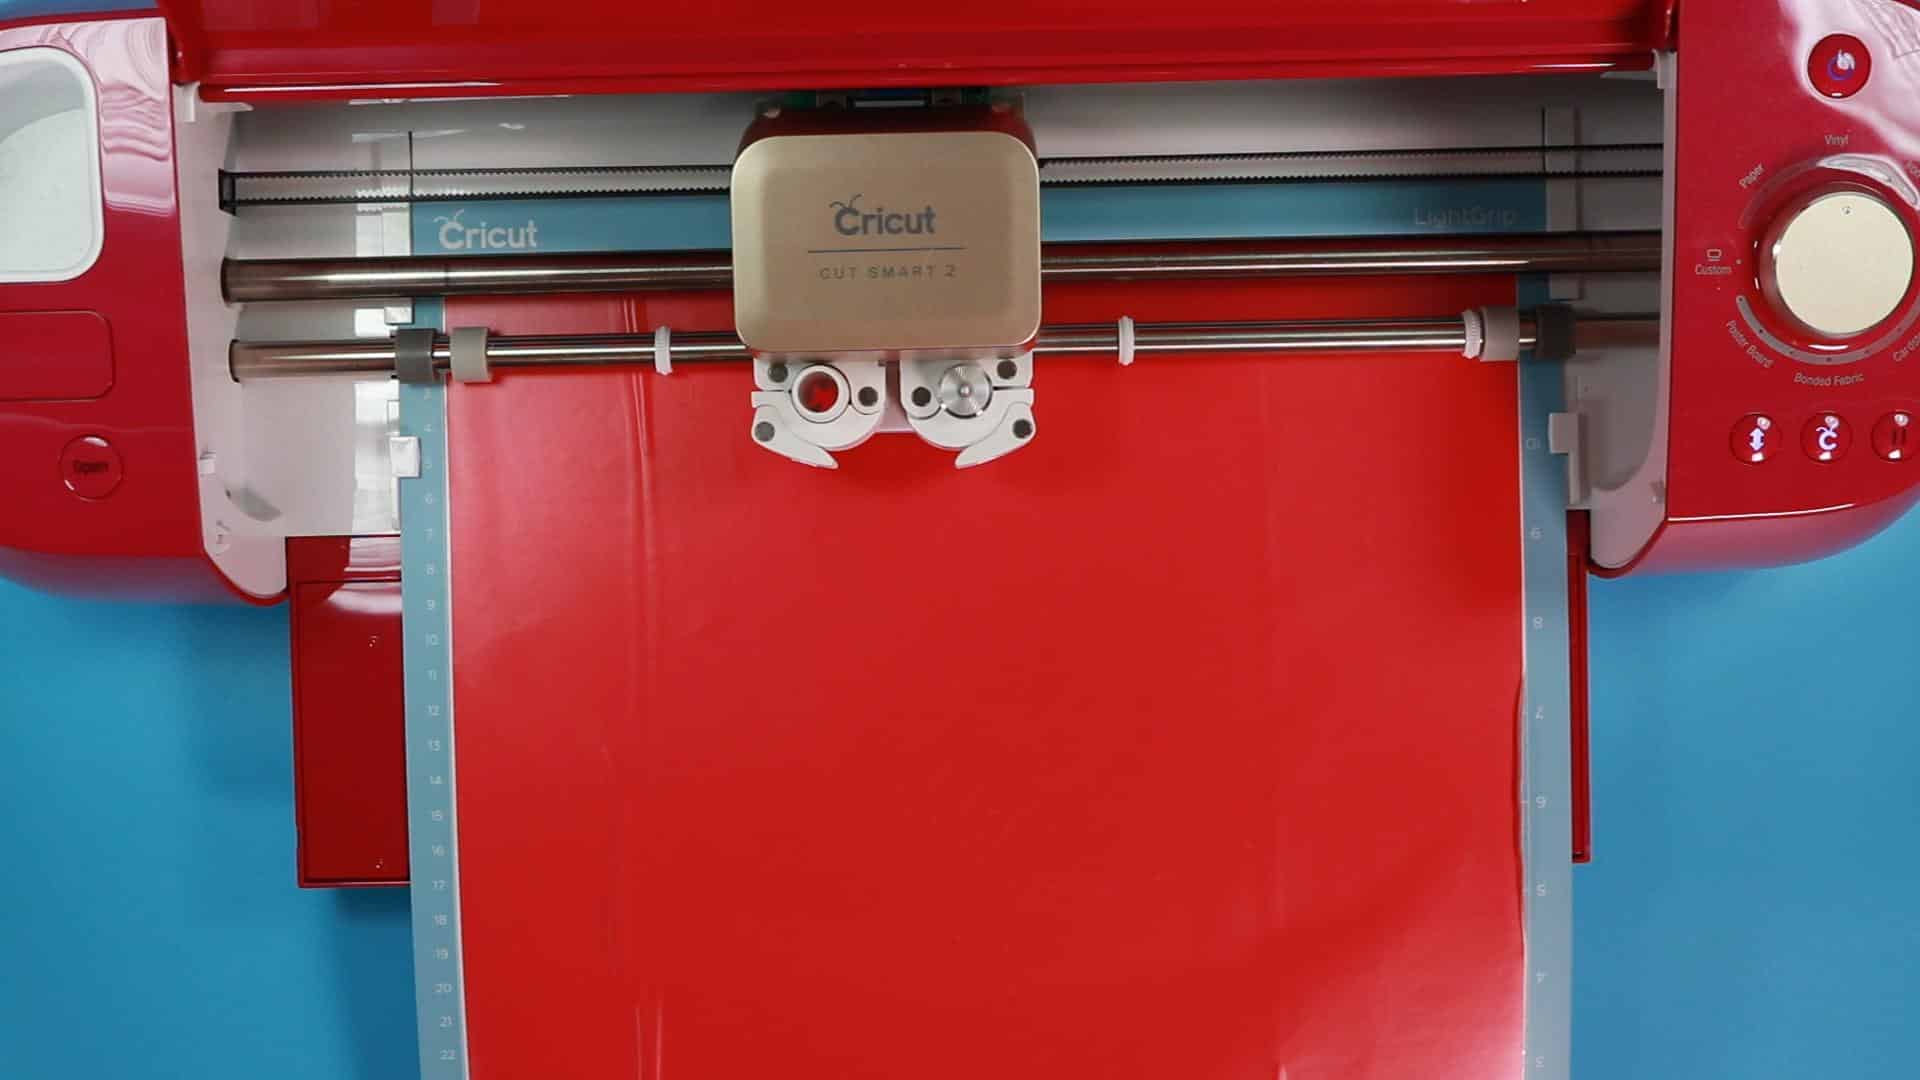
Using your cutting machine, cut the vinyl tree, star, and words “Merry Christmas” and then also cut the cardstock shapes and numbers for the ornaments.
You may check out my Silhouette and Cricut pages to get detailed tutorials on how to cut vinyl and cardstock with the respective machines. - Assemble Cardstock Components
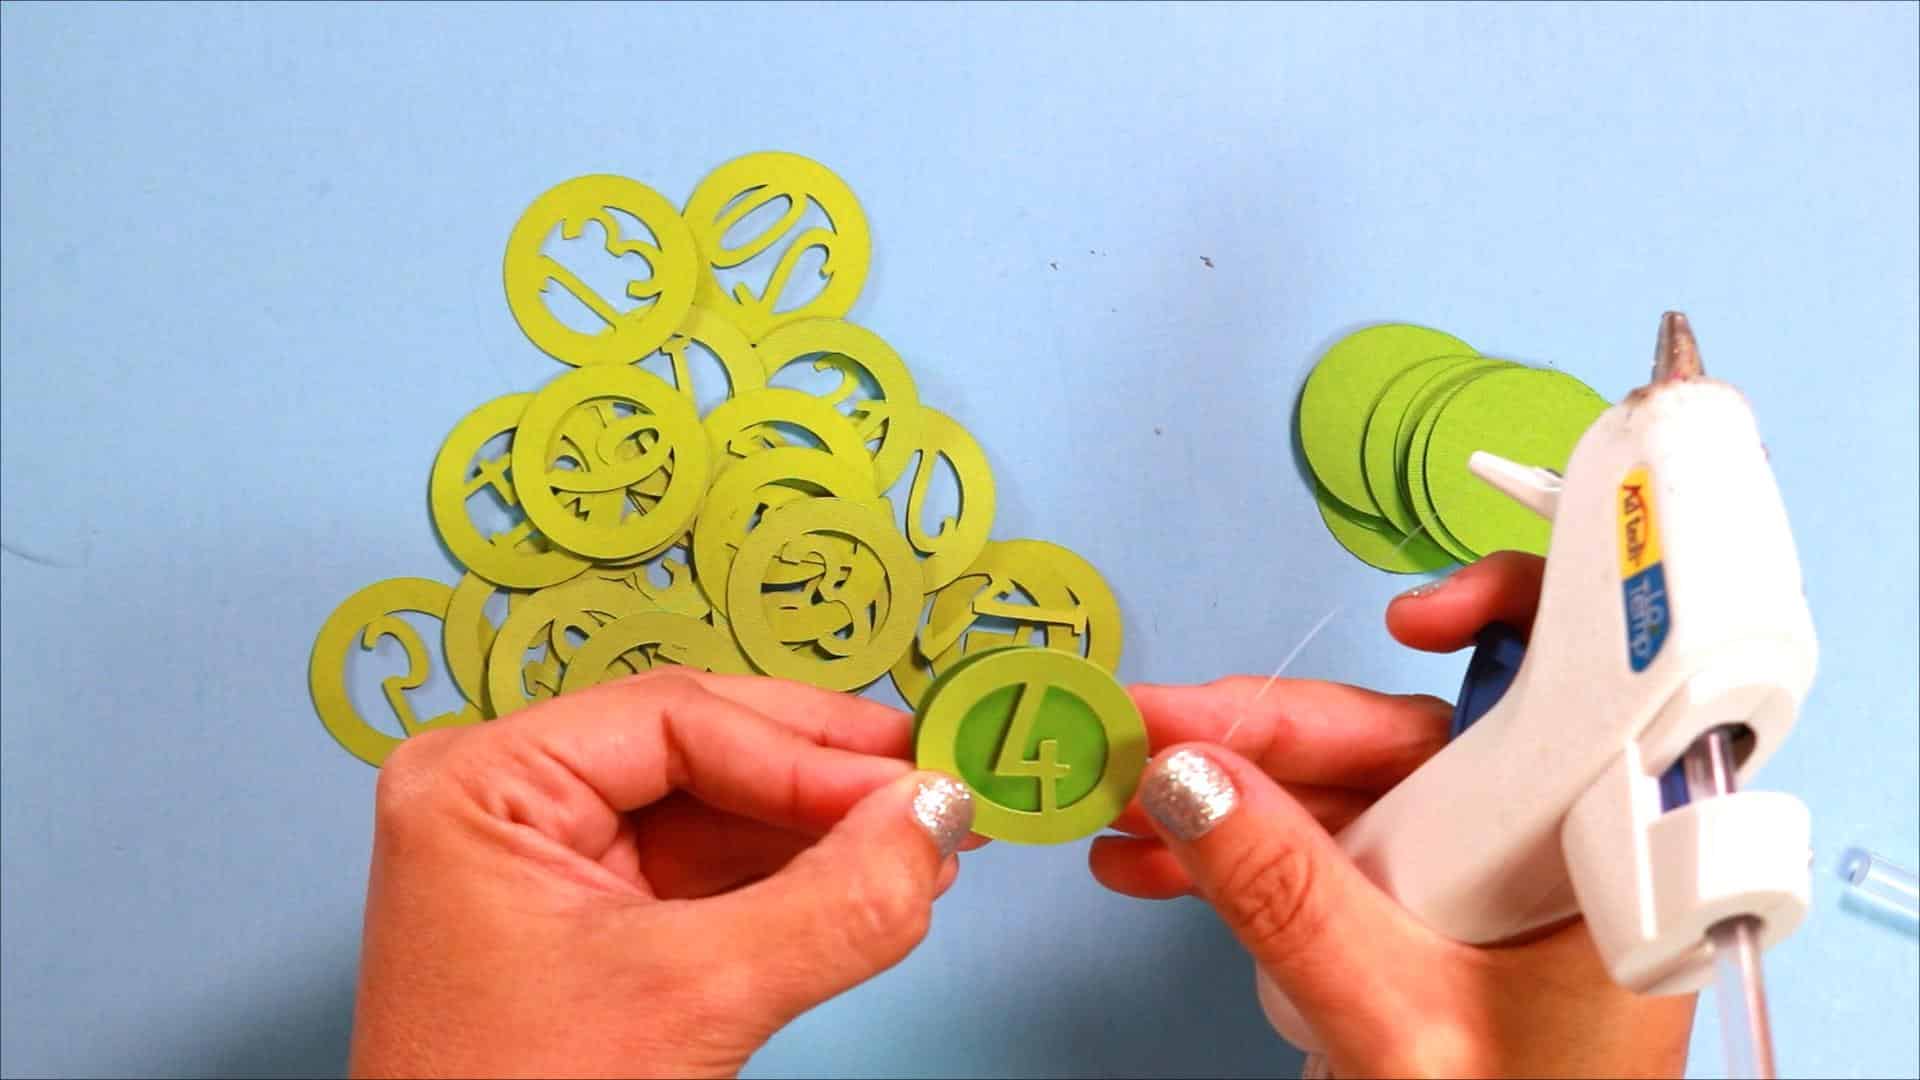
Start with the numbers, add the number layer to the solid green circle layer with your glue of choice. Move onto the ornaments, add the ornament shape to a colored circle with your glue of choice
- Assemble the Ornaments
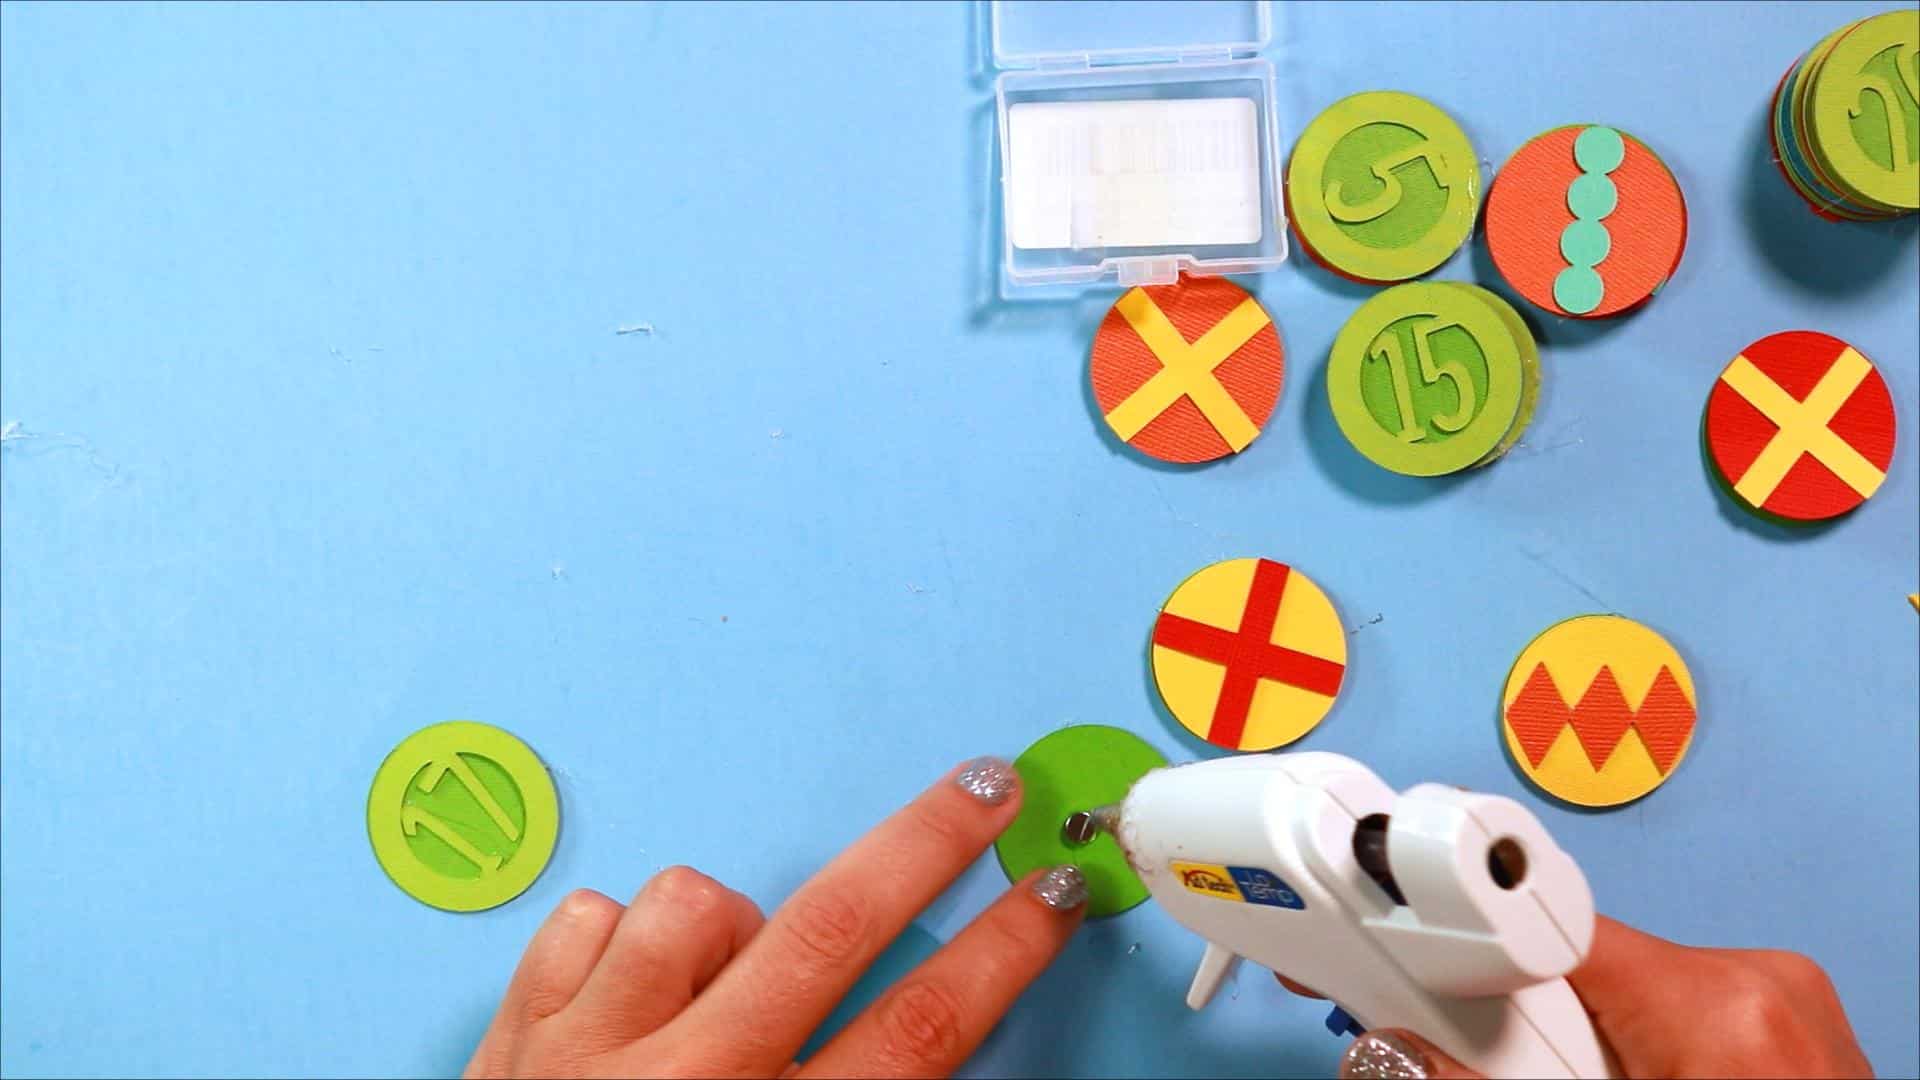
Turn a number piece, number side down, and add hot glue and a small magnet. Add another drop of hot glue and top with an ornament piece, design facing up. Repeat for all remaining pieces. For the star, add the number to the star layer, add a magnet, and complete with the star layer.
- Add Vinyl to Magnetic Board
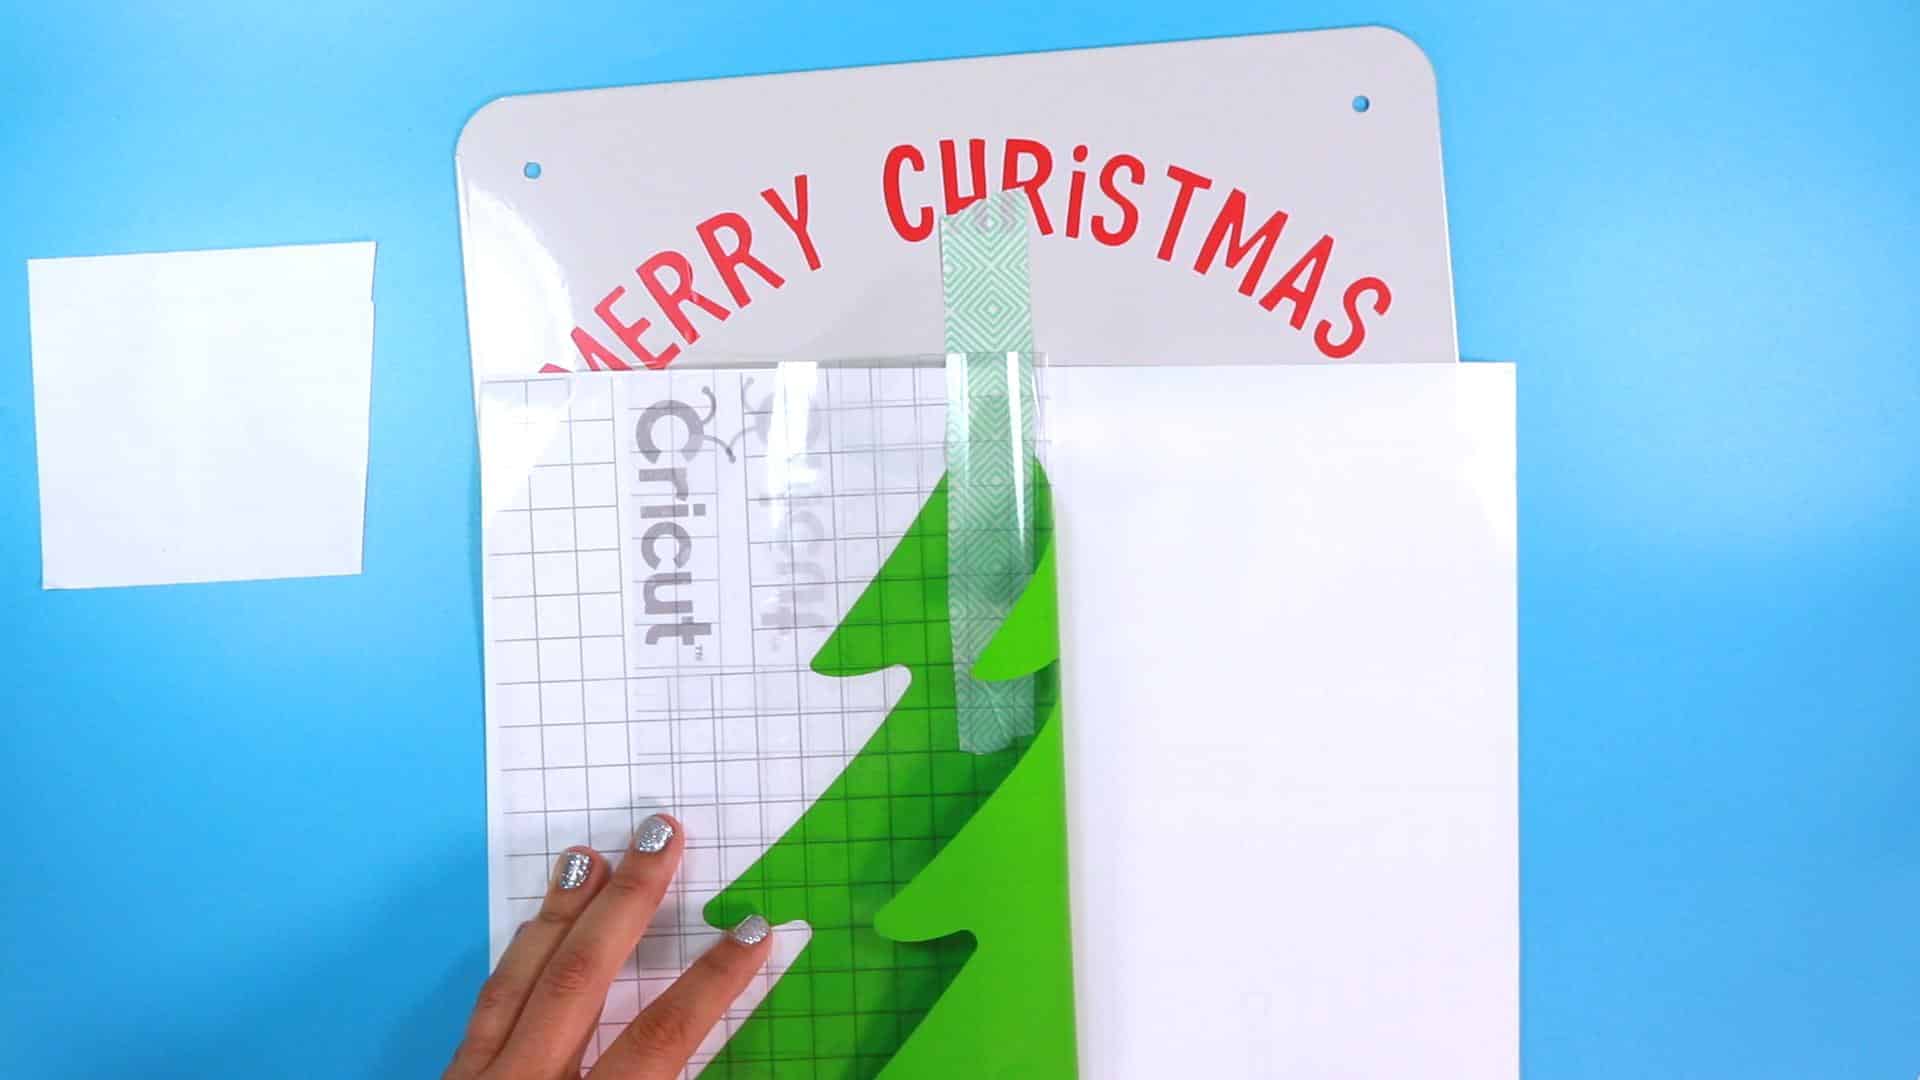
Clean the magnetic board with rubbing alcohol, Next use the hinge method to apply the Wording and tree then add the star to the board.
- Add Ribbon Hanger
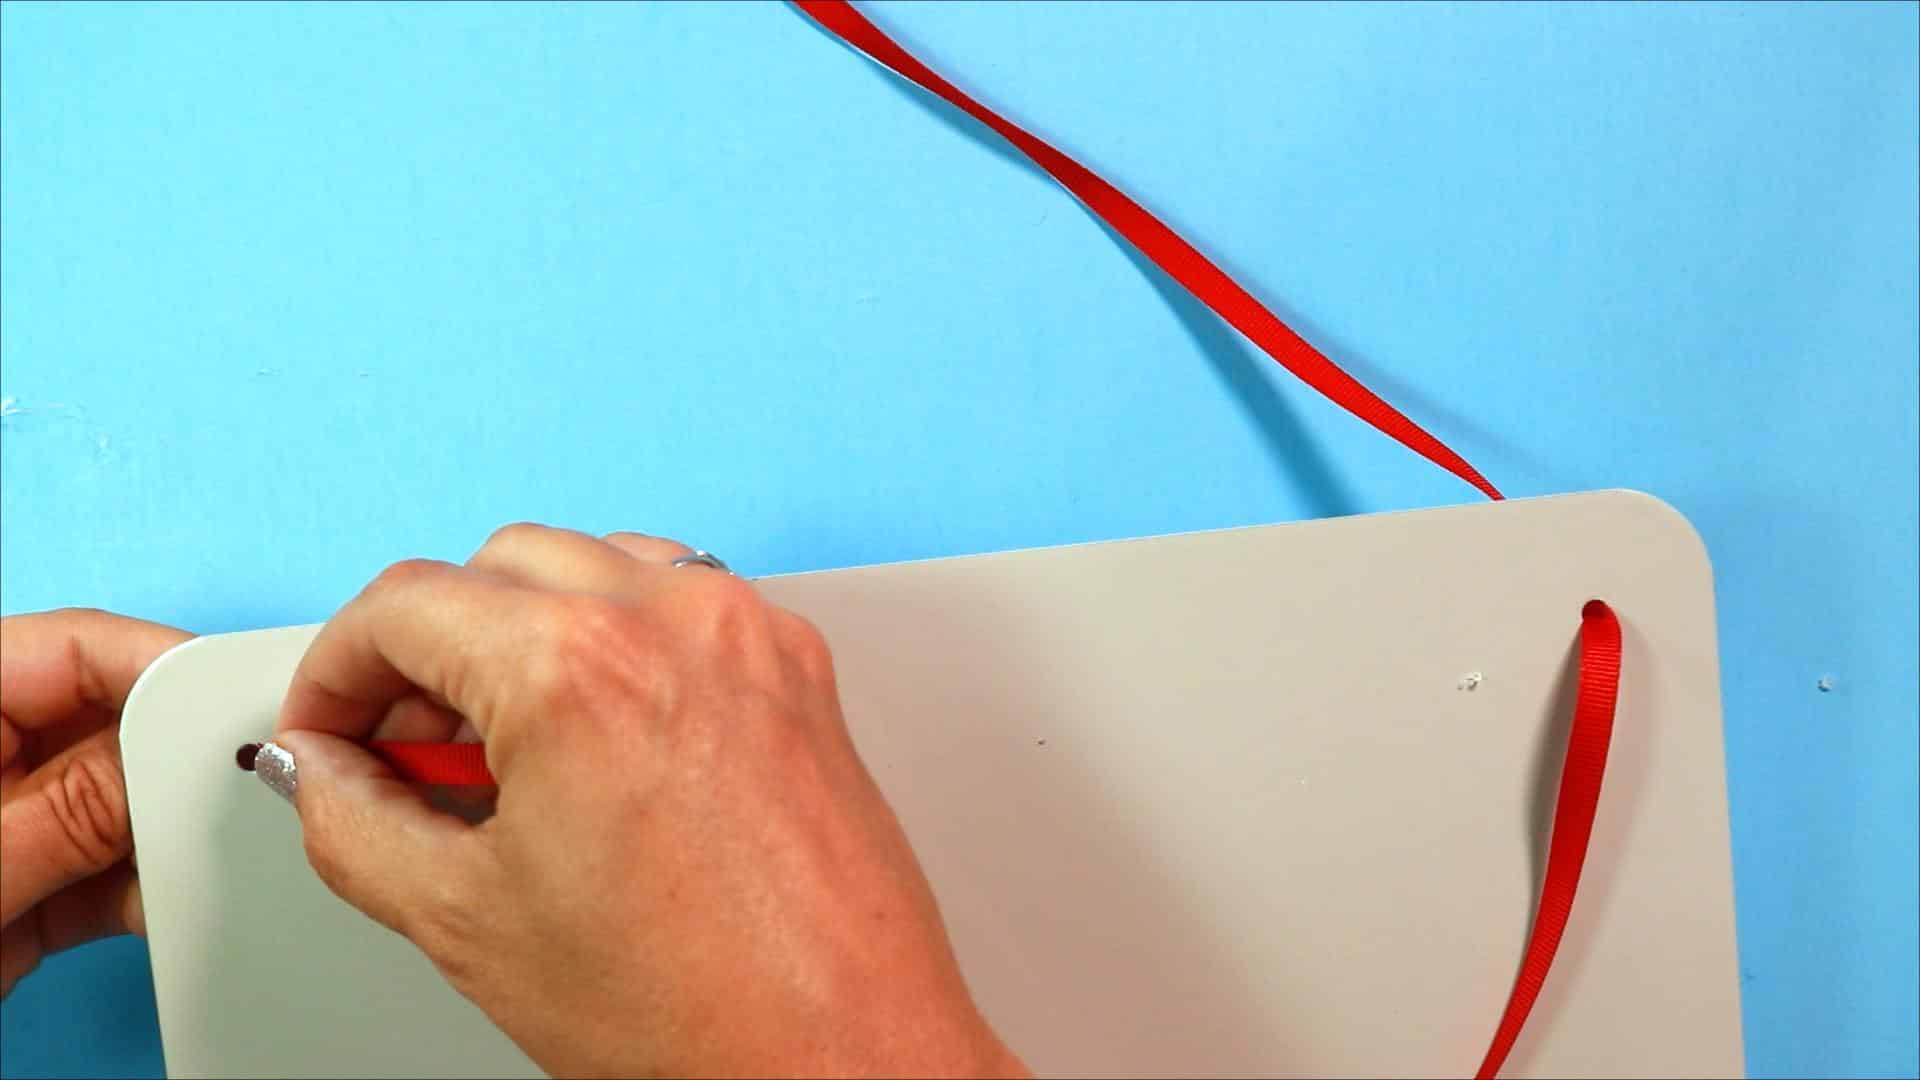
Loop Ribbon or twine through the holes in the magnetic board and tie off to make a hanger!
- Add Reversible Magnetic Ornaments
Start with all the number sides of the ornaments facing out. Fill the tree and add the star (solid side forward) to the top of the tree. As the days go on, turn each date number over revealing the colorful ornament until your tree has turned from green to fully decorated!
Get the Christmas Tree Advent Countdown SVG Here
Getting the freebie is easy! First, enter your name and email below and join my email list community (AND gain access to my freebie library)!! After that, click the download button and the freebie will begin automatically.
I use box.com to deliver my freebies safely! There is no need to sign up for a box.com account!
Please see this FAQ post + Video on how to download my freebies.
This download is for personal use only!







Leave A Reply!