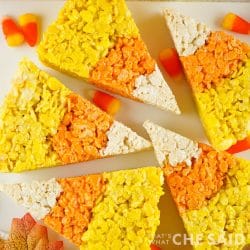
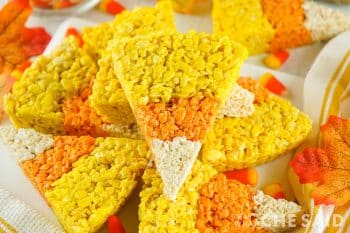
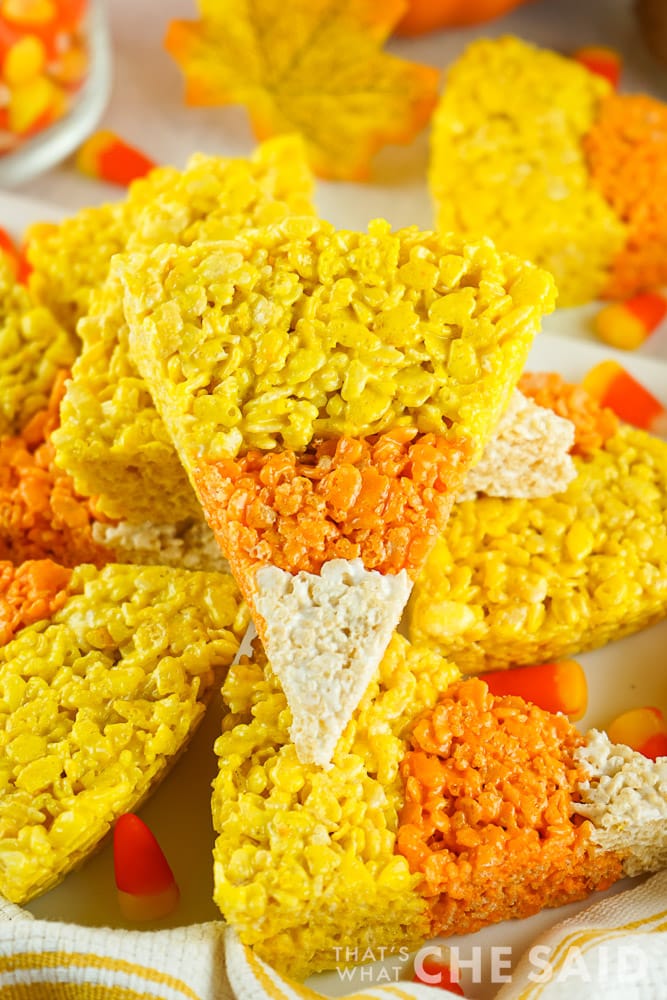
If you are looking for some fun and festive treats this fall and Halloween season, look no further than America’s classic dessert with a candy spin! Candy Corn Rice Krispie Treats are not only cute but absolutely delicious!
I will start out by saying I don’t love candy corn, lol. I don’t hate it but it is certainly not my first candy choice or my second! I do, however, love the festivity it brings to fall and Halloween, and taking one of my favorite desserts and making them festive is right up my alley!
These mix together as regular Rice Krispie Treats with the addition of some food color (and almond extract, if you do, in fact, like candy corn and want the treats to taste that way!). Instead of mixing in one giant bowl, we will separate the ingredients into three and do a small batch of each color!
Don’t Miss Out!
Get all my delicious email recipes straight to your inbox!
This post may contain links to Amazon Associate and other affiliates.
As an Amazon affiliate, I earn a small commission from these links at no additional cost to you.
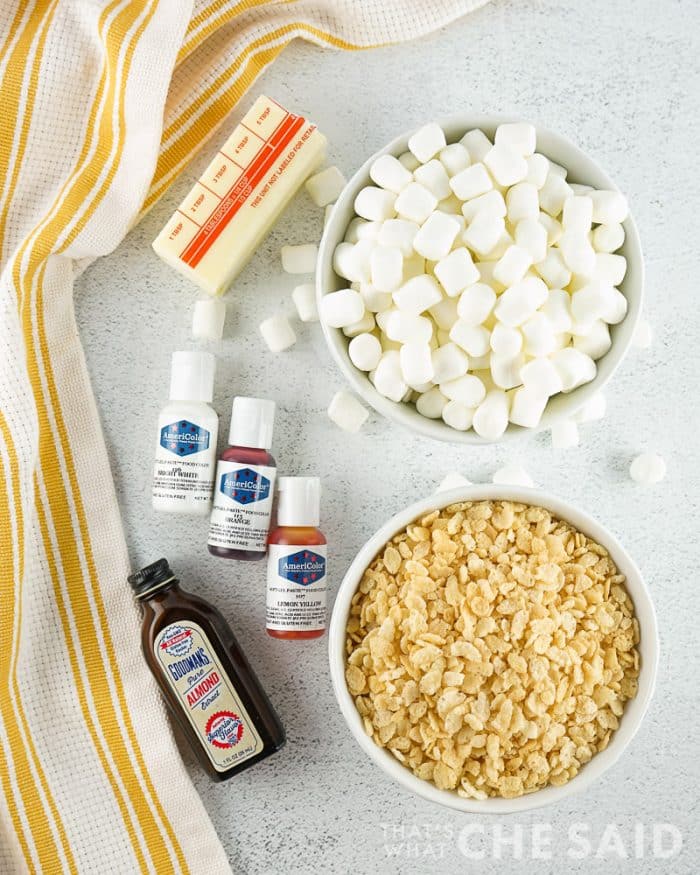
Halloween Candy Corn Krispie Treat Ingredients:
- Non-stick cooking spray
- Crispy Rice Cereal
- Mini-Marshmallows
- Butter
- Food Coloring (Orange and Yellow)
Kitchen Equipment Needed:
- 9-inch Springform Pan (can use a regular 9-inch cake pan lined with parchment paper)
- Small, Medium, and Large Microwave-Safe Bowl
- Spatula
- Mixing Spoon
- Flat Bottom Measuring Cup
How to Make Candy Corn Fun Halloween Treats
The basis is the same for all three colors of rice krispie cereal treats. We will melt butter and mini-marshmallows, add color to the marshmallow mixture, add the rice krispies cereal, and form them into the pan in colored layers! Keep reading for my tips on the easiest way to do this!
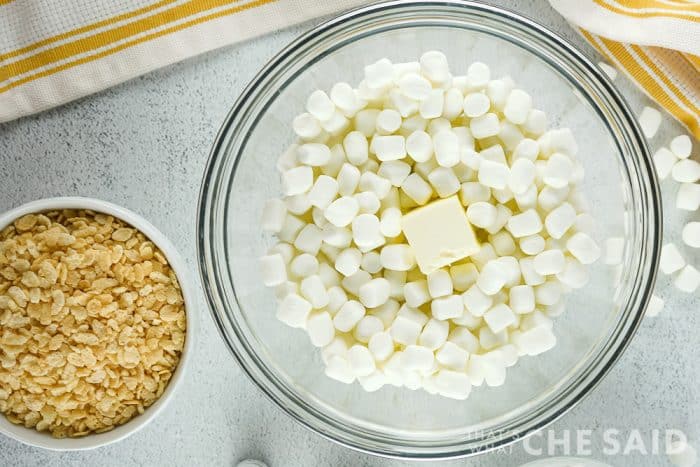
I am using the microwave today and you want to measure not to burn the marshmallows, so I recommend microwaving in small increments to start. Try 2 minutes, mix and if needed, put back in for 30-second increments until melted and mixed.
If the butter melts, that will help melt the marshmallows as you mix.
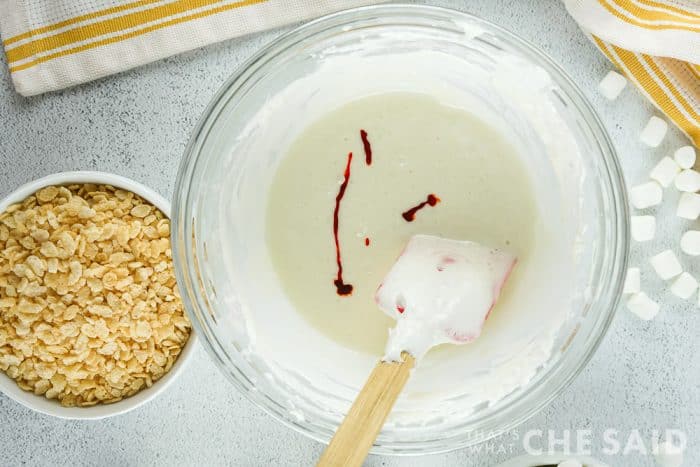
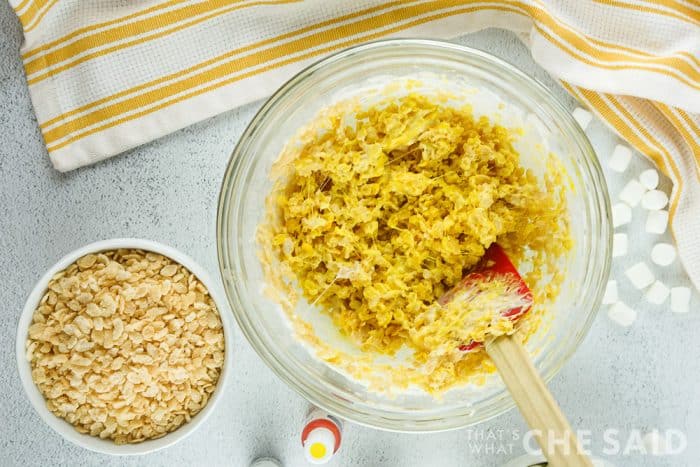
We are making these in 3 batches so to start with the yellow layer, you will then add the yellow food coloring and mix. Add the food coloring to the butter & marshmallow mixture. This will be so much easier and prettier than mixing after the cereal is added! Trust me!
After your marshmallow mixture is yellow, you will add the crispie rice cereal. Mix well to coat and then we will make our outer ring of the candy corn krispie treats. Springform pans work best however a cake pan lined with parchment paper can be used also.
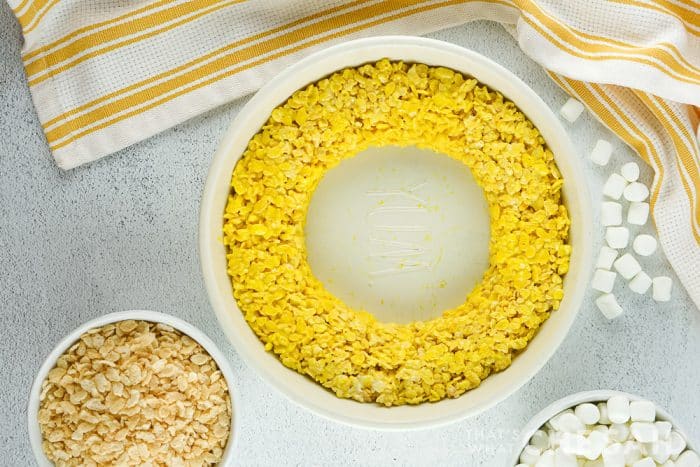
Dump in the cereal mixture and push to the outsides of the pan. Buttered fingers, parchment paper or a flat bottom measuring cup all work well to form this outer ring. You want to leave close to 4 inches in the center for the remaining colors.
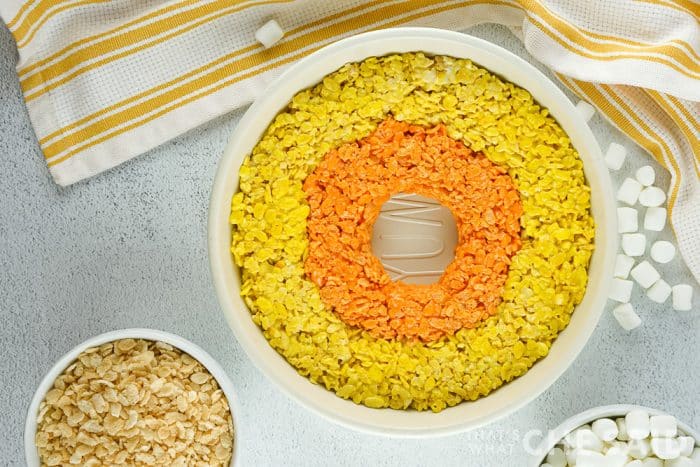
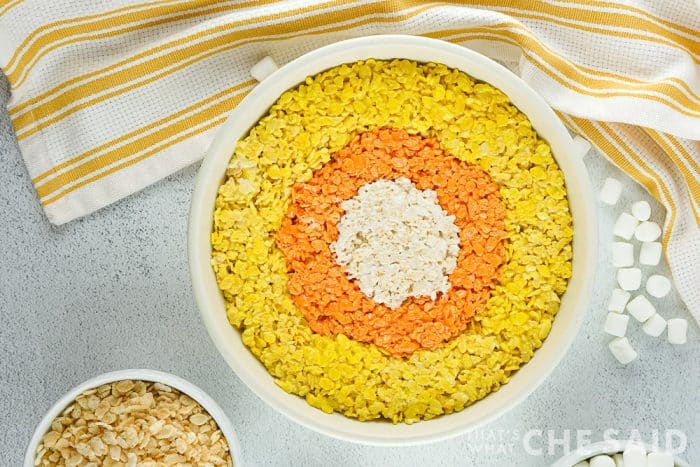
We will repeat this process for the remaining orange and white colors. Orange gel food coloring will be added to the medium bowl and you can use white food coloring or just leave the white layer as is.
If you prefer to make these on the stovetop, you will need a large saucepan and cook the marshmallow butter mixture over medium heat until melted. Add the food coloring and then form the rings as stated above.
Tips for Forming the Rice Krispy Candy Corn Layers
- Use buttered clean hands to press the cups of rice krispies cereal into rings. I have also heard wet hands work well.
- A greased spatula works well.
- A flat bottom measuring cup can be used to get crisp lines
- Pressing with parchment paper can work well.
Add-ins and Substitutions for these Halloween Treats
- Consider adding almond extract to the marshmallow/butter mixture if you want more of the candy corn flavor. 1/3 tsp for the yellow layer, 1/4 tsp for the orange, and 1/8 tsp for the white.
- Add in actual candy corn mixed when adding the cups rice krispies cereal
- You can also make a full batch of rice krispie treats and use white, orange, and yellow candy melts for the colored layers.
- After the rice cereal is mixed together with the melted butter and marshmallows, add some more whole mini marshmallows or white chocolate chips before pressing.
More Halloween Treats
MORE RICE KRISPIE RECIPES
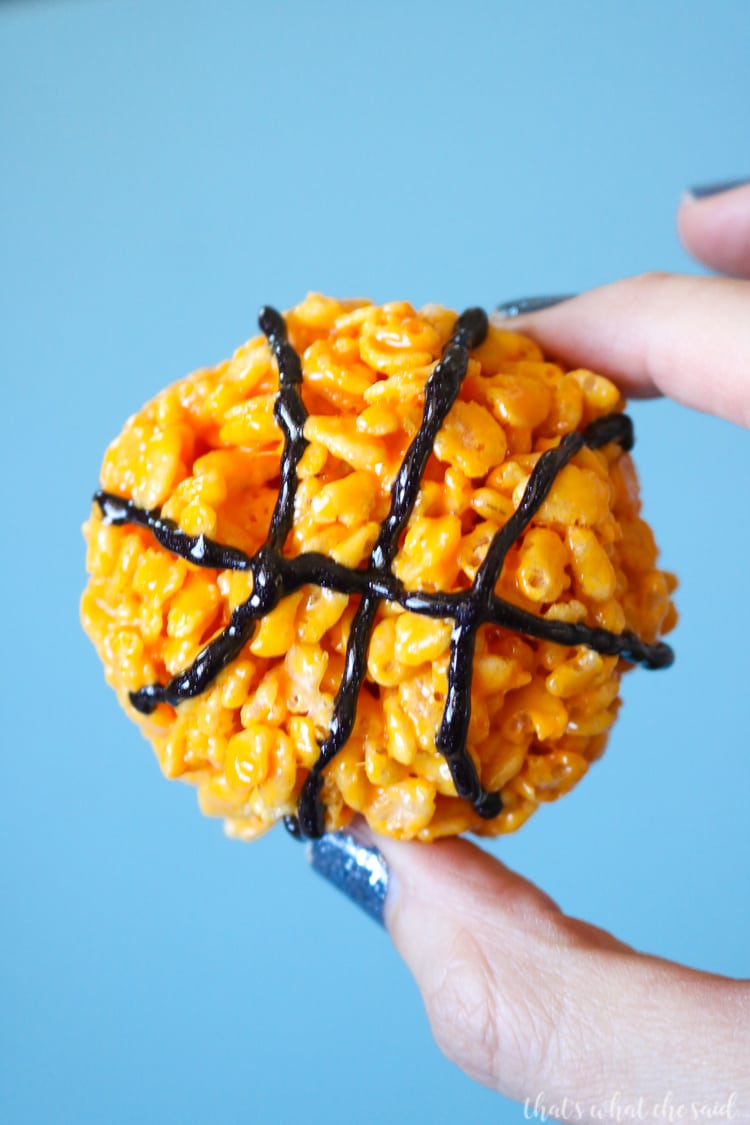
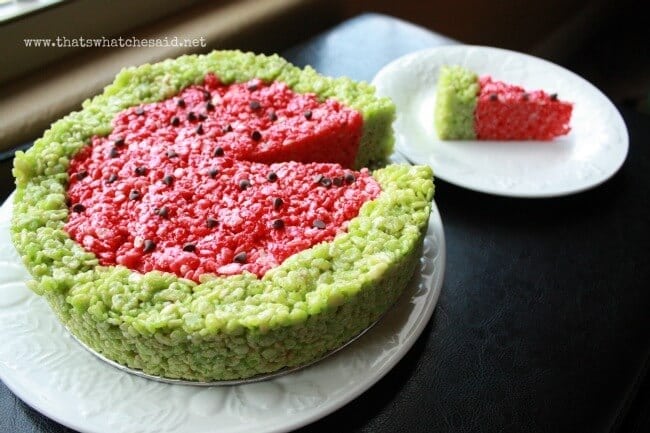
If you are like me and love Rice Krispie Treats, you may love these fun spin-offs as well! Celebrate Football season or superbowl with some Football Rice Krispie Treats! Is Basketball and March Madness more your style? If so, here are some fun flavored Basketball Rice Krispie Treats! Enjoy the summer BBQ’s with a slice of Watermelon Rice Krispie Treats!
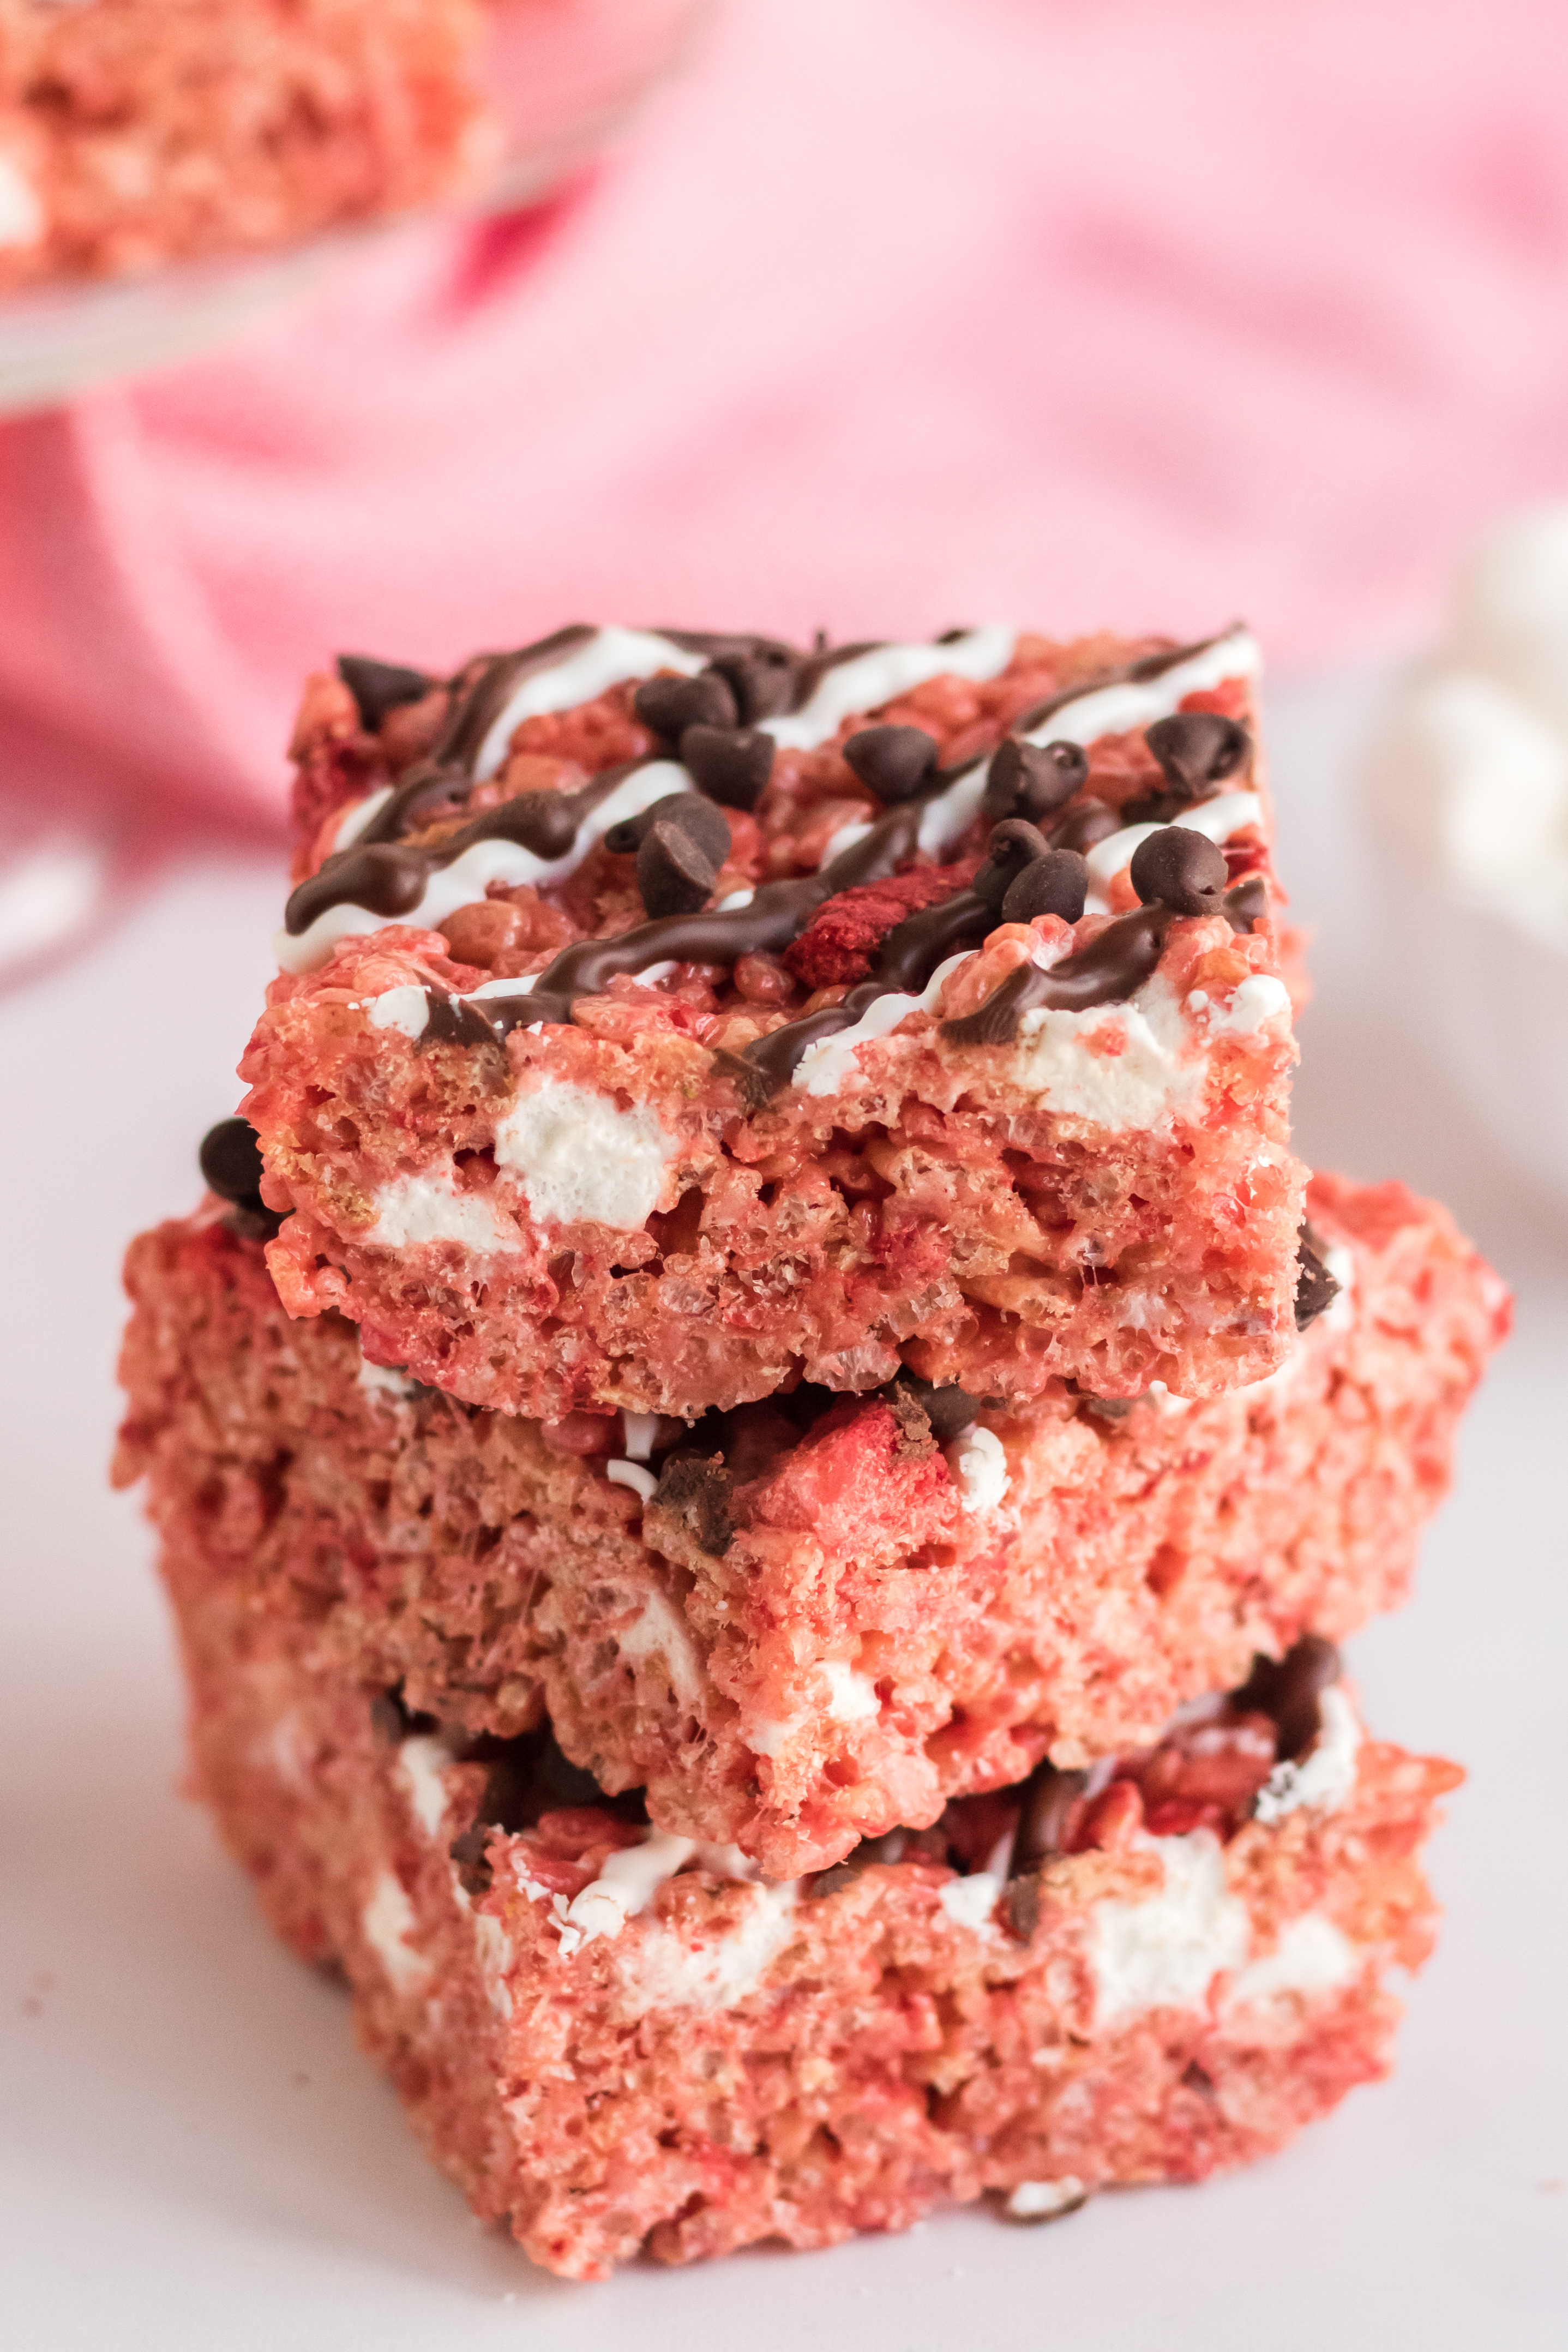
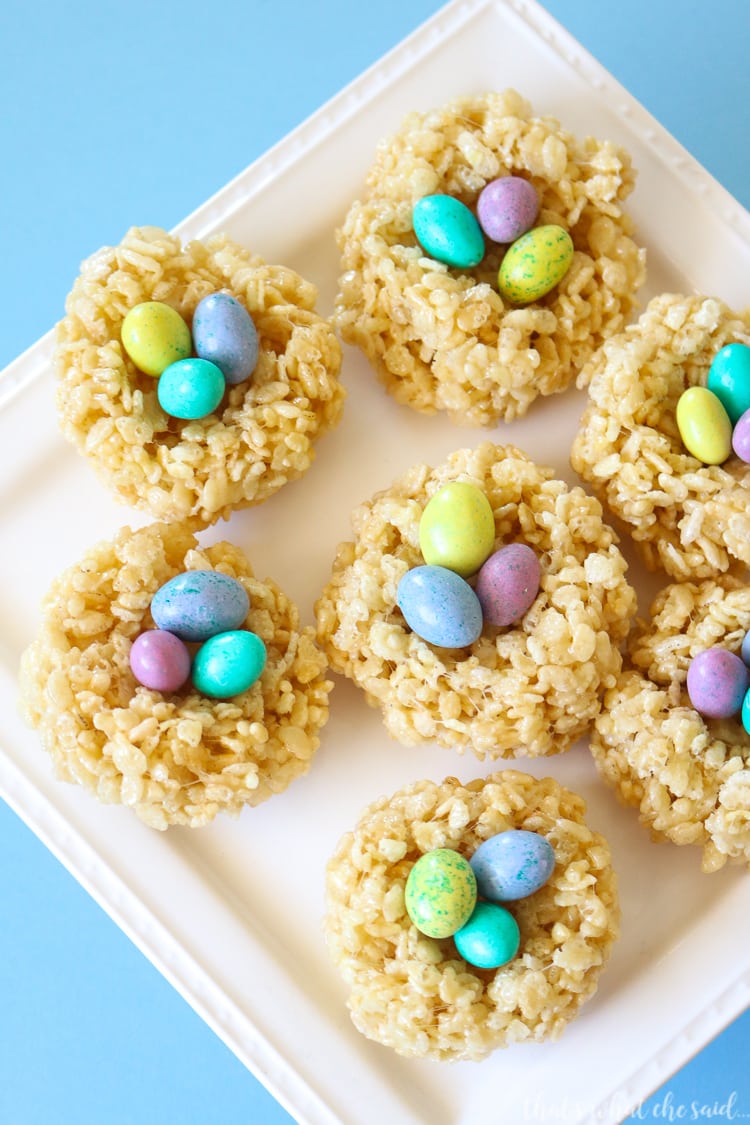
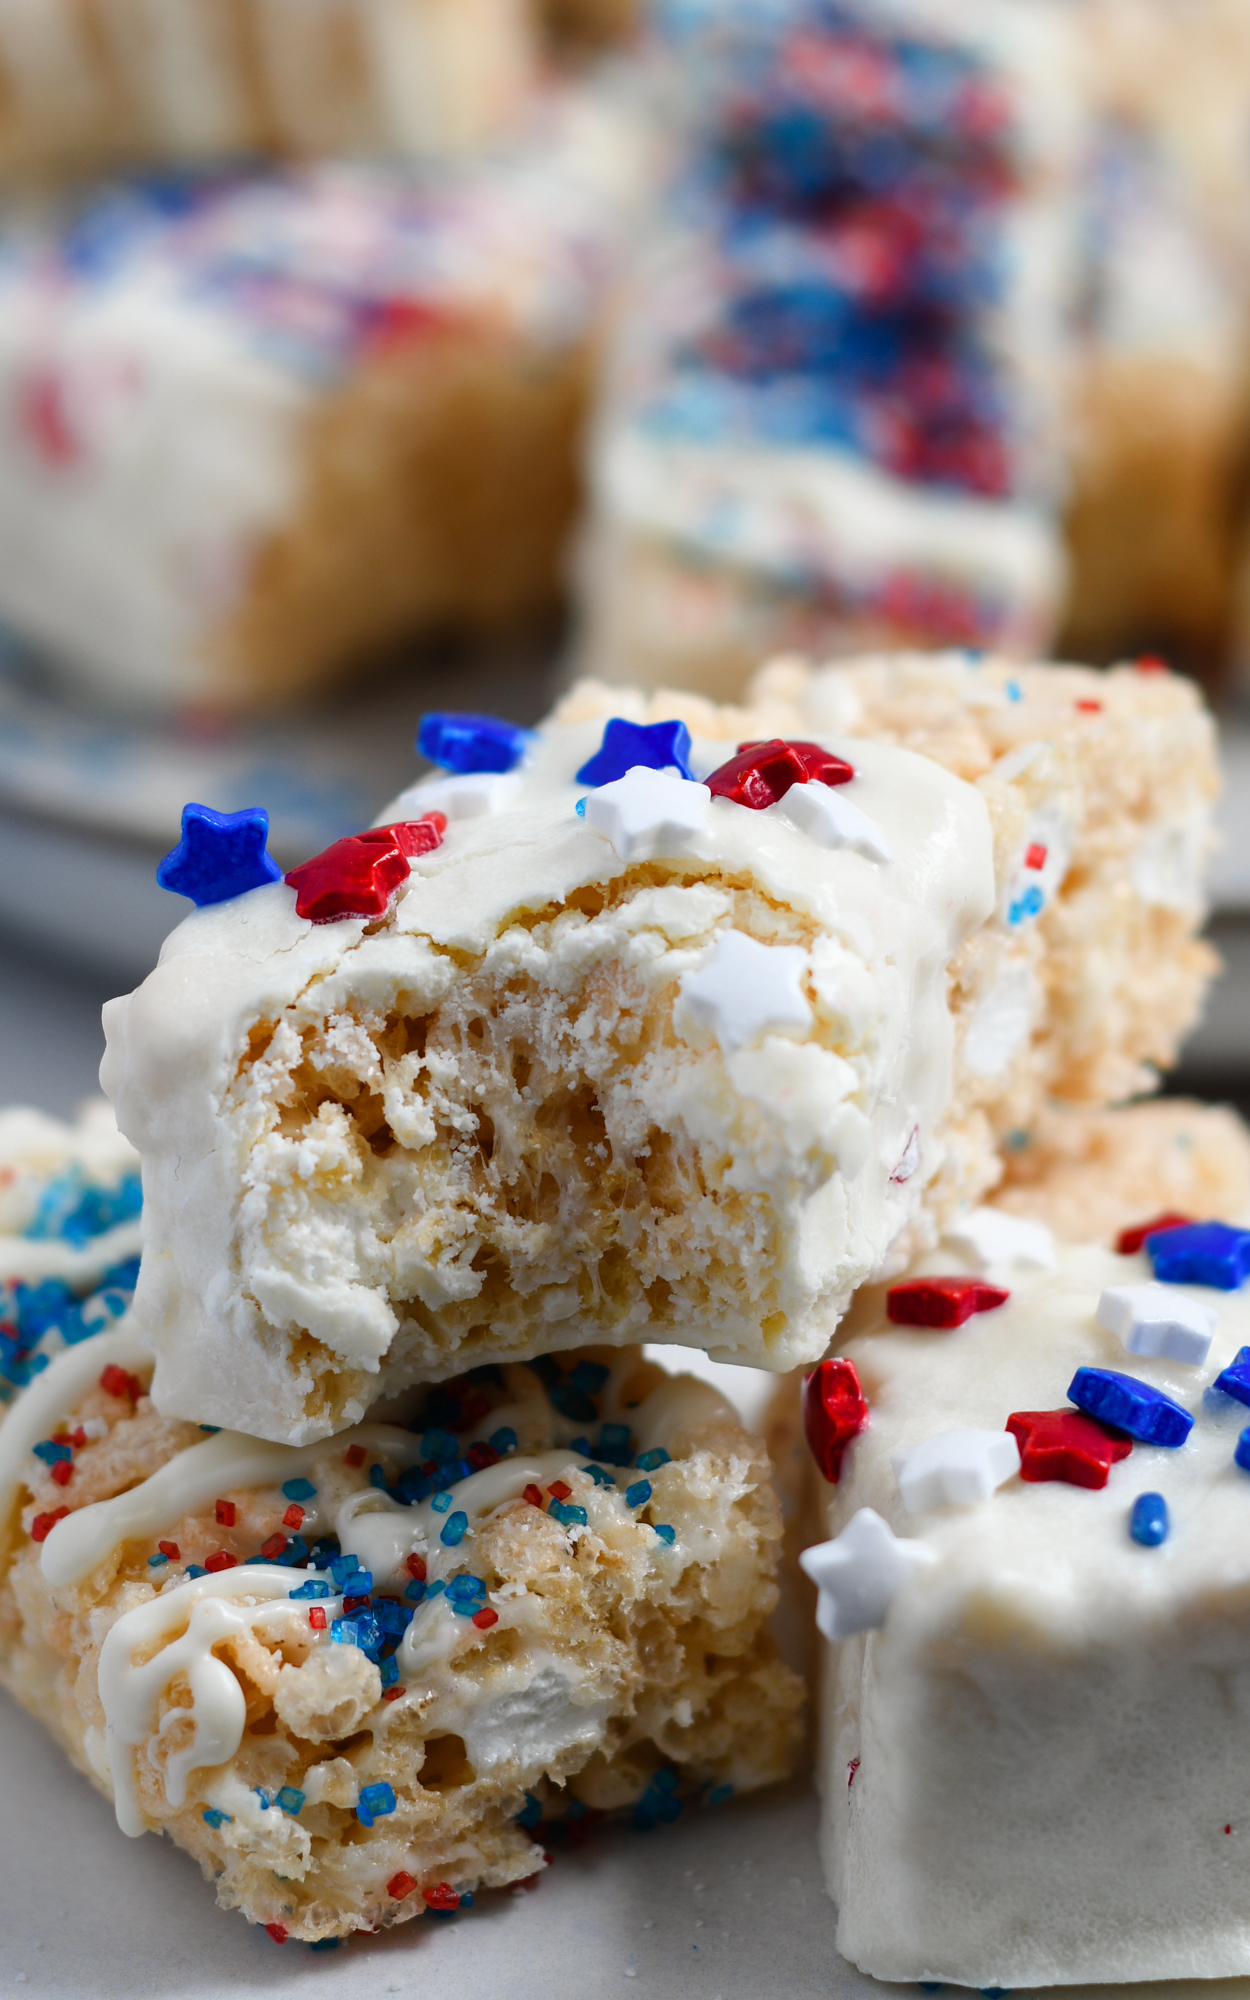
If holidays are up your alley there are some delicious Chocolate Covered Strawberry Rice Krispie Treats for Valentine’s day, or some Easter Egg Nests for Easter and some Fun Chocolate dipped Patriotic Rice Krispie treats for the red white and blue!
Candy Corn Krispie Treat Recipe

Candy Corn Rice Krispie Treats
Equipment
- Springform Pan - 9 inch
- Microwave-safe bowl - Large
- Microwave-safe bowl - Medium
Ingredients
Yellow Layer:
- 9 Cups Mini Marshmallows, divided
- 6 1/2 Cups Rice Cereal, divided
- 5 1/2 Tablespoons Unsalted Butter, divided
- 1/3 Teaspoon Yellow Food Dye
- 1/3 Teaspoon Orange Food Dye
Instructions
- Spray the pan with nonstick cooking spray and set aside.
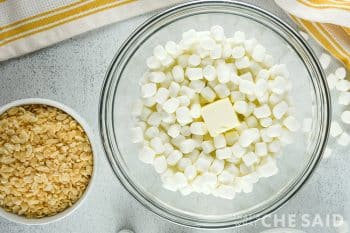
- In a large microwave safe bowl, combine 4 tablespoons of the butter and 6 cups of the marshmallows for the yellow layer. Microwave for 2 minutes on high or until the butter is mostly melted.9 Cups Mini Marshmallows, 5 1/2 Tablespoons Unsalted Butter
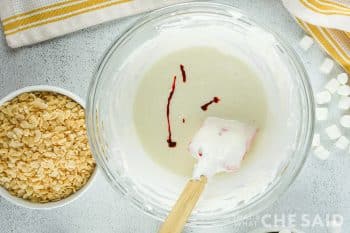
- Remove from the microwave and stir well. Add the yellow dye and stir until no color streaks are left.1/3 Teaspoon Yellow Food Dye
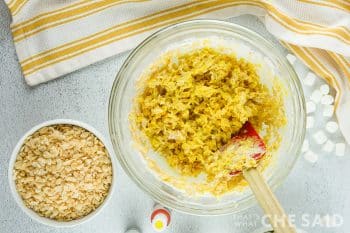
- Add 4 1/2 cups of the rice cereal and fold in until all the cereal is well coated.6 1/2 Cups Rice Cereal
- Pour the yellow mixture into the prepared pan and push it all to the outer edge of the pan. Using your hands, even out the cereal mixture until it makes a nice, level layer all the way around, with about a 4-inch circle left open in the middle. Use a flat bottomed measuring cup to press up against the inside edges of the circle and around the top to make it nice and smooth.
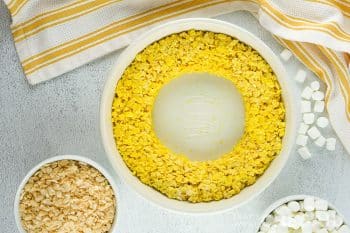
- In a medium microwave-safe bowl, combine 1 tablespoon butter and 2 cups mini-marshmallows for the orange layer. Microwave for a minute or until the butter is mostly melted.
- Stir well and add the orange dye. Stir until no color streaks appear.1/3 Teaspoon Orange Food Dye
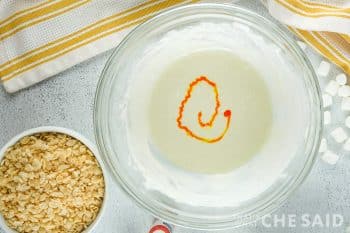
- Add 1 cup of rice cereal into the marshallow and butter mixture and fold together the ingredients until the cereal is well coated.

- Add to the pan where the yellow layer is set and shape it into the same type of circle as the yellow layer, leaving about a 1-inch hole in the middle. Be sure to make the second layer the same height as the first. This may take a minute or two of shaping it. It’s worth it though.
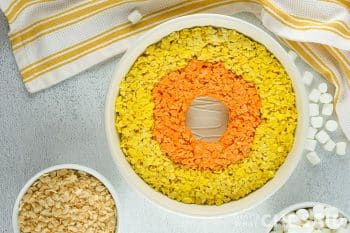
- In a small microwave-safe bowl, combine 1 cup of marshmallows and 1/2 tablespoon of butter for the white layer. Heat in the microwave for 30 seconds or until the butter is mostly melted. Remove from the microwave and stir well.
- Add 1/2 cup rice cereal and fold together until the cereal is well coated.
- Add the white mixture to the remaining circle and pack it tightly in, making sure it’s level with the other layers.
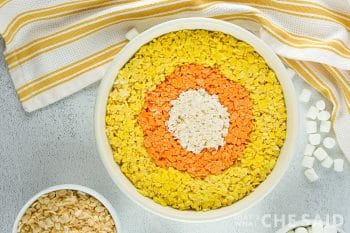
- Cover and let rest at room temperature for 4+ hours or until set.
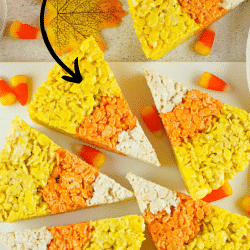
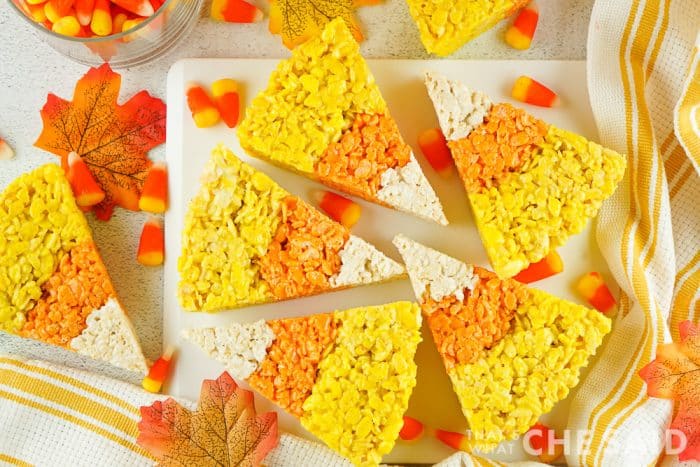
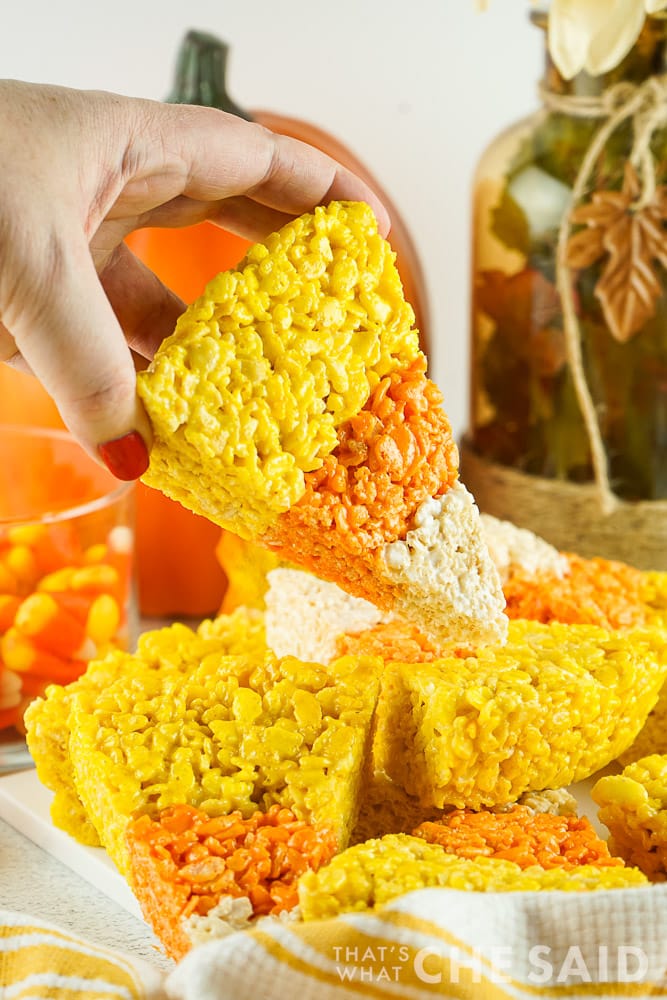
- Slice like you would a pie, serve, and enjoy!
Notes
- If desired, you can add almond extract to the butter/marshmallow mixture. 1/3 tsp for the yellow layer, 1/4 tsp for the orange, and 1/8 tsp for the white. This just helps the treats taste more like actual candy corn. If you don’t like candy corn like me, omit, lol!
- You can also add crushed candy corn to each layer to add even more candy corn fun. However, you may need to add a bit more marshmallow to keep up with the added ingredients.
- If your marshmallow doesn’t look like it has enough color after you mix the dye, feel free to add more until the desired color is reached. Just remember, it will lighten up just a touch once the cereal is added, but not much.
- I like to spray some nonstick cooking spray on my hands when shaping each layer. It keeps it from sticking terribly to your hands and lets you work with it freely.
- These will keep in an airtight container on the counter for up to 1 week (if they last that long, wink!)



Leave A Reply!