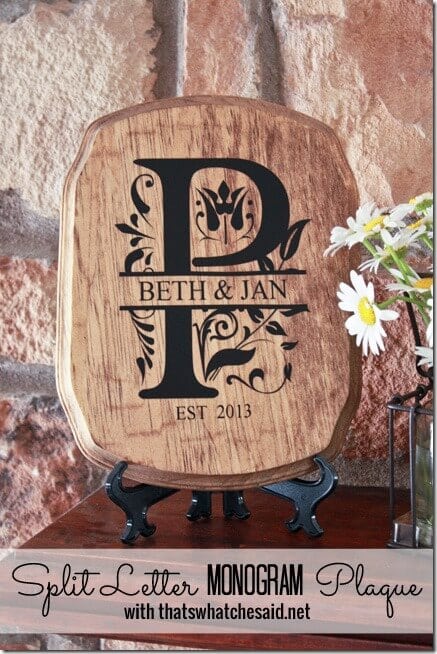
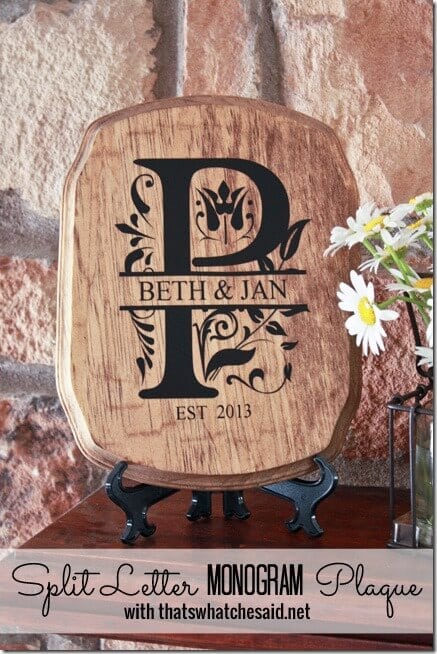
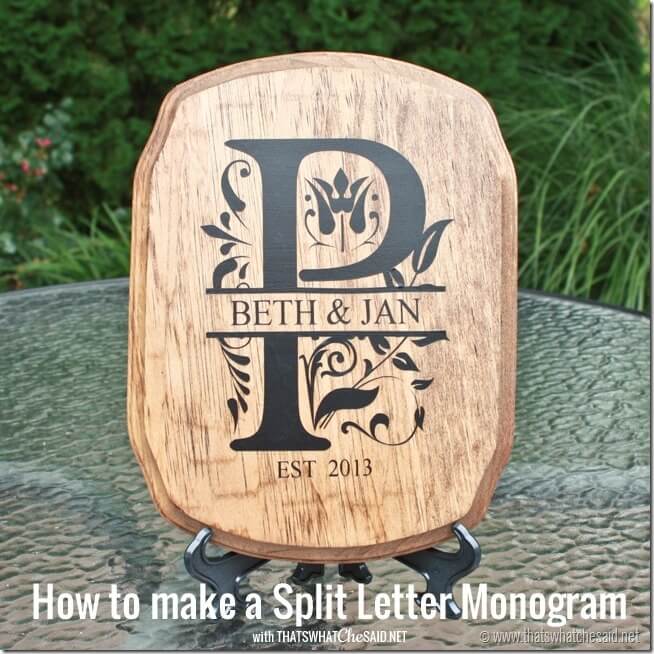
This Split Letter Monogram Plaque is a fun craft to make with your Silhouette or Cricut cutting machine! At first, this project looks intimidating but I am here today to show you that it is a pretty quick and easy craft project that is to have for wedding showers, housewarming parties, or holiday gifts!
You can apply this concept to more than just plaques. How about on vases or inside a picture frame or straight on your front door or mailbox!? Options are endless and once you see how easy it is to actually make the split monogram, you will be set to craft!
UPDATE: You can find a million premade split monograms now on Creative Fabrica, one of my favorite places for fonts, designs, and SVG files.
Below I made a video tutorial on how I made the split letter.
Supplies for Split Letter Monogram Plaque:
- Vinyl
- Transfer paper
- Silhouette Cameo or Portrait
- Wooden Plaque
- Stain
- Mod Podge Hard Coat
- (2) Foam Paint Brushes
- Rag
- Small Plate Easel
1. I started by giving my plaque a coat of Stain using a foam brush and wiping the excess off with my rag. You could also paint it if you’d like.
2. While that dried, I cut the vinyl on my Cameo and weeded the excess vinyl away, leaving only my design behind.
3. Using transfer paper I picked up the vinyl from the backing and centered it on the plaque and applied the vinyl. I made sure all the little flourishes and tips of vinyl were firmly pressed down.
4. I then covered the vinyl and plaque with 2 coats of Mod Podge letting each coat dry in between.
Once it was dry I could either hang on the wall or place on a small plate easel.
You can personalize this how every you like. Above I put their first names in the split of the letter but in my video I just put my last name.
Need more inspiration with what you can do with all that Vinyl and a Silhouette Cutting Machine???
Then head over to my Silhouette Project Gallery and take a peek! It’s sure to get your creativity flowing!


Comments & Reviews
Jessica @ Mom 4 Real says
I LOVE This!!! It turned out beautifully and makes such an awesome gift! Pinning!
Something Neutral says
Looks great!
Sue Kment says
Thanks for sharing…I so want to try this!
Crystal says
Love this!! Thanks for the tutorial!! Can’t wait to make it!!
Katie @ Upcycled Treasures says
This is awesome! Looks like I realllly need a silhouette machine :)
~Katie @ Upcycled Treasures
Home Coming says
Beautiful job! I’d love it if you’d link up to The DIY’ers! http://homecomingmn.blogspot.com/2013/08/the-diyers-and-weekend.html
Emily says
Pinned! Love it!
Rochelle says
I love the split monogram. What a great idea. I’ve got to remember this for gift giving! It’d make a fun wedding gift or Christmas gift. I have to do the split monogram for my next silhouette project! Great tutorial!
Cheryl Spangenberg says
Thanks so much Rochelle! They are really great gift ideas!
Parrish (Life With The Crust Cut Off) says
This looks awesome!!! We would love it if you would link up at our linky party:
http://www.lifewiththecrustcutoff.com/two-girls-and-a-party-link-up-29/
Live every Wednesday to Sunday.
Hosted by:
http://www.lifewiththecrustcutoff.com/ Parrish @ Life with the Crust Cut Off
http://thissillygirlslife.com/ Dana @ This Silly Girl’s Life
We hope to see you there!
JudyBug says
Love this! If I used it on a cheese board tray, what you recommend as a top coat that would be food safe? I would want to seal the vinyl in.
Keri says
Looks great! What kind of stain did you use? Also, do you have to do a mirror image of your design so that the letters come out in the correct orientation or is that only for HTV?
Cheryl Spangenberg says
Hi Keri! I used a Minwax stain cloth. I used them all so I have no idea what “color” it was, so sorry! You do not have to mirror with vinyl, only HTV. So you cut this just as is and the sticky part is on the back like a sticker!
Joan says
On the video, you say that the Regal font is free on this post, but I don’t see it. Would you tell me where to find it?
Cheryl Spangenberg says
Hi Joan! The font can be found here: http://www.fonts2u.com/regal.font