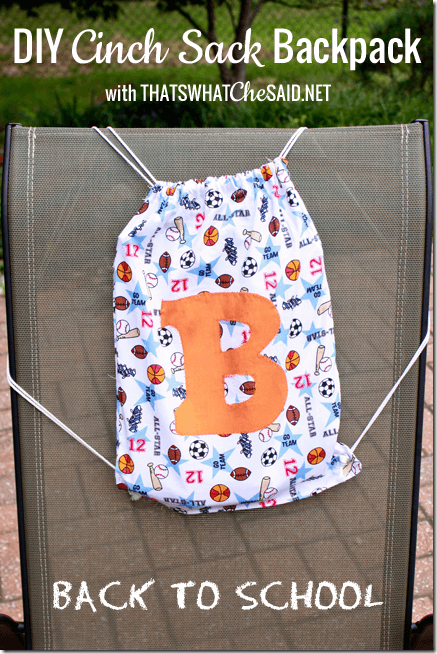
My small people will both be in school this year and I had to make them each some custom cinch sacks! Michael will be in 1st Grade and Ryan is starting preschool (3 mornings a week). While they both need backpacks for their school folders and papers, they also needed some other sort of bag for other stuff! Extra curricular activity clothes, play date toys, or even for those of you with girls…ballet clothes and shoes!
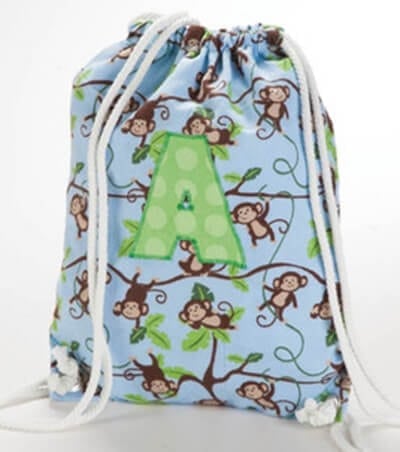
Summer of Jo-Ann is here to help! I was searching through the Cape Discovery catalog and found this adorable little cinch sack! I thought I’d be perfect for the boys!
(Photo courtesy of JoAnn.com)
supply list:
-
1 yard of fabric of your choice for the bag
-
1/6 yard of coordinating fabric for letter
-
4 yards of cording
-
coordinating thread
-
pinking shears
-
scissors or mat/rotary cutter
-
Wonder Under
-
Eyelets
-
Fray Check
-
Sewing Machine
-
Iron
-
pencil
I am a total beginner at sewing! So I am going to write this for those of us who don’t sew on a daily basis! You novice people don’t make fun of my non-sewist jargon! :)
1. Start out by cutting your fabric
-
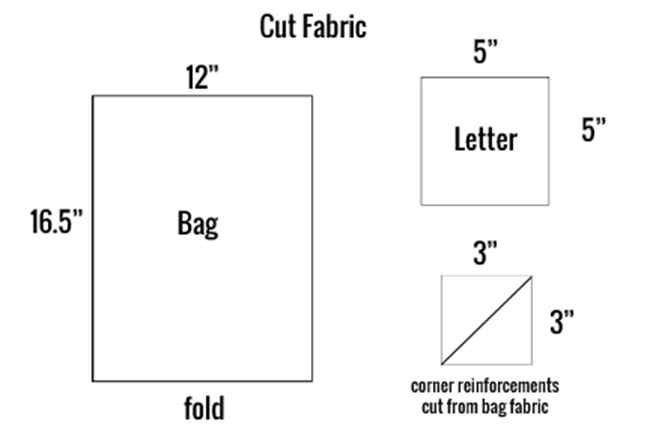
Bag: It needs to be 12″x16-1/2″ and you will use the fold the fabric for one of your 12” sides. (the bottom of the bag). Make sure it’s square.
-
Letter: Cut a 5” square out of your coordinating fabric for the letter on the front
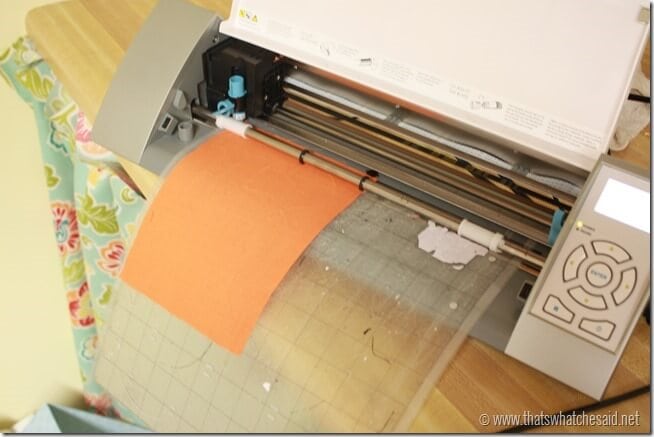
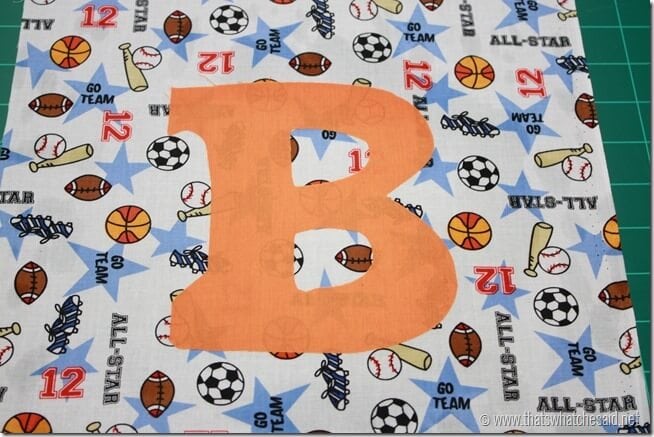
2. Using an iron and following the direction on your wonder under, adhere the letter fabric to your wonder under. I then used my Silhouette Cameo to cut the letter out of the fabric. If you do not have an electronic cutter you can simply trace a letter on the wonder under side of the fabric. Make sure to mirror the letter first.
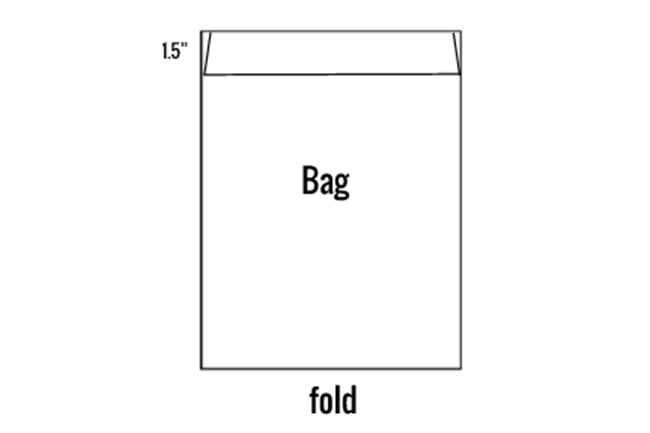
3. To make your bag start by measuring down 1.5” from all four open corners. Make a mark with your pencil on the Wrong side of your fabric.
3. Fold each corner over 1/4” and taper down to the edge at the 1.5” mark you just made. Sew in place.
4. Press the Letter onto the right side of your fabric centered on the bag. Use a Zig Zag Stitch around the edges of the letter.
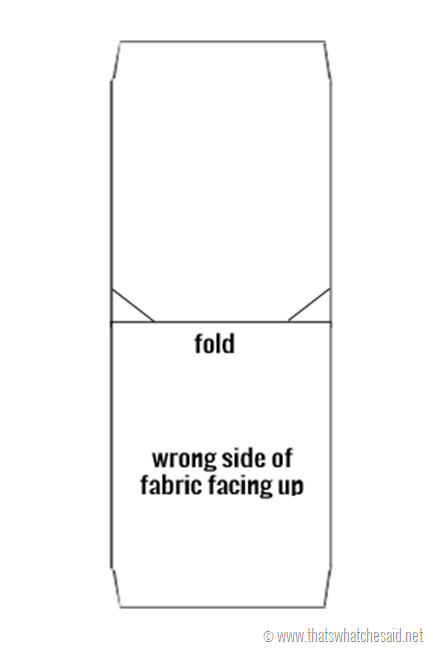
5. Pin the bag right sides together and iron the bottom fold. Unpin the bag and lay flat. Pin the reinforcemetn triangles into place in the corners of the bag just above the fold you just ironed. Sew across the diagonal length and sew with a 1/8” seam allowance.
6. Fold 1/4″ over at the top of the bag and stitch into place at 1/8″ seam allowance. Fold from the right side to the wrong side. Do this for both sides of the “top” of the bag.
7. Fold the bag where the right sides of the fabric are together. Pin and stitch side seams closed at 1/4” seam allowance and be sure to stop at the 1.5” mark you drew earlier (right at the bottom of the top corner dents you made in step 3. After you sew it all together, use your pinking shears to cut the edges of the seams so they don’t fray.
8. Turn the bag right side out and push out the corners flat. Use a pencil or pointy edge if you need to to get them square. Iron the corners flat and use a zig zag stitch to sew the top and bottom bag layers together across the reinforcement line you stitched earlier.
9. Fold the top opening of bag over 1- 1/4” and zig zag stitch closed. Repeat for both “tops” of the bag.
10. Cut cording in half so you have (2) 2 yard lengths. Pin one end of your cord and push it through the casing created at the top of the bag. Start on one side, push it all the way through the bag (front and back) ending on the same side you started. Repeat with the other side.
11. Following the direction on your grommet kit, add grommets on the reinforced corners of the bag.
12. Feed the loose ends of the cording on each side through the back of the grommet and tie on the front. Trim any excess cord and use fray check if needed on the edges of the cord.
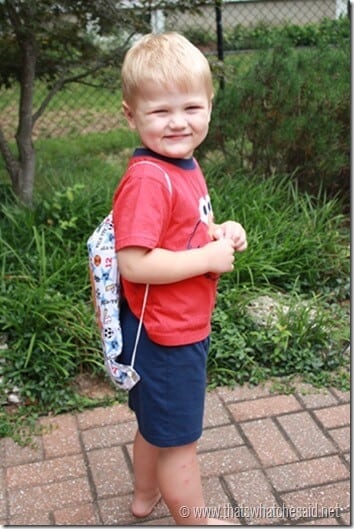
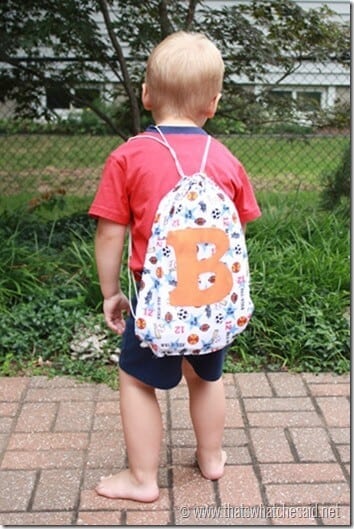
Can you tell the little enjoys his! He is so excited for preschool!


Comments & Reviews
Crystal says
So adorable!! They are cuter than store bought ones. Pinning!!
Alissa says
This is a brilliant idea. I really love the thorough instructions you gave, even DIY-challenged people like me could follow!
Cheryl Spangenberg says
Thanks Alissa! I try to write my tutorials so anyone can follow them! I appreciate you being here!! xo
amber.m says
Oh my goodness, the cutest ever!! Seems easy enough to make too!
Cheryl Spangenberg says
Thanks Amber! It really was a quick little project! I can’t wait to make some more for my kid’s friends!
Deanna Ritz says
These are super cute! I pinned so I can make one for my little guy. :)
Deanna
Ange says
LOVE this! You did a great job!
kendall says
Oh that is just so cute!! Love it!
Chrissy Boerman says
Such a fun and easy idea. I might make these for out bike rides,
Kadie says
What a great backpack! I think my youngest two would love one! Great tutorial.:)
Cheryl Spangenberg says
Thanks Kadie!
Erin @ DIY on the Cheap says
This is adorable! Perfect – my son just started Kindergarten today and my youngest will start preschool in a couple weeks.
Cheryl Spangenberg says
Thanks Erin! These will be perfect for your little ones!
Claire @ A Little Claireification says
OMGosh Cheryl he is so cute!! Love these little cinch sacks! So fun. Pinning! xoxo
Cheryl Spangenberg says
Thanks Claire! He loves to show off for the camera!
Katie Clark says
I love cinch sacks, but hate how easily the wear out. I bet these would last much longer!
Cheryl Spangenberg says
I agree Katie…hoping this one will last too!
Judy Blinkenberg says
my youngest granddaughter loves to sew and I know she is tired of sewing squares together, so next month when I visit her she will make a sinch sack. Thank you very much!
Cheryl Spangenberg says
Oh that will be such a fun day for her! Great memories too! I loved sewing and crafting with my Grandma! It was our thing we did together! <3 Hope you two have a great day and she loves her cinch sack!