I shared my DIY Weekend Pergola a bit ago and now I am going to share my top 5 Tips for Staining Wood. Read or pin this post and when you get to your next staining project you will look like a pro!
5 Tips on How to Stain Wood like a pro
1. Calculate your square feet and figure out how much stain you will need. If you need more than one container, you will also need a large bucket or container to mix. Never stain with one container and then start with another. MIX YOUR CONTAINERS together to start with. This will ensure that you have the same color throughout your project. Even though they say they are from the same lot and batch…colors can still be different.
2. Be Prepared. Get your materials ready before you start staining. Lay down drop cloths if needed, get sawhorses to prop your pieces, get plenty of brushes or rags and gloves. You don’t want to have to start staining only to realize you forgot a rag to wipe off the excess and have to stop to go find one.
3. Work in small areas. You always want a wet leading edge. What that means is that you don’t want the edge of your stain to dry. It will leave a dark mark where that takes place. So if you work in small areas you can constantly have your leading edge wet because you are not piddling at the left side of your board while that giant stroke you just made is drying on the right! Working in small areas also helps you to avoid drips. Drips are bad! They are really hard to erase and unfortunately stick out like a sore thumb. You don’t have to worry about this much when you stain a deck floor but for my pergola I was constantly looking for drips on the backsides of the boards I was working with. If you do drip or if stain runs over to the back side of the board while you are working on the front…not a problem if you catch it and wipe it with a dry cloth.
4. Don’t stain your wood when it’s warmer than 90 degrees F outside (that’s a little over 32 degrees C for my Canadian and European friends). Remember what we just talked about in #3? Keeping a leading edge wet. When it’s that hot out your stain can dry faster and look really streaky and if you are going through all that work to stain or water seal something…you don’t want streaks! Streaks can join the drips in the “you don’t want this category” :)
5. Wood will only take so much stain. Don’t over saturate it. Work patiently. Apply, wipe off excess and keep moving. If you feel you need to go back to make it a bit darker you can add a second application but if you purchase oak stain…it will never appear mahogany no matter how many coats. After wood has reached it’s saturation you are just wasting stain at that point.
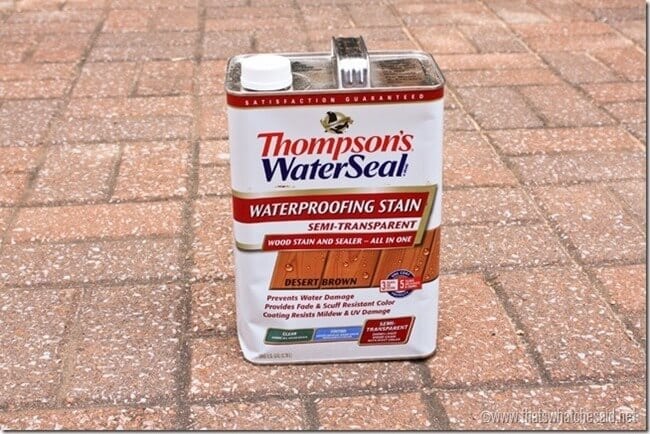
I loved, loved, loved the Thompson’s WaterSeal that I used for my pergola. It was tint and sealer in ONE! If you have ever read my blog before you know I LOVE MULTI-TASKING PRODUCTS! Who doesn’t? Especially since my pergola had so many boards intersecting an overlaying each other. I would have cried if I had to stain and then go back and seal it all over again! Seriously…tears!
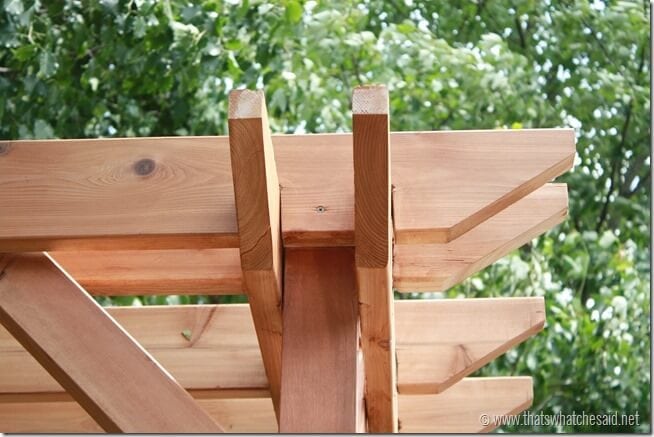
I stained my crossbeams before I nailed them in place but I still had to work around all of these corners that were already built!
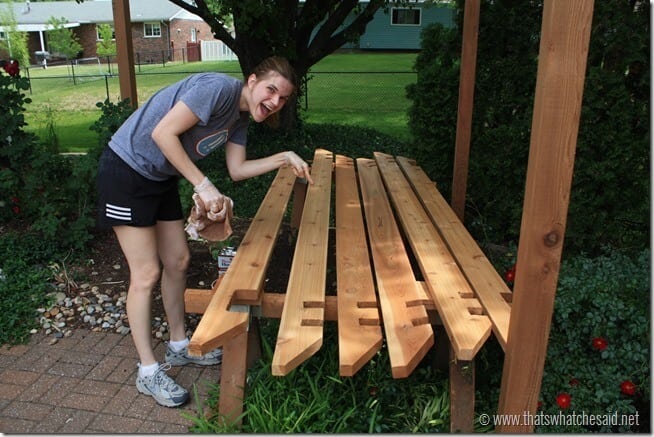
I used the rag method. I got some gloves and used one rag to dip in the stain bucket and apply and another rag to wipe of the excess. Wax on, Wax off! It worked great for me and using the rag really allowed me to get into all the nooks and crannies of the pergola and make them spectacular!


Disclosure: I was sent free product for my pergola project. I was not asked to do a post or anything in return, I chose to do so because the stuff is AH-Mazing and I really, really love it! I wanted to share my tricks as well as this awesome product with you! Feel free to read my full disclosure HERE.


Comments & Reviews
Helen says
Great post! Thanks very much!! I’ve been putting off re-staining my bench for years ’cause I thought I couldnt do it right! Now…no excuses!! lol thanks again :-)
Jessica says
You made this look so easy! I am somewhat less frightened now to take on staining our porch, deck, and swing set! Thanks for the tips. I pinned for later, when the weather cooperates.
Cheryl Spangenberg says
I was really intimidated as well Jessica! But it really is so awesome once you get your system down!
Julie says
You are invited to share this with Show Your Stuff:
http://www.treasuresmadefromyarn.com/2013/07/show-your-stuff.html
Crystal Owens says
Soooo want to come over and help me build & stain one with me? haha I still think you did an amazing job!!
Poly says
do you use any specific product if you want to waterproof something that’s already stained?
I inherited an old part of a fence that Id like to waterproof and use to grow/support ivy in my yard, but it isn’t unfinished. it’s already stained.
Cheryl Spangenberg says
I would use a Polyurethane. Be sure to stir it and not shake it as shaking the can of poly can cause bubbles that will show up in your final application. Stir with a paint stirrer!
Vincent Cobb says
I want to re-stain the inside of my front door, but I’ve noticed some nicks and gouges in the wood. If I used wood filler on the areas in question first, would those areas bleed through the new stain? I’ll be using Miniwax Mahogany with Polyurethane already in it.
Cheryl Spangenberg says
Vincent make sure the wood fill you use says it can be stained. Some can and some can’t depending on the type! Good Luck with your project!