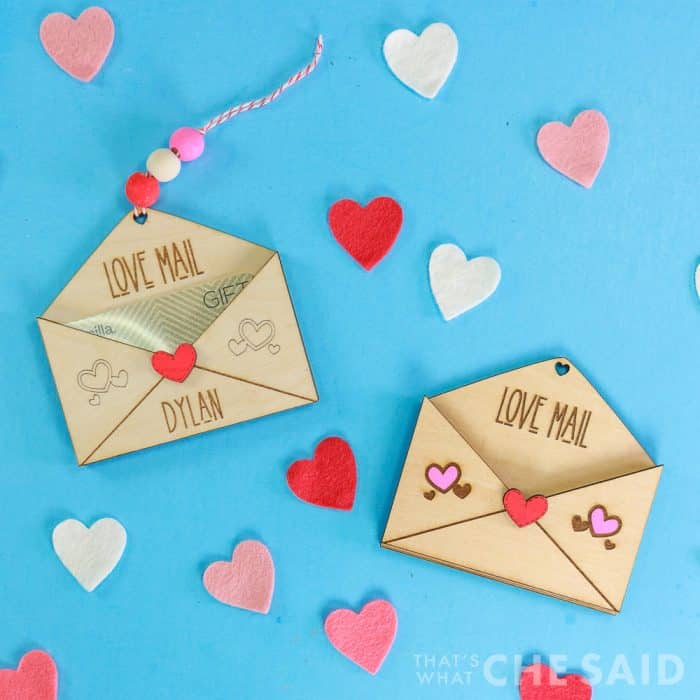
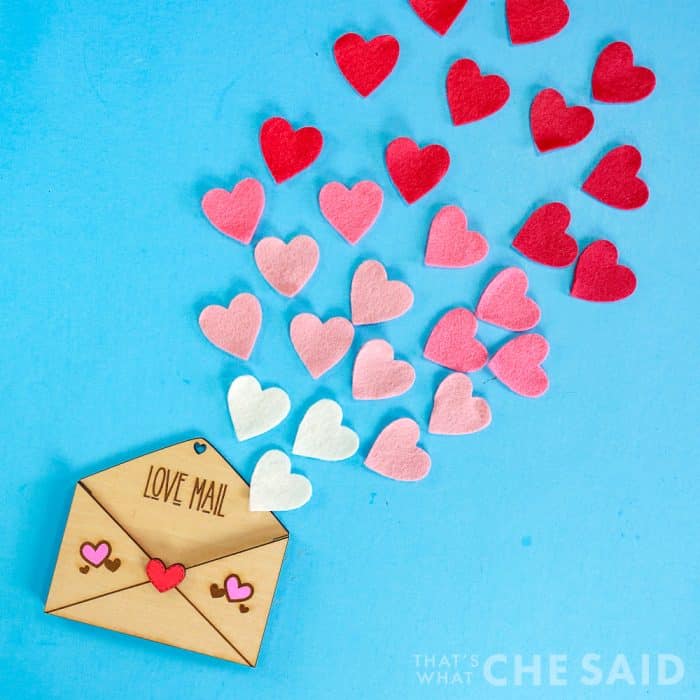
Let’s walk through how to make Valentine gift card holders using an xTool M1 machine! You can grab my free gift card hold SVG below as well! These are a fun way to give a standard gift card to your loved ones this Valentine’s Day! You can grab my free laser-cut digital file below to use for yourself!
If you are unfamiliar with an xTool M1 Hybrid laser/blade machine, it has the ability to cut vinyl and iron on similar to an electronic cutting machine AND also has a laser function to cut and engrave materials like metal and wood. You can read my entire M1 beginner’s guide and overview post here.

Gift cards are great however sometimes they are a little impersonal. By gifting in this valentine’s cardholder you are creating unique gift ideas that are both personalized and decorated for the holiday! You can also replace the gift card with cash for a cute money holder!
This post may contain links to Amazon Associate and other affiliates.
As an Amazon affiliate, I earn a small commission from these links at no additional cost to you.
Laser Cut Gift Card Holder Supplies:
- xTool M1 Hybrid Laser/Blade Machine
- 3mm Basswood or your choice of wood
- Wood Glue
- Paint Markers, Paint, or Stain (optional)
- Twine/String/Ribbon (optional)
- Wooden Beads, painted (optional)
WHAT’S THE FONT?
I created these SVG files with Adobe Illustrator from Adobe Suite.
I used the font Maple Spruce – Regular from FontBundles.net
You can find my favorite fonts use at FontBundles.net, Creative Fabrica, MyFonts.com and Creative Market
Now let’s get to creating our Valentine Gift Card Holders. Follow the step-by-step tutorial below to create your own!
How to Laser Cut Basswood for a Valentine’s Day Gift Card Holder
Time needed: 20 minutes
Cut, Score and Engrave Valentine Gift Card Holders using an xTool M1 Laser and Blade Hybrid machine. These are a great way to give a gift card this holiday season!
- Prepare the M1 Machine
Turn the M1 machine ON using the switch in the back of the machine. Once it powers up, place a sheet of 3mm basswood on top of the triangle prism risers in the work area of the M1.
- Connect the M1 to xTool Creative Space (XCS)
Use the provided USB cord, wifi, or IP to connect the machine to the software. You can find detailed information on how to connect the machine to the software here.
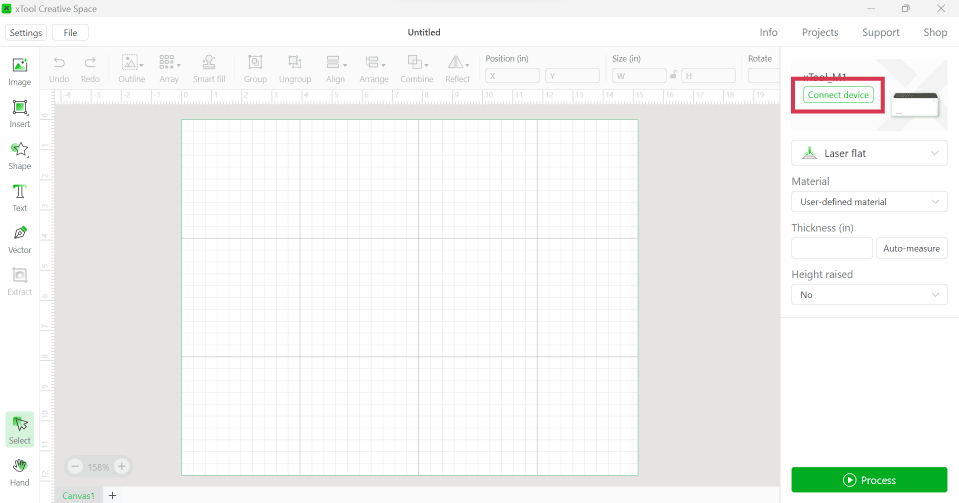
- Enter Settings in XCS
Once connected, the first thing to do is navigate to the right side of the screen and select the following things in this order: Height Raised: TRIANGULAR PRISMS, LASER FLAT, Material: 3MM BASSWOOD and then click the AUTO MEASURE button for the thickness slot. Allow the machine to auto-measure the distance from the laser to your material and it will import a number.
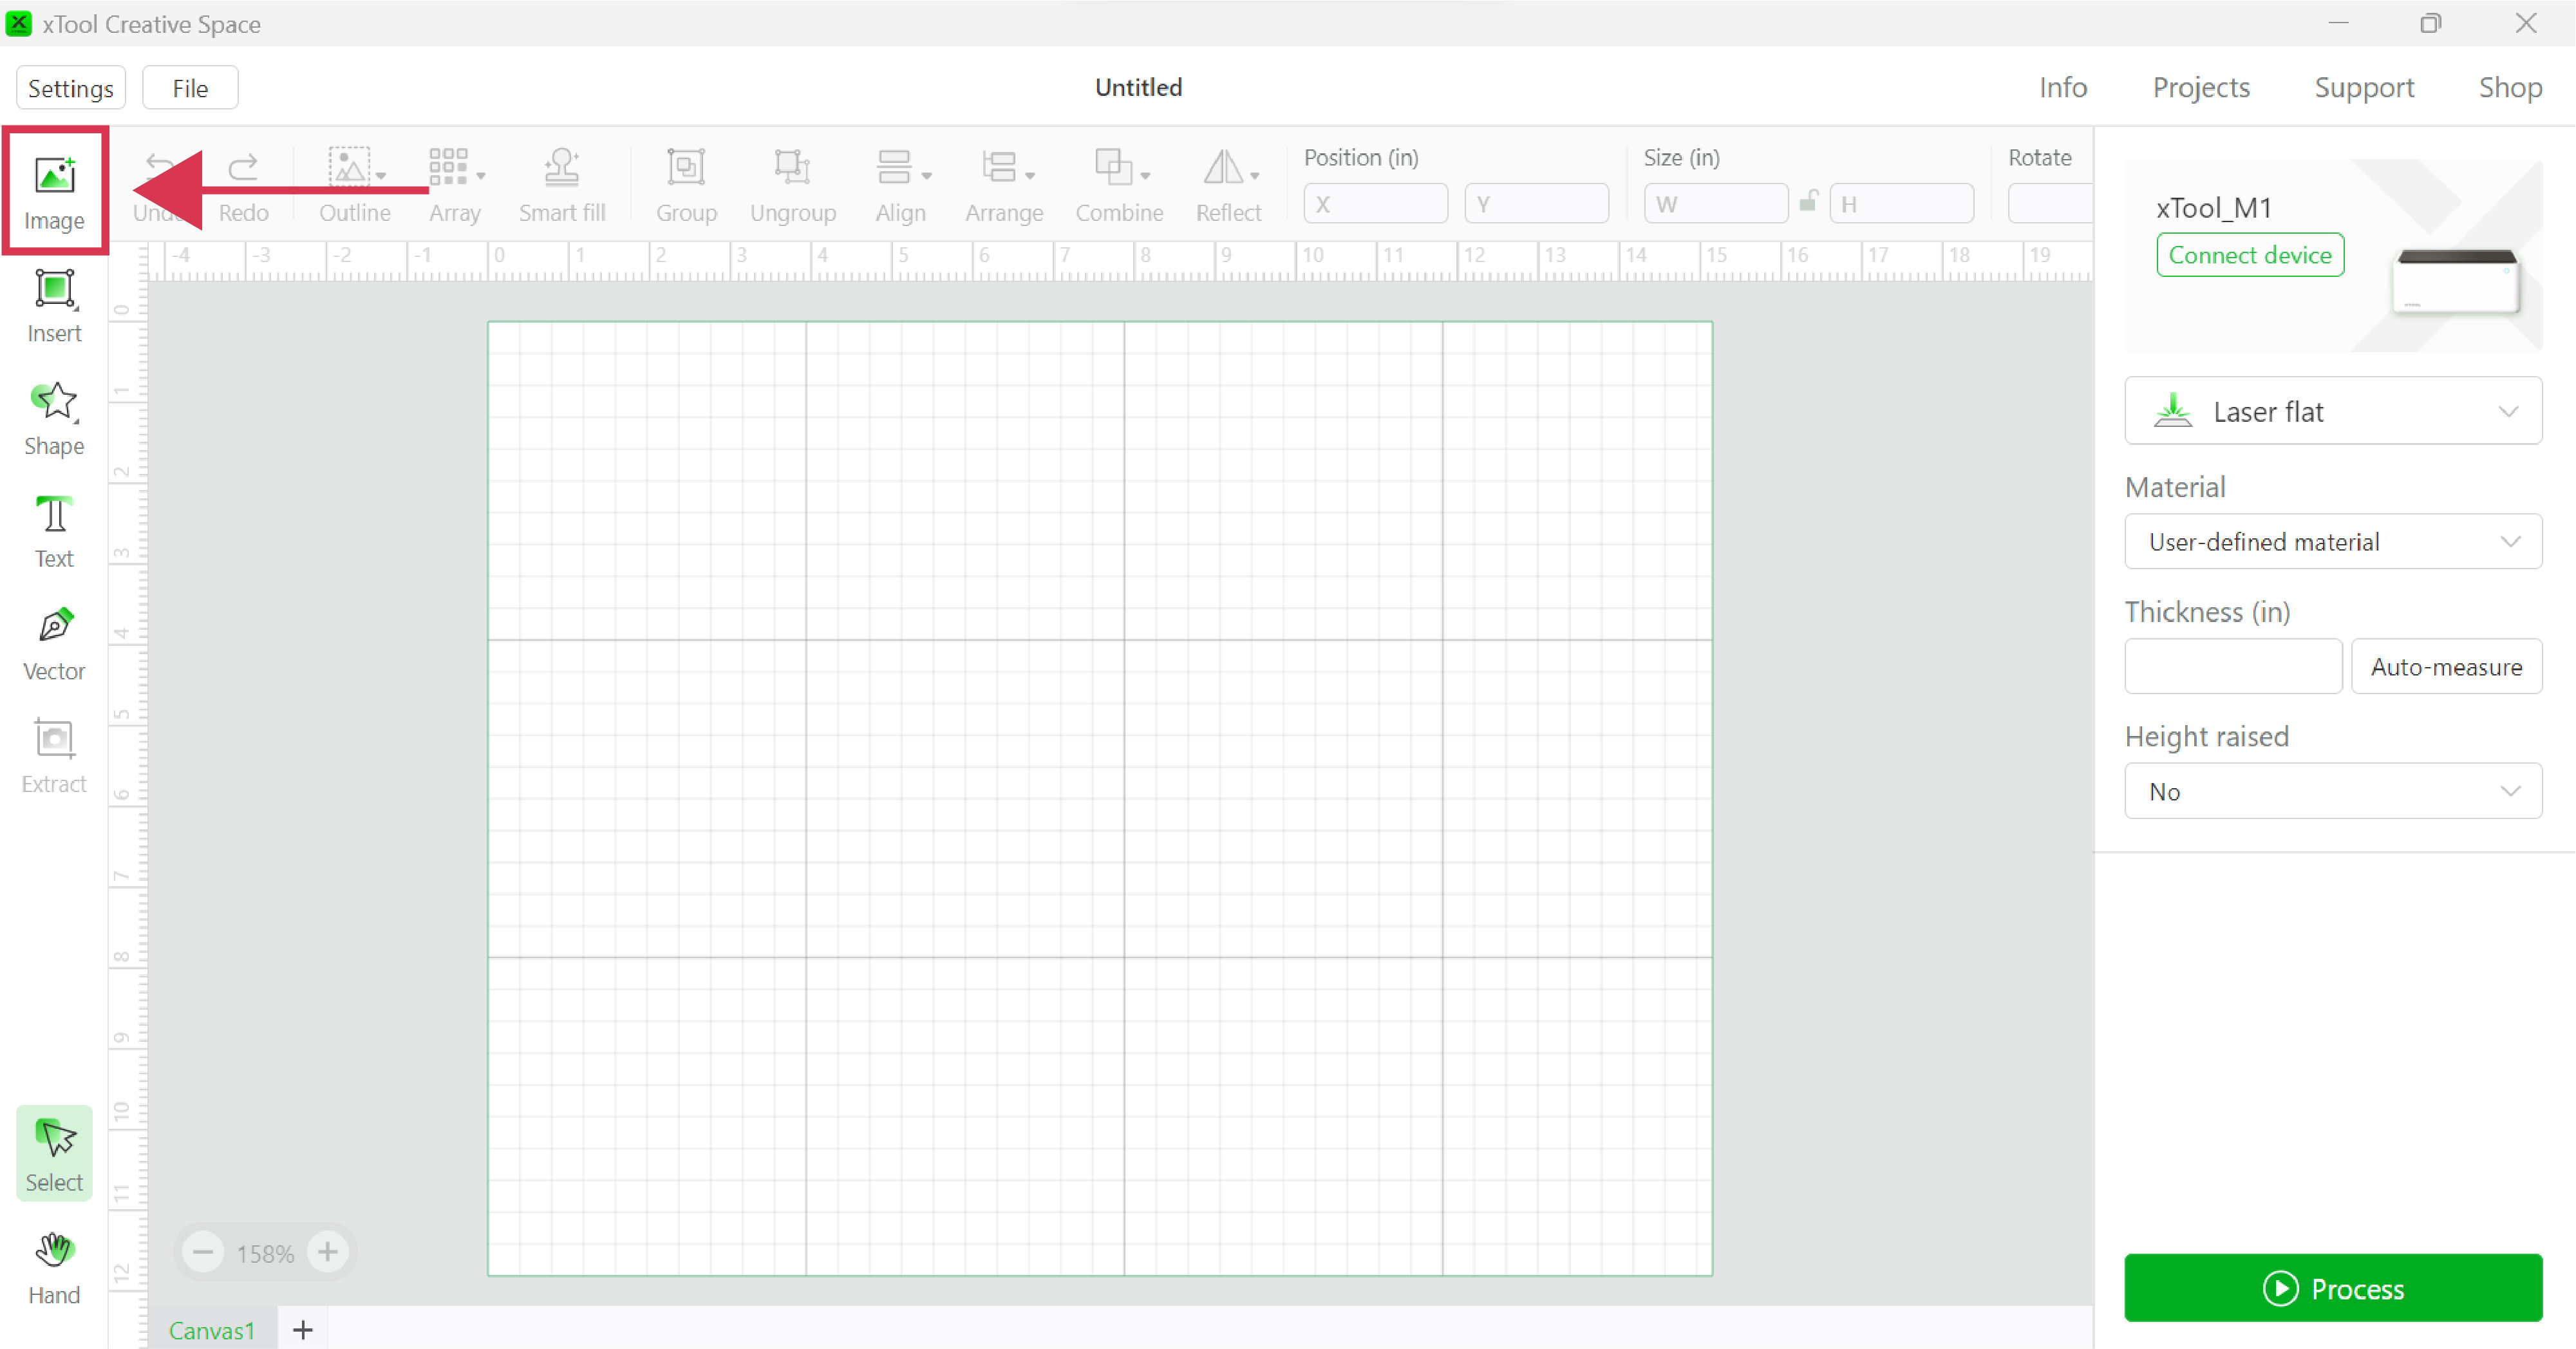
- Import the SVG File
Use the IMAGE tool and import the digital SVG file (found below). You can refer to this post for detailed instructions on how to upload files to XCS software.
- Specify Score, Engrave & Cut Lines
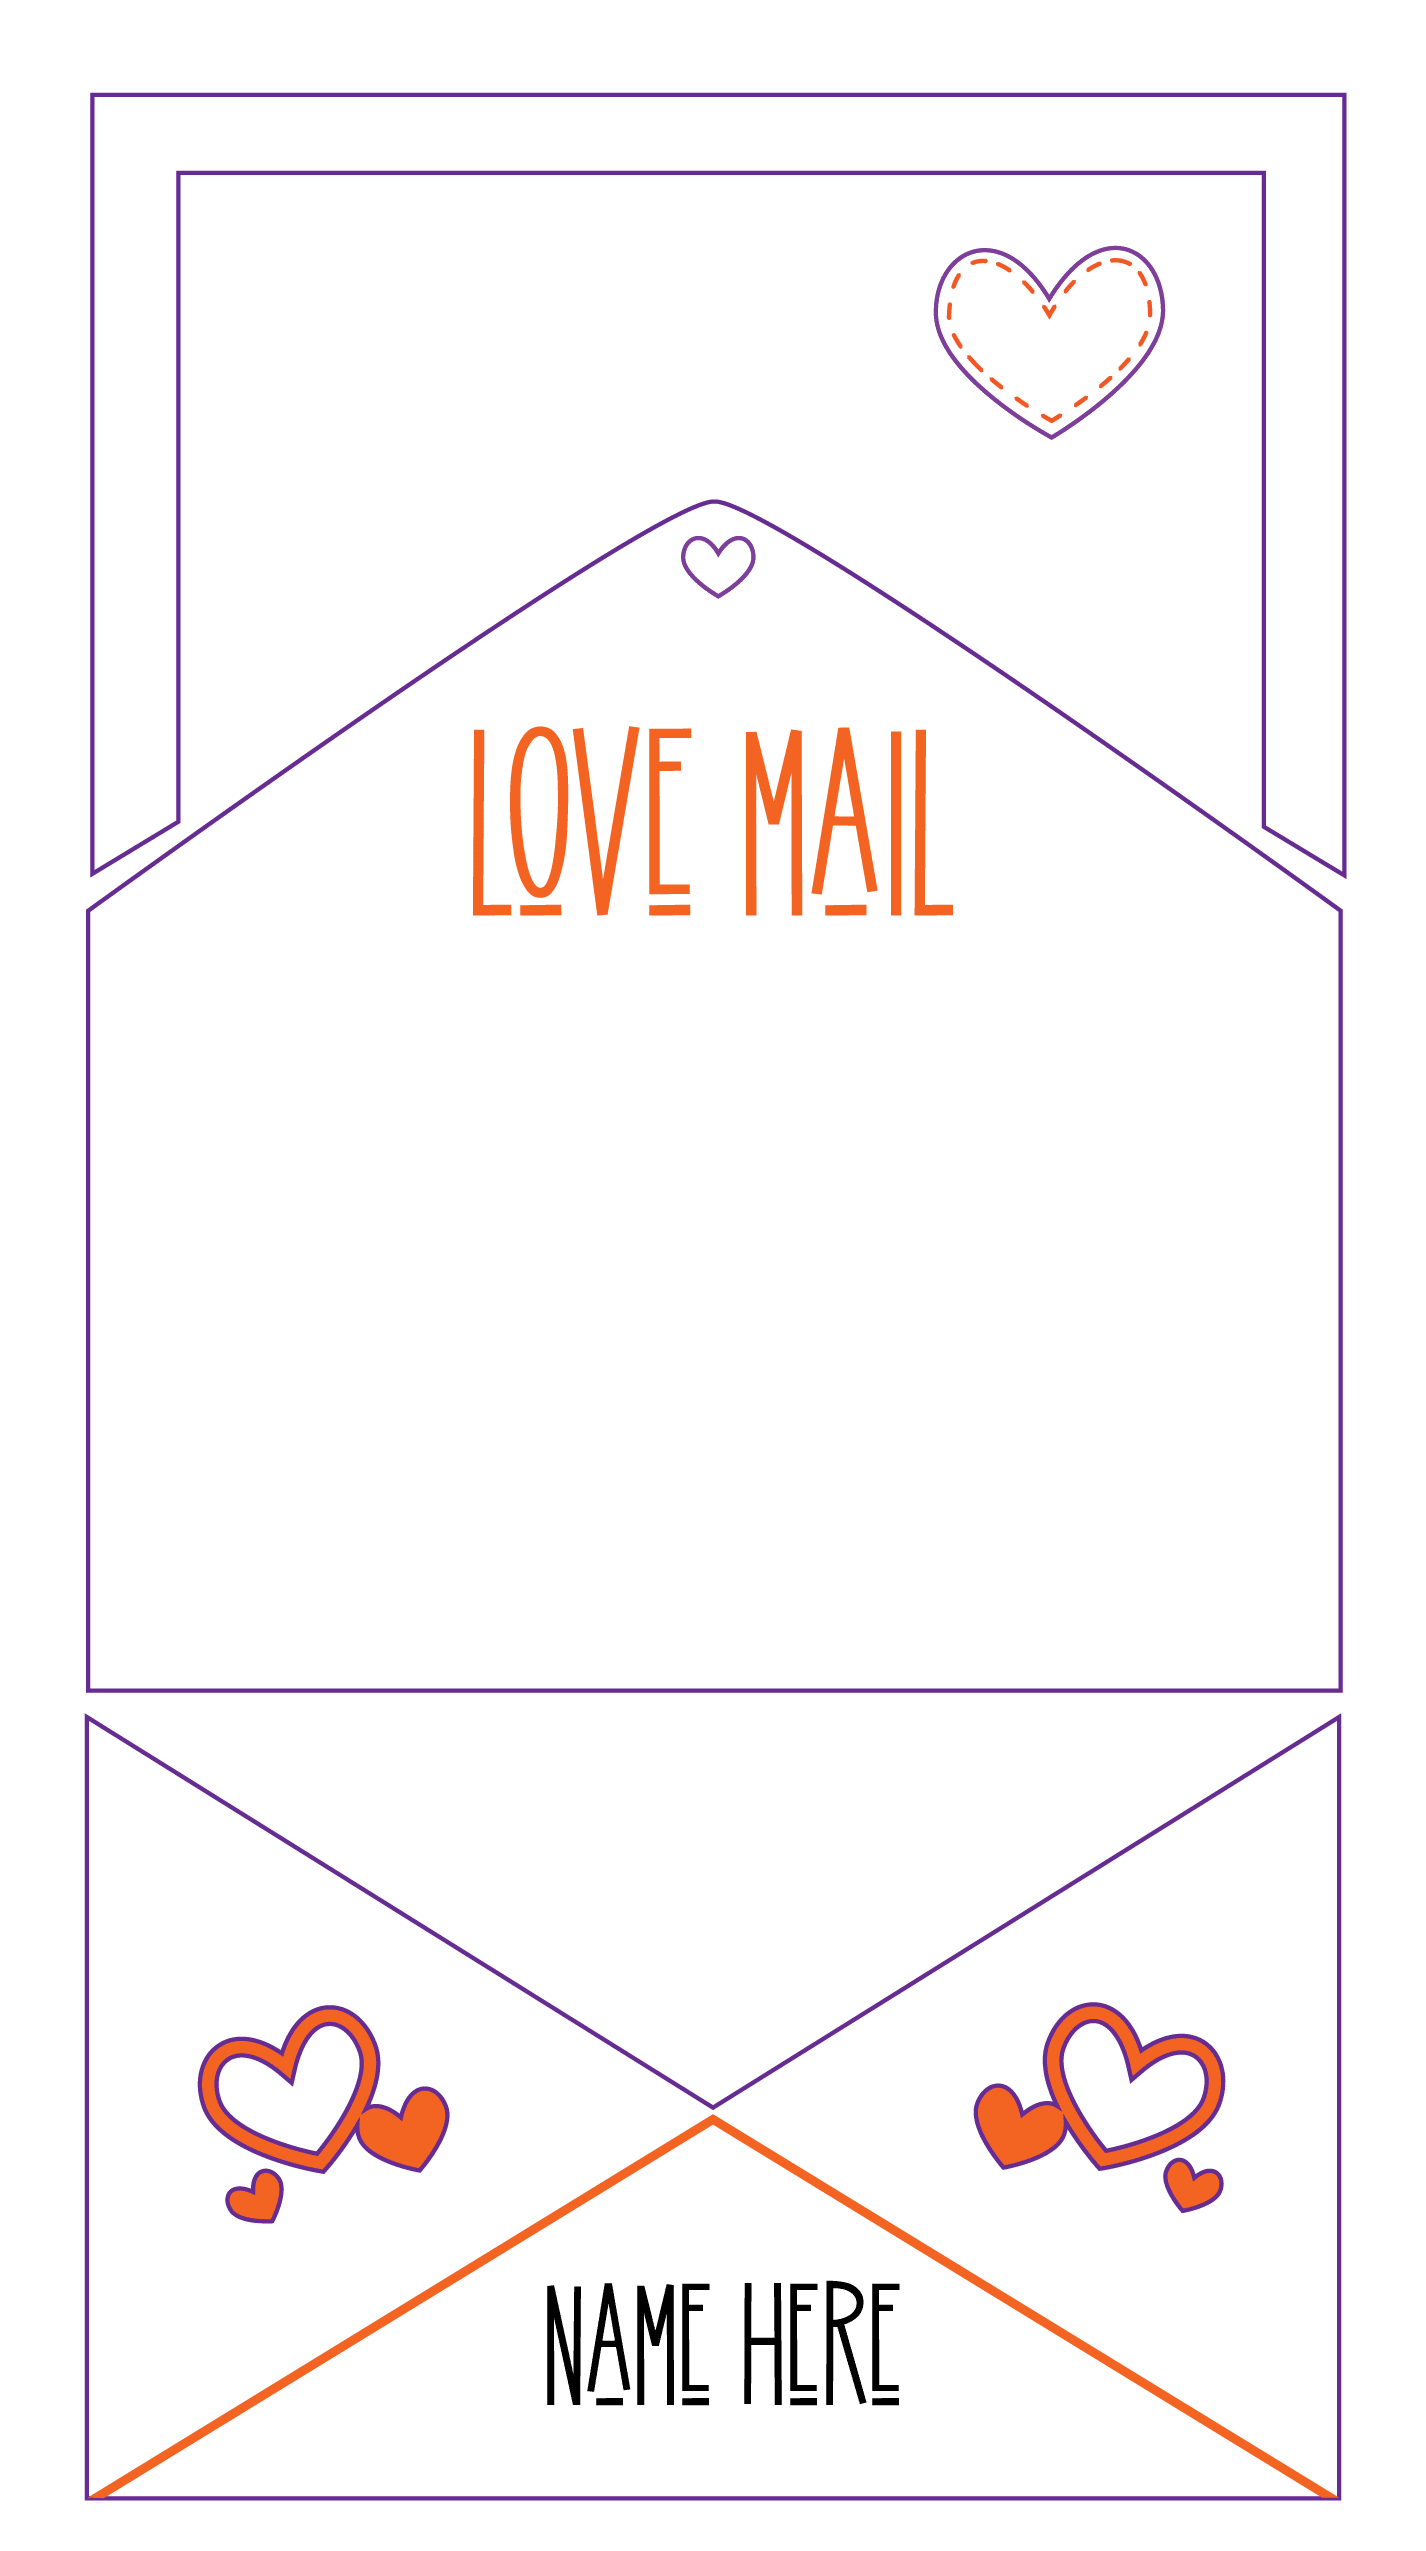
The score lines are orange single lines, the engraving is solid orange and the cut is purple. You want the file to look like the image below. To change, select the layer and then select the corresponding output under the output tab.
- Add Name or Personal Message
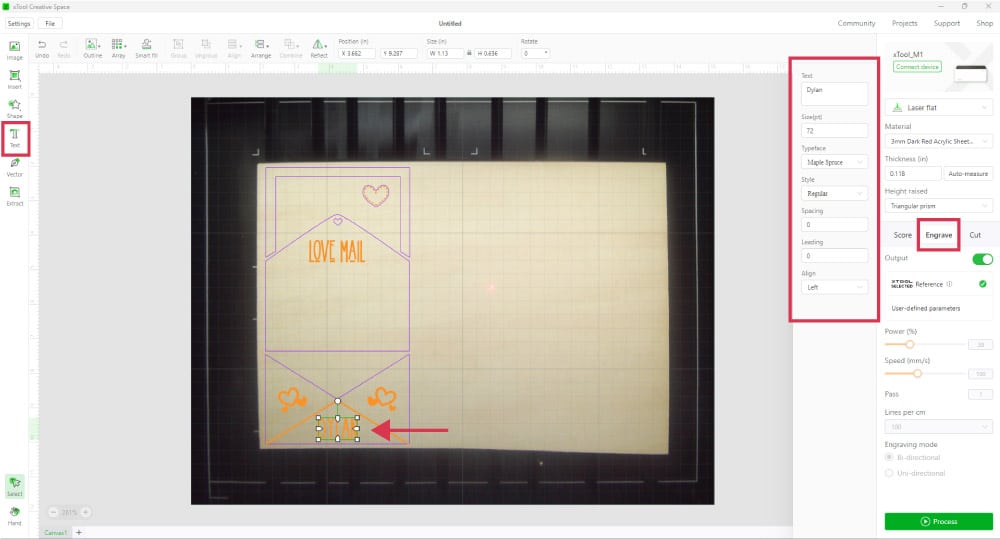
Using the Text Tool, you can add a name or a personal message to the front of the envelope area. I used the font called Maple Spruce Regular and you can find it here at FontBundles.net.
- Process
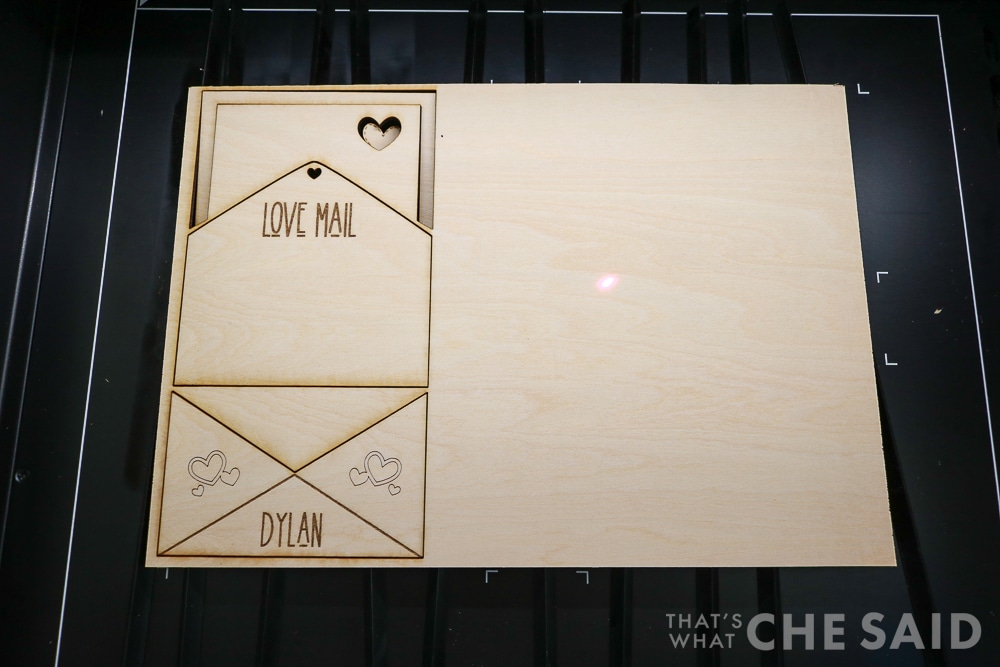
In order to cut, score and engrave, click the Green process button in the lower right corner of the screen. On the next screen, click START. Then you will need to go physically to your machine and press the front flashing button. This will start the laser to engrave, score and cut accordingly. Once complete, the laser module will return to the home position (upper left corner) and the machine will beep. You can now remove the project from the machine.
- Decorate (optional)
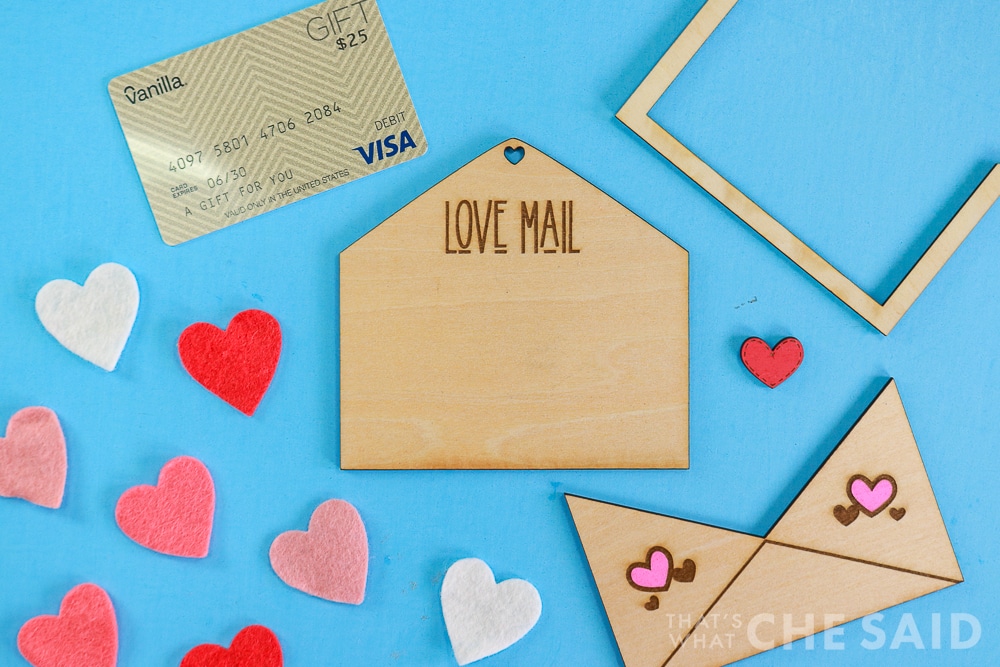
This step is optional: Here you can stain or paint the larger pieces or use paint markers to add colored accents to the details of the gift card holder. It is easiest to do this before it is assembled.
- Assemble the Pieces
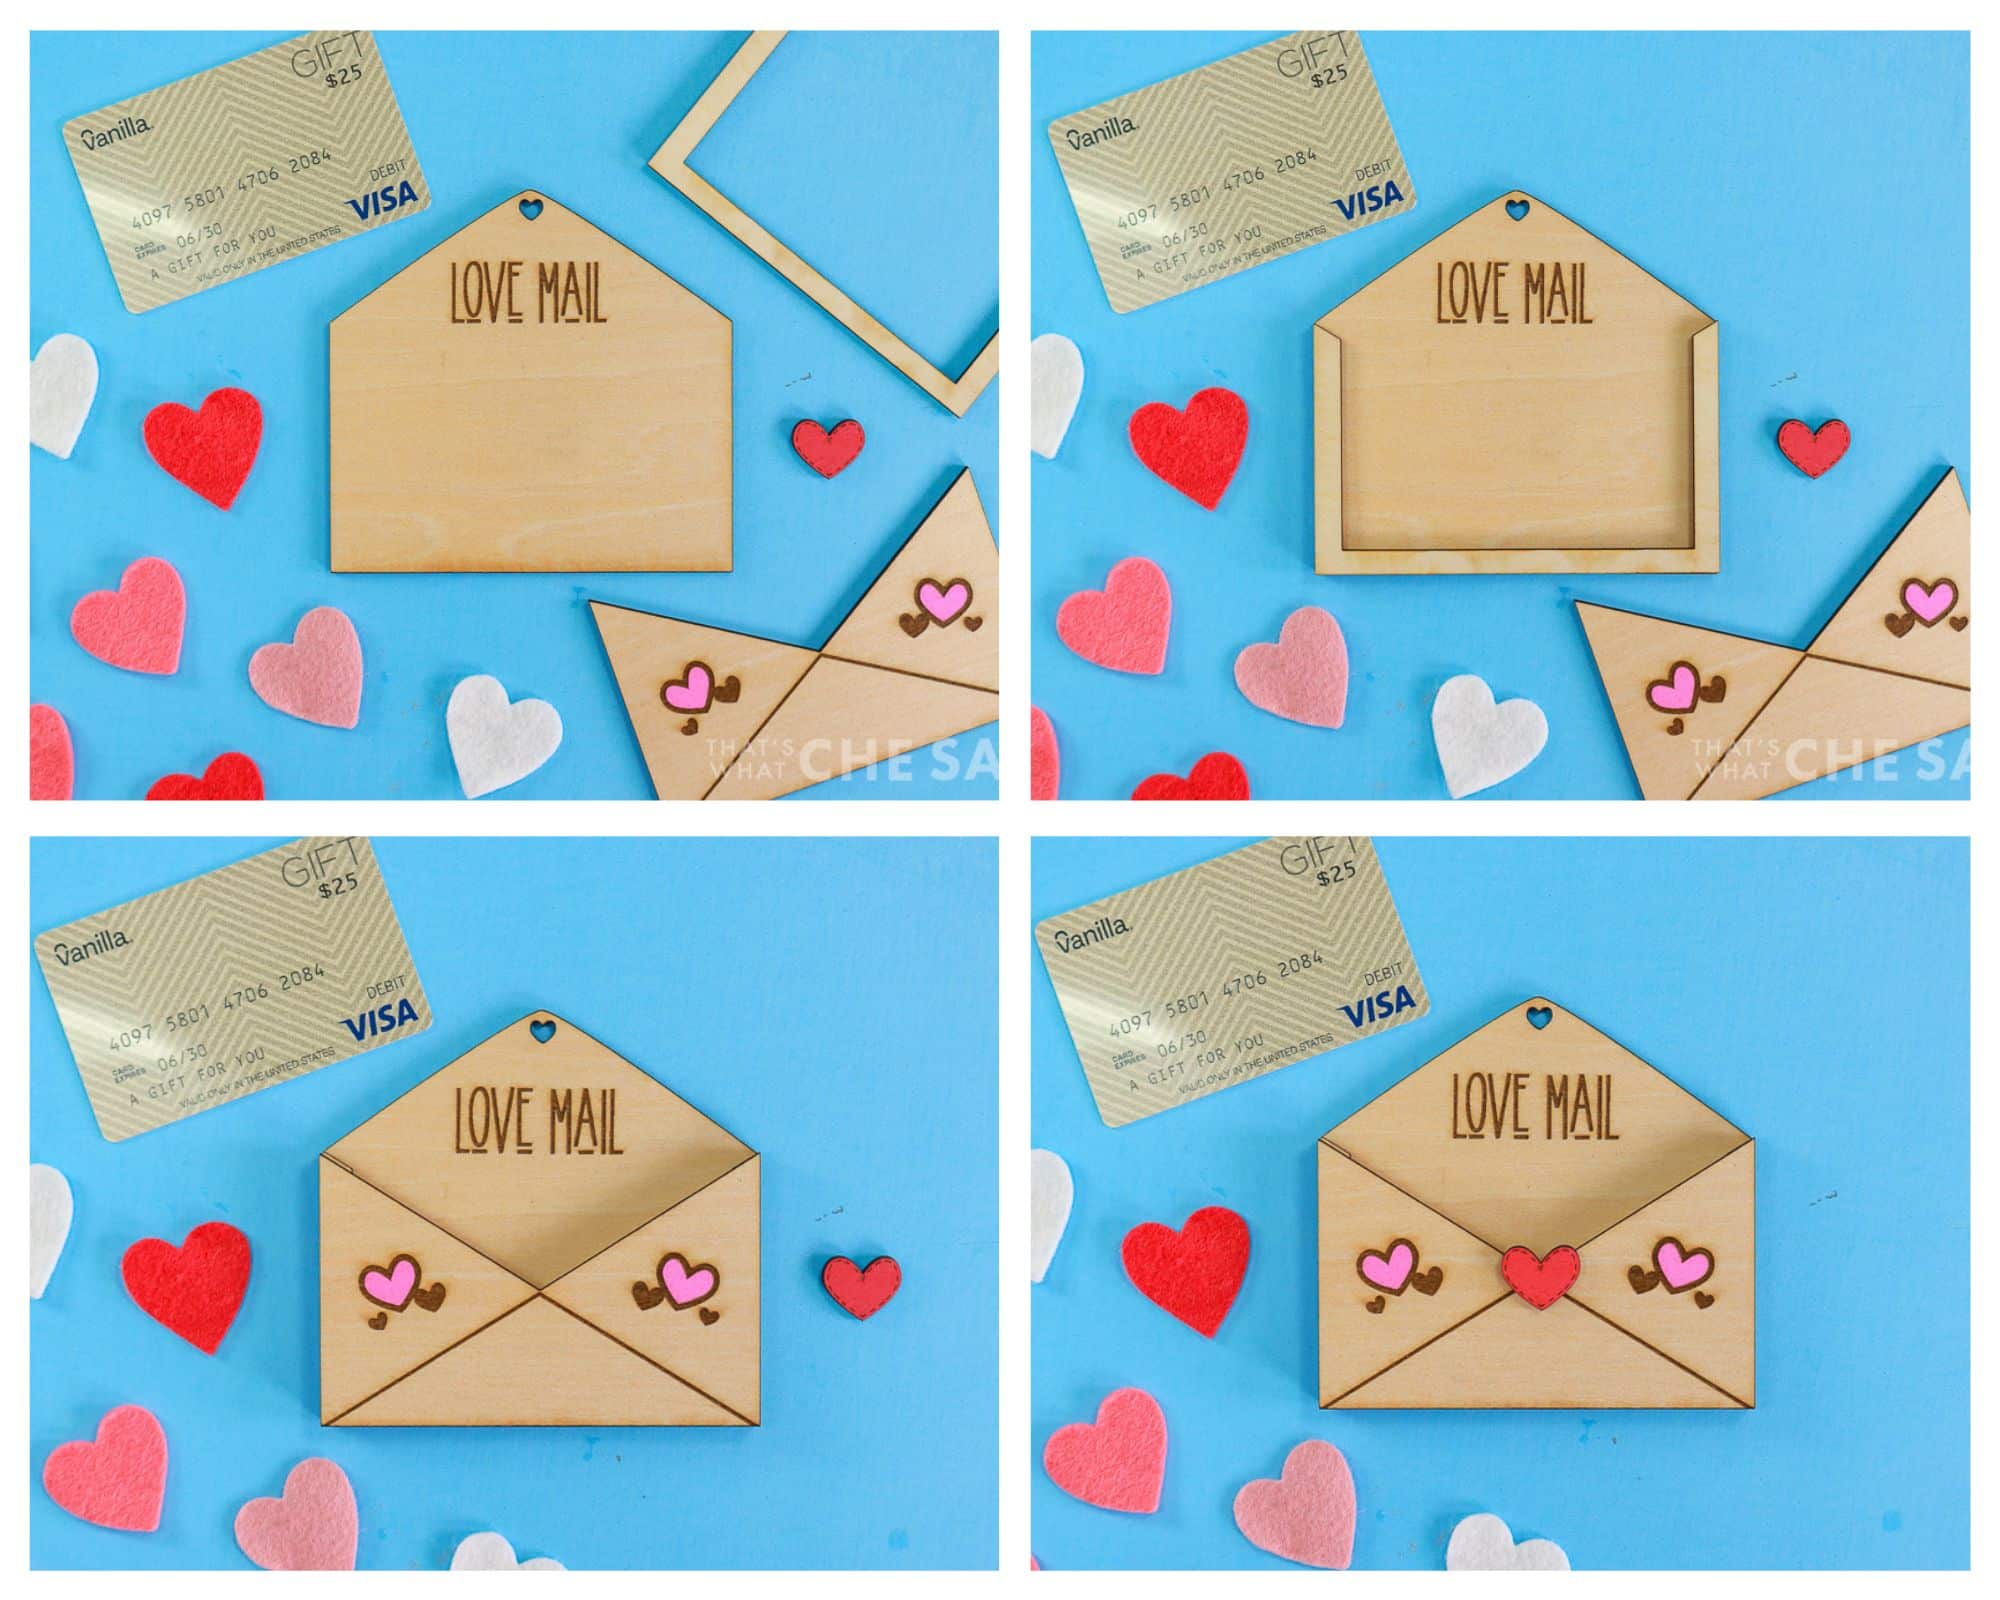
Next, use wood glue to assemble the 4 pieces. Back of the envelope, the center spacer piece, then the front of the envelope, and finally glue the heart button.
- Insert Gift Card
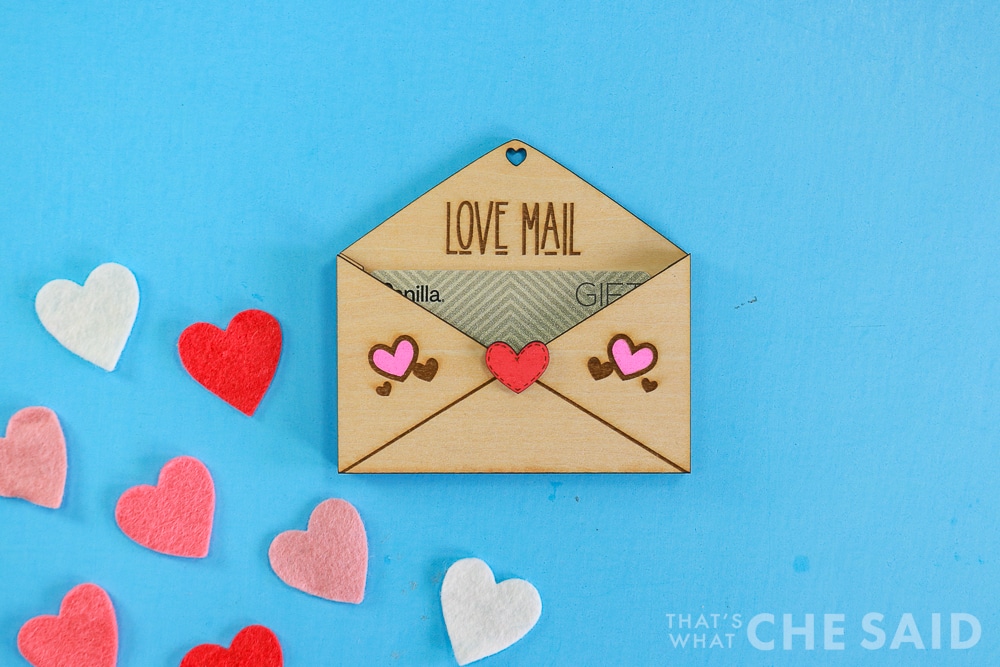
Once dry, you can insert a gift card into the valentine’s day card holders and you are ready to gift these sweet Valentine’s handmade gifts to your recipient! These are great for kids and adults and make great gifts for teachers, bus drivers, and coaches! The file is designed to fit a standard gift card with the perfect fit!
- OPTIONAL: Add Beads and Ribbon/Twine
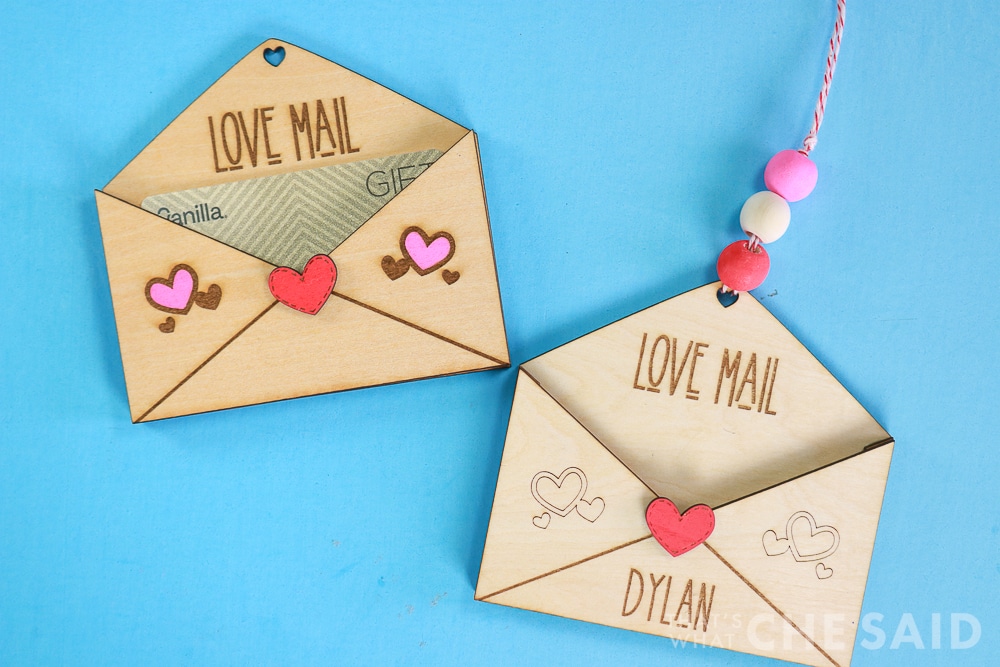
Furthermore, you can also paint some beads using paint markers when you add color to the project in step 8. Loop the ribbon or twine through the small heart cut out at the top of the envelope, add beads and tie off!
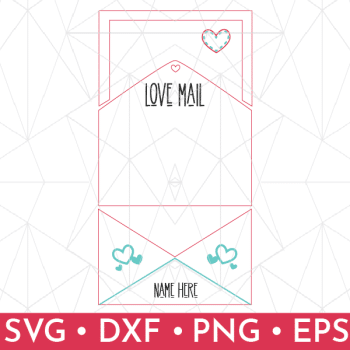
Get the FREE Gift Card Holder SVG File Here
Getting the freebie is easy! First, enter your name and email below and join my email list community (AND gain access to my freebie library)!! After that, click the download button and the freebie will begin automatically.
I use box.com to deliver my freebies safely! There is no need to sign up for a box.com account!
Please see this FAQ post + Video on how to download my freebies.
Digital items only, No physical items will be sent.
This download is for personal use only!
Notes on Valentine’s Day Gift Card Holder
- This SVG file can be used with your Cricut Maker and the knife blade to cut from basswood or balsa wood. The engraving parts may need to be cut with vinyl.
- This project can also be used with sturdy cardstock paper to create a valentine card holder. You can omit the center spacer piece when assembling. I would use hot glue to hold it all together. You can decorate with stickers if desired.
- You can change the output of the heart designs from engrave to score if you wish, both outputs are shown in the images above.
- Also, you can stain basswood or use different woods such as birch, maple, and cherry. Be sure to choose that material when you are on step 3 above.
Happy Valentine’s Day!! Here are more Valentine’s projects you may love!





Leave A Reply!