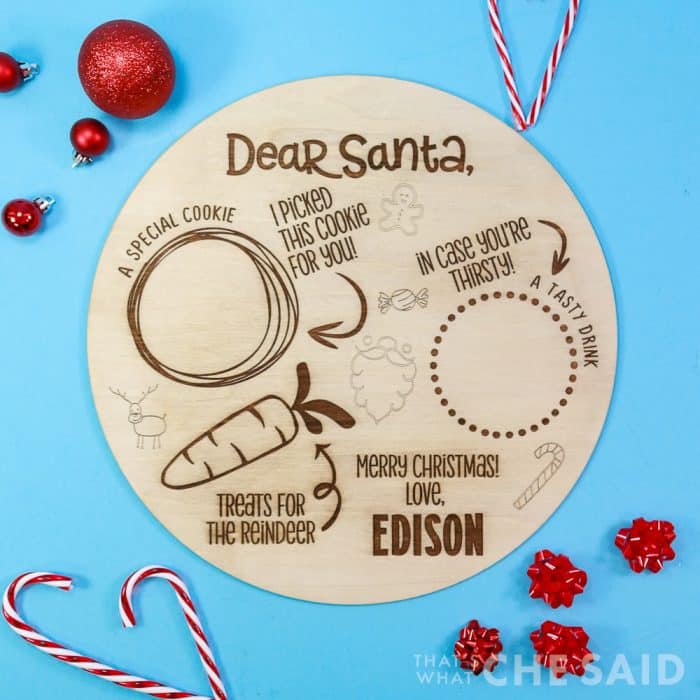
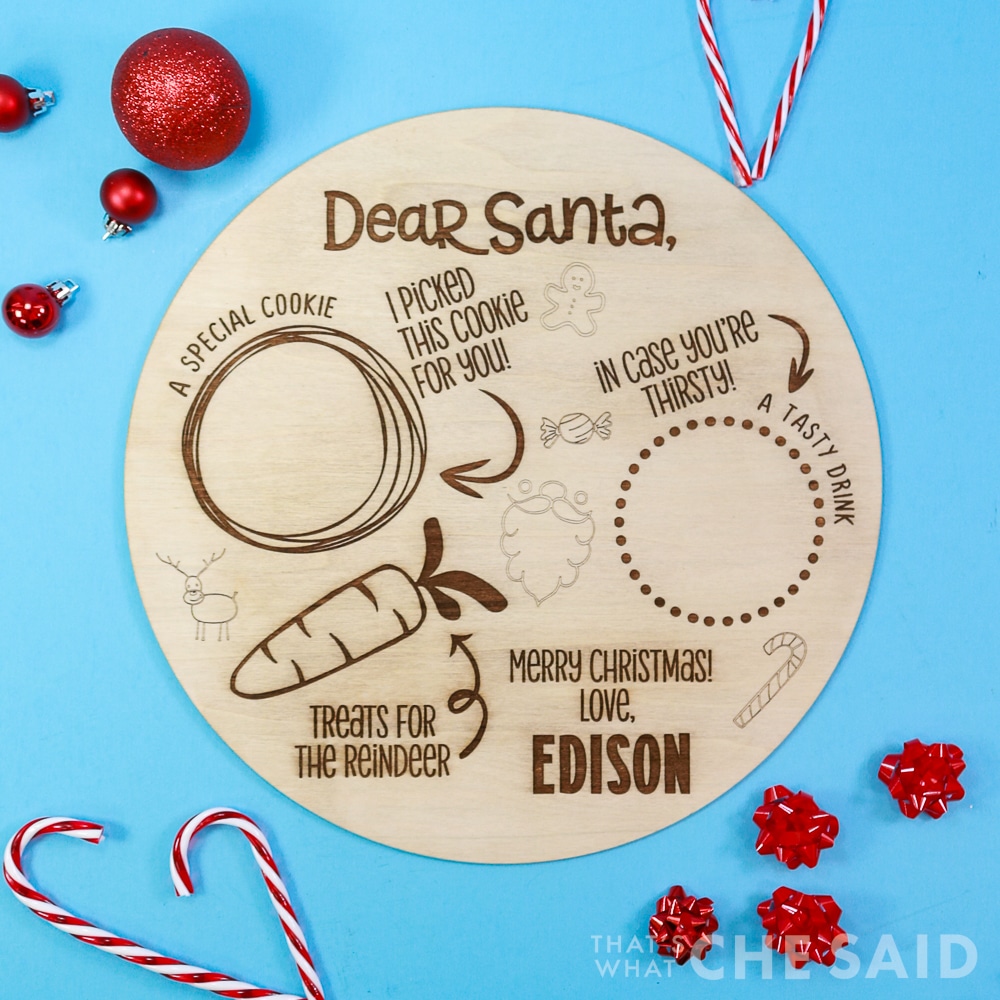
Create your own custom Cookies for Santa tray using a pack of designs from DesignBundles.net, craft rounds, and either an xTool M1 laser or your Cricut or Silhouette! You know how much I love to give options! Personalize with your own sayings and names!
Welcome to the 25 Days of Christmas Series here at That’s What Che Said!
I am your host and we will have a great holiday season together making, baking, eating, and drinking!
We have tons of Cricut and Silhouette projects as well as cookie recipes and decor ideas coming up and I hope you will join me. Add your email to my 25 days of Christmas list to be notified first for all new freebies and projects!
This post may contain links to Amazon Associate and other affiliates.
As an Amazon affiliate, I earn a small commission from these links at no additional cost to you.
I purchased these Cookies for Santa Tray Builder Bundle design pack from DesignBundles.net and then paired the design elements with phrases using one of my favorite fonts, Alimentary. You can grab the tray builder set for only $1 right now during the $1 event!

You can make this project one of two ways. They both start off with these 14-inch craft rounds that I picked up on Amazon!
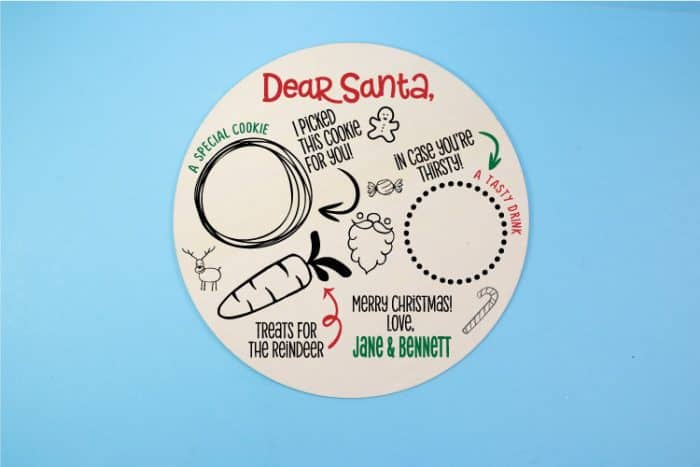
The first way to complete this project is with adhesive vinyl and your Cricut or Silhouette Machine. Cut the vinyl on your Cricut or Silhouette machine and apply to the craft round. You can personalize the words using Cricut Design Space or Silhouette Studio.
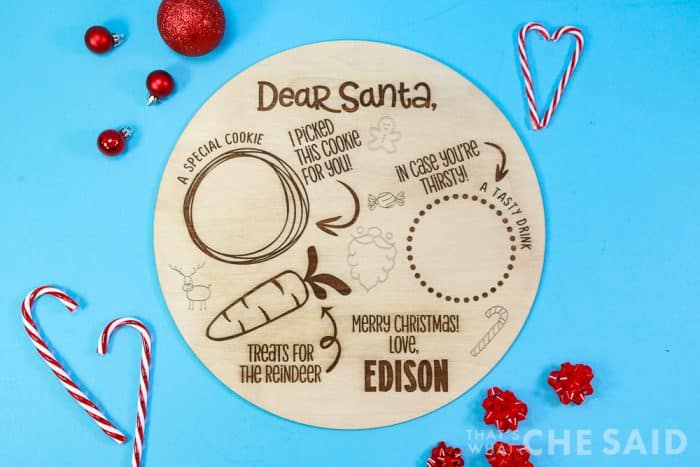
The second way is to score and engrave the craft round using a laser. Today I am using my xTool M1. I did several tests and for these specific craft rounds, I needed to do personalized settings of 80 power, 80 speed and 1 pass.
How to Score & Engrave Cookies for Santa Tray
Time needed: 1 hour
Use a laser engraver to engrave and score a Cookies for Santa Tray! Personalize with your favorite designs and fonts!
- Turn on & connect the machine
Turn on the power switch on the back of your machine and connect the machine to xTool Creative Space (XCS). You can find details instructions on connecting the machine to XCS here.
- Find the Center of the Craft Round
Using a ruler or measuring tape, place a small pencil dot in the center of the craft round. This will help center your design on the board once it is inside the machine.
- Place the Material
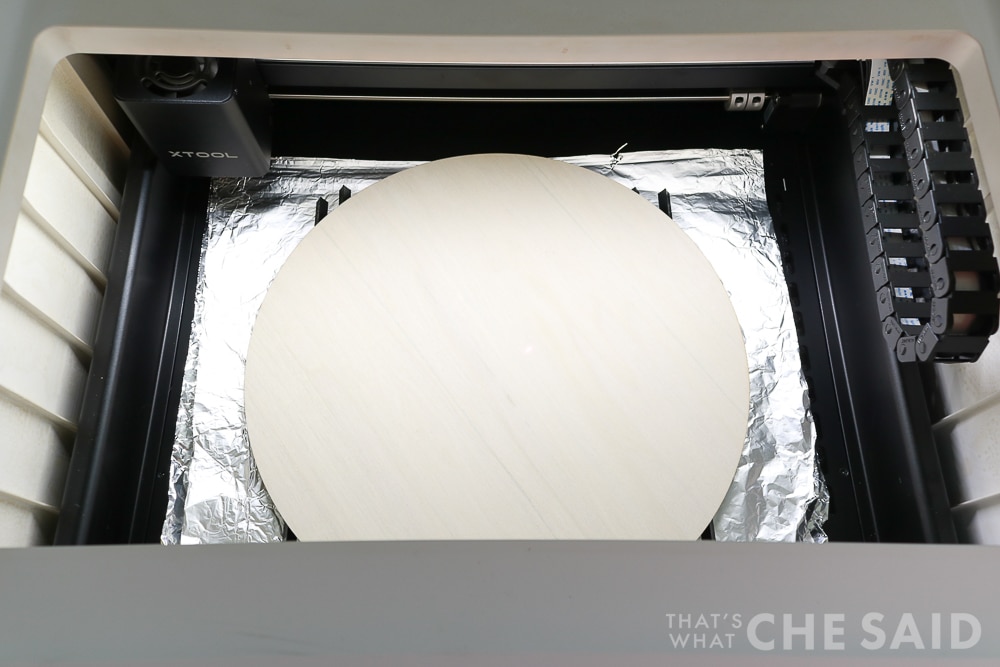
Place the 14-inch craft round on the prism risers in the center of the laser box and then refresh the camera.
- Add the Design
You can create your own design within XCS software by importing each individual element and adding text or you can do that in an outside program such as Adobe Illustrator, Inkscape, or Silhouette Studio Business Edtion and then export the SVG and import it into XCS. Be sure to select all elements and center on that pencil dot you created in Step 2.
- Adjust the settings
You will choose USER DEFINED SETTINGS, set Height Raised to PRISMS, and click AUTO-MEASURE to get a distance measurement.
- Set Output
Select each element in your design and then click the appropriate output tab. I mixed up engraving elements and scoring elements to give it an organic look! Once you have the design outputs set, click Process in the lower right corner.
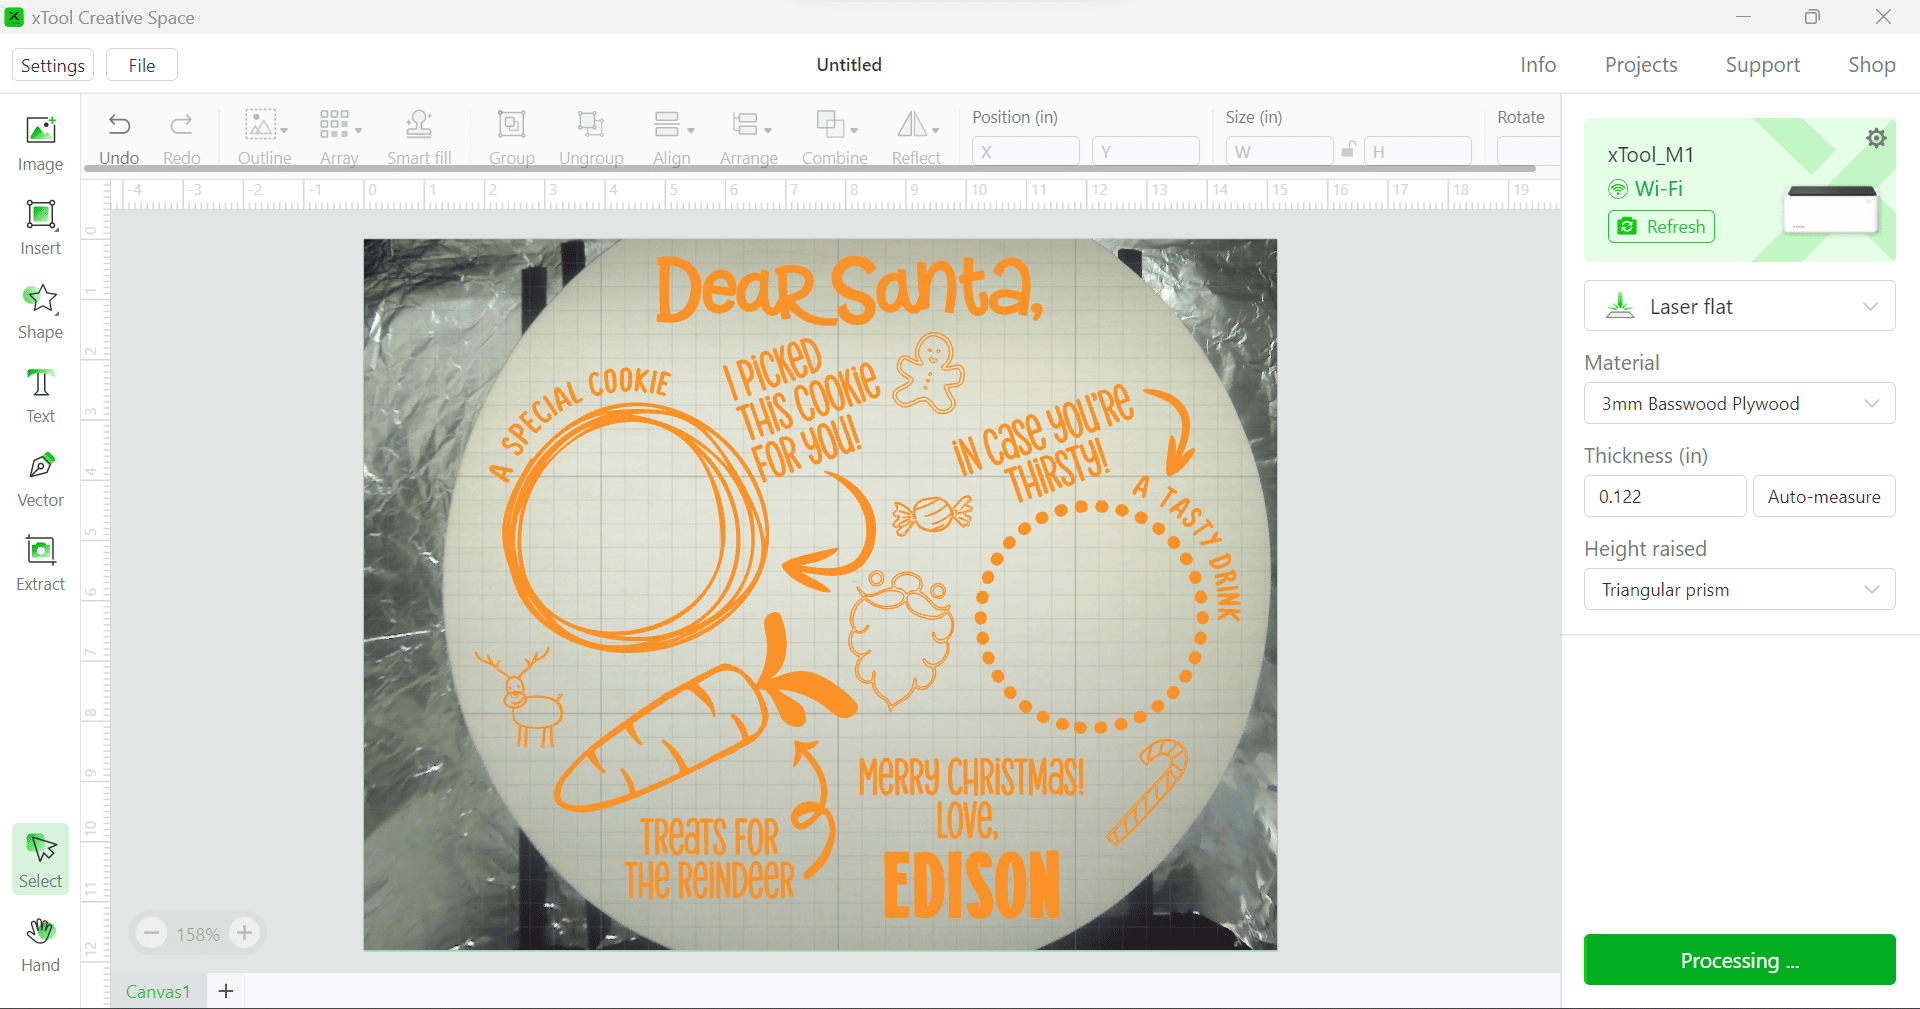
- Start the Machine
Click Start on the pop-up window on XCS and then physically press the flashing button on the front of the M1 machine. The design will begin to engrave and score.
- Finish
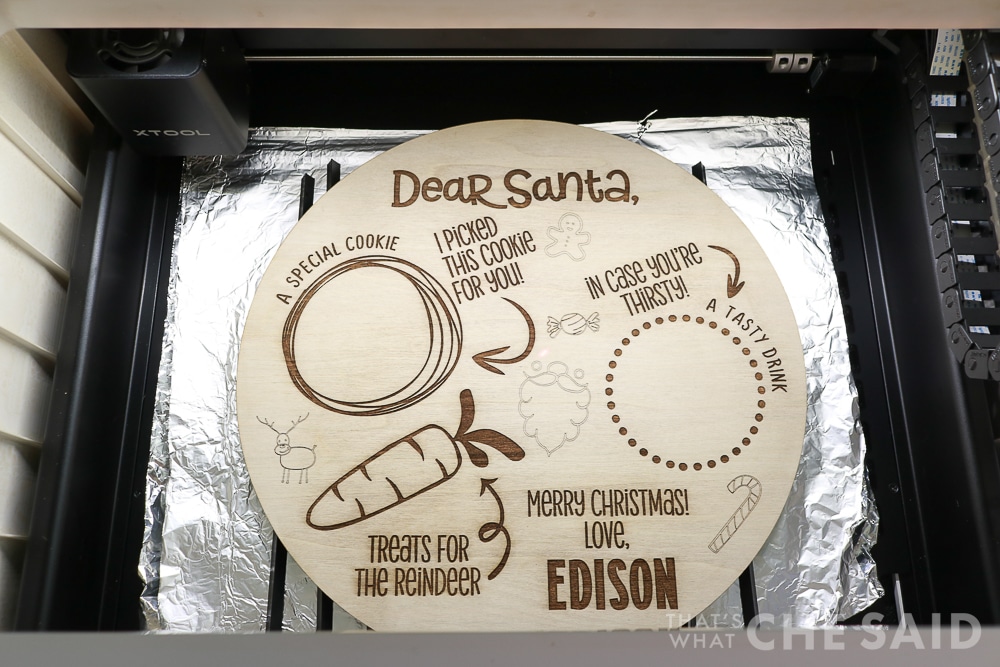
When the machine is finished, the machine will beep and the laser module will return to the home position which is the top left corner. It is now safe to open the lid and remove the Cookies for Santa tray! From here you can add a bit of mineral oil or leave it as is. Enjoy Christmas Eve!
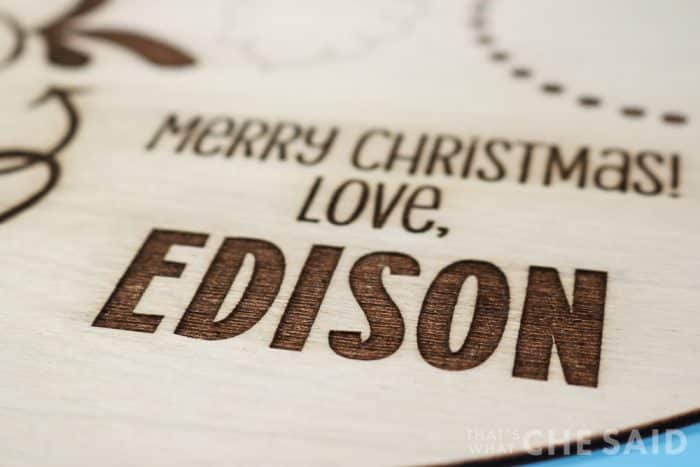
Here you can see how the engraving is solid and thick and the score lines are single-line scores.
MORE XTOOL PROJECTS






Comments & Reviews
Iris says
I love following your Blog and i’m very excited about trying to make the Santa Cookie tray
Sandra says
A welcome sign.
Sue Lester says
I would use it to engrave and to cut out ornamaments for my craft booth in November.
De says
I would love to create persoannal ornaments!
Melanie says
I would make personalized signs and shapes
Wendy says
I would love to make signs and gifts for family and friends. I’m a Den Leader for my son’s Cub Scouts Pack, so I’m sure I could come up with some projects to gift to them. I would love to win this.
Becky says
Quick question: Why do you have aluminum foil on the bottom?
Cheryl Spangenberg says
Great question, Becky! That is 100% not needed for this project because we are only engraving and scoring. The foil was down from a previous project where I was cutting a very detailed design. The foil not only protects the baseplate but also helps with a quick clean up! If you want to try this trick, simply line the base with foil, shiny side down!