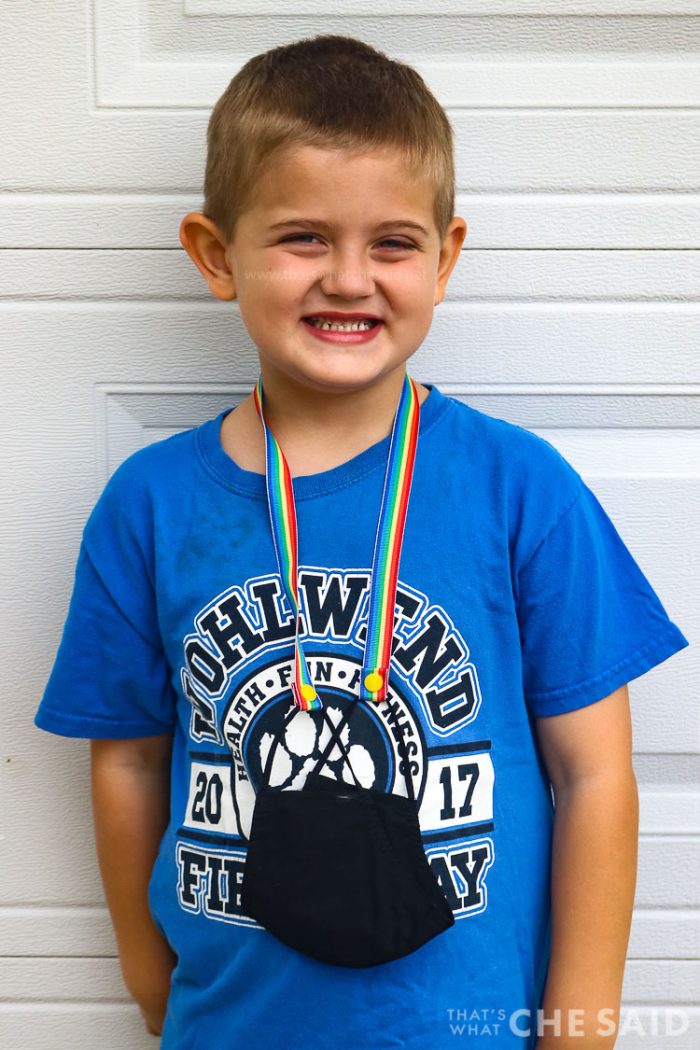
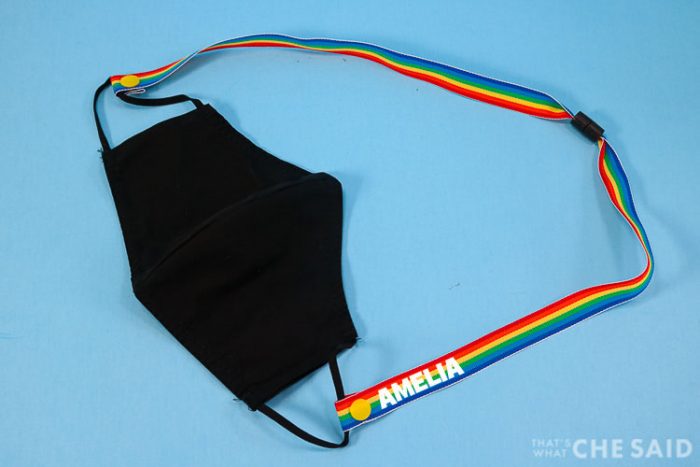
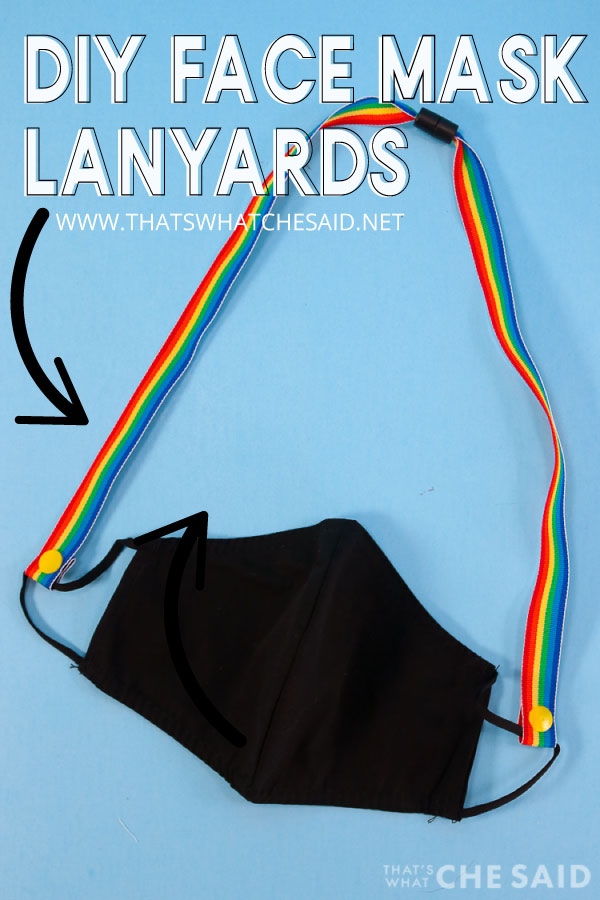
Keep your mask on your person with these DIY Face Mask Lanyards! Easy to make and easy to use, they snap right onto your face mask straps so no more misplacing masks or leaving them on surfaces. Safety snaps make these useful for all ages. Make them even better by personalizing your mask lanyard to tell everyone’s lanyard apart!
Video for How to Make a Lanyard
Keep reading for a photo tutorial!
WHAT’S IN THIS POST
- VIDEO
- Why use a Lanyard?
- Lanyard Supplies
- Photo Tutorial – How to make a facemask lanyard
- How to Personalize a Lanyard
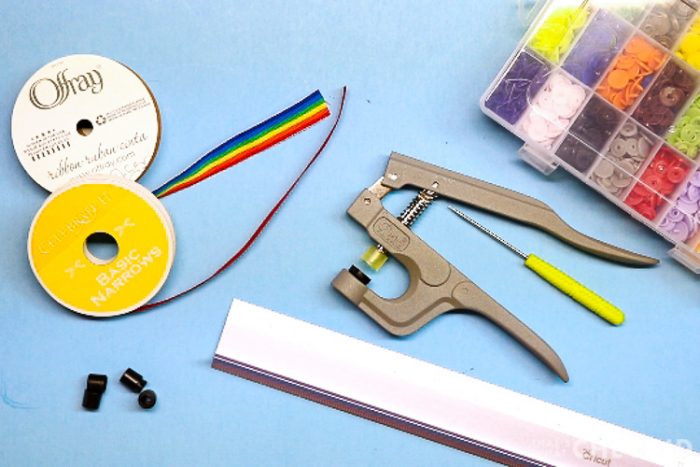
I use grosgrain ribbon, breakaway snaps, and some Kam Snaps to create these DIY mask lanyards. You can certainly personalize them like I did with a Cricut and EasyPress! I used my Joy machine with my EasyPress mini!
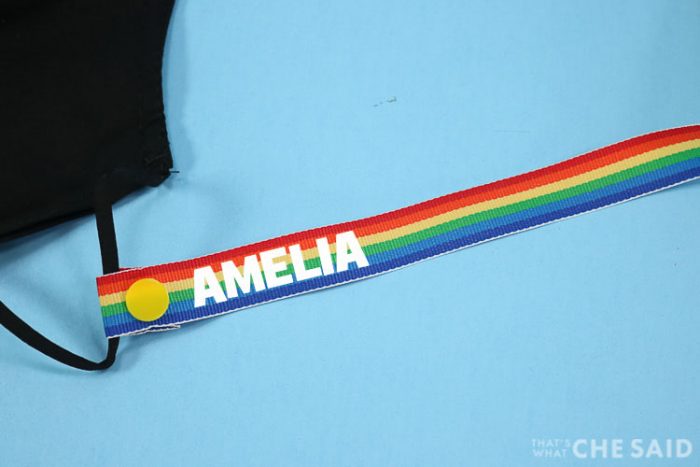
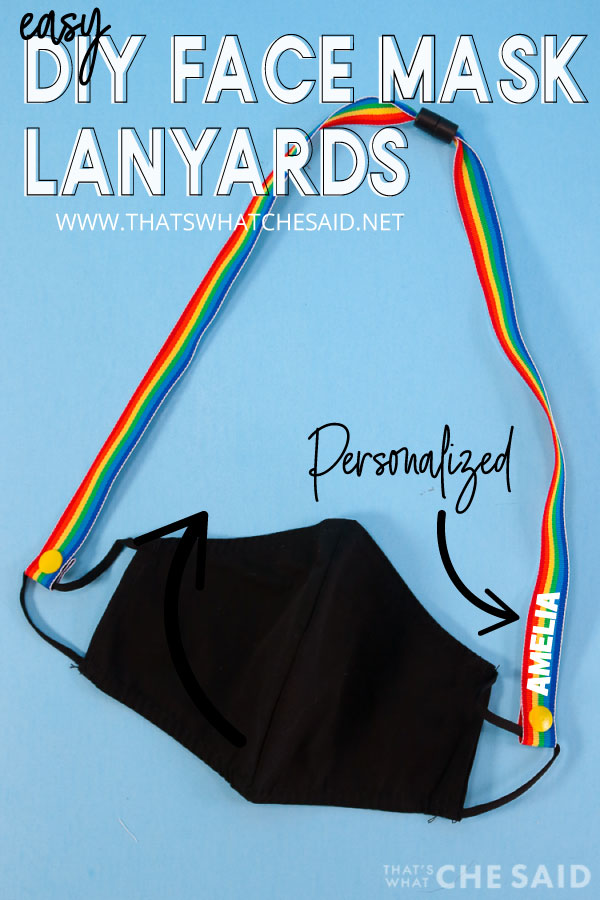
Personalization is helpful when you have a houseful of people like I do! Everyone knows who’s face mask lanyard is who’s! You can do names or initials or monograms! (Find out the difference between initials and monograms here)
Why use a Face Mask Lanyard?
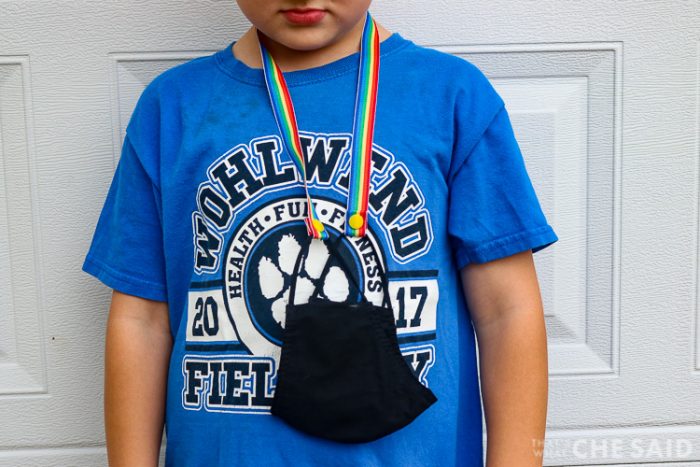
These are easy to use and quite helpful. They snap onto the mask straps and then hang around the neck so when your child takes his/her mask off the mask is right around their neck.
The ribbon makes it super lightweight so they don’t even know it’s there and the safety snap makes it safe for all ages!
This post may contain links to Amazon Associate and other affiliates.
As an Amazon affiliate, I earn a small commission from these links at no additional cost to you.

DIY Face Mask Lanyard Supplies:
- Grosgrain Ribbon (3/8 inch width to 5/8 inch width work best)
- Safety Snaps
- Kam Snaps and Snap Tool
- Ruler
- Scissors
Optional Supplies for Mask Lanyard Personalization:
How to Make DIY Mask Lanyards
Time needed: 10 minutes
Easily make DIY Face Mask Lanyards to keep masks on your person! No more lost masks or masks hanging out on random surfaces! Safety snaps make these appropriate for all ages!
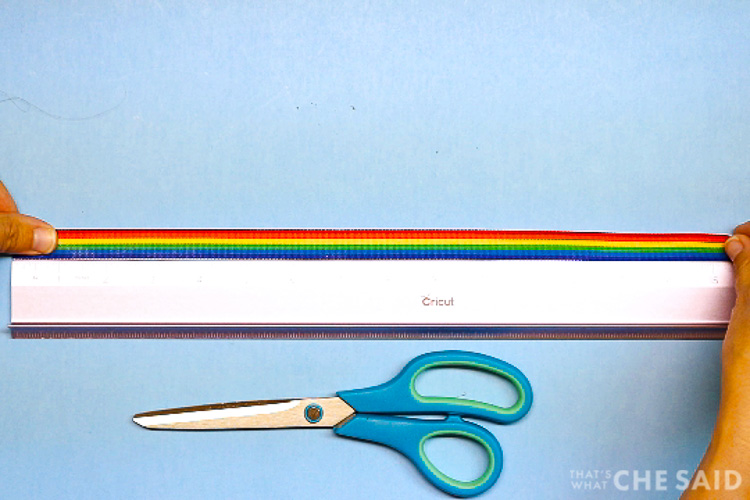
- Cut Ribbon to Length
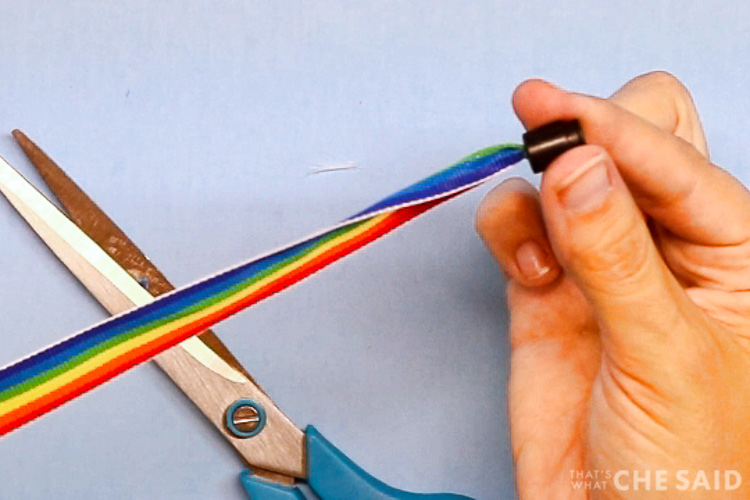
Cut (2) strips of ribbon to 15″ length.
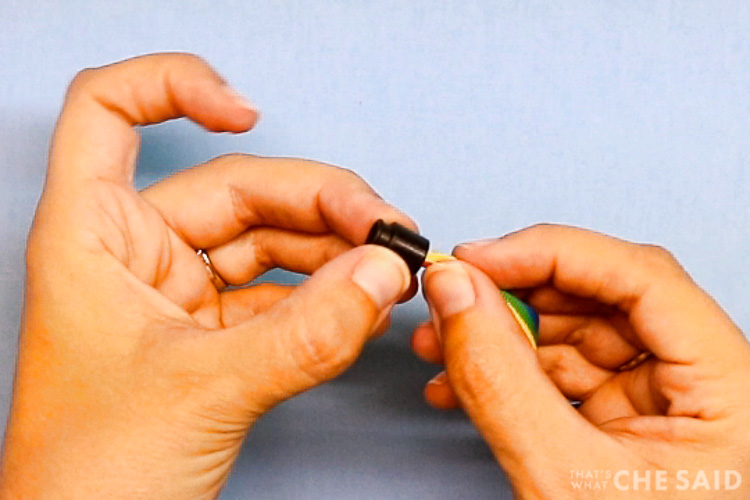
- Add Safety Snaps
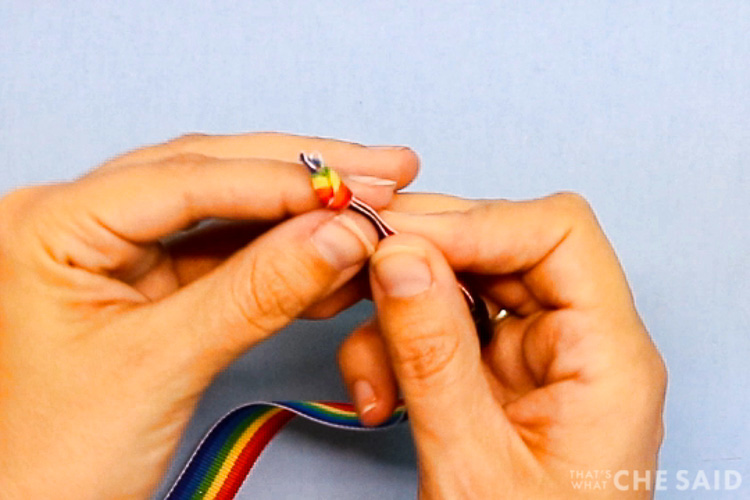
To one end of each of the ribbon strips, add a half of a safety snap. To do this, fold the ribbon lengthwise and lengthwise again and insert ribbon into the NON snap side of the snap.
- Tie a Knot
Pull the ribbon through the snap a couple of inches and tie a knot making sure to pull the ribbon so that the knot is as close to the end of the ribbon as possible. Trim any excess ribbon sticking out of the knot.
- Slide Snap in Place
Carefully pull the ribbon so the knot pulls inside the snap casing. You may have to squeeze the knot to get it inside.
- Repeat for Other Ribbon Strip
Repeat steps 2-4 for the 2nd ribbon strip.
- Prepare for Kam Snaps
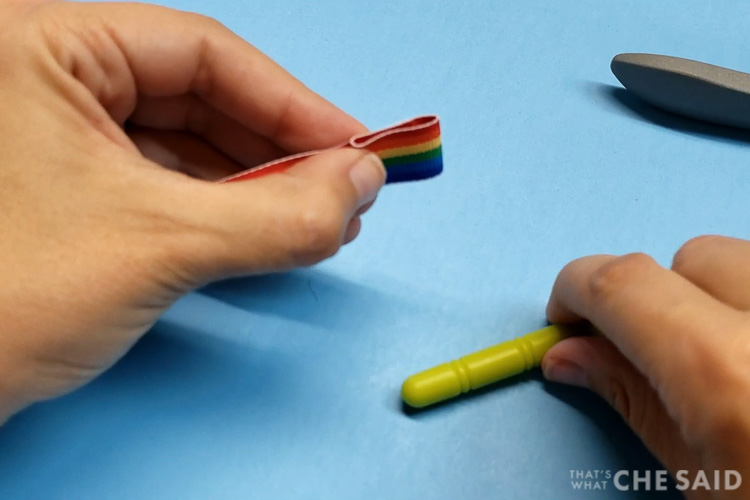
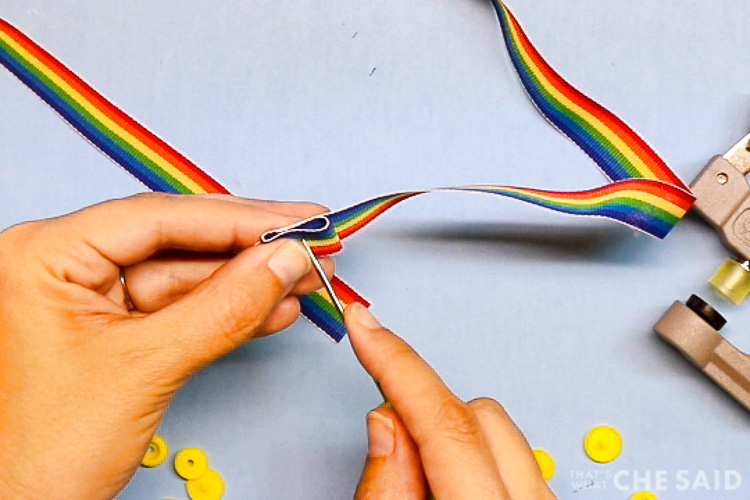
On the opposite end of the ribbon fold it over about 3/4 inch. Then fold again a smidge more than the first time.
- Pierce hole in 3 ribbon layers
Using the piercing tool, poke a hole in the center of the ribbon through all 3 layers.
- Apply One Snap
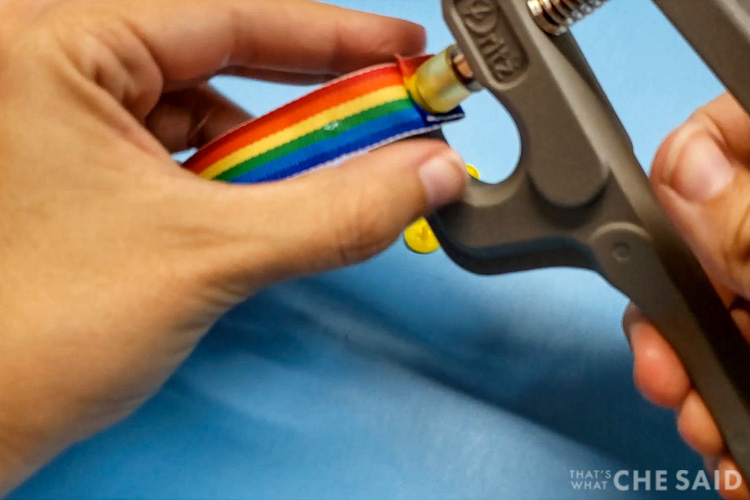
Unfold once and apply Kam Snap. Place post through the hole, add backer, and press with Clamp Tool.
- Apply 2nd Snap
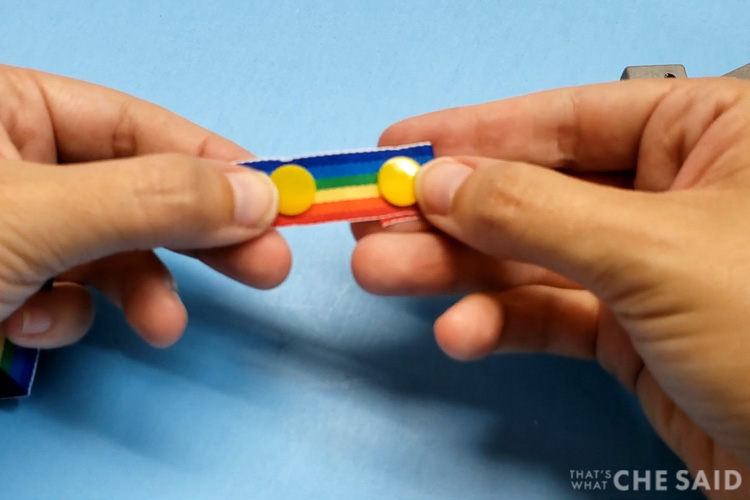
On the 3rd and only hole left, place snap post through the hole, add the backer, and press with clamp tool.
You may find detailed instructions on how to Apply Kam Snaps here. - Attach Face Mask
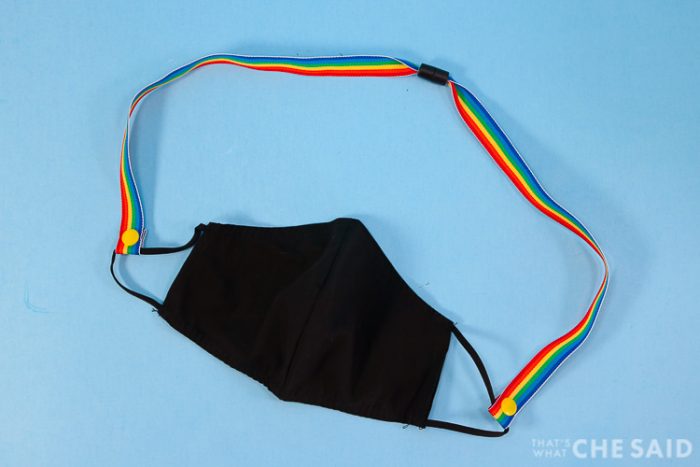
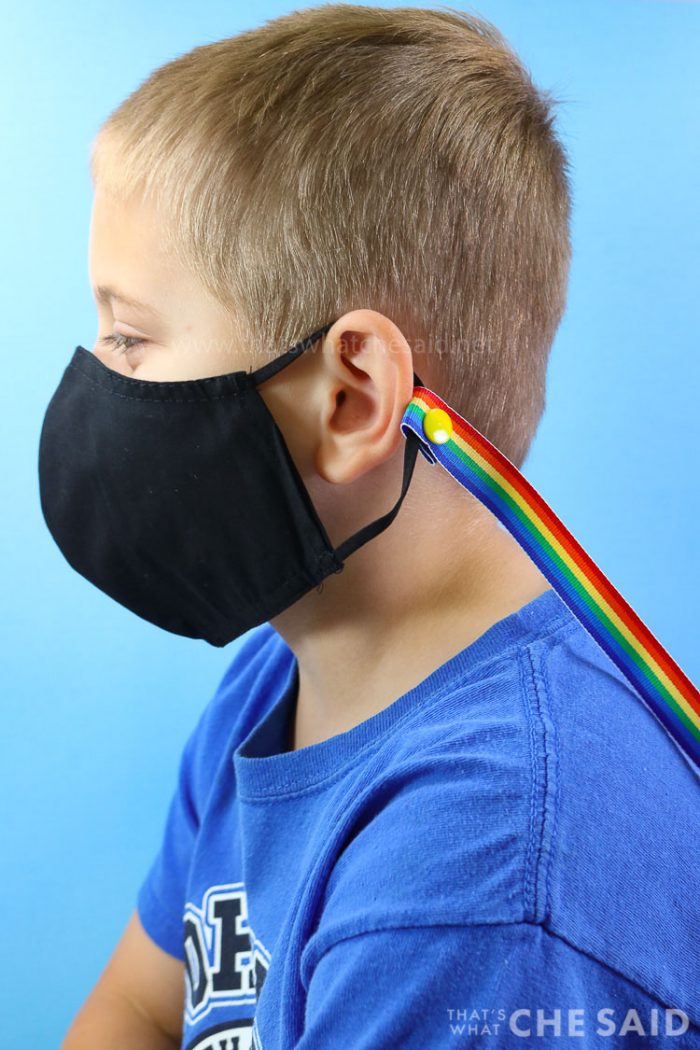
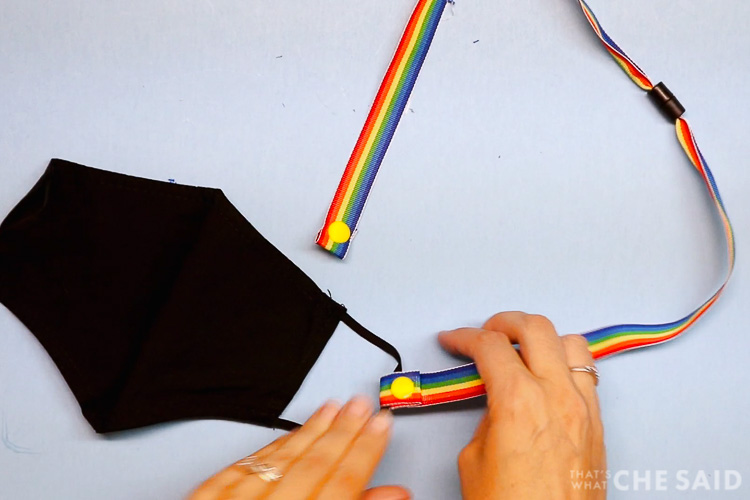
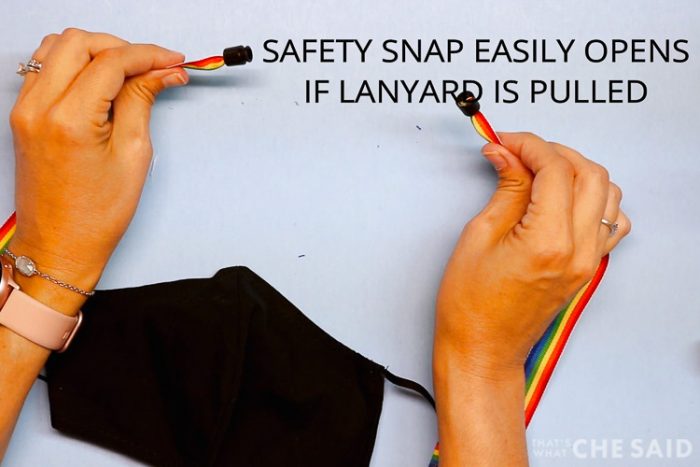
Using the Kam Snap ends, secure those snaps around each of the straps of a facemask. With the safety snap closed, you now have a DIY face mask lanyard that will keep masks safely on a person.
The Safety Snap is important for smaller children so that the lanyard does not become a choking hazard.
Need A Facemask?
Here are some patterns to make your own as well as some store-bought ones my family has loved!
- Face Masks at Target (great deals!)
- Family Face Masks at Old Navy (huge selection)
- Made to Move Face Masks from Athleta
- Mask Pattern from Craft Passion
- 3 Easy No Sew Face Mask DIYs from The Country Chic Cottage
- Fitted Face Mask Pattern for Cricut Maker from Hey, Let’s Make Stuff
How to Personalize a Face Mask Lanyard
I don’t know about you but for starters, I have 3 boys so everything needs a name on it to bypass all fighting. Second, if your child is heading to school or daycare or camp they almost always ask that everything be marked with your child’s name.
Here is how I personalized my face mask lanyards using my Cricut Joy and EasyPress Mini. You can use any cutting machine and EasyPress for this.
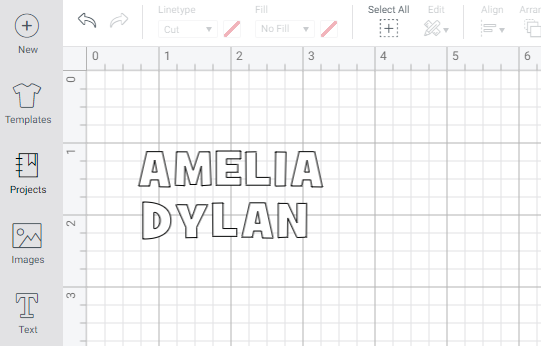
First, in Cricut Design Space I added my name with the text tool, selected a font, and sized it to fit my ribbon width.
Next, make sure to have your machine selected and then click MAKE IT in the upper right corner.
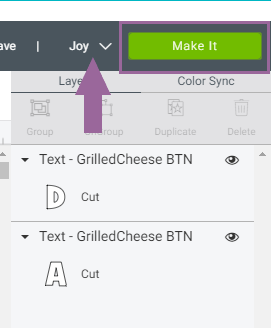
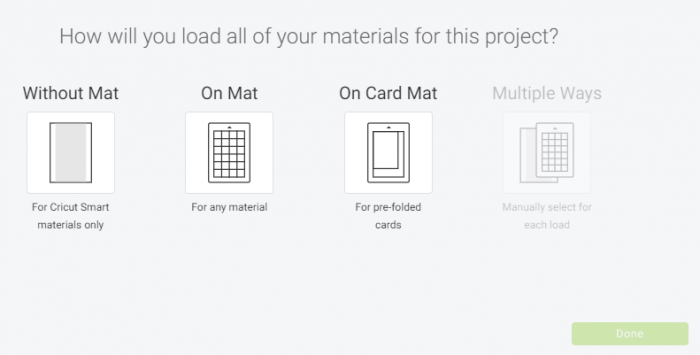
NOTE: If using the Cricut Joy you will need to tell CDS how you will be feeding the material into your machine. The other machines will not have this pop-up. Select how you are loading your material and click DONE.
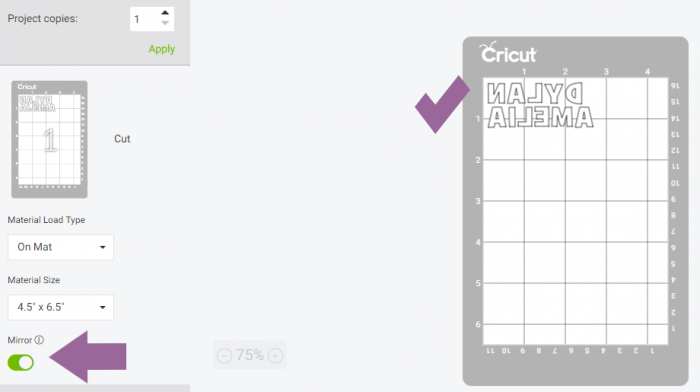
BE SURE TO SELECT MIRROR on the mat screen since we are using Iron-on. You can find everything you need to know about iron-on here.
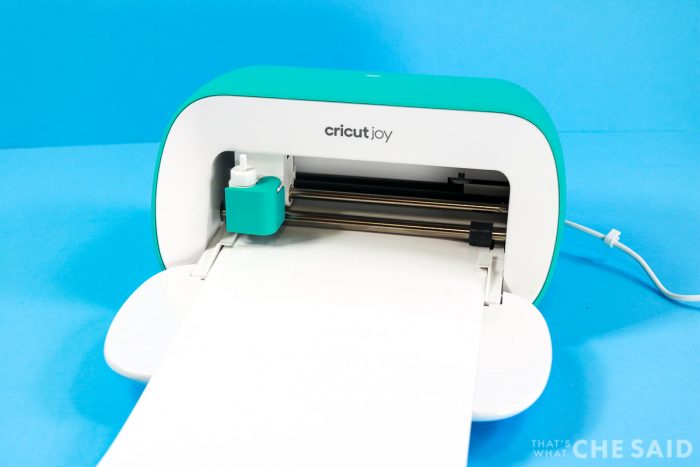
Next, select Continue and on the next screen, connect your machine and select your material. Then, load the iron on (either on a mat or using smart iron-on if using a Joy) and cut your name.
Then, weed excess iron-on using a weeding hook and then place the iron-on name onto your ribbon. Press with the EasyPress Mini.
Finally, remove the plastic carrier sheet and you have yourself a personalized diy face mask lanyard!
MORE PERSONALIZED PROJECTS YOU MAY LIKE:
- Personalized DIY Notebook Covers
- Personalized Drink Bottles
- Monogrammed Scarf & Mitten Set
- Initial Magnet Board
- Custom Camp Chairs


Comments & Reviews
jeanie Goodale says
This a great idea. What can you use if you don’t have one of those fancy snap tools?
Cheryl Spangenberg says
You could probably sew on some velcro!
Beth says
Your projects are always AMAZING, Cheryl! The personalization is the cherry on top! I’d love for you to share over at our Creative Crafts Linky Party https://creativelybeth.com/creative-crafts-linky-party-5-join-in-the-fun/
Have a great rest of your week!
Creatively, Beth
Kathy says
This is a fantastic idea especially for small kid & possibly the ederly.
Cheryl Spangenberg says
Thank you, Kathy! It’s great for all ages! Masks are a new thing and we forget we have them on or have to wear them. Now, it’s there at all times!
EE says
What size are the plastic snaps? Your link is unavailable and trying to find the right size–we are making these for our entire school that is headed back in a few weeks with the PTO!
Cheryl Spangenberg says
Which snaps? The Kam snaps are size 20. Here is a good link! https://amzn.to/3cwkGKQ Just remember that you will need 4 snaps per lanyard! The safety snaps are 20x10mm. I love the idea of making them with the PTO! Great idea!!!
Gail says
Your lanyards for the face masks are just wonderful! I have made quite a few for kids.
One thing I found is the 3/8″ Grosgrain ribbon when tied in a knot pulls through the hole of the Safety snaps. The 5/8″ width of ribbon works better and does not pull through after knotted.
Thank you so much for your design and project. So pretty and practical!
Susan says
I’m a little late to the party, but…could you use fold over elastic instead of ribbon? Thanks!
Cheryl Spangenberg says
Susan, I am sure that would work just fine! My boys would use it as a slingshot if it had elastic, lol!