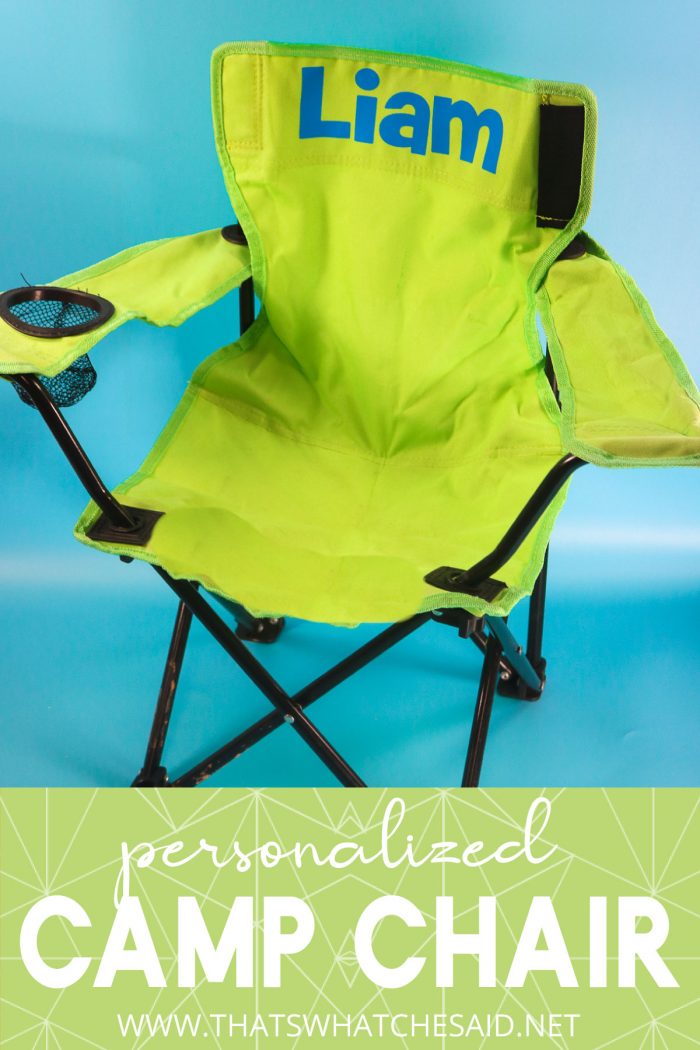
Camp Chairs, Lawn Chairs, Yard Chairs, Folding Chairs…whatever you call them, I am going to show you how to personalize one! Custom Camp chairs are perfect for families, sporting events and more!
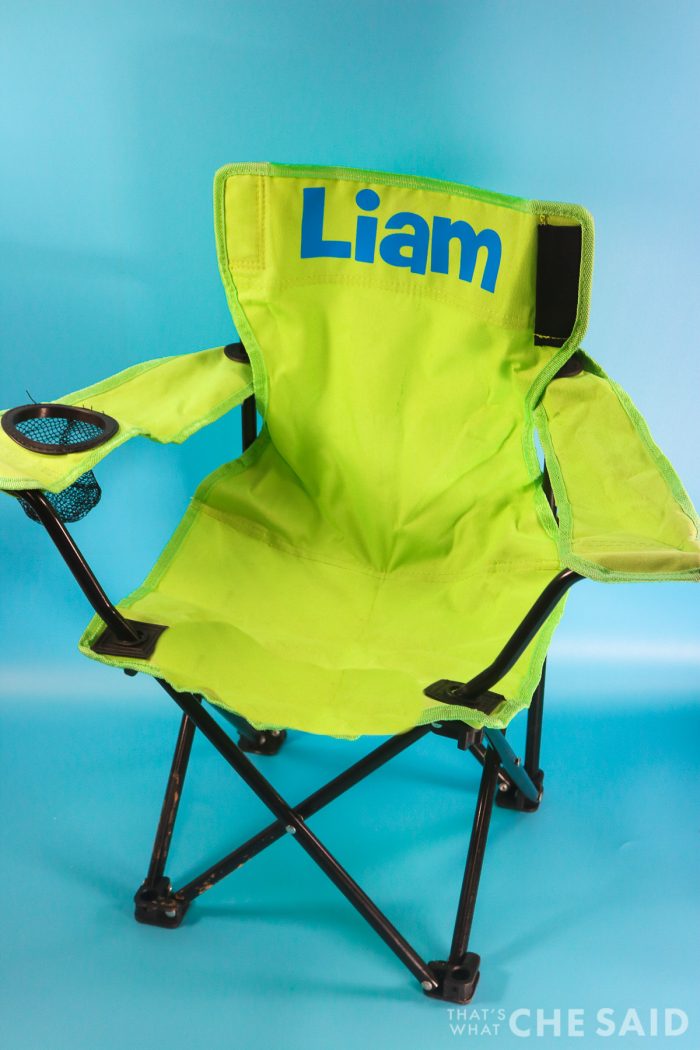
With the help of your cutting machine and EasyPress you can customize all the camp chairs!
Reasons to Personalize Camp Chairs
- You have a gaggle of kids like me and names on chairs equals less fighting!
- Personalize the back of the chair with your favorite little leaguer’s number to show fan support
- At family reunions, you know which blue chair is yours in a sea of blue chairs
- Put a monogram on it. What’s not to love about a monogram?
- Kids especially love to see things with their name on it and bringing joy to kids is fun, lol!

This post may contain links to Amazon Associate and other affiliates.
As an Amazon affiliate, I earn a small commission from these links at no additional cost to you.
Personalized Camp Chair Supplies:
- Camp Chair — you can find these almost anywhere. Target has fun colors and super cute kid’s chairs.
- Cricut or another cutting machine. (I used my Maker today but an Explore Air 2 or Cricut Joy would work also!)
- Iron-on vinyl in your choice of colors.
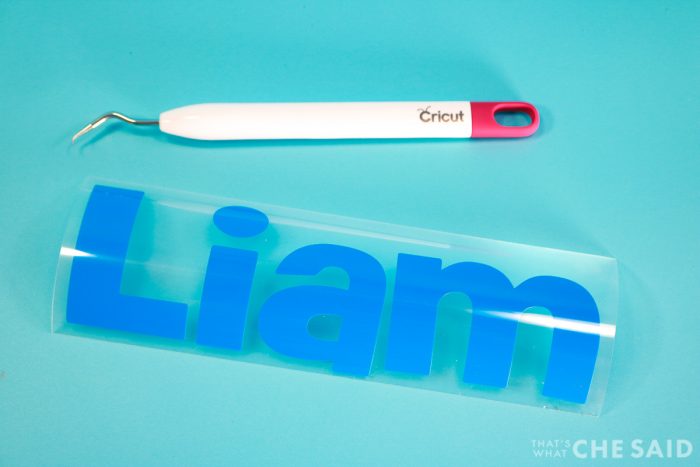
- Weeding Hook
- EasyPress with Mat (I used my 9×9 size)
- Philips Screwdriver
TIP: Order your supplies online from Target.com and then either do a store pick up or drive through pickup and you can have them later today or select shipping and have them delivered!

How to Add a Name to a Camp Chair
Time needed: 15 minutes
Add names, monograms, team numbers and more to a camp chair to create a personalized movable resting spot! Great for sports, family reunions and more!
- Create your Name or Design
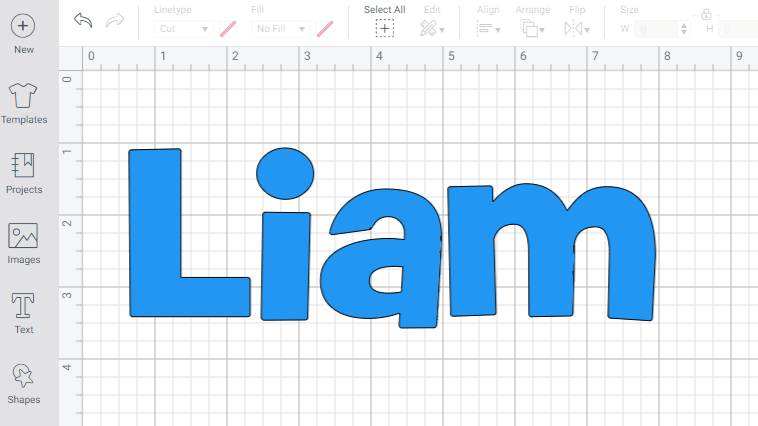
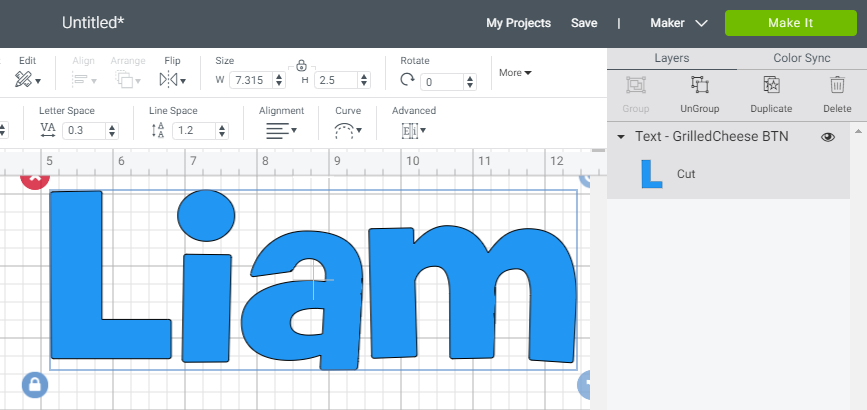
I used the text tool in Cricut Design Space to write out and size a name.
- Make It
In the upper right of design space, click the green Make It button.
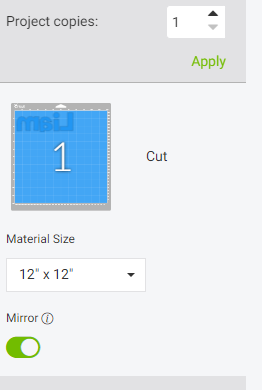
- MIRROR YOUR DESIGN
Whenever working with iron-on you have to mirror your design. Be sure to click that radio button on the Mat Screen. Click Continue.
- Cut the Iron On
Connect your machine and select IRON-ON as your material.
NOTE: If using the Explore Air 2, simply turn the knob on the machine to iron-on and if using the Cricut Joy, select SMART IRON–ON.
Load your mat with the flashing arrow buttons and then cut your iron-on with the flashing C button. The flashing arrows will alert when cutting is complete and you can unload your mat.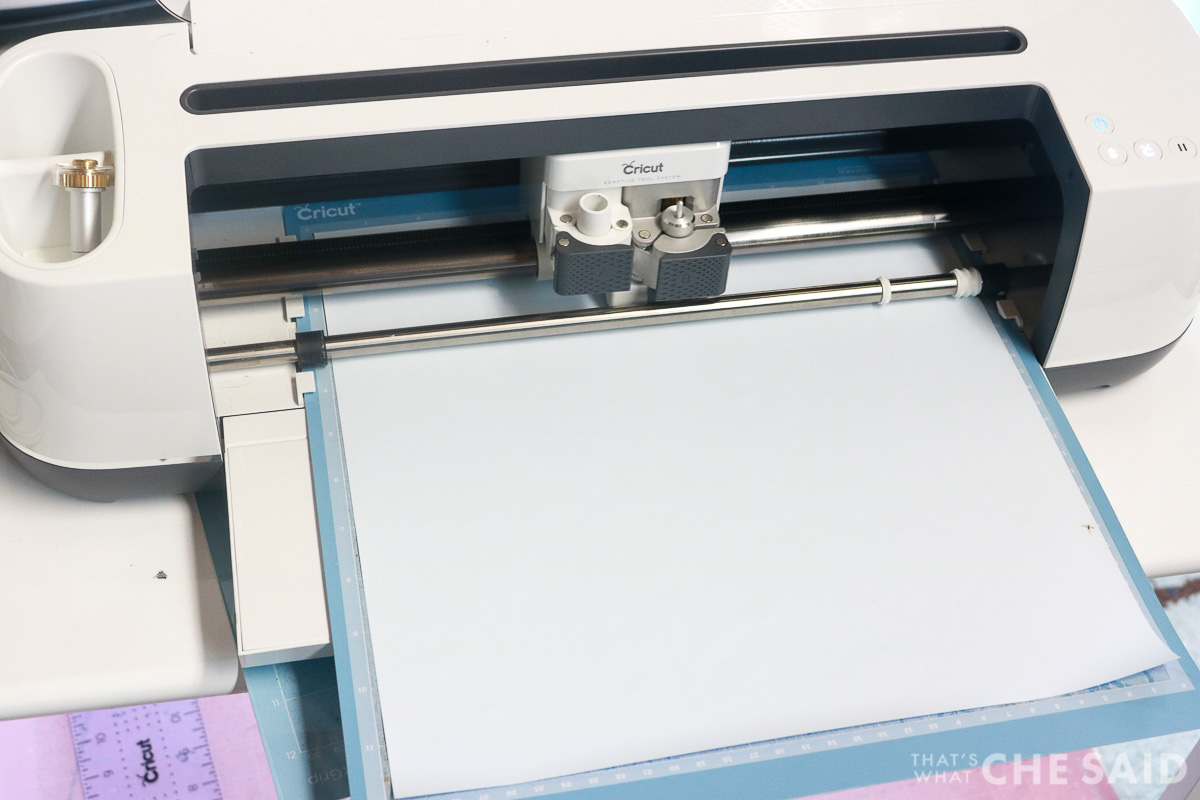
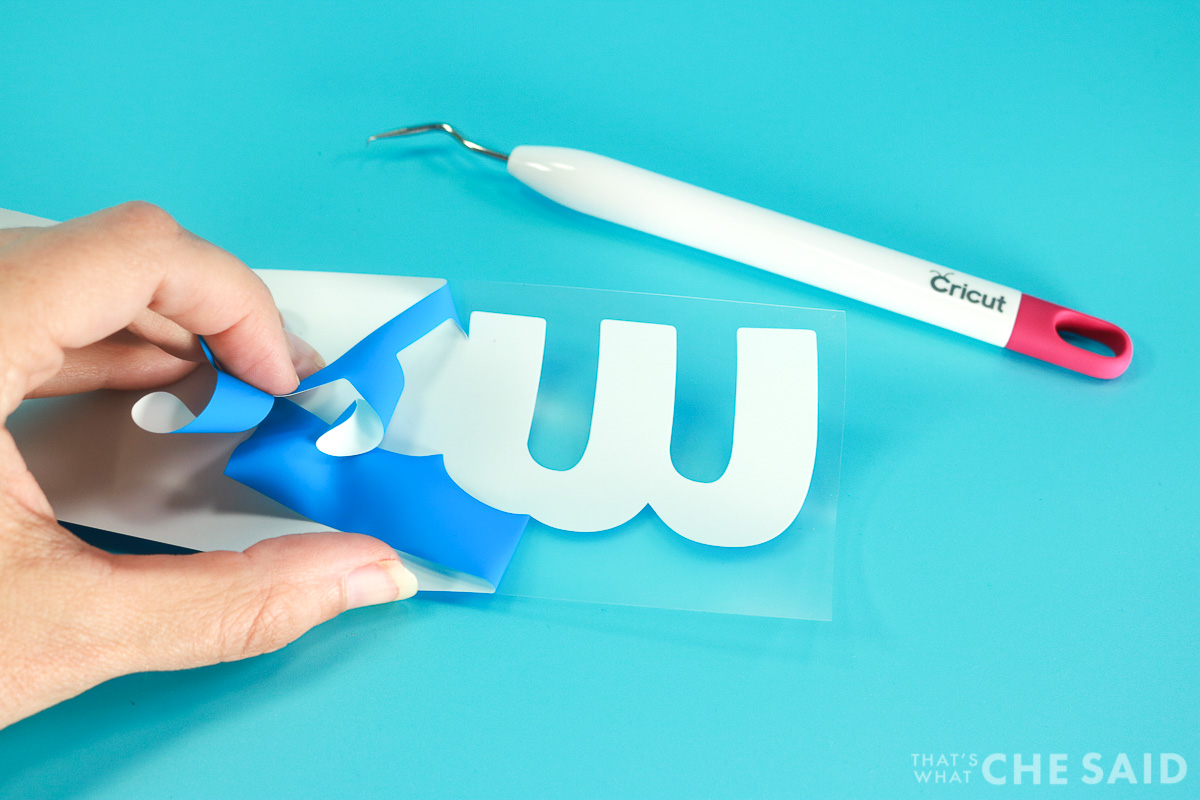
- Weed Design
using a weeding hook, remove the excess iron on leaving only your design.
- Prepare your Camp Chair
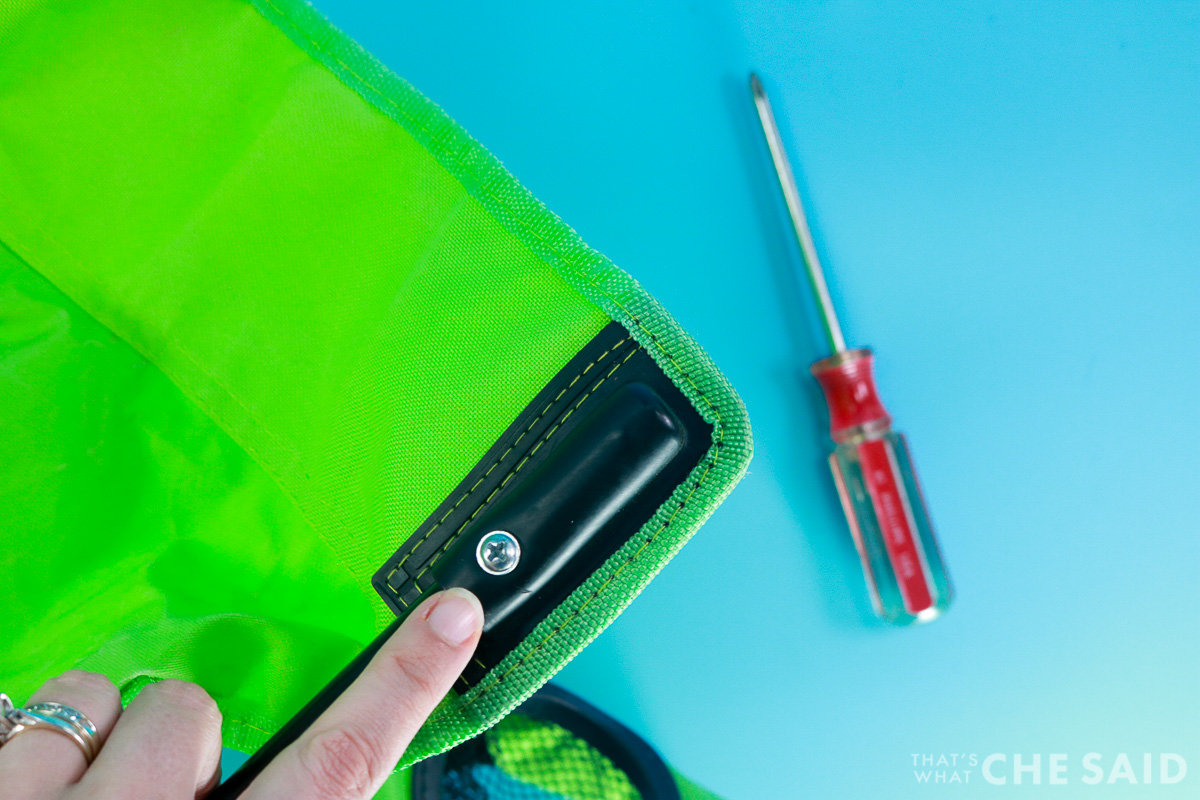
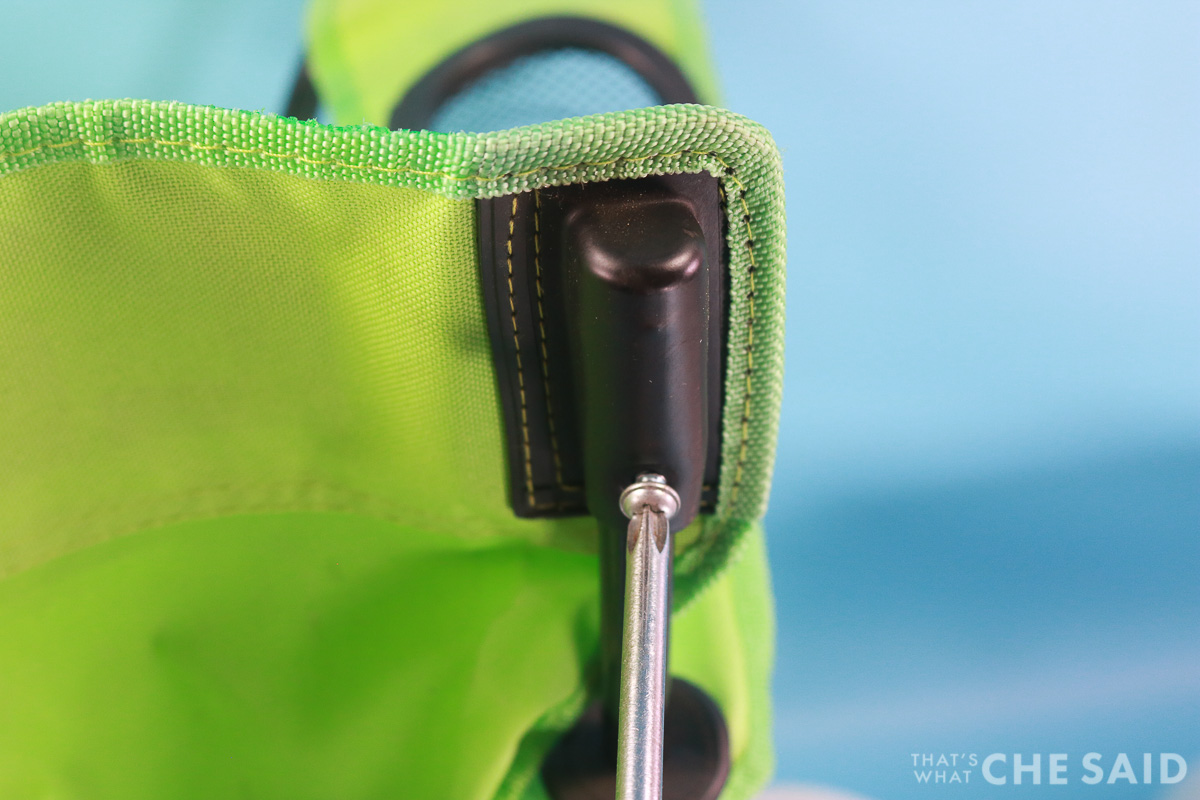
Depending on the size of your chair and the size of you design, you may need to remove the nylon part of the chair from the aluminum frame so that you can get a good heat press. To do this, simply remove the screws on the back of the chair with a Philips screwdriver.
- Position Iron on and Preheat Press
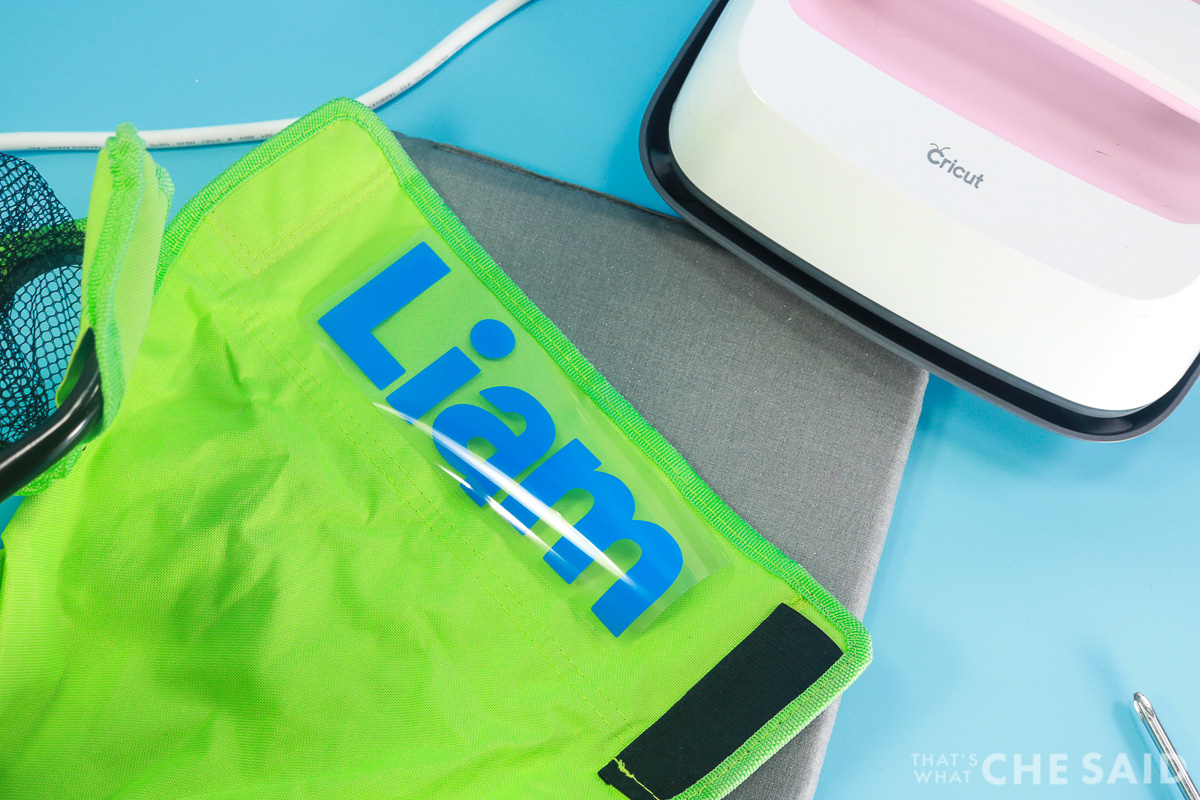
Center your design either on the front or back of the camp chair depending on where you want it. Heat the EasyPress to 300 degrees F
- Press Iron-On
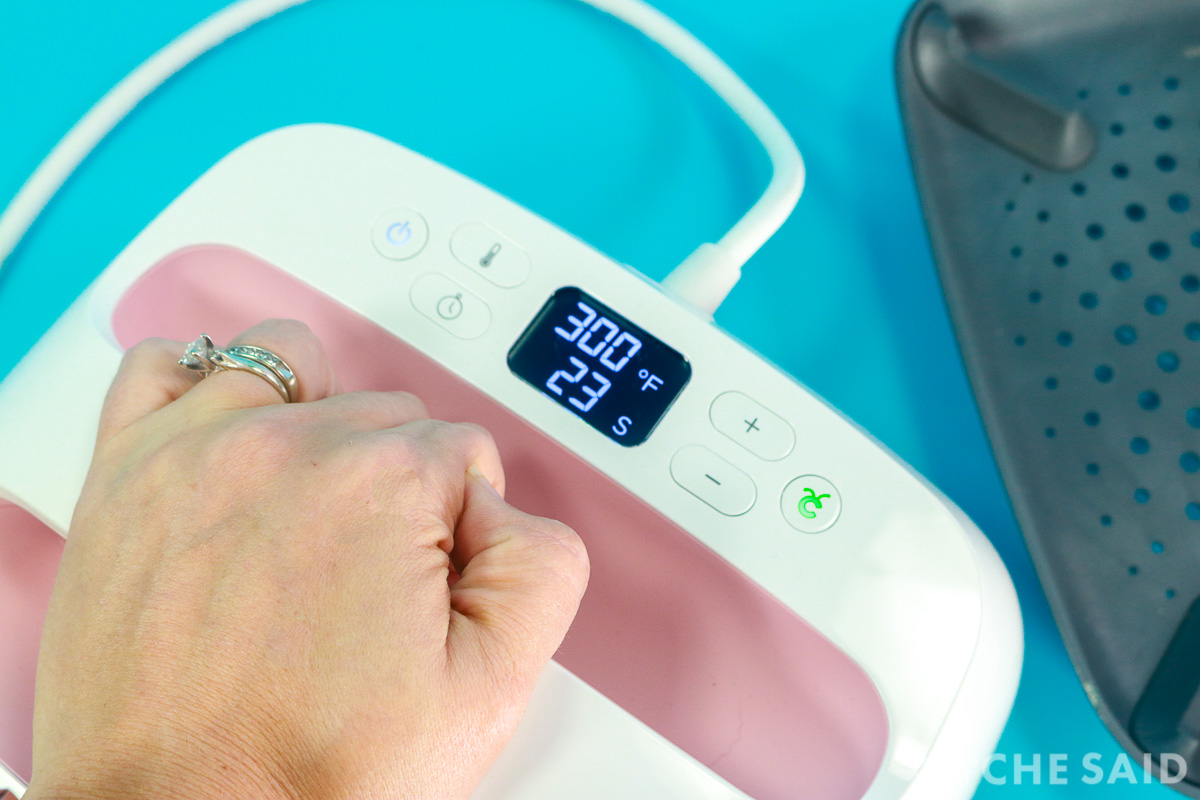
Using an EasyPress, I heated at 300 degrees F for 30 seconds and did a cool peel. You want to be sure that you see the texture of the nylon camp chair material in your iron on name. If you don’t see that, repeat the press.
- Let Cool and Remove Carrier Sheet
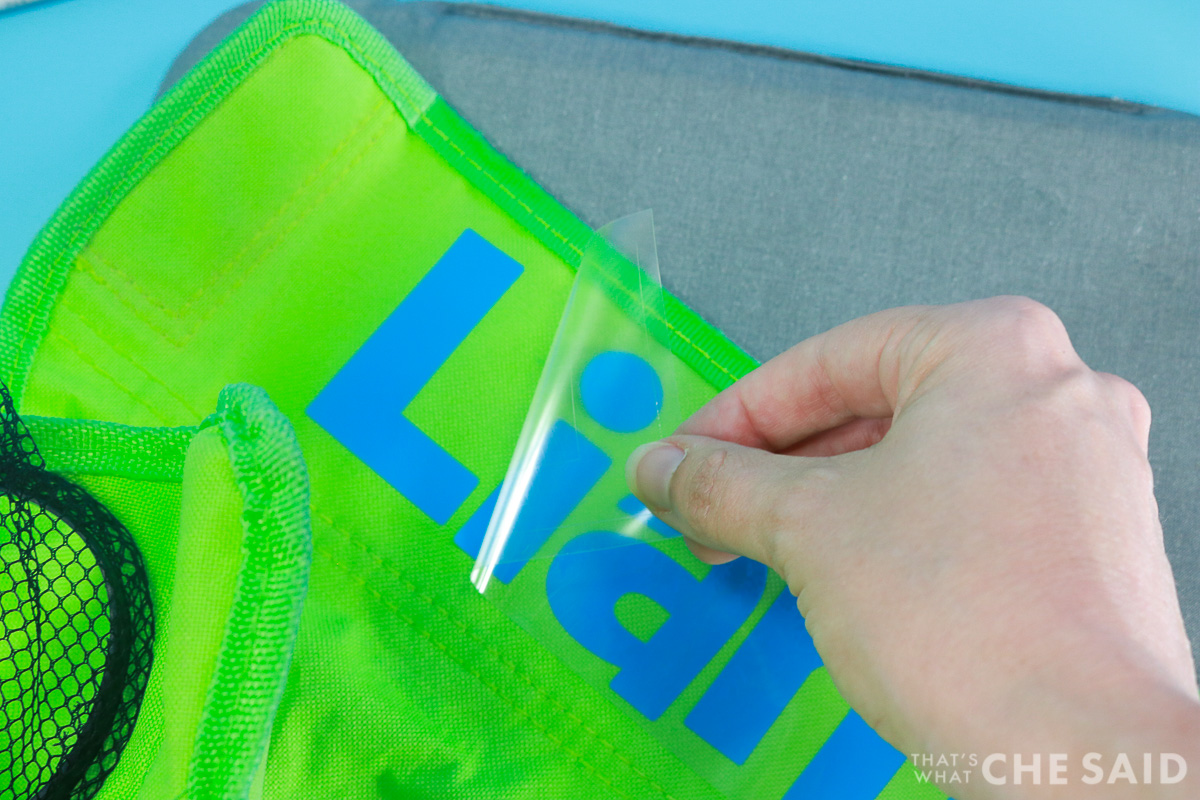
Let your design cool and carefully peel back the carrier sheet leaving the iron on with the camp chair.
- Reassemble the Chair
If you needed to remove the screws from your chair, go ahead and put those screws back in and you will have a completed personalized camp chair!

Don’t Miss Out!
Get new Cricut Tutorials, Product Announcements, Project Ideas, SVG Files and more straight to your inbox!
Check out these other great Family projects you can do with your Cricut from my talented friends!
PIN CUSTOM CAMP CHAIR


Comments & Reviews
Elise Laney says
Totally need to make these for my Dad for Father’s Day! – I will put our last name on all of the camping chairs!
Cheryl Spangenberg says
They will look great!
Emily Wood says
What font did you use?
Cheryl Spangenberg says
Grilled Cheese BTN. One of my favorites for kid items!