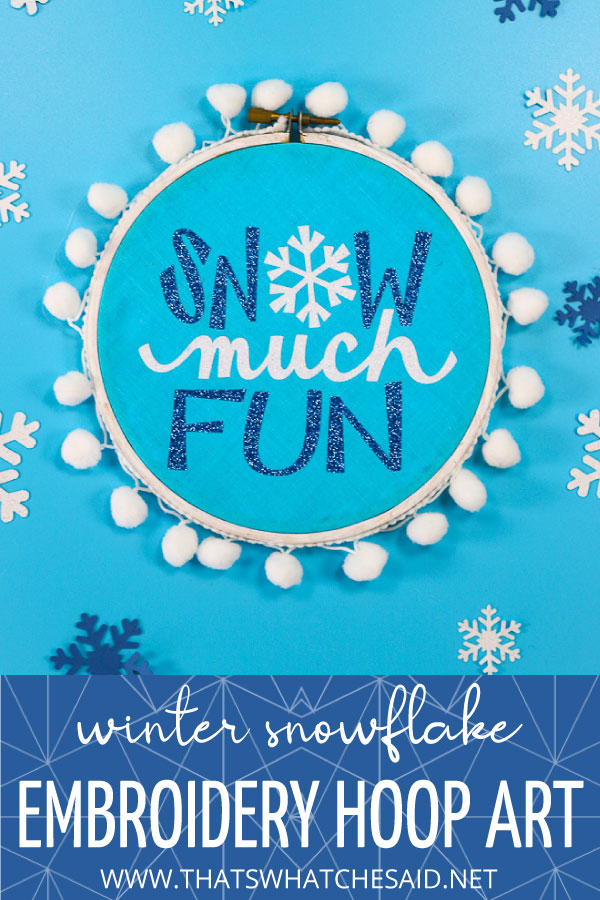
Embroidery hoop art is a fun and popular way to showcase some of your favorite designs and fabric patterns as wall art using an embroidery hoop! Today’s winter edition is this “snow much fun” embroidery hoop art using iron-on and my Cricut.
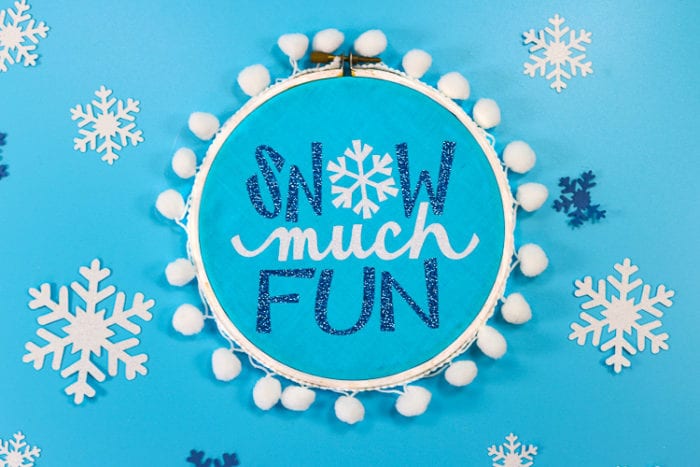
For this embroidery hoop art project, I cut the design using my Cricut Maker and applied it to my fabric using my Cricut EasyPress. I also utilized my Cricut BrightPad to easily weed my glitter iron-on. You can read more how helpful the BrightPad is with the previous link.
Don’t Miss Out!
Get new Cricut Tutorials, Product Announcements, Project Ideas, SVG Files and more straight to your inbox!
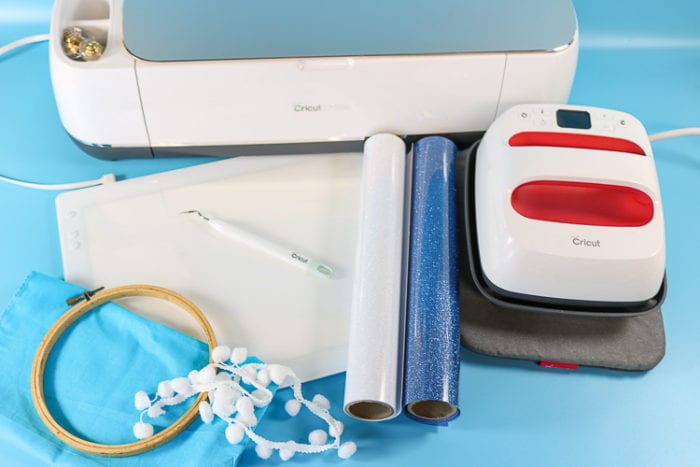
Snowflake Embroidery Hoop Supplies:
- Maker
- BrightPad
- White & Royal Glitter Iron-on Vinyl
- EasyPress 2 6×7 size with mat
- Weeding Tool
- 6-inch Embroidery Hoop
- Blue Bandana
- Pom Pom Trim
- Hot glue gun/glue sticks
How to Make Winter Embroidery Hoop:
Grab the design in Cricut Access. You can find my file here or search “Snow Much Fun ##M8B26712” Don’t have Cricut Access? No problem, you can sign up here.
If you are using a hoop that is a different size than 6″ then size your design accordingly. Click Make it and be sure to MIRROR your mats. Click Continue, select your machine and material which is Glitter Iron on. Load your mats and cut the designs.
If you need more detailed instructions on cutting iron on with the Cricut click here.
Then I weeded both iron-on colors using my BrightPad.
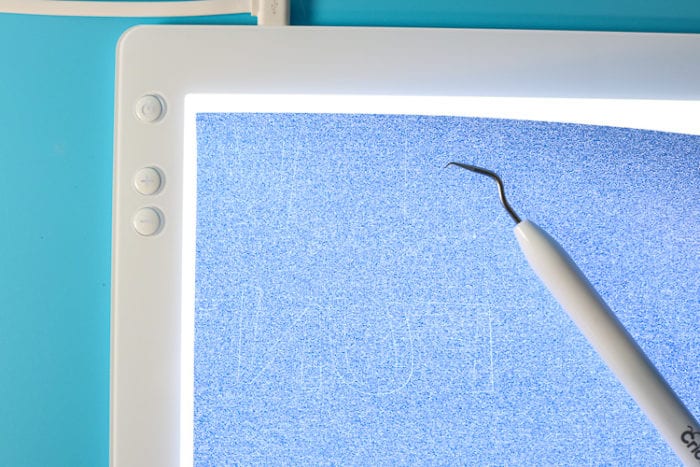
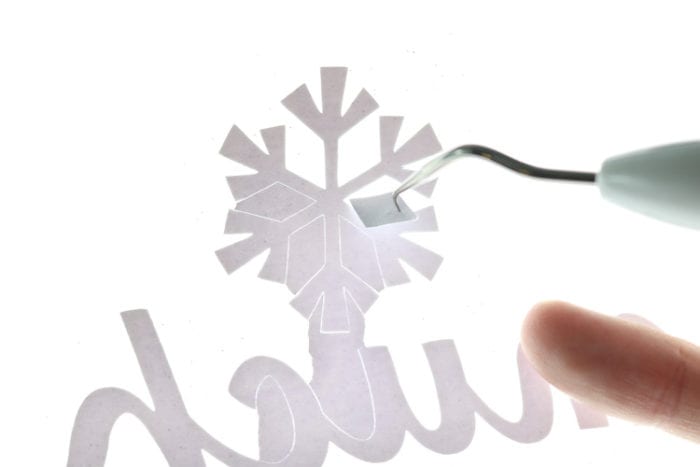
Weeding is when you remove the excess material, leaving only your design on the carrier sheet.
Next, I used my 6×7 EasyPress 2 with Mat to press the iron on onto my fabric. My fabric is a $0.99 bandana that I picked up at Hobby Lobby, I loved that turquoise color!
Here you can find detailed information on using the EasyPress 2.
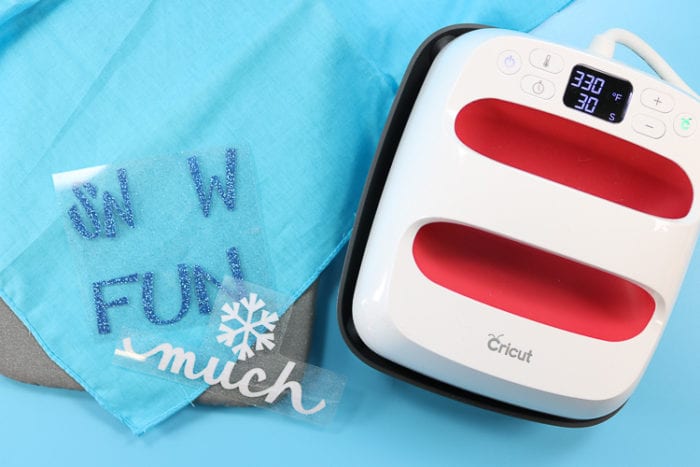
Found my heat settings here on the Interactive Recommended Settings page. I pressed according to the directions. I did the white layer first and then the blue. The carrier sheet of the blue helped protect my first white layer from the heat plate.
Here are tips for working with multiple layers of iron on at the same time.
Then I centered the design on top of the inner hoop and then added the painted outer hoop and tightened.
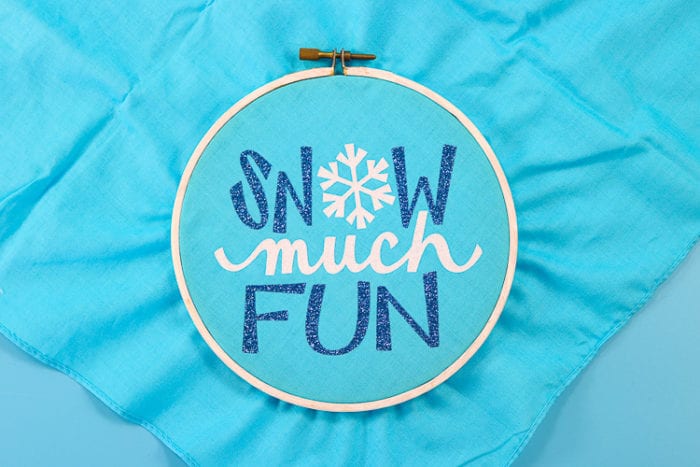
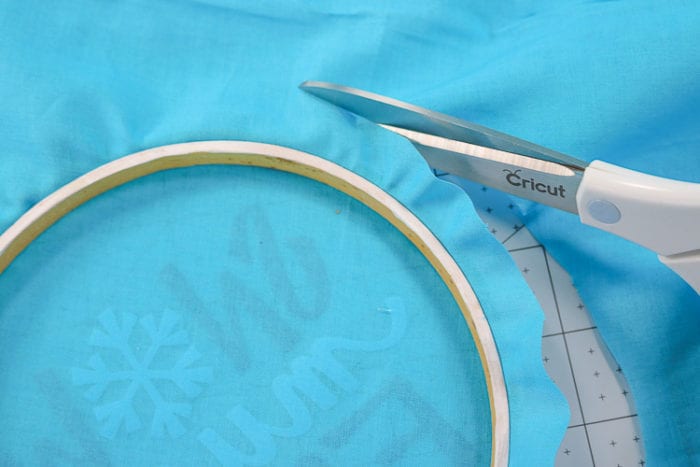
Trim your fabric about half inch or so from the hoop. Fold over the hoop and hot glue in place.
If you are gifting this you can add a felt circle to the back to really finish it off!
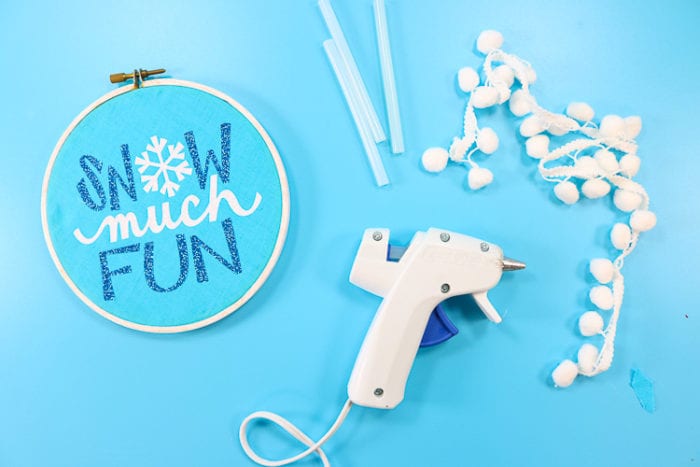
I think this pompom trim looks like snowballs it HAD to go on the outside. I just applied with hot glue.

Pin Embroidery Hoop Art


Leave A Reply!