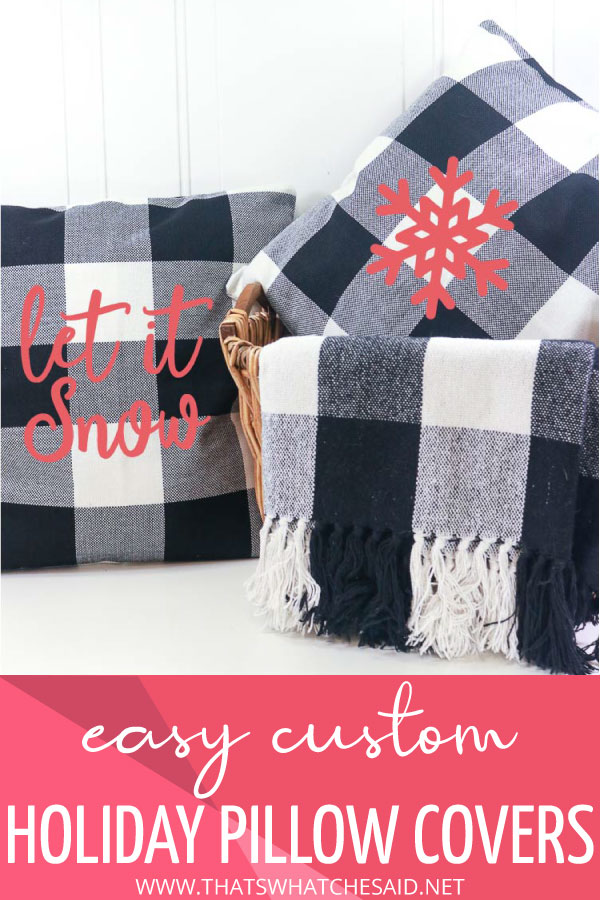
If you love to decorate for the different holidays but don’t like to store all the different variations, I’m sharing how to create DIY holiday pillow covers using storebought covers and adding some iron-on designs! The designs are available for download later in the post!
Read on for a chance to win a $100 Michael’s Gift Card and 10 pounds of poly-fil
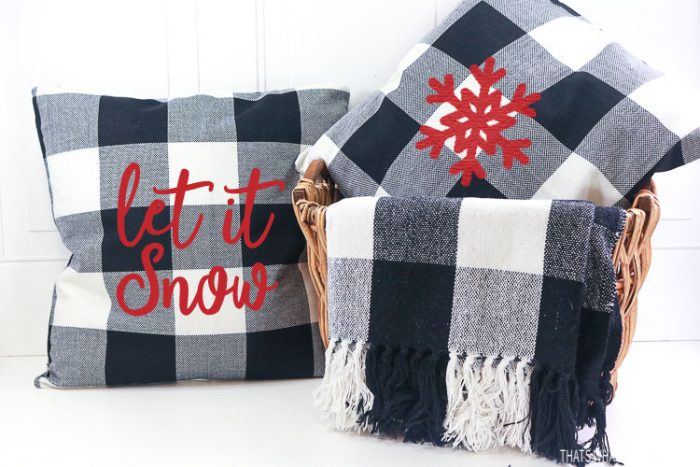
Using store-bought pillow covers saves me time. You can also easily make envelope pillow covers using this method from my friend Heidi.
This post may contain links to Amazon Associate and other affiliates.
As an Amazon affiliate, I earn a small commission from these links at no additional cost to you.
DIY Holiday Pillow Cover Supplies
- 20 inch Fairfield Pillow Form
- 20 inch Pillow Covers
- Cricut Explore or Maker
- Cricut EasyPress 2 (12.x10 size) with mat
- Iron-on in your choice of color(s)
- Weeding Hook
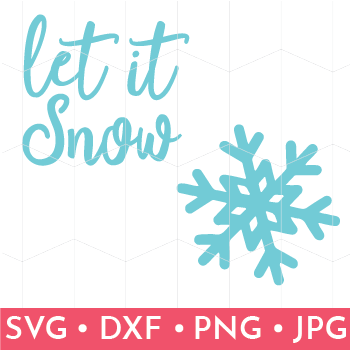
- Snowflake and Let it Snow SVG (found below)
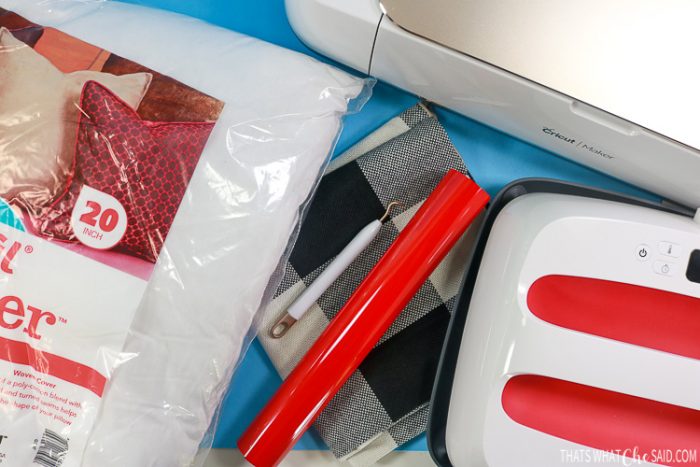
I really love the ease of the pillow inserts from Fairfield. They come in many sizes and fit the pillow covers great!
If you are new to iron-on you may want to check out my Iron-on Basics post. You can also find more tutorials regarding iron-on within my Iron-on Vinyl Page.
How to make DIY Holiday Pillows
Time needed: 15 minutes
Easily customize holiday and seasonal pillow covers with iron-on! Storebought covers and Fairfield pillow inserts make this project a breeze!
- Upload your Design to Design Space
Upload and size your designs to your pillow covers.
I am using my Cricut today. You can also do this on your Silhouette as well.
– How to Upload SVGs into Cricut Design Space
– How to Upload SVGs into Silhouette Studio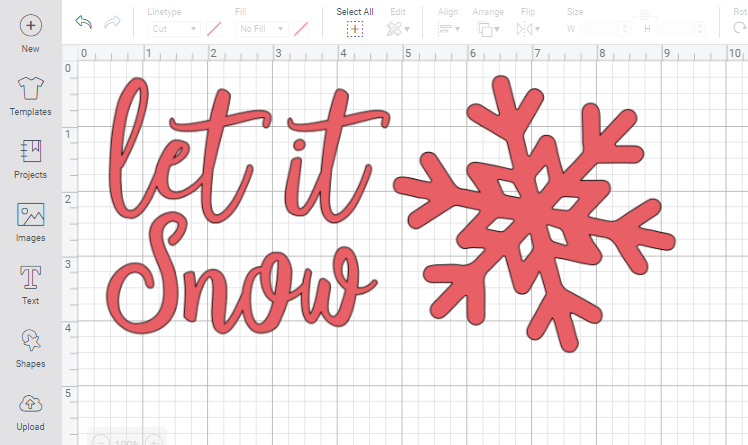
- Cut your iron on.
Click Make it in Design Space. Mirror your images on the mat screen, continue to cut your iron-on with the shiny side down on your mat.
You may find detailed instructions on cutting Iron on here:
–Cutting Iron-on with a Cricut
–Cutting Iron-on with a Silhouette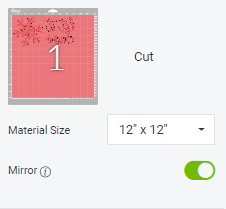
- Weed your design
Using a weeding hook, weed the excess iron-on away from your design.
- Set Time and Temperature on your EasyPress 2
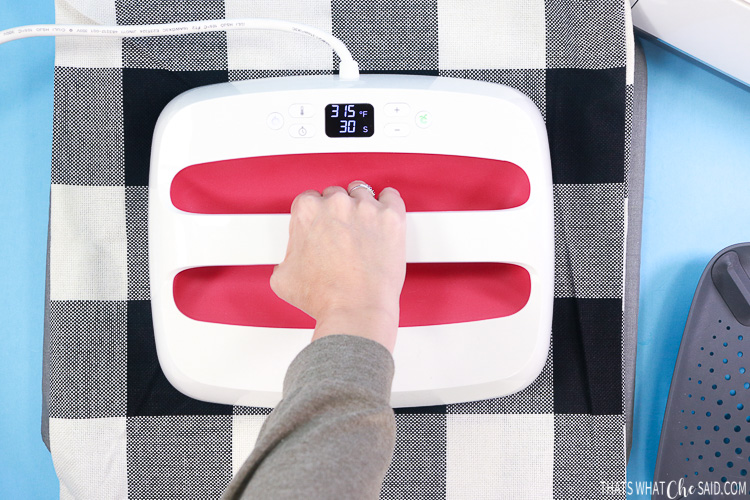
Consult the Heat Guide and set your EasyPress 2 to the appropriate heat and time settings.
- Press the design
Press the iron-on design with the Cricut EasyPress 2. Remove the Carrier sheet and enjoy your new decor!
- Insert the Pillow Form & Enjoy
The pillow cover has a hidden zipper. Unzip and insert the Fairfield World Pillow form. Rezip the cover and enjoy your new creation!
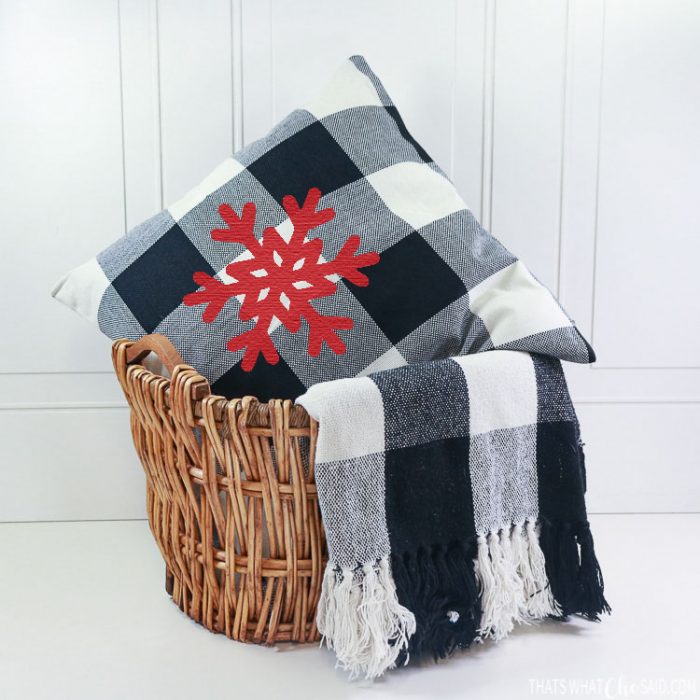
With the hidden zipper type of cover (versus the envelope cover) you can utilize both sides of the pillow! So I put a snowflake and the let it snow design on each side of a pillow so they are reversible.
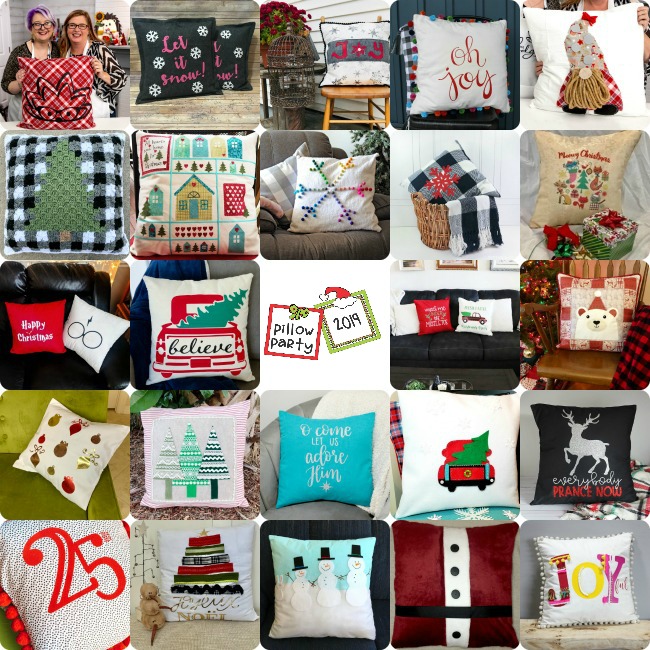
I joined 24 of my friends for Pillow Party 2019! So many great ways to personalize and decorate your Fairfield World Pillow Insert!
Here are more pillow ideas from our Pillow Party!
ENTER THE GIVEAWAY
Our Pillow Party is sponsored by Fairfield World, Laura Kelly Designs and The Hedgehog Hollow. We are giving away a $100 Michael’s Gift Card and 10 pounds of Poly-Fill to celebrate! Enter below using the widget. You may read my official giveaway rules here.
a Rafflecopter giveawayDOWNLOAD LET IT SNOW SNOWFLAKE SVG HERE
This file is a FLASH FREEBIE, which means it will only be free for ONE MONTH and then it will move to my shop! Grab it while you can and be sure you are signed up for my emails so you never miss a Flash Freebie!
Getting the freebie is easy! First, enter your name and email below and join my email list community (AND gain access to my freebie library)!! After that, click the download button and the freebie will begin automatically.
I use box.com to deliver my freebies safely! There is no need to sign up for a box.com account!
Please see this FAQ post + Video on how to download my freebies.
This download is for personal use only!


Comments & Reviews
Ann Strecko Koeman says
Wonderful and cozy looking pillow! TFS.
Cheryl Spangenberg says
Thanks Ann!
Susie Bentz says
Love the classic color combo and the clean and simple design!
Cheryl Spangenberg says
Thanks, Susie! I really do as well!
Karen Dewhirst says
Love these pillows!
Cheryl Spangenberg says
Thanks so much Karen!